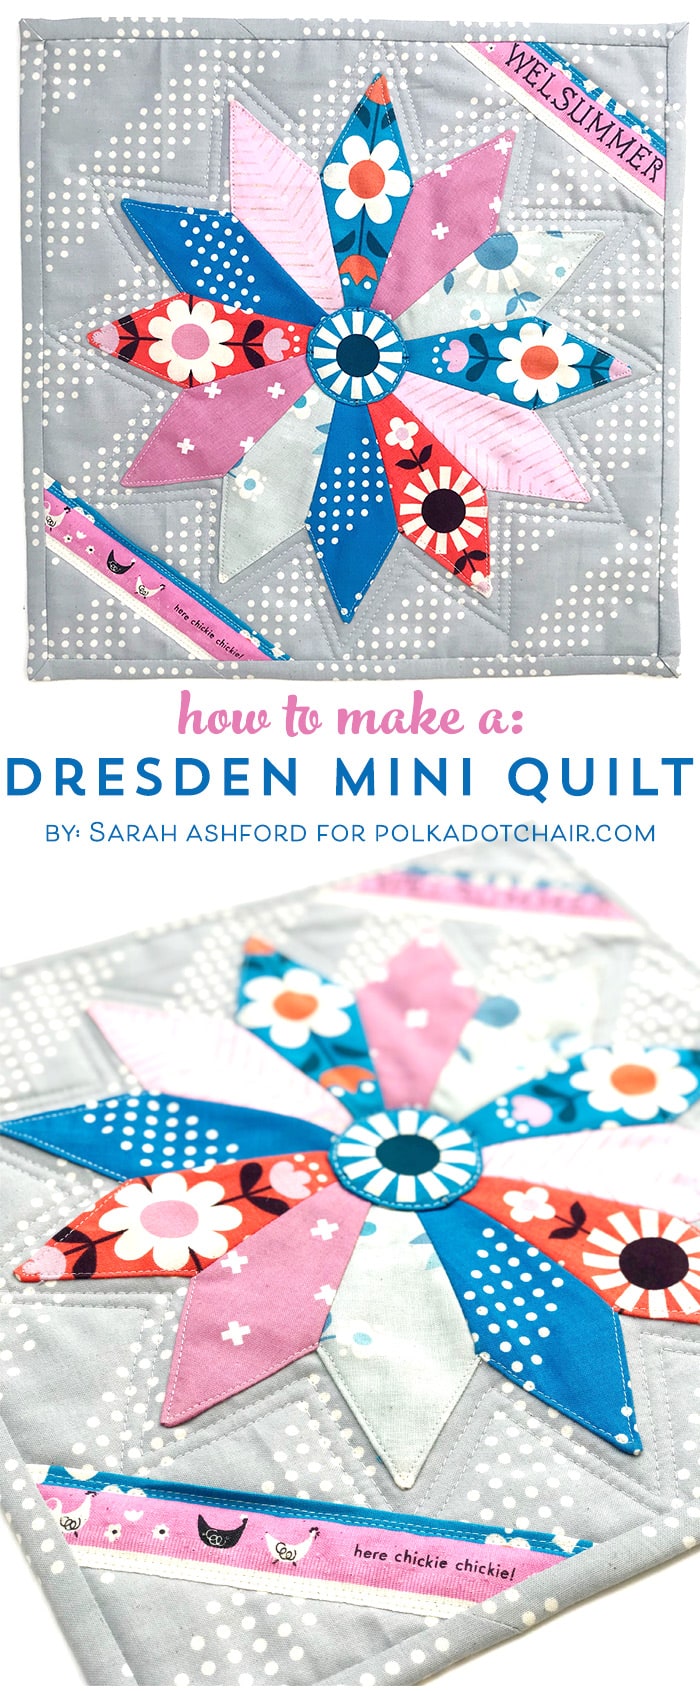
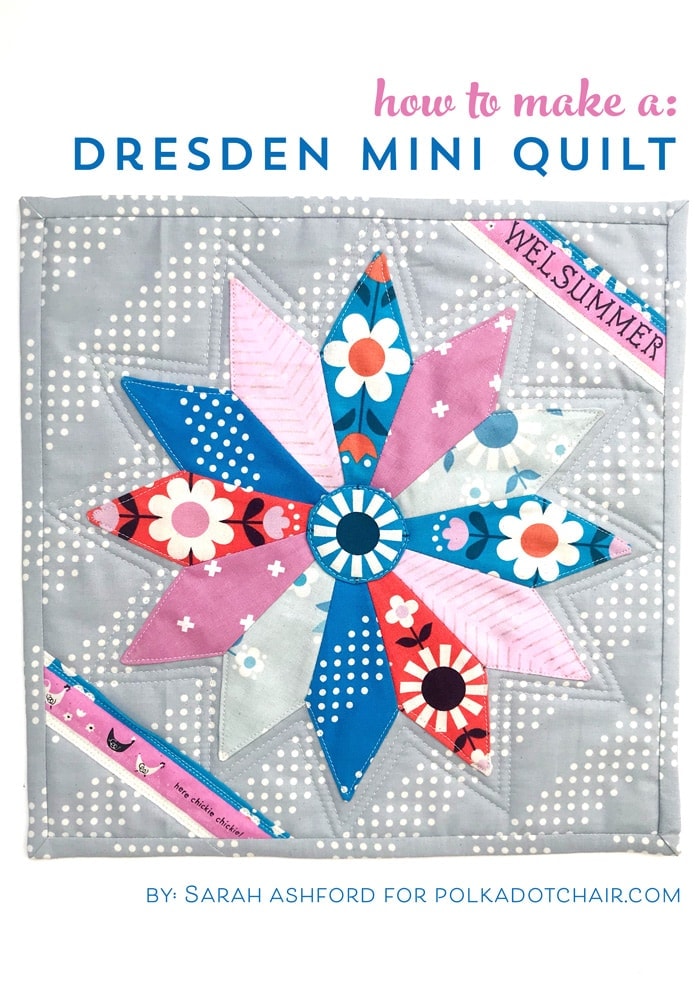
Free Mini Quilt Pattern, Dresden Plate Quilt
If I had to pick, I’d have to say that Dresden Plate Quilts are my favorite type of quilt (I’d put an Ohio or a Sawtooth star block in a close 2nd and 3rd, though). I think there is something so fun about a Dresden plate; it always reminds me of a giant prize ribbon. Sarah Ashford is back with us today, sharing another fabulous quilt tutorial, a free Mini Quilt Pattern that is the perfect quilt to stitch up on a quiet afternoon or during a lazy weekend.
Mini Dresden Plate Quilt Pattern:
I love seeing new fabric lines come out. There are always new ranges to tempt us and a great sense of anticipation as a beautifully curated collection of fabrics is released. But more often than not, it is the time factor that stops most of us in our tracks. As let’s face it, who’s got time to make a full-sized quilt with every new fabric line that they fall in love with!
So, to get a quick fix, the answer is often to take on a smaller project, such as a bag or cushion. I love these items as much as the next person, but my husband will be the first to say I don’t need any more bags, and I now have more quilted cushions than chairs to put them on! So a good alternative is to make a mini quilt. After all, it’s quilts that I love making best of all, and if I put it on the wall, I can look at it every day.
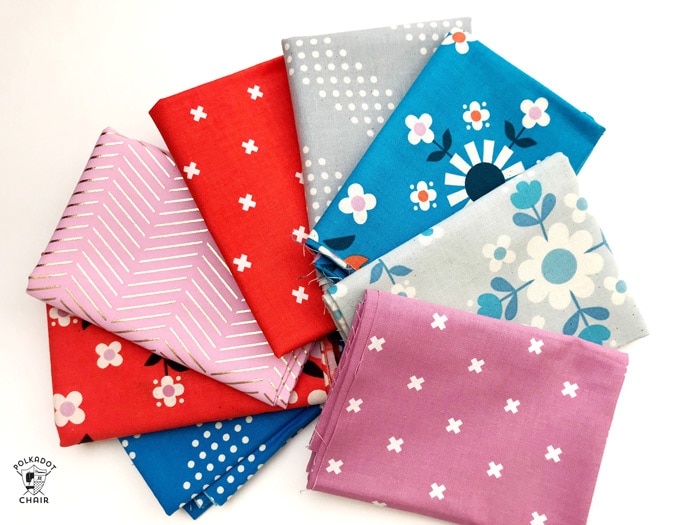
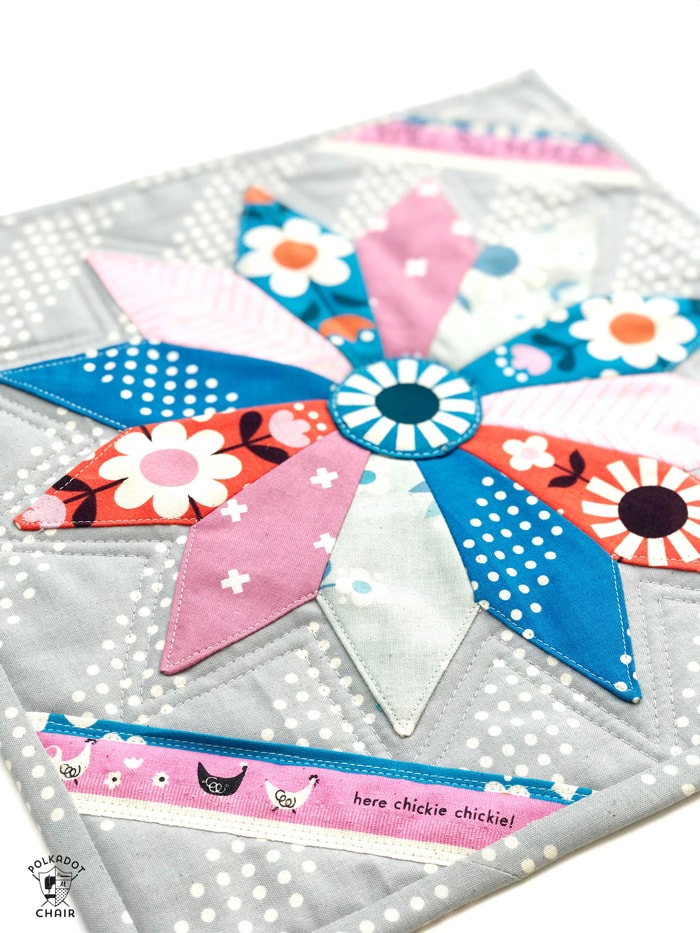
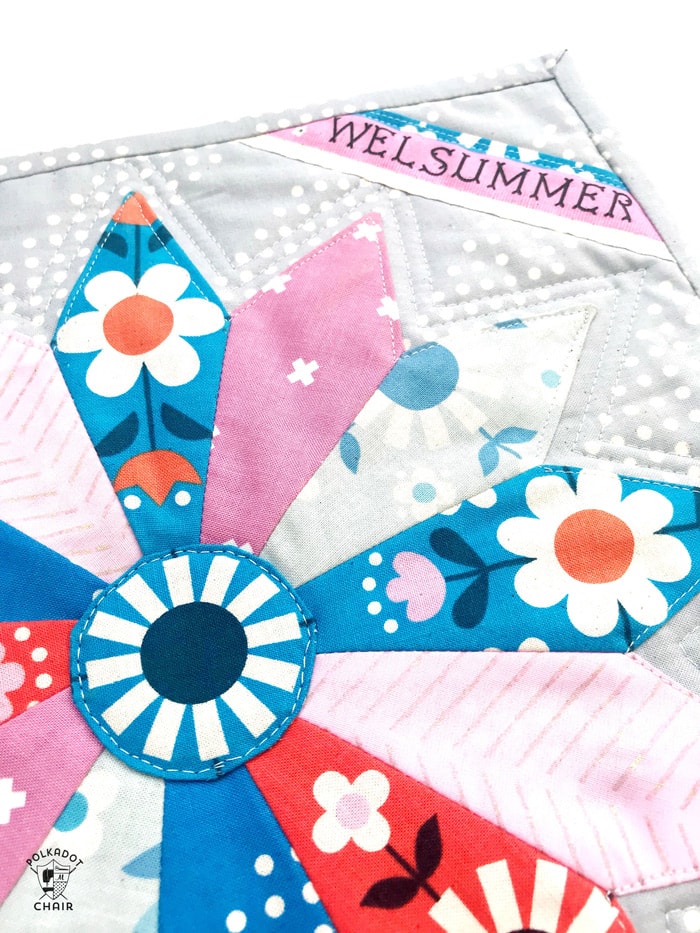
As you will have read from my previous tutorial (for the Churn Dash Block Pincushion), at the moment I’m really into making traditional blocks with modern fabrics. So I looked through some of my quilting books and felt inspired to make a Dresden plate. I love Dresden plates so much, and one day I will make a whole Dresden quilt, but for now, I feel a mini quilt is a good compromise. I just love Welsummer by Kim Knight for Cotton and Steel, so this was the perfect collection for me.
So I’m going to show you how, and I do hope you will make a Dresden Mini Quilt of your own, using the fabrics you love most and want to look at every day.

Free Mini Quilt Pattern, Dresden Plate Quilt
Equipment
supplies
- Fat eighths of 6 different fabrics
- 14” square background fabric
- 5” square for the central circle You may wish to fussy cut this
- 16” square batting
- 12 1/2” square backing fabric
- Fat 8th binding fabric
- Dresden Template- Download on the TEMPLATES Page.
- Card or template plastic optional
- Spray Baste
- Pen
- selvage strips with 1/2” extra width optional
Instructions
Cutting:
- Print of the Dresden blade template. You may wish to mount it on a card or a plastic template to improve its stability. We are making a 12-blade Dresden, so if you have 6 fabrics, you will need to cut 2 of each. As long as you have 12 in total, it doesn’t matter how many fabrics you use! I find that using a pen is easiest for drawing around the templates, as a pencil doesn’t always show up. You can cut just inside the line when you cut out the blades.
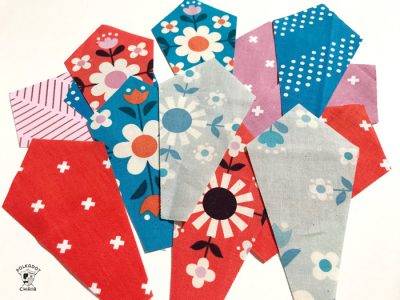
- Lay your blades out in a pleasing circular arrangement, then take a photo you can refer back to.
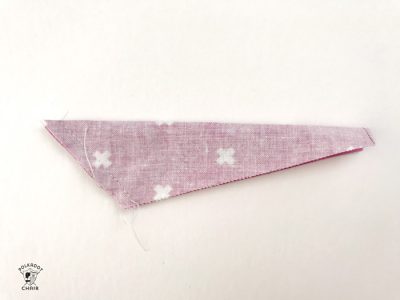
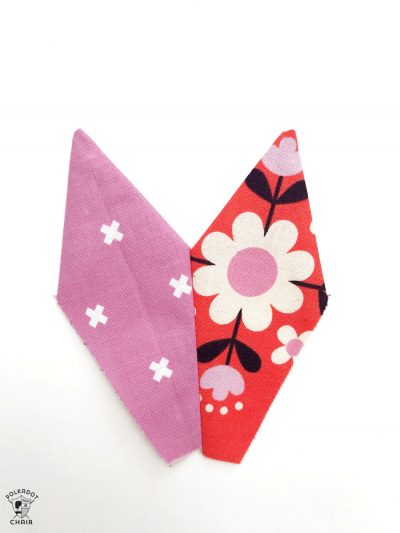
- Take one blade and fold it in half with the right sides together. Stitch a 1/4” seam from the side point of the blade to the tip of the blade. Repeat for every blade. You may find it quicker and easier to chain pieces. Cut off the ‘ear’ at the top of each blade to reduce bulk.
How to Sew the Dresden Blades:
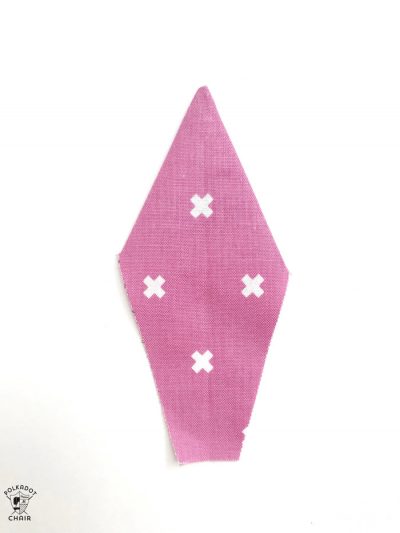
- Turn the right side out and press open, ensuring the points of each blade are at the top and centre.
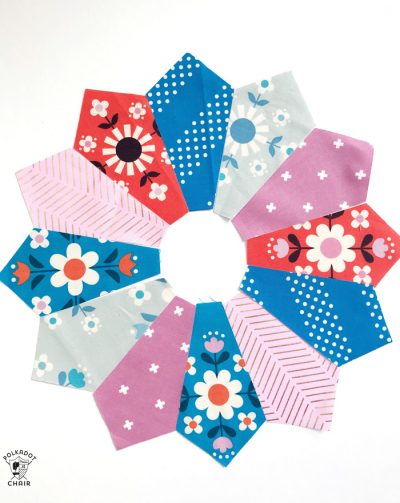
- Referring to your layout photograph, take one blade and pair it with an adjacent blade, right sides together. Stitch a 1/4” seam down one side to join the two blades together.
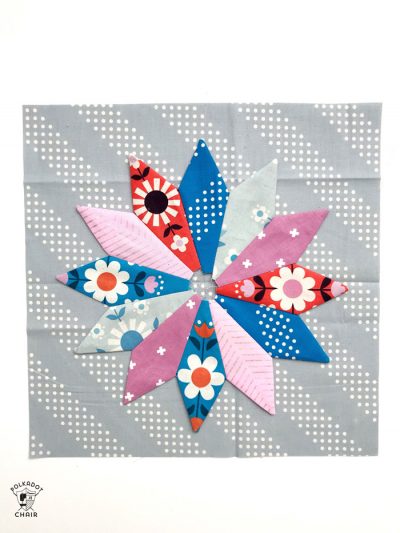
- Repeat this with all the pairs, then join them together. Keep joining the blades until you’ve completed a full circle. Press.
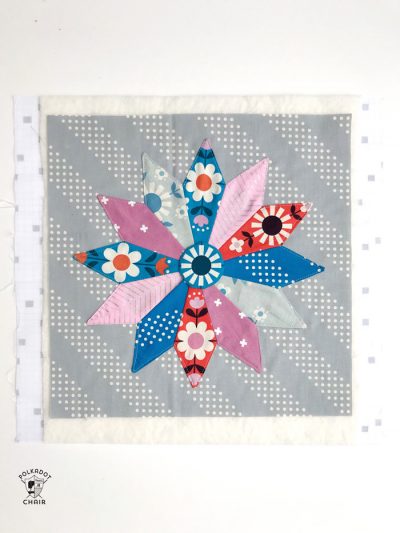
- Now take your background fabric and fold it in half, then in half again, pressing the creases. Spray-baste the completed Dresden and line it up with the creases to center it on the background fabric. Iron in place.

- Using a neutral thread, stitch close to the edge all around the blades to secure the Dresden to the background fabric.
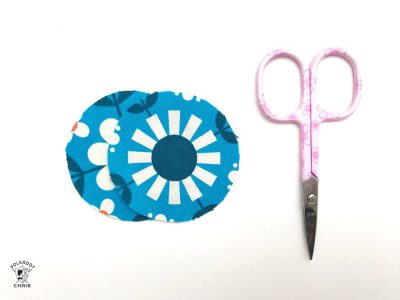
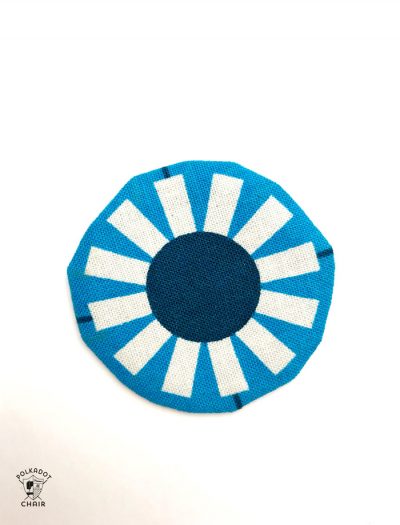
- Now we need to complete the middle of Dresden. Use the circle template to trace around it on the reverse side of your chosen fabric. You can fussy-cut your fabric to include a central motif for your Dresden. Cut it out, and cut out a second circle in the same fabric.
Create the Center:
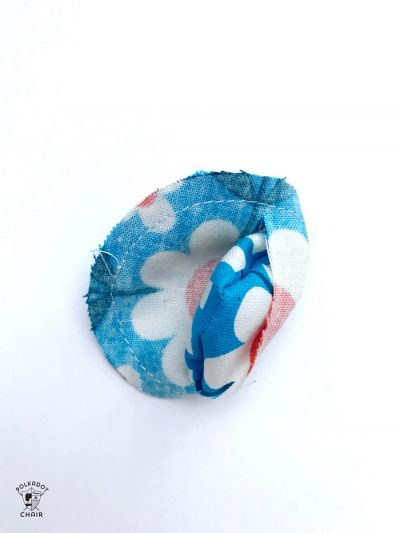
- Place the circles right sides together, then pin them in the middle so they don’t move. Using 1/8th” seam, stitch all the way around the circle. Cut a small slit in the back circle and turn it through. Take care not to snip the front circle!
- Use a sharp tool such as a knitting needle to push out the seams and create the curves. Press the circle flat.
- Set the circle aside and layer the mini quilt to create the quilt sandwich. Place the backing fabric right side down and fuse the batting to it using spray baste. Lay the quilt top on top, fused with spray baste. Finally, spray the reverse of the central circle with spray baste and place it in the center of the Dresden.
Quilting the Mini Quilt:
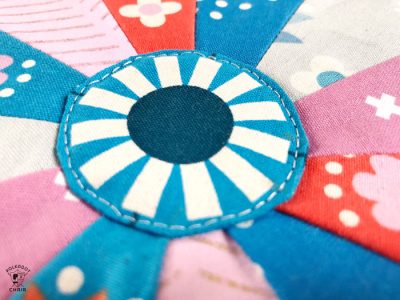
- Stitch the circle to the center of the Dresden close to the edge of the circle.
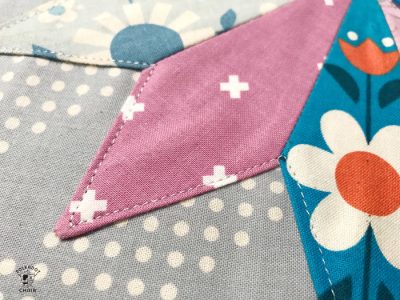
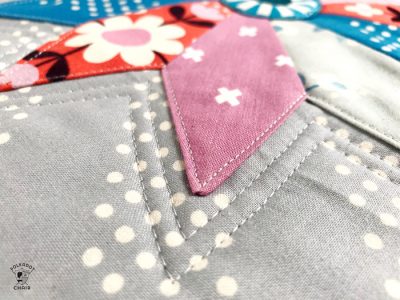
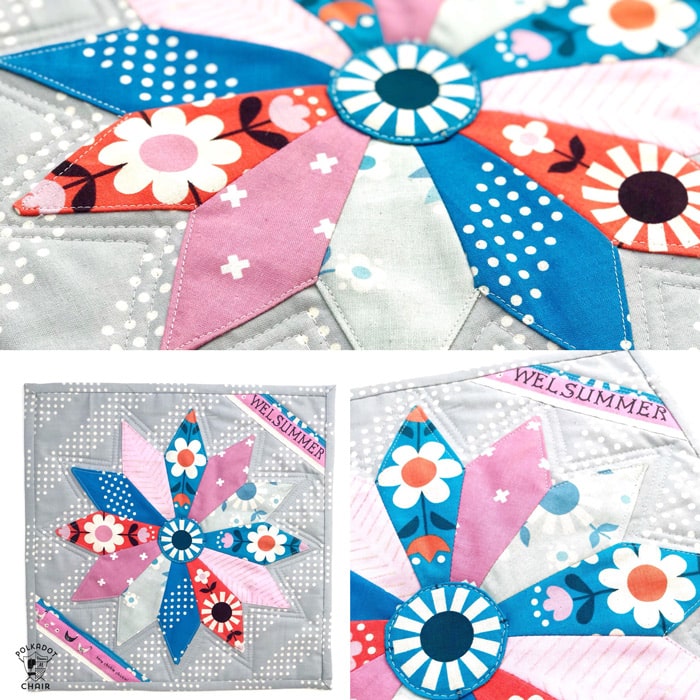
- Echo quilt around the Dresden blades using a slightly longer stitch length. I’ve used 3.5 and quilted 2 lines of echo quilting. Pull the threads to the back and sew them in. As the quilting doesn’t extend to the edge, stitch around the edge of the mini quilt to enclose all three layers.
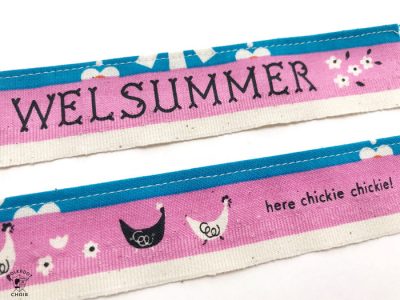
- OPTIONAL – You may wish to add some selvage detail to your mini quilt. The selvage on the Welsummer fabric is just so cute, I thought it would be fun to incorporate it! If you want to, cut a piece of the selvage that you’d like to include, ensuring that you also include 1/2” of the fabric. Fold over 1/4” so that just 1/4” of the fabric is revealed, and iron in place. Stitch close to the seam to create a hem. You don’t need to hem the selvage’s bottom.
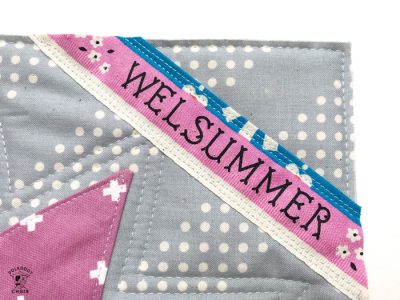
- Position onto your mini quilt. I’ve placed mine diagonally in the top and bottom corners so the ends will be inside the binding. I’ve secured it with a double row of stitching at the bottom and a single row of stitching at the top, parallel to the hemline.
- Make your binding as usual. I like to use 1.5” single-fold binding for mini quilts as it reduces bulk and uses less fabric. Machine onto the mini quilt, hand stitch on the reverse, and you are finished! All you need to do now is find a place in your sewing room or home to display it!
About the Maker:

Sarah Ashford is a British Quilter and embroiderer and the founder of the GreatBritishQuilter challenge on Instagram. Sarah regularly contributes projects to magazines and loves to spread the joy of quilting everywhere she goes. Follow her on Instagram at @sarahashfordstudio and be sure to check out her beautiful sewing room decals in her Etsy shop www.etsy.com/shop/sarahashfordstudio
Other Mini Quilt Patterns that you may like:
Tiny Wonderland Mini Quilt Pattern
Broken Teaparty Dishes Mini Quilt Pattern
Ruffle Edge Doll Quilt Tutorial
Other Dresden Plate Quilt Patterns you may like:
How to make a Dresden Quilt Block
If you’re a Beginning Quilter Check out:
45+ Beginning Quilt Patterns and Tutorials
Quilt Block Construction Tips and Tricks
How to pick fabric for a Quilt