Quilting Basics for Beginners
Today, we are going to chat about Quilting Basics for beginners. I hope you find this helpful, especially if you’re interested in making a quilt but do not have a lot of experience quilting.
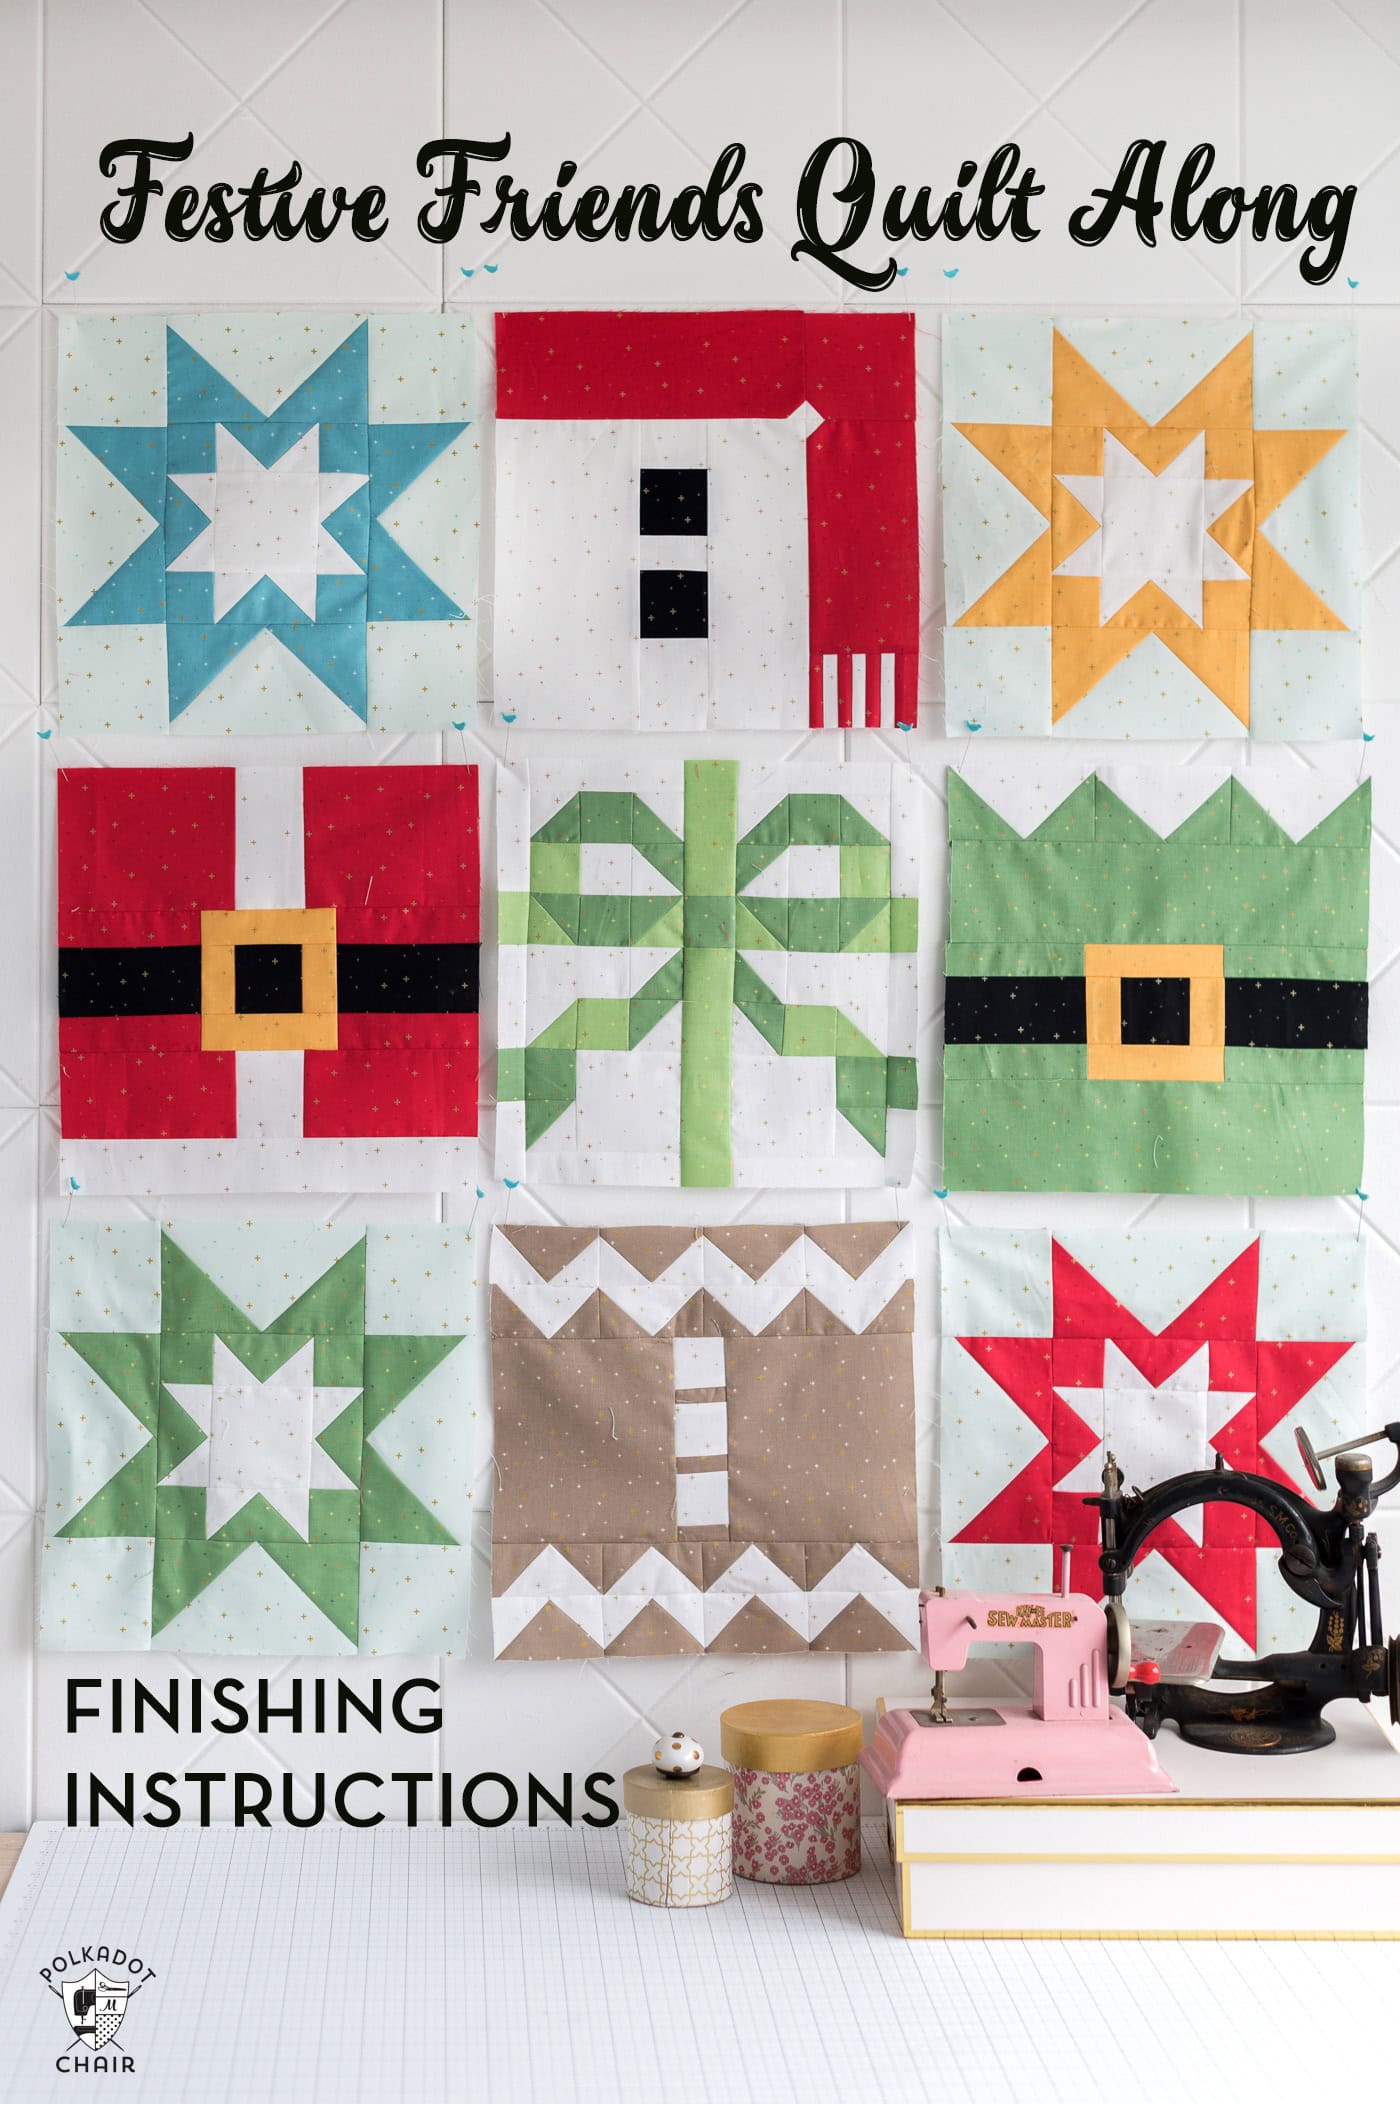
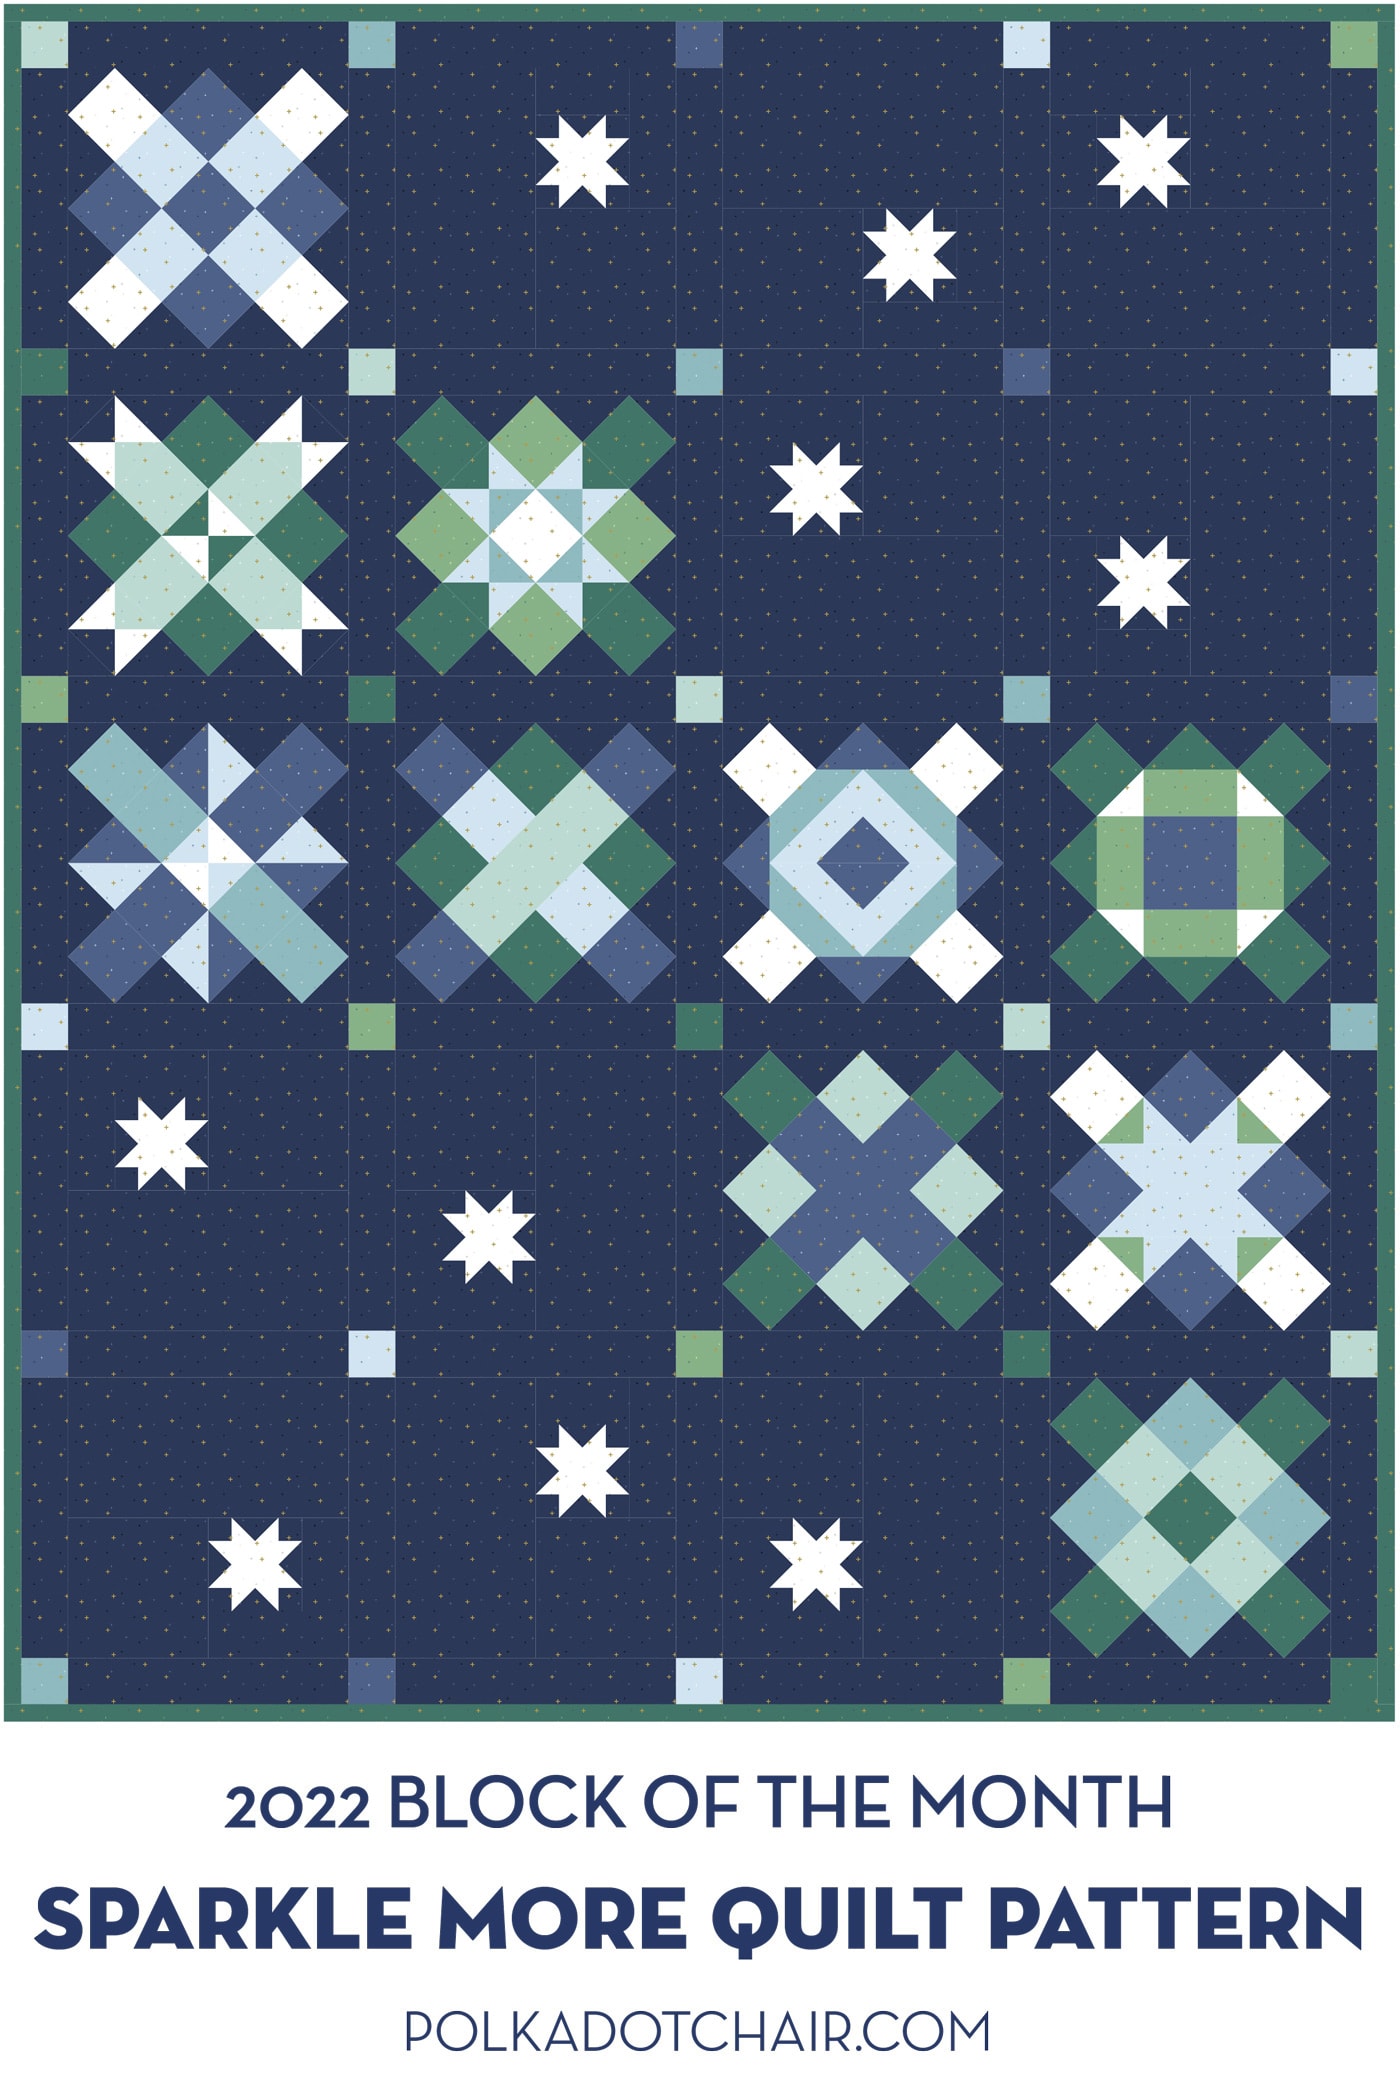
Hey there! I know that many of you are anxious to get started on our new Block of the Month series. I have just ONE more “introductory” post to cover, and then our first block will be posted this Friday! YAAY, we can then call it FriYAY 🙂
If you are new to quilting, please jump in and try this! It’s just a small time commitment each month, and at the end of the year, you’ll be able to say that you MADE A QUILT! Yippee!!! Just try it; if it turns out badly, who cares? You don’t have to show it to anyone…
If you’re an experienced quilter, I hope that you’ll join in, too, and find the quilt blocks a fun project to carry you throughout the year. It would also be great for the newbies to see and be inspired by the blocks made by some of your more seasoned quilters.
How to Start Making a Quilt
Okay, there are LOTS of books written about the basics of quilting. I obviously can’t write a book on this post, as that would take forever, and none of you would make it all the way to the end of reading it.
Instead, I’m going to cover several quilting basics that help you to construct a quilt top.
What is a Quilt Top?
A quilt top refers to the main decorative layer of a quilt. Quilting is a craft that involves sewing together layers of fabric to create a padded, multi-layered textile. The basic components of a quilt include the quilt top, batting (the middle layer for insulation), and backing fabric (also referred to as a quilt sandwich). The quilt top is the uppermost layer and is often the most visually intricate part of the quilt.
Quilt tops are typically made by piecing together fabric squares, rectangles, or other shapes into a specific pattern. Quilters use various techniques, such as patchwork or appliqué, to create visually appealing designs on the quilt top. The design possibilities range from simple geometric patterns to intricate and detailed patterns.
Once the quilt top is complete, it needs to be finished. It is layered with batting and backing, and the three layers are stitched together through a process called quilting.
Quilting not only holds the layers together but the quilting stitches also add texture and additional design elements to the finished quilt. Quilt tops can be quilted using a home machine through straight-line quilting or free-motion quilting. A third party can also quilted them on a long-arm quilting machine. Hand quilting is another way to finish a quilt and is a more traditional method than machine quilting.
After the quilt top is quilted, binding is added to finish the raw edge of the quilt.
Supplies You Need
We have a comprehensive list of recommended supplies for beginning quilters, but just to quickly summarize here, I recommend that you purchase:
- Quilting Cutting Mat (get the largest one that your budget allows)
- Quilt Ruler (try to buy one at least 24″ long)
- Rotary Cutter
- Straight Pins
- Safety Pins (for basting)
- Iron and Ironing Board
- Seam Ripper
- Walking Foot (if you want to machine quilt your quilt top yourself)
- Fabric – 100% quilting weight cotton
- Scissors
- Quilt Patterns or Tutorials
Three Things You Need to Know
I’m going to touch on 3 MUST KNOW to know when quilting. Cutting, Stitching & Pressing.
1: How to Cut Fabric for Quilting
To cut the fabric for a quilt, you need a quilt ruler, rotary cutter, and mat. It is VERY important to cut your pieces accurately. If you’re off by even 1/16 of an inch, it will mess up your construction.
Depending on the size of the fabric you are working with (fat quarter or off of a bolt), you’ll want to cut it down to a manageable size before starting.
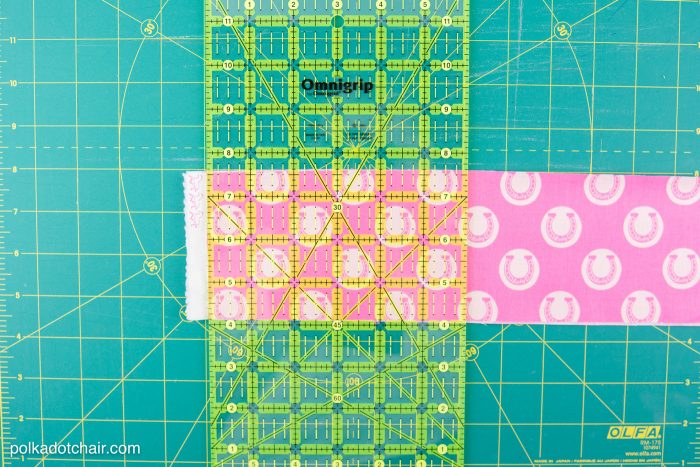
For this example, we will cut a 3 1/2 x 3 1/2 square. I began by cutting a strip of fabric slightly larger than 3 1/2 “. Then, cut off the selvage edge.

Next, measure over 3 1/2″ from the cut end. Use the marks on the ruler and make sure everything stays square. Just look for the 3 1/2″ mark on the ruler (that’s why it’s transparent) and line it up with the cut edge.
Then cut.
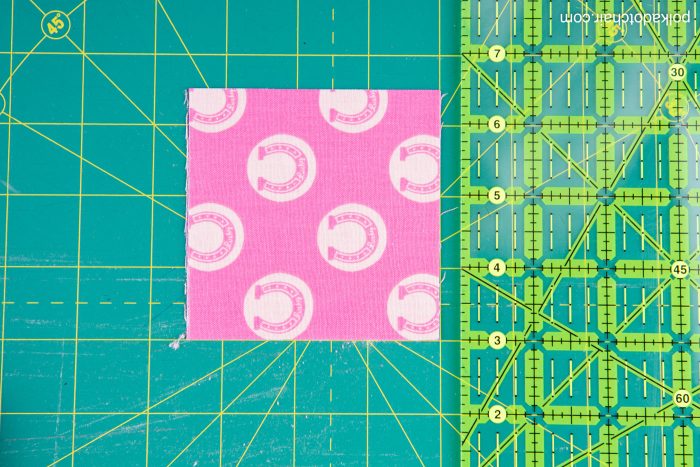
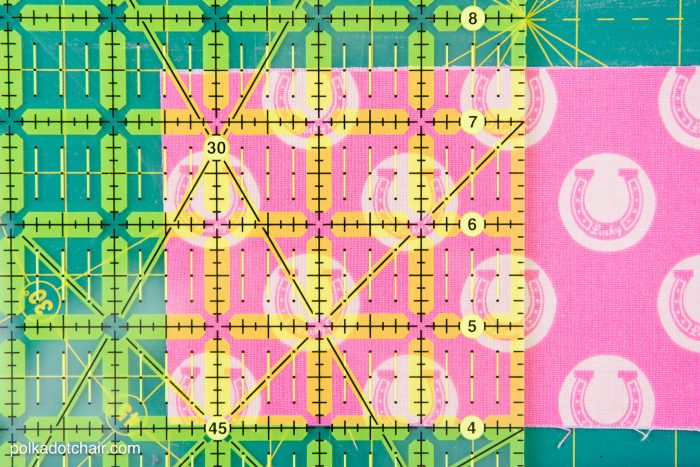
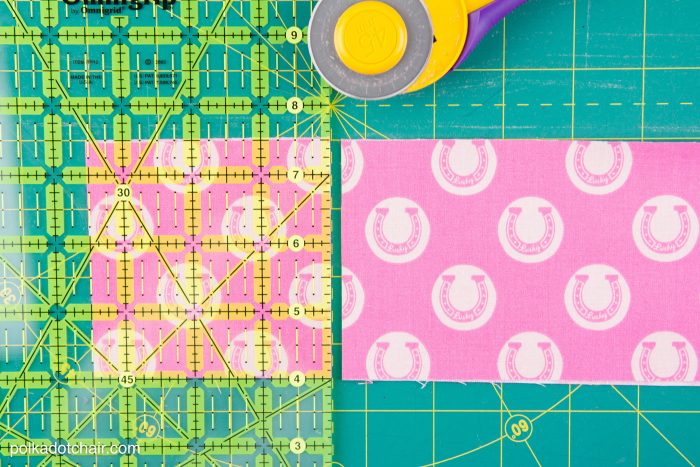
I then rotate my piece 90 degrees and cut again to ensure my piece is 3 1/2″ x 3 1/2″. In this case, I only needed to cut off a smidge from the opposite side.
A few tips:
- I do cut two layers of fabric at a time. Many people do not do this, but I do. Most of the time it works out fine for me.
- Use the markings on the mat and the ruler to keep the fabric “squared” up. You don’t want the horseshoes running along a wonky angle in this example.
- Wear a cut glove on the hand that is holding the ruler. Quilt safety is important! I mentioned before that I sliced off the tip of my finger with a rotary cutter once. You DO NOT want to do that. Trust me. Wear a cut glove to protect your hand.
2: How to Sew Quilt Pieces Together
Quilt pieces are sewn with right sides facing with a 1/4″ seam allowance. You MUST figure out on your machine where the 1/4″ mark is. Once you think you’ve found it, do a test seam, then measure it. I find it helpful to mark that point on my sewing machine with a strip of washi tape.
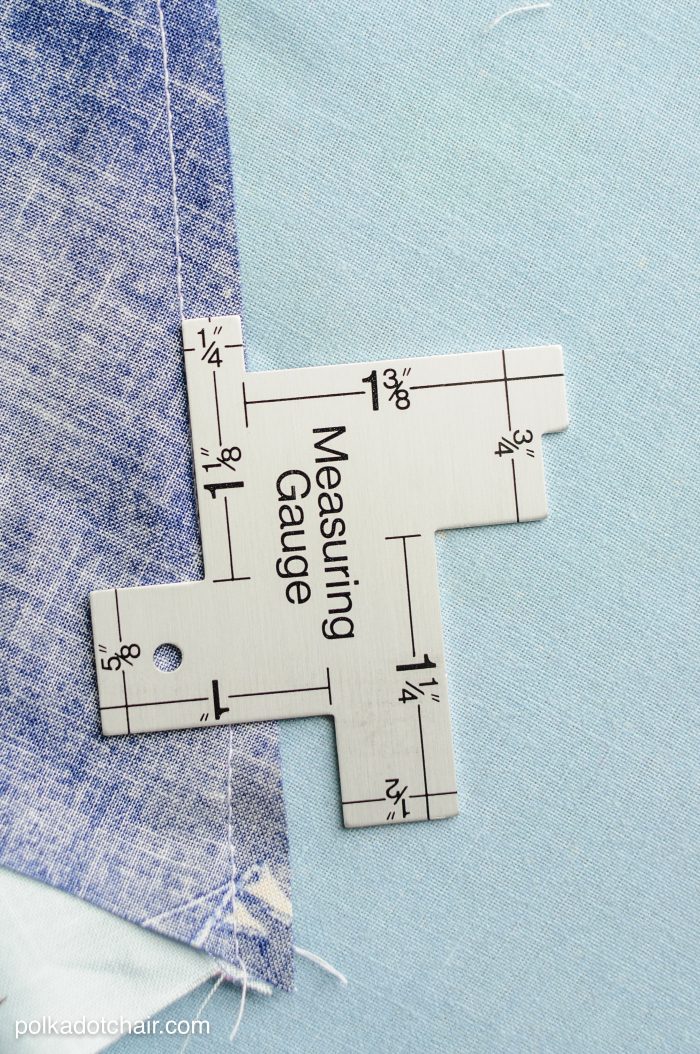
Always keep to the same 1/4″ mark. Quilts are designed so that the “math” of it all adds up, considering 1/4″ seam allowances. Most quilt pattern designers recommend a scant 1/4″ seam allowance, which means one thread width less than a quarter inch.
If your seam allowance is 3/8″, for example, your quilt pieces won’t fit together. Think of it like pieces in a puzzle. They have to be exact to fit together.
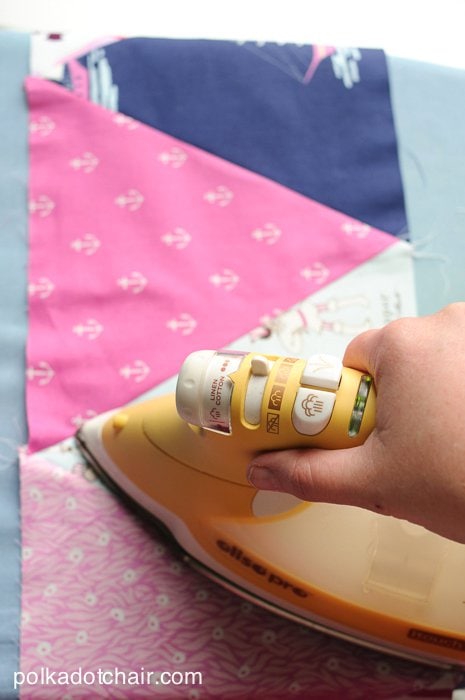
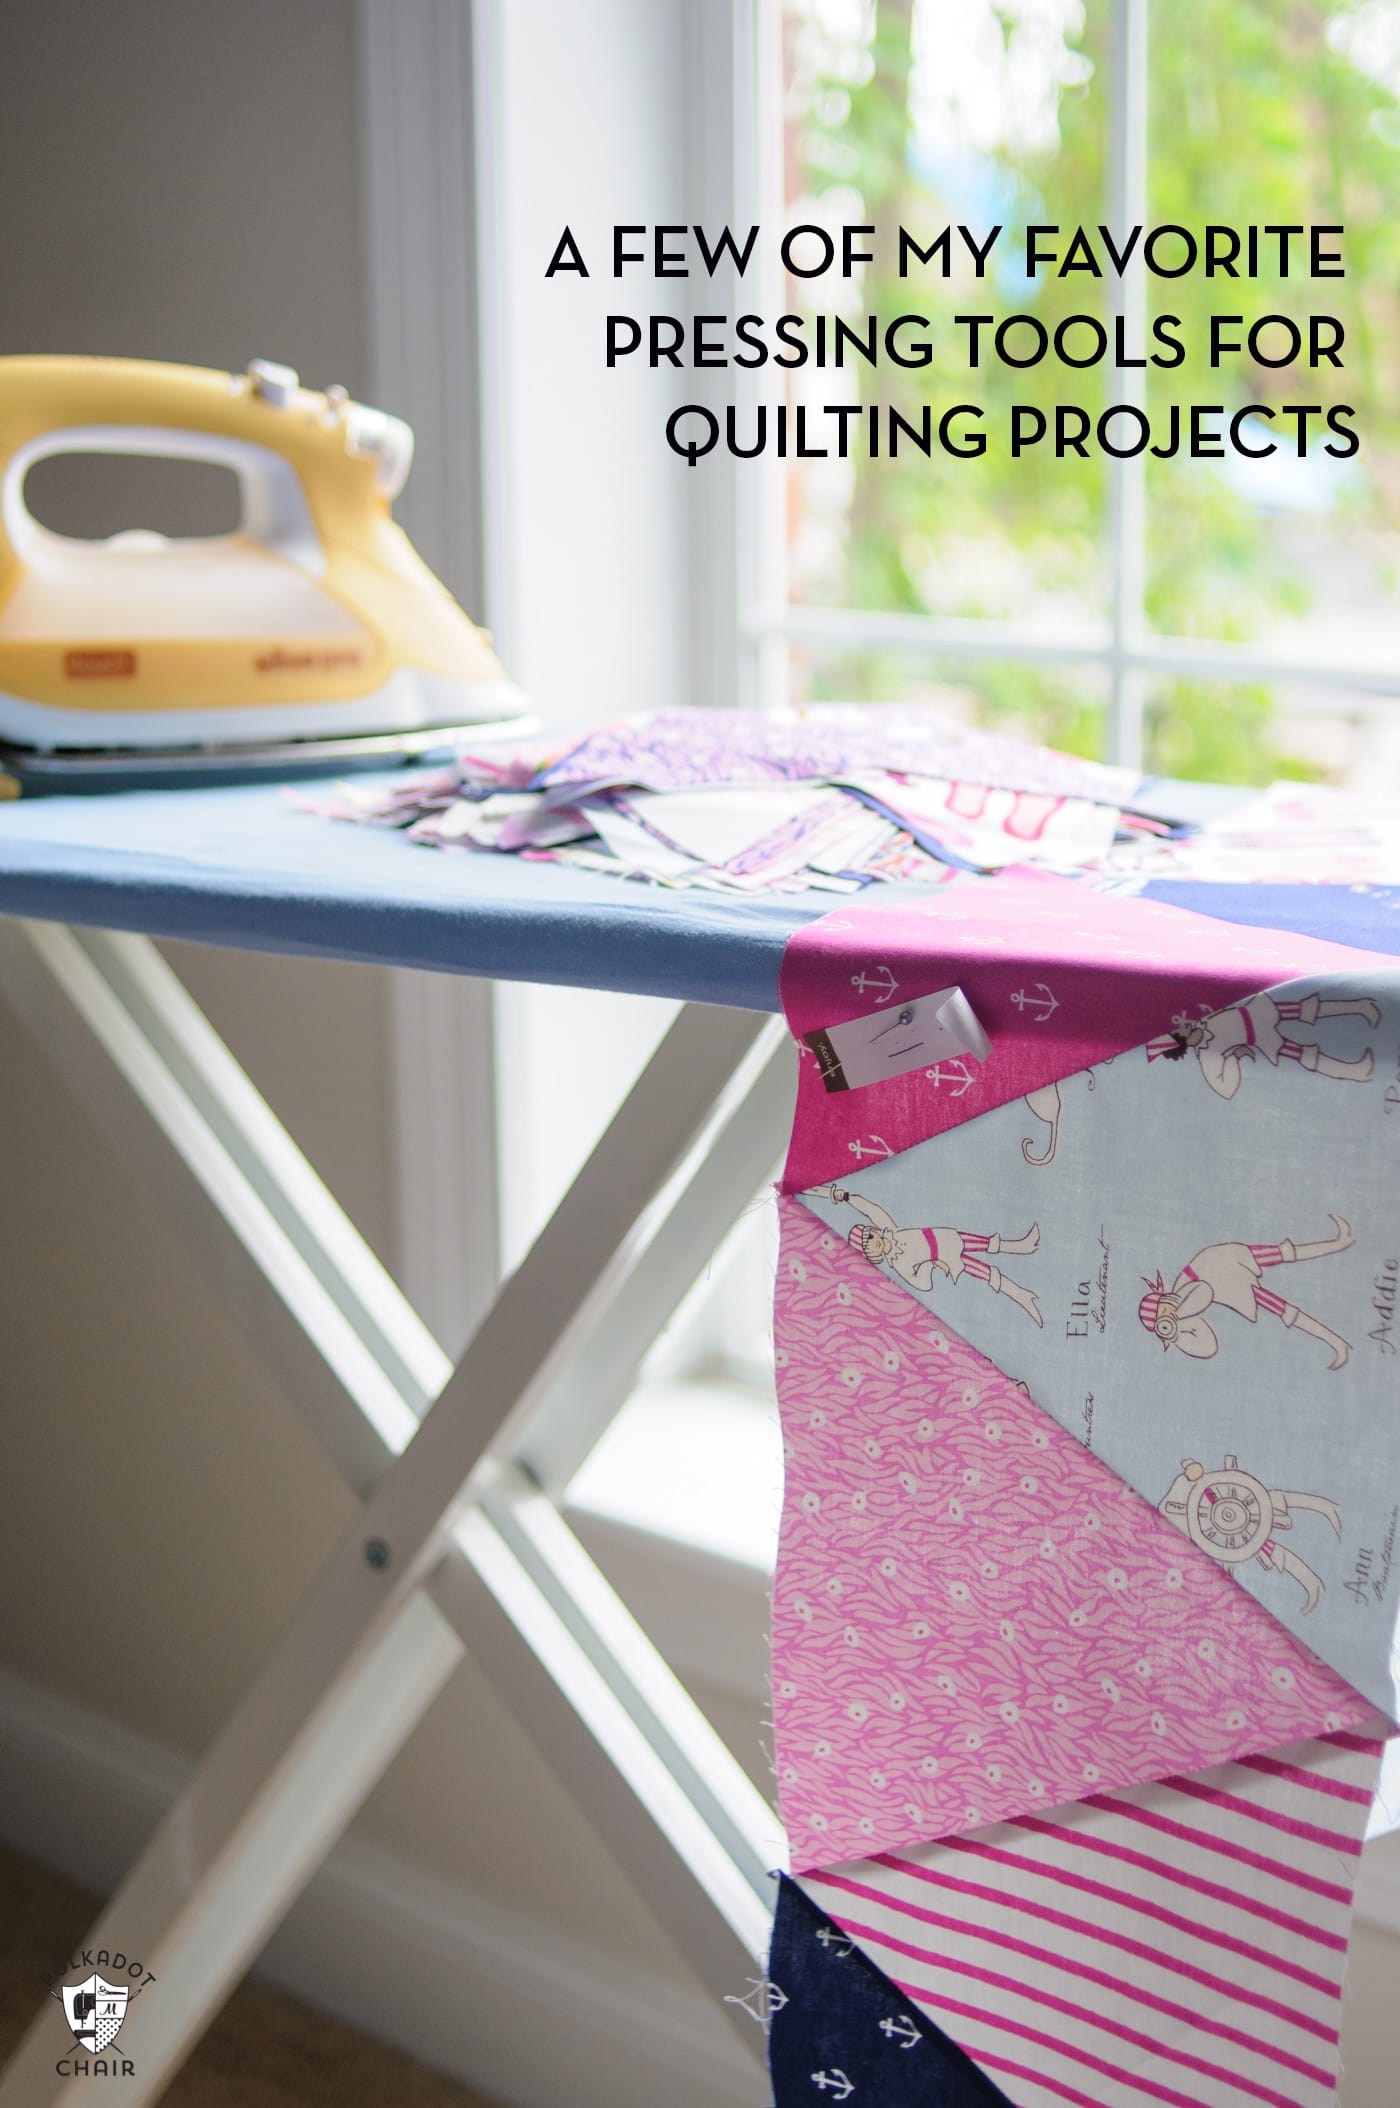
3. How to Press Quilt Blocks
You do not iron a quilt; you PRESS it. This means you move up and down with your iron and not back and forth. The steam in the iron will loosen the cotton fibers in the fabric, and if you move the iron back and forth, you’ll change the shape of your fabric. Instead, move up and down and press the seams.
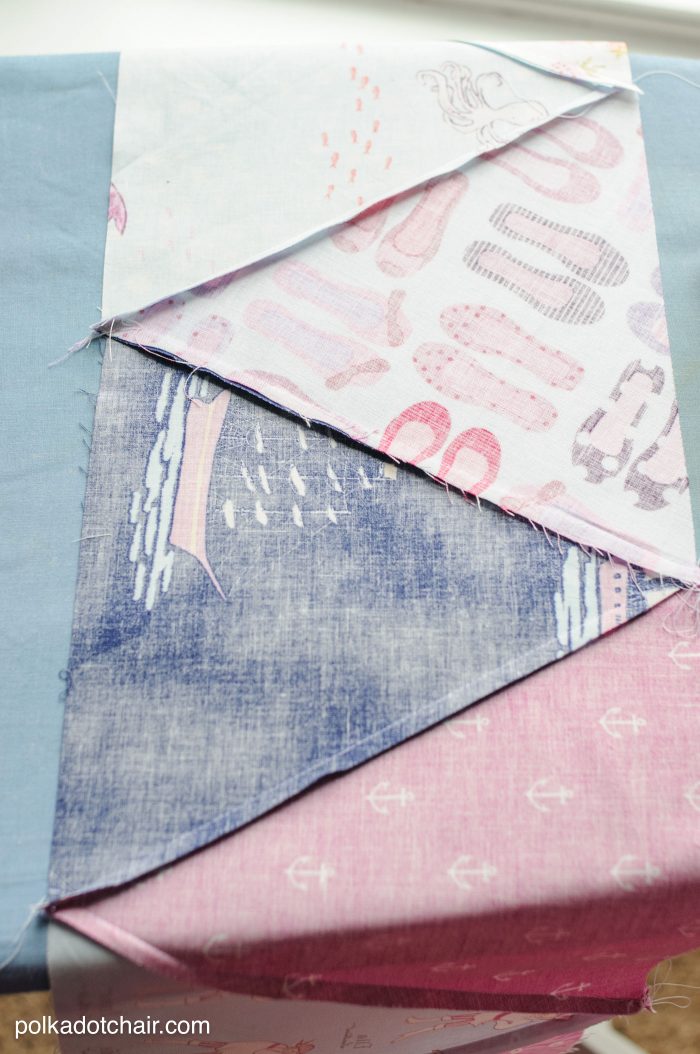
Also, seams in quilting (for the most part) are pressed to one side (as shown above). This allows the seams to be nested when you press alternate rows in opposite directions.
I like to use the iron’s tip along the seams on the right side to make sure that they are “open” all of the way. If you have a stubborn seam, I recommend using a bit of spray starch.
When pressing several pieces at a time, lay a book on top of them right after they are pressed. The weight of the book (and the fact that the fabric is still warm) ensures a nice flat seam. You can also use a tailor clapper.
Okay, that’s all for today. As I said, this is meant to be an introduction (I’ll refer back to it in subsequent posts). I’ll also be sure to post detailed instructions with each block.
You May Also Like:
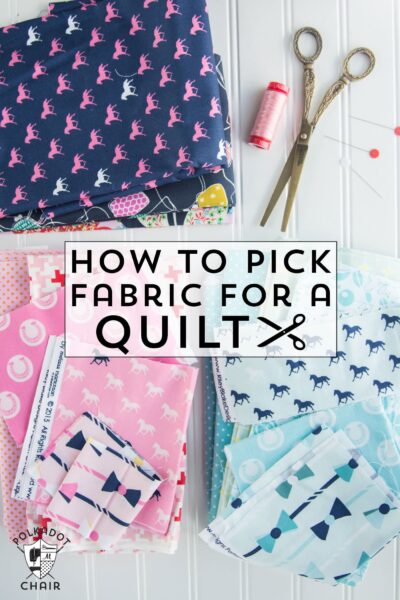
How to Pick Fabric for a Quilt
Just browsing Pinterest & saw your site. I signed up for your emails, but, I want to make sure that I receive your emails about your ‘Block of the Month’. Looking forward to doing this along with others. Thanks.
I am a beginner. I have never do a quilt before. Whant to start now.
I have several old blocks from my grandmother. Should I pair them with new fabric or just preserve them?
Absolutely LOVE your blog! I am 100% brand new to quilting, and have been trying to figure out as much as I can before jumping right it into it. This has by far the most helpful site I have read. It has definitely made me even more excited to begin as well! Thank you!
This is so wonderful! Thank you! I am a basic seamstress and quilter and am learning a ton from these posts.
I’m so glad I can help!
hey! thanks for that. 😉
No problem.. It is a great book. I refer to it all the time.