How to Make Polaroid Quilt Blocks the Easy Way!
Learn how to make Polaroid quilt blocks using a method that I call “no math quilt blocks.” It’s a semi-improvisational technique that uses precut strips of fabric. You can make your blocks any size that you like!
Years ago, I attended QuiltCon in Savannah, Georgia, and taught a mini class on how to make Polaroid quilt blocks. Today I’m going to share with you what I taught in my demonstration and give you a few ideas of things to make with Polaroid quilt blocks.
[this post has been updated from a previous version]
About QuiltCon in Savannah
As I mentioned above, I attended the Quilt Con convention in Savannah, Georgia. QuiltCon is a quilt convention that is open to the public and designed to appeal to those interested in modern quilting.
Ever since I started blogging, I’ve been wondering if I could be considered a ‘modern quilter.’ To be honest, I’m still not sure if I am, but I am not in a big hurry to figure it out.
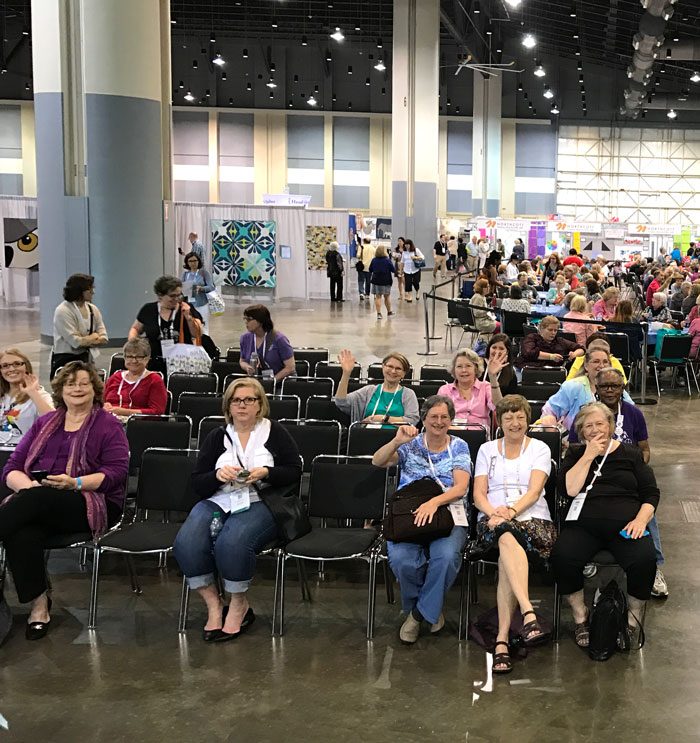
Honestly, I should devote an entire blog post to Quilt Con. I don’t seem to be very good lately and getting things written down in a timely manner, so I’ll just sum up.
- Everyone was SO NICE, and the environment was very welcoming.
- The vendors had a good mix of modern and traditional quilting items for sale, including apparel and bag patterns.
- I wish I had been able to take a class; they all looked fabulous.
- Many of the vendors had free make and takes for attendees.
About Polaroid Quilt Blocks
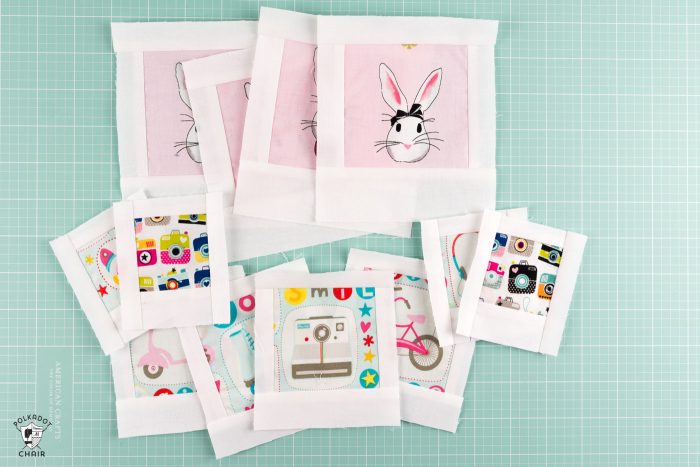
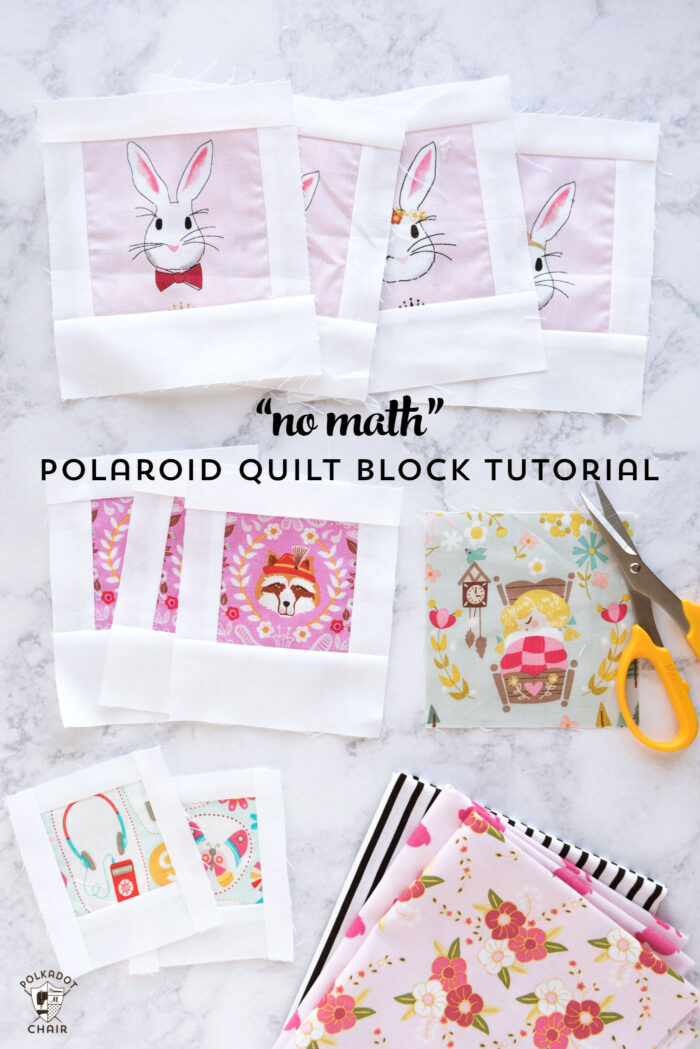
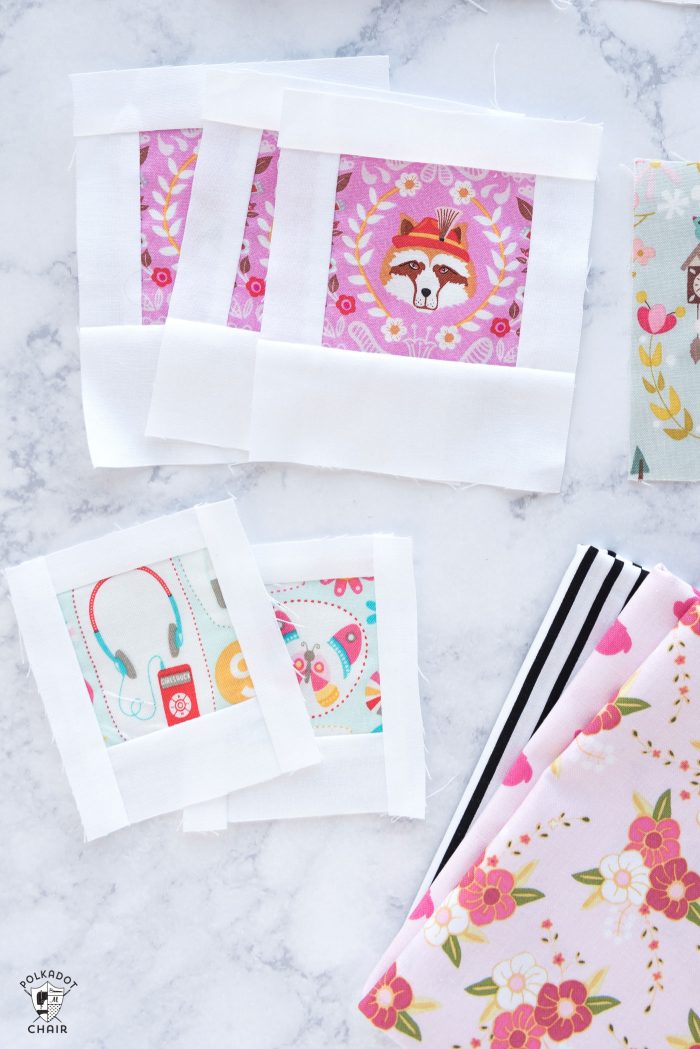
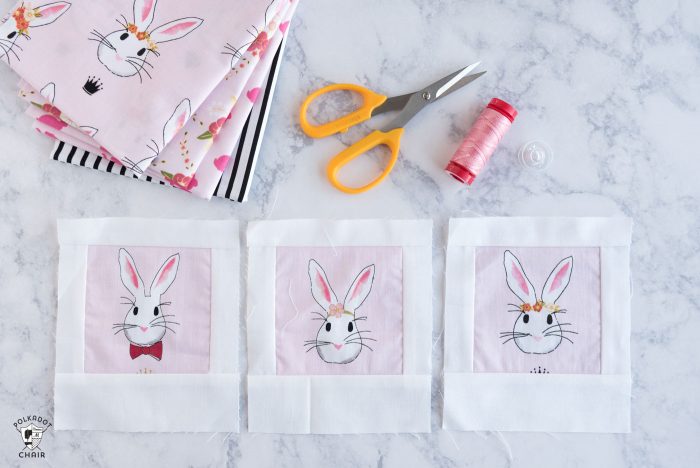
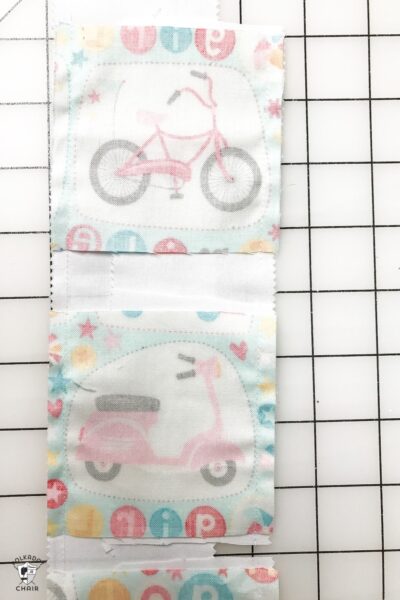
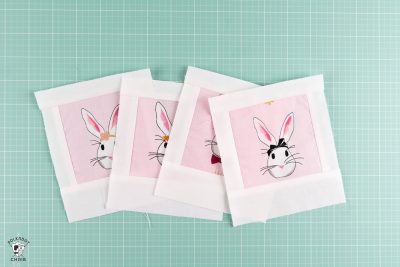
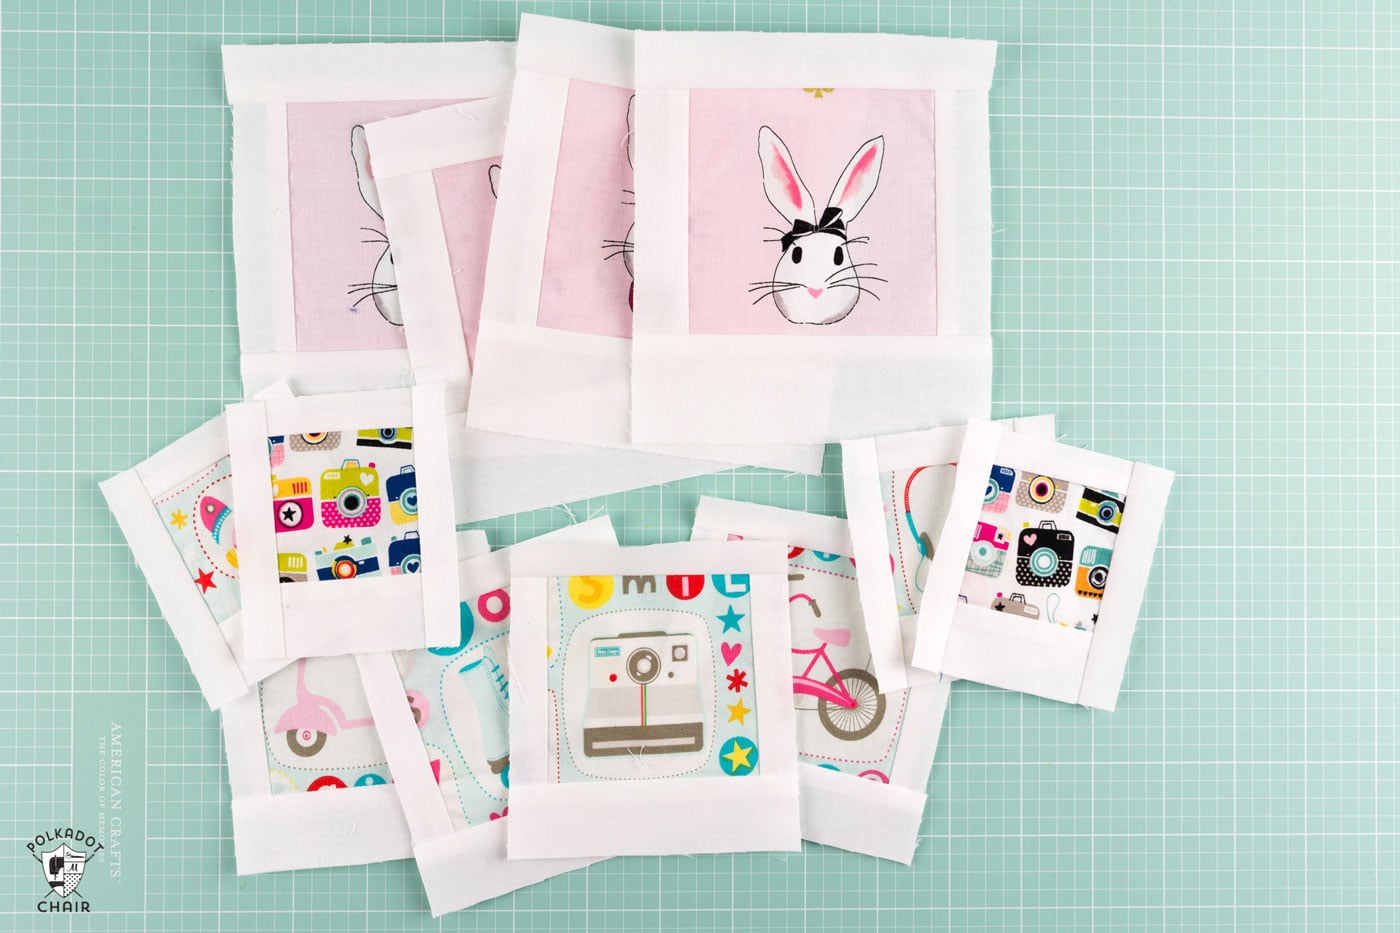
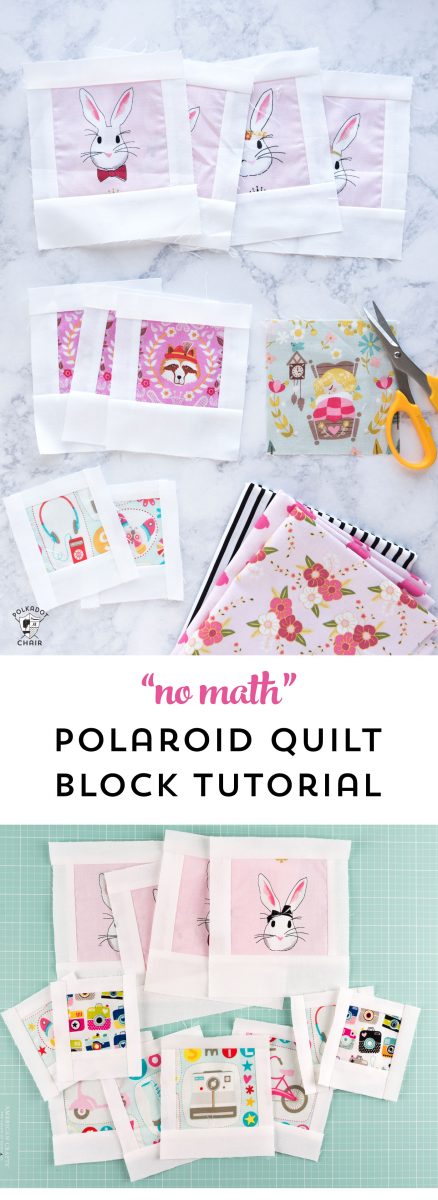
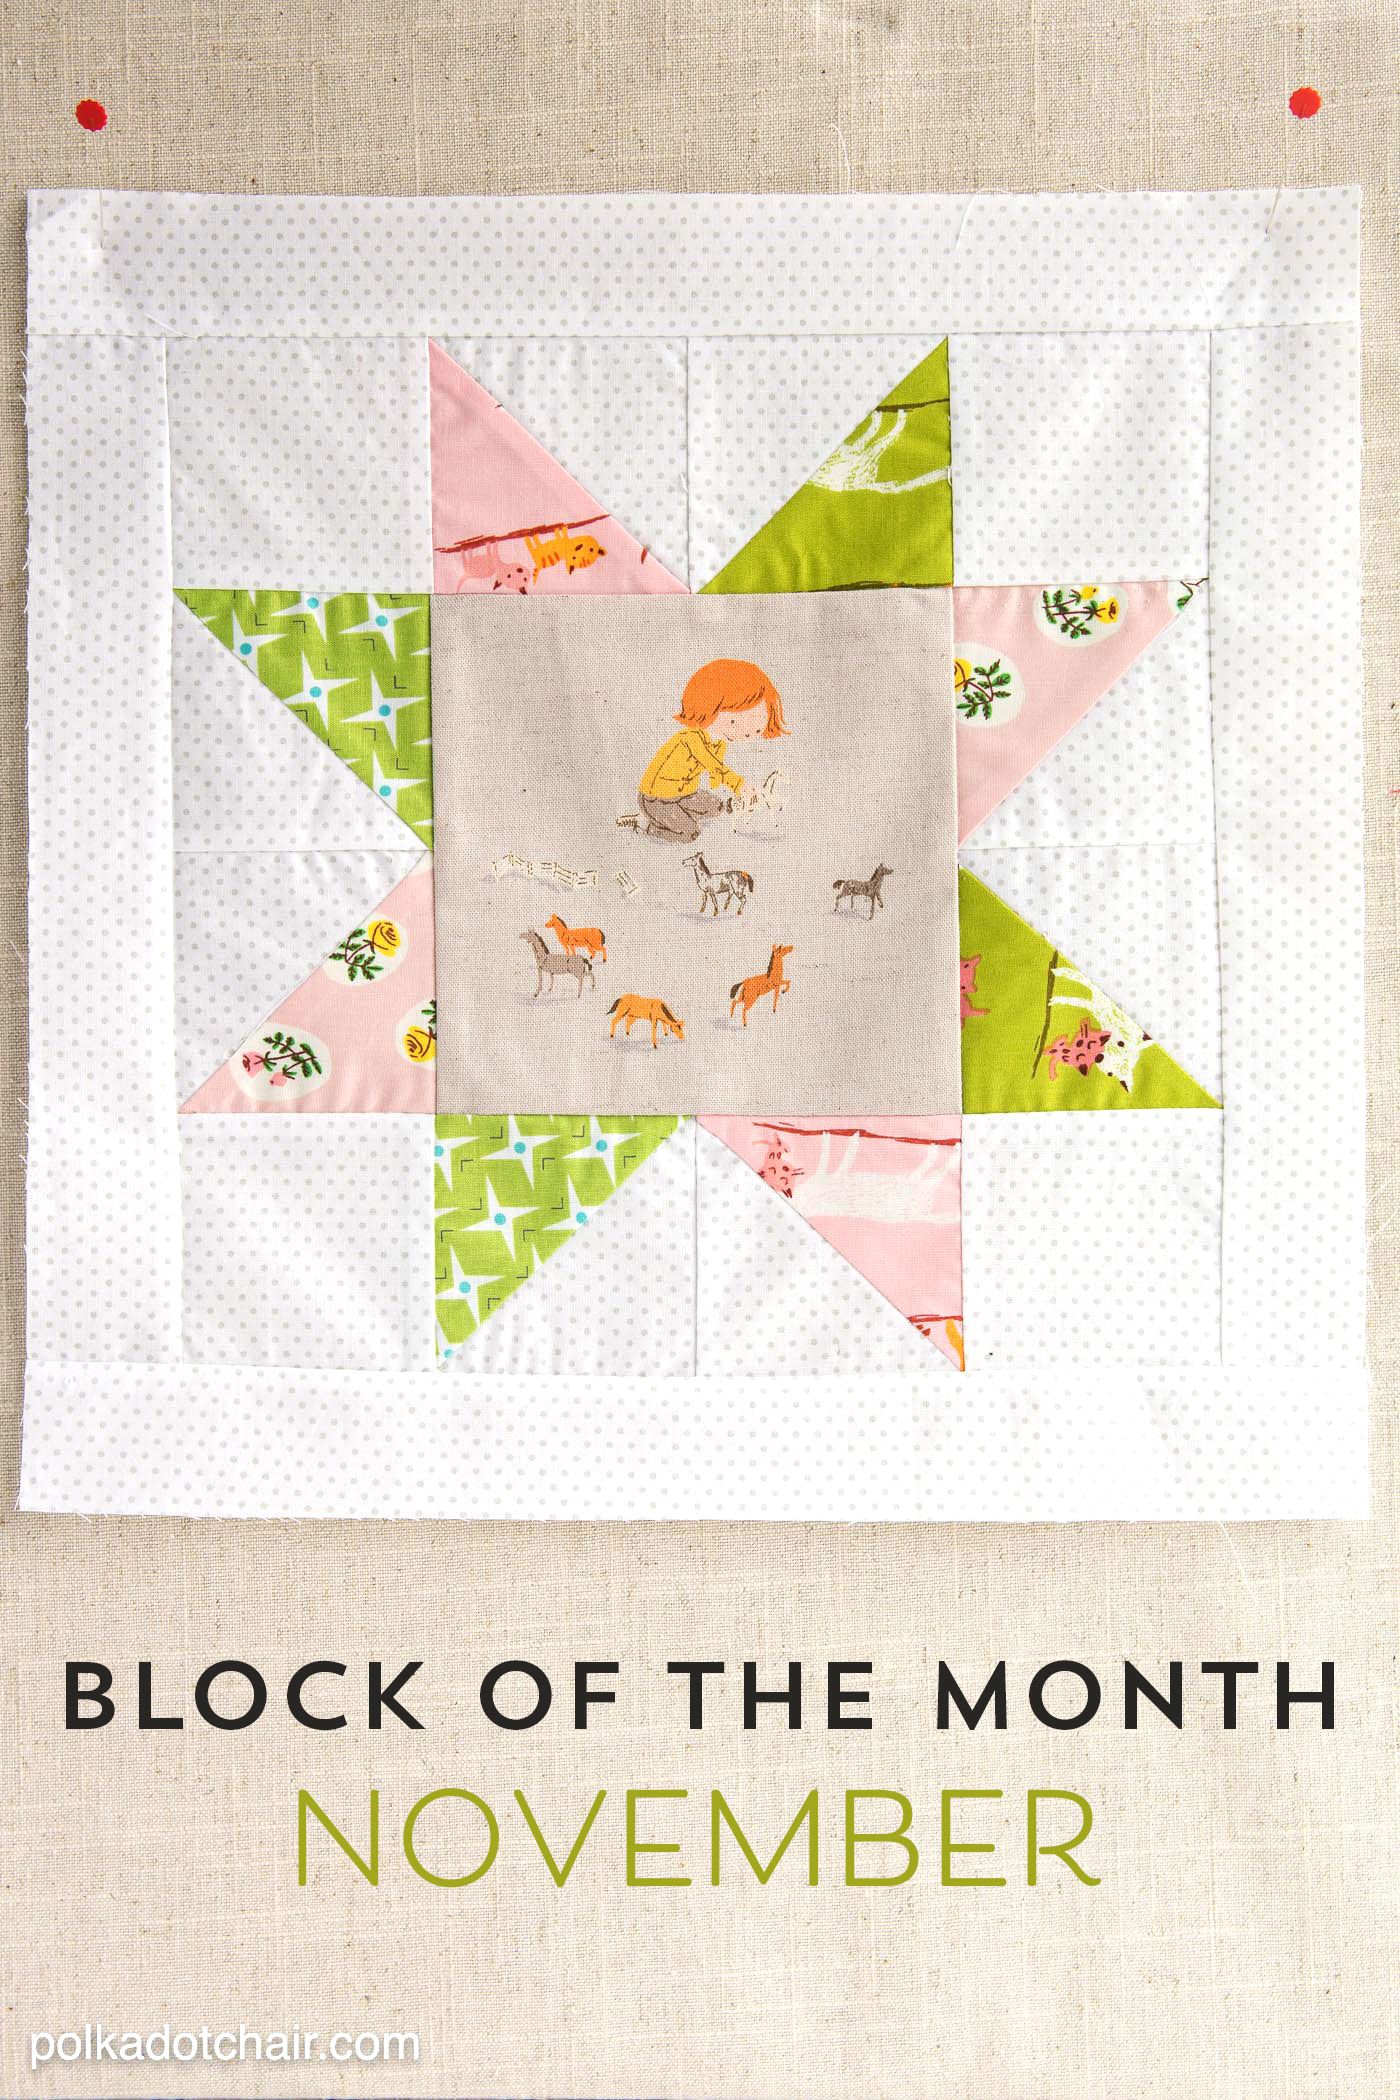
Polaroid quilt blocks are called that because they look like old-time Polaroid photos. They most often have a center piece of fabric that has been fussy cut and are surrounded by a white border that is larger on the bottom than on the sides. I didn’t invent them. This tutorial is just meant to teach you the way that I like to make them.
This tutorial will teach you how to make a Polaroid quilt block in ANY size without doing any math ahead of time! Don’t get me wrong, I LOVE math, but if I can save myself some time, I’m all for it.
If you want your blocks to be a certain size when they are finished, then you will need to do some math ahead of time.
However, if you’re willing to take a more improvisational approach to your project, the only things you need to know are:
One: How large the square is in the center of the block.
Two: How large you want your borders to be.
Okay, are you ready to start?
How to Make Polaroid Quilt Blocks
My method for creating Polaroid Quilt blocks uses chain piecing to speed up the process of making the blocks. This method will also allow you to piece different size blocks all at the same time!
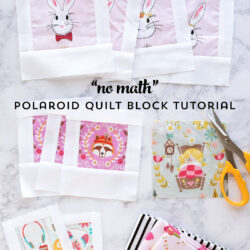
“No Math” Polaroid Quilt Blocks
supplies
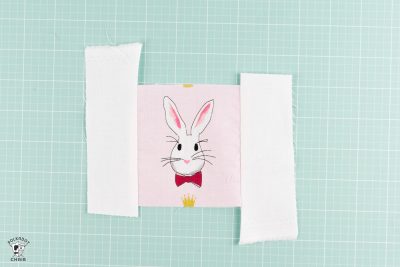
- 10 pieces Various prints of novelty fabrics cut into squares. The number of squares you need to cut will depend on the number of blocks you want to create. The bunny fabric is Wonderland by Riley Blake Designs it is out of print.
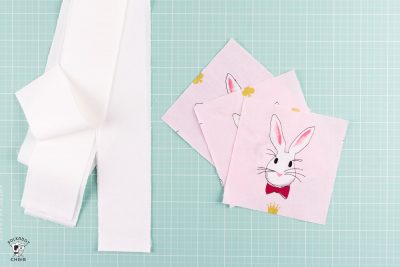
- White 2 1/2″ wide fabric strips are usually called jelly roll strips. If you don't have 2 1/2" precut strips, you will need to cut your fabric into 2 1/2" x WOF strips.
Instructions
Step One:
- A note about size: The size of your center squares will depend on the size of the "motif" of your fabric that you'd like to feature. The bunny fabric squares are 4" x 4". With a 3/4" side and top and 1 1/2" bottom border this will yield a block that is 4 1/2" x 5 1/4" before finishing. Other Measurements:A 2 1/2" center square will yield a block that is 3" x 3 3/4" before finishing.A 3" center square will yield a block that is 3 1/2" x 4 1/4" before finishing.A 3 1/2" center square will yield a block that is 4" x 4 3/4" before finishing.A 4 1/2" center square will yield a block that is 5" x 5 3/4" before finishing.A 5" center square will yield a block that is 5 1/2" x 6 1/4" before finishing.A 5 1/2" center square will yield a block that is 6" x 6 3/4" before finishing.A 6" center square will yield a block that is 6 1/2" x 7 1/4" before finishing.If you are working with center squares larger than 6", you will need to increase the size of your borders to that it is proportional to the size of the center square.
- Fussy Cut your fabric into squares. Fussy cutting simply means cutting a specific “scene” out of your fabric versus just cutting it off the end of the fabric.

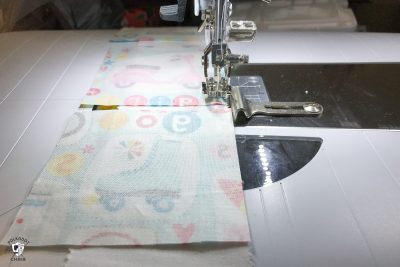
- Place one of your squares on top of one of your 2 1/2" wide strips right sides facing so that you will sew down the side of your square (not the top or the bottom). Stitch in place with a 1/4" seam allowance. Do NOT cut your thread or move the fabric off of the machine.
- With the jelly roll strip still under your presser foot, place your next square on top of the strip right sides facing. Stitch.
- Repeat until you’re out of squares or run out of jelly roll fabric.
Step Two:
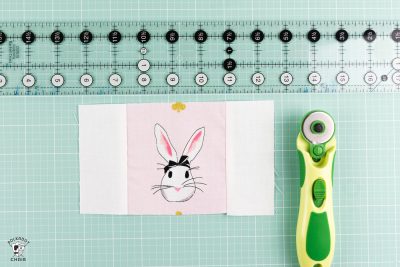
- Repeat the process of stitching the other side of the squares.

Step Three:
- Cut the strips apart between the squares.
- Using your iron, press the seams of the block to one side.
- Trim the top and bottom of the white fabric so that it is flush with the top and bottom of your square.Note: the camera angle on this photo makes it look like the strips are not lined up with the center square. They should be lined up and squared up.
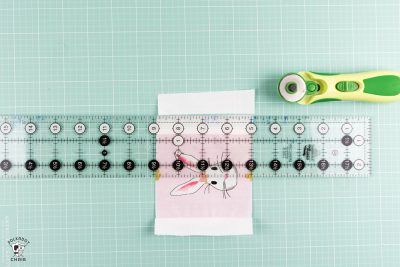
- Next, using your ruler as a guide, trim the white fabric to the width that you want. I recommend 3/4", but if you want a smaller or larger border, you can do that too. Remember that you will lose 1/4" of fabric when you stitch your block into your project.
Step Four:
- Repeat the process this time, stitching the white strip of fabric to the top and bottom of the sewn blocks.
- Press the seams to one side.
- Trim white strips so that they are flush with the sides of the block.
- Next, trim the TOP white border to the same width as your side borders.
- Trim the BOTTOM white border to double the witch of your side borders. For example, if your side borders were 3/4″ trim your bottom border to 1 1/2″.
- That's it!

That’s it!
This method is so easy that you can even stitch different size blocks at the same time.
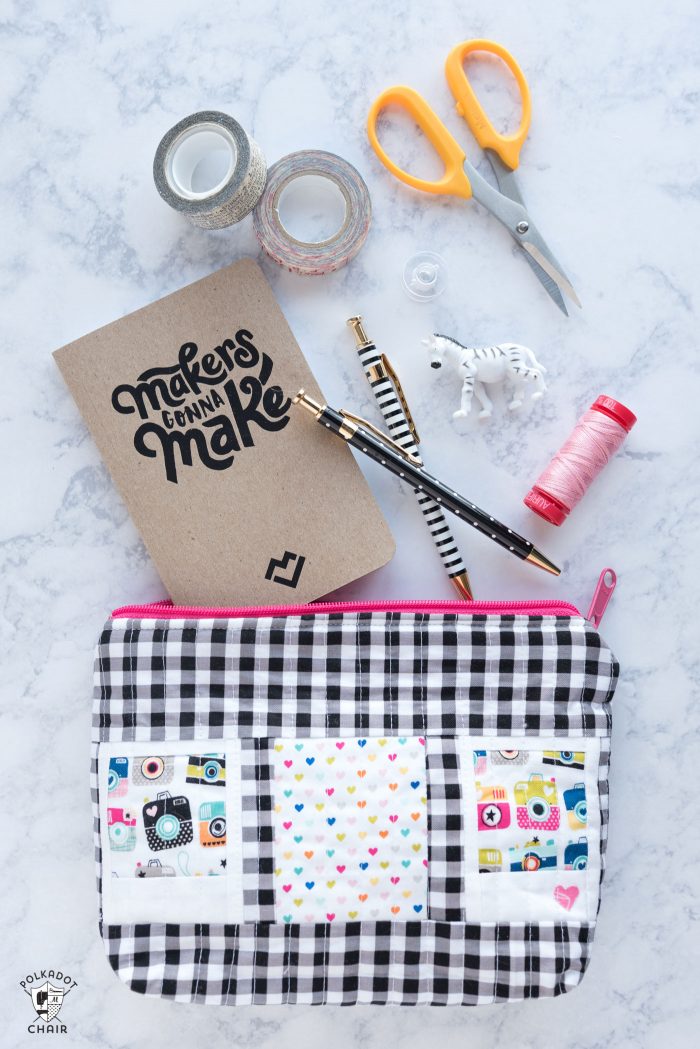
What to Make with Polaroid Quilt Blocks:
If you’re wondering WHAT to do with the blocks when you are done, here are a few suggestions.
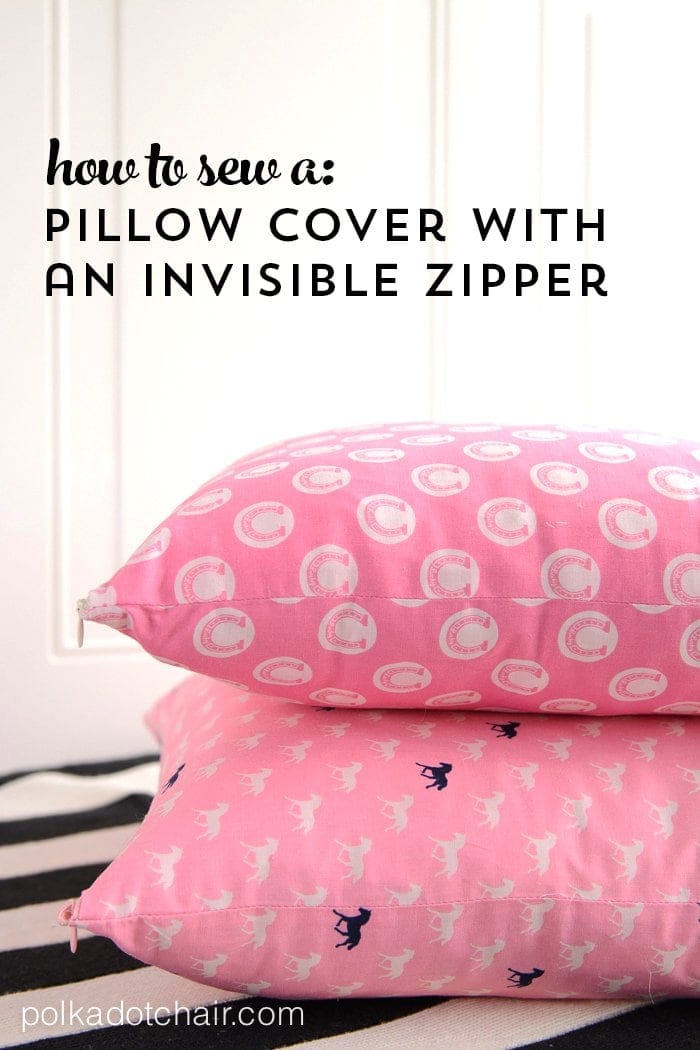
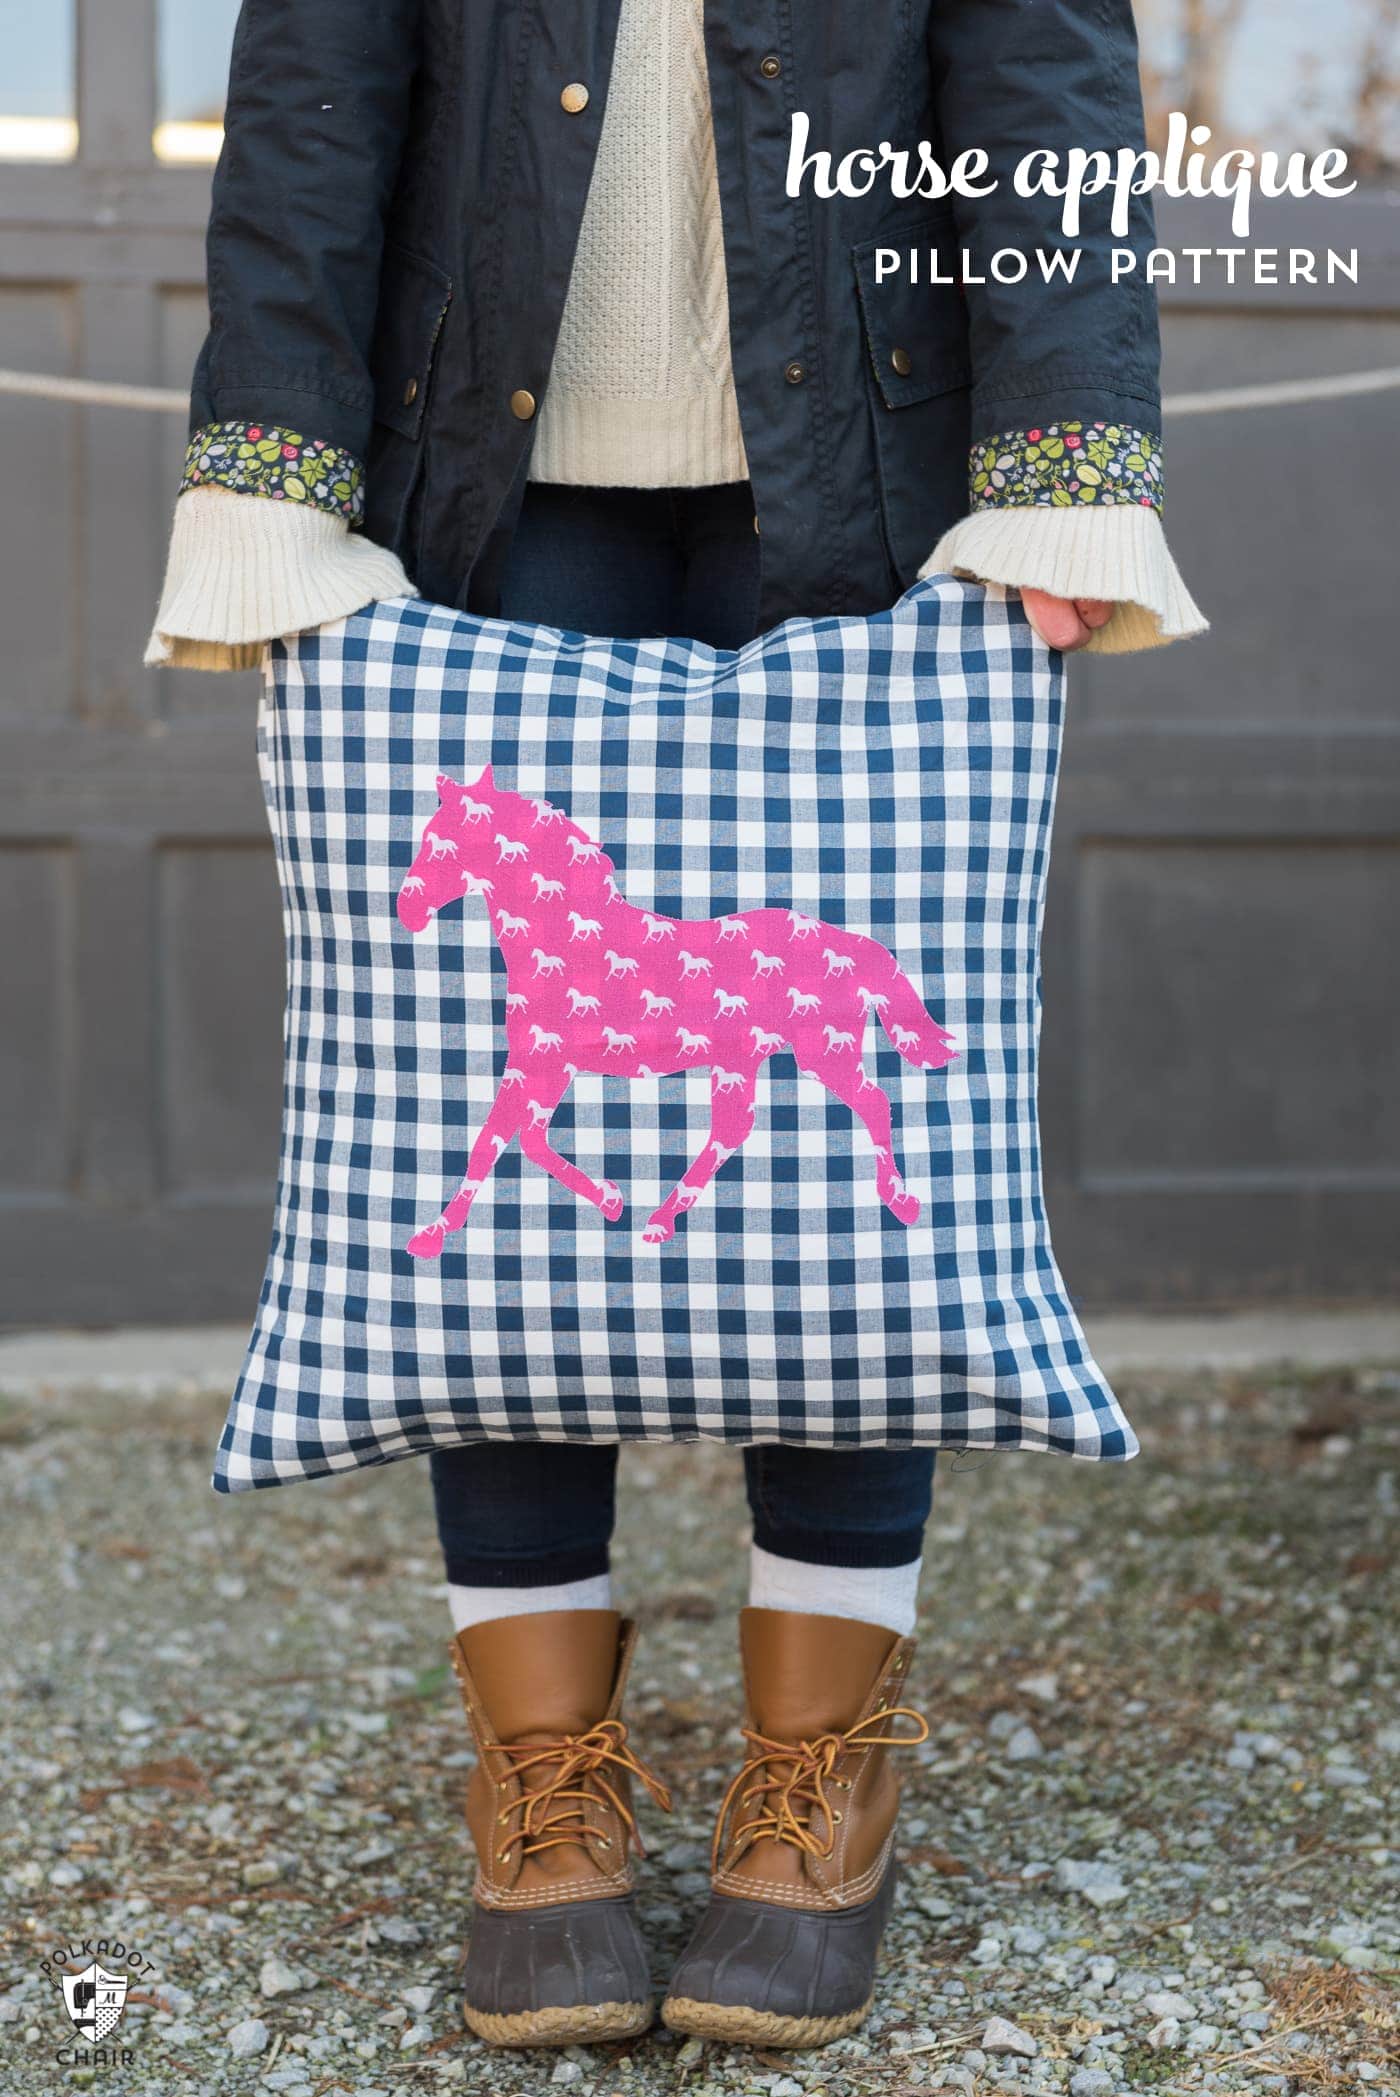
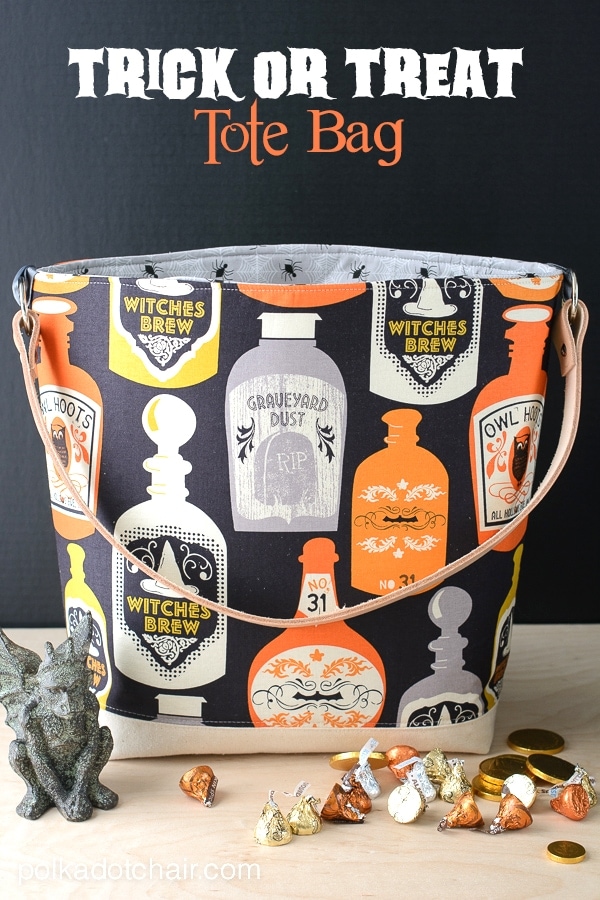
You can turn the blocks into a fun quilted zip pouch.
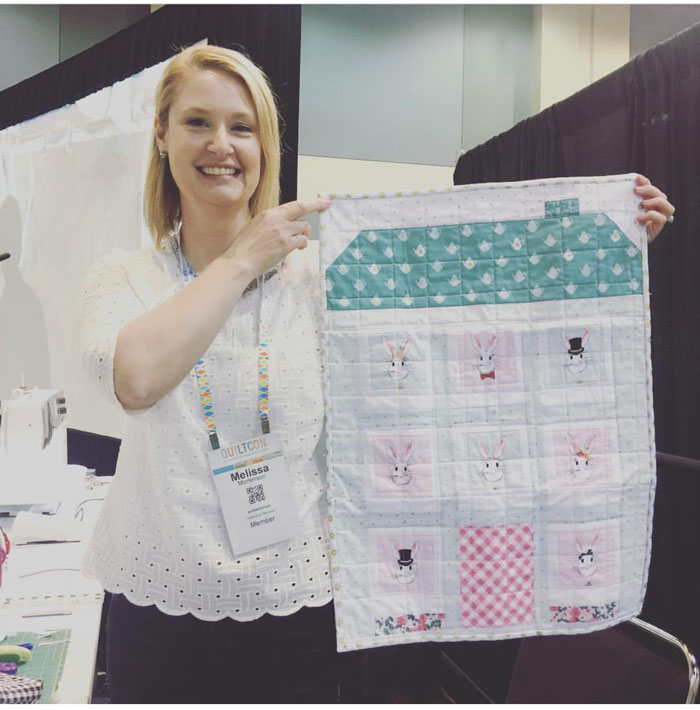
You could also sew all of the blocks together with contrasting sashing to create a larger quilt.
You are so lucky that you have such a choice of lovely fabrics. Here in England the choice is not so good.
I’m sorry! I do think there are a few shops that stock Riley Blake fabrics in the UK. Would you like me to check?
Loved your Polaroid Quilt Block Tutorial. Would love to keep receiving your tutorials. Your pictures were great.
ALSO:
this photo of you holding the quilt is a little “terrible” with the lighting, but you are adorable
Melissa, I love that bunny head fabric so much!!! I want some but I cannot find it anywhere!!
I want to make a million things with those bunny heads!
This is a cute idea. Now a million and one things
They have it in stock at both HawthorneThreads.com and FatQuarterShop.com !
Thanks so much! It’s such a quick method. Hope to get started soon!