
How to Make a Halloween Potions Centerpiece & Free Printable Potions Jar Labels
Create a slightly spooky Halloween centerpiece with many items you have around your house! Learn how to make Halloween potion jars in this easy-to-follow tutorial.
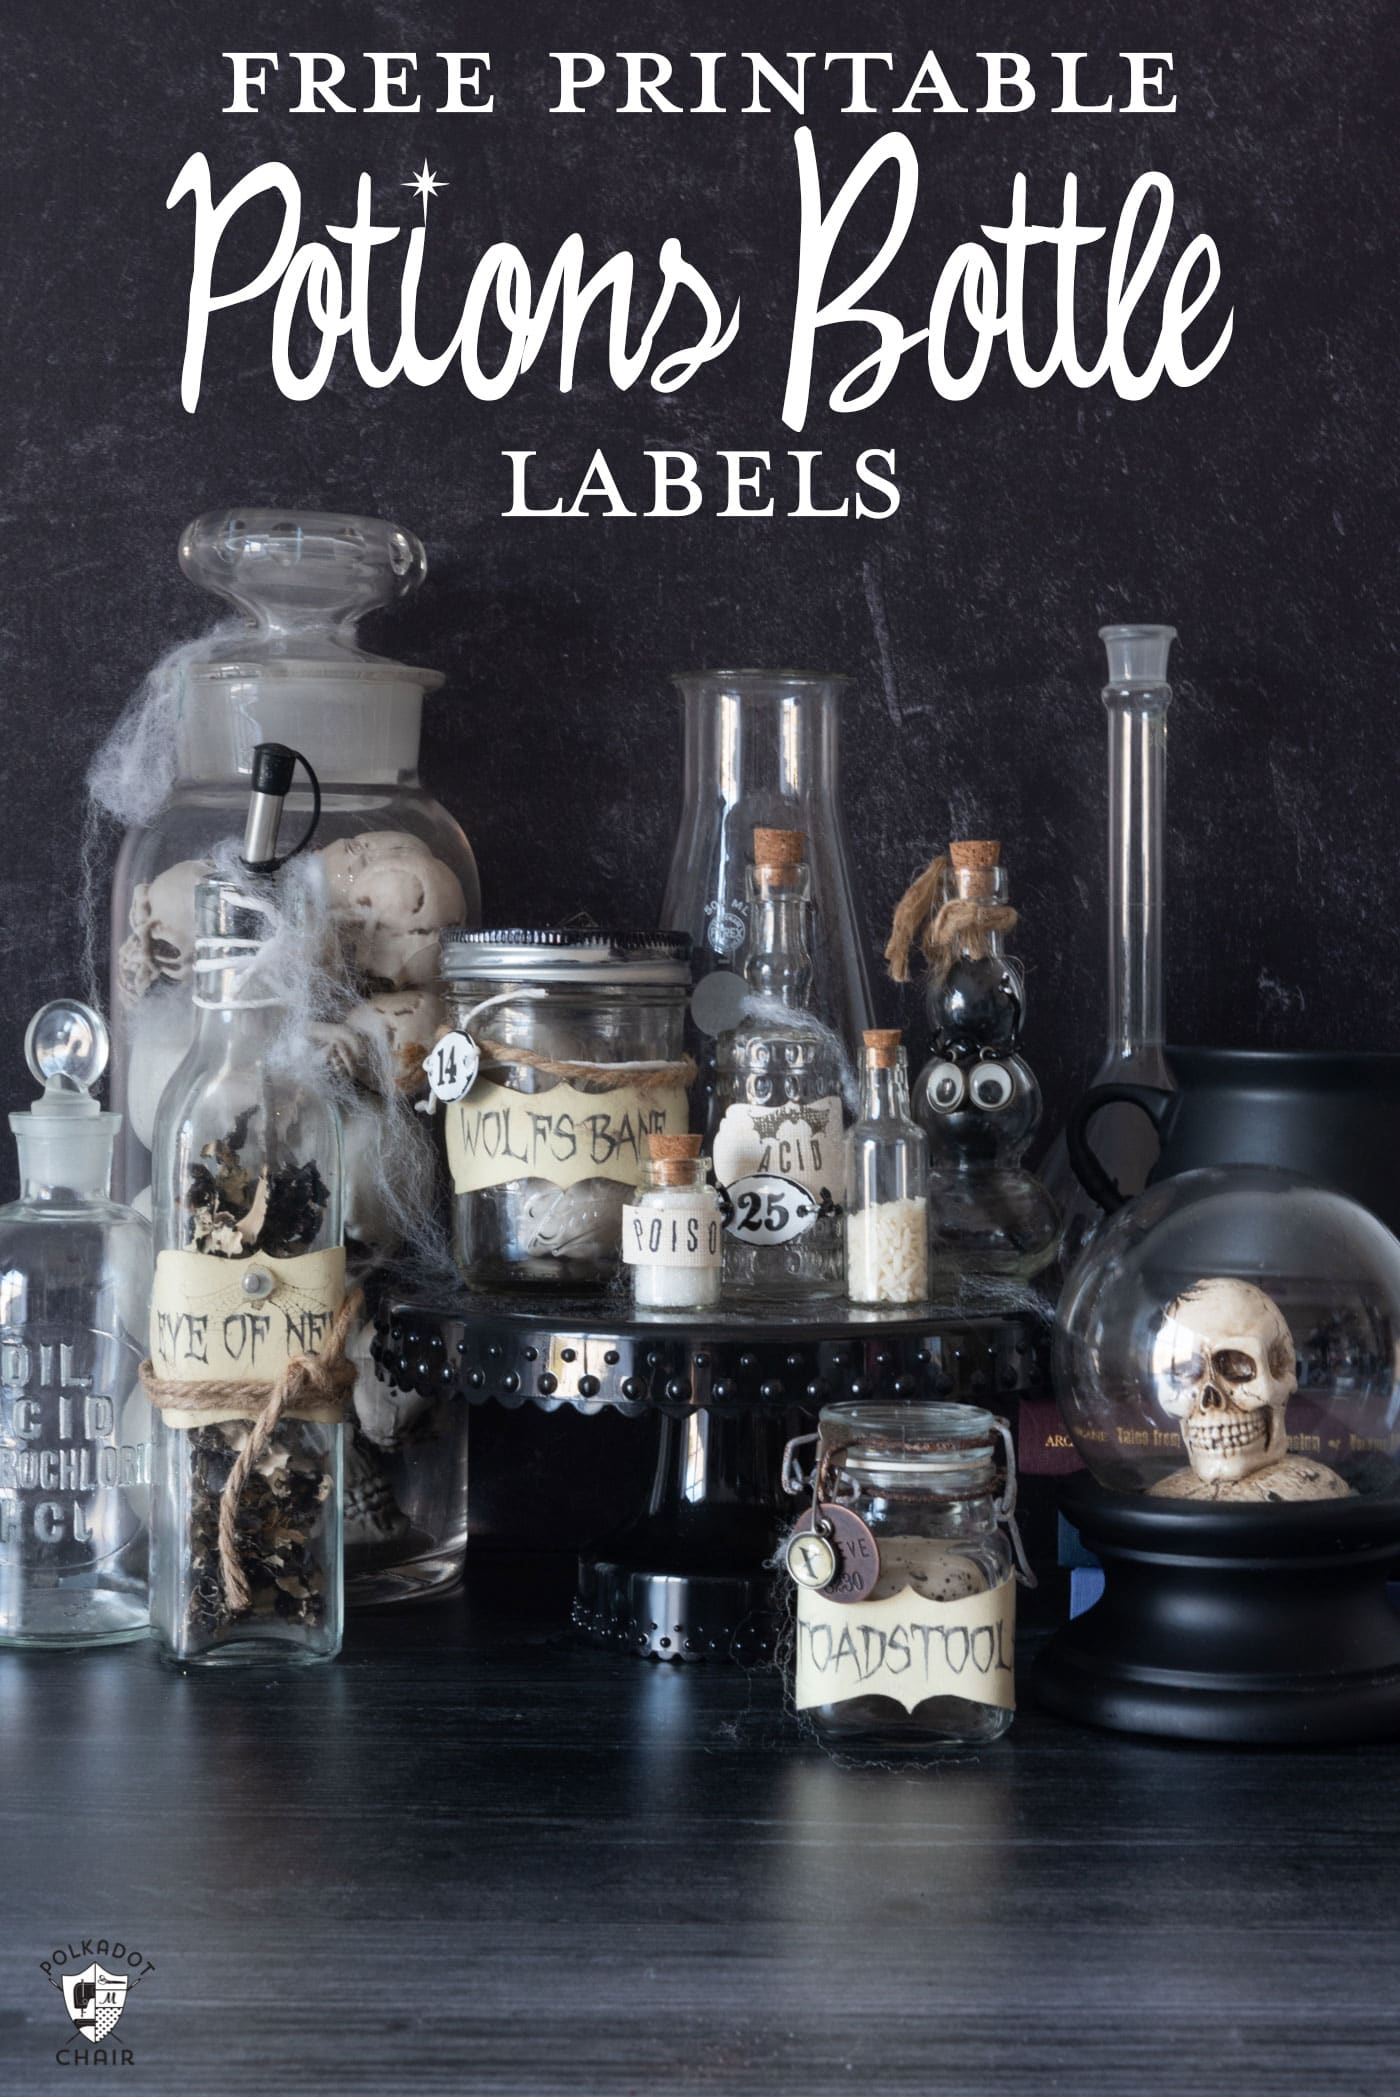
I love to go all out for Halloween. I decorate the front porch, the dining room, and every little nook and cranny around the house that I can find.
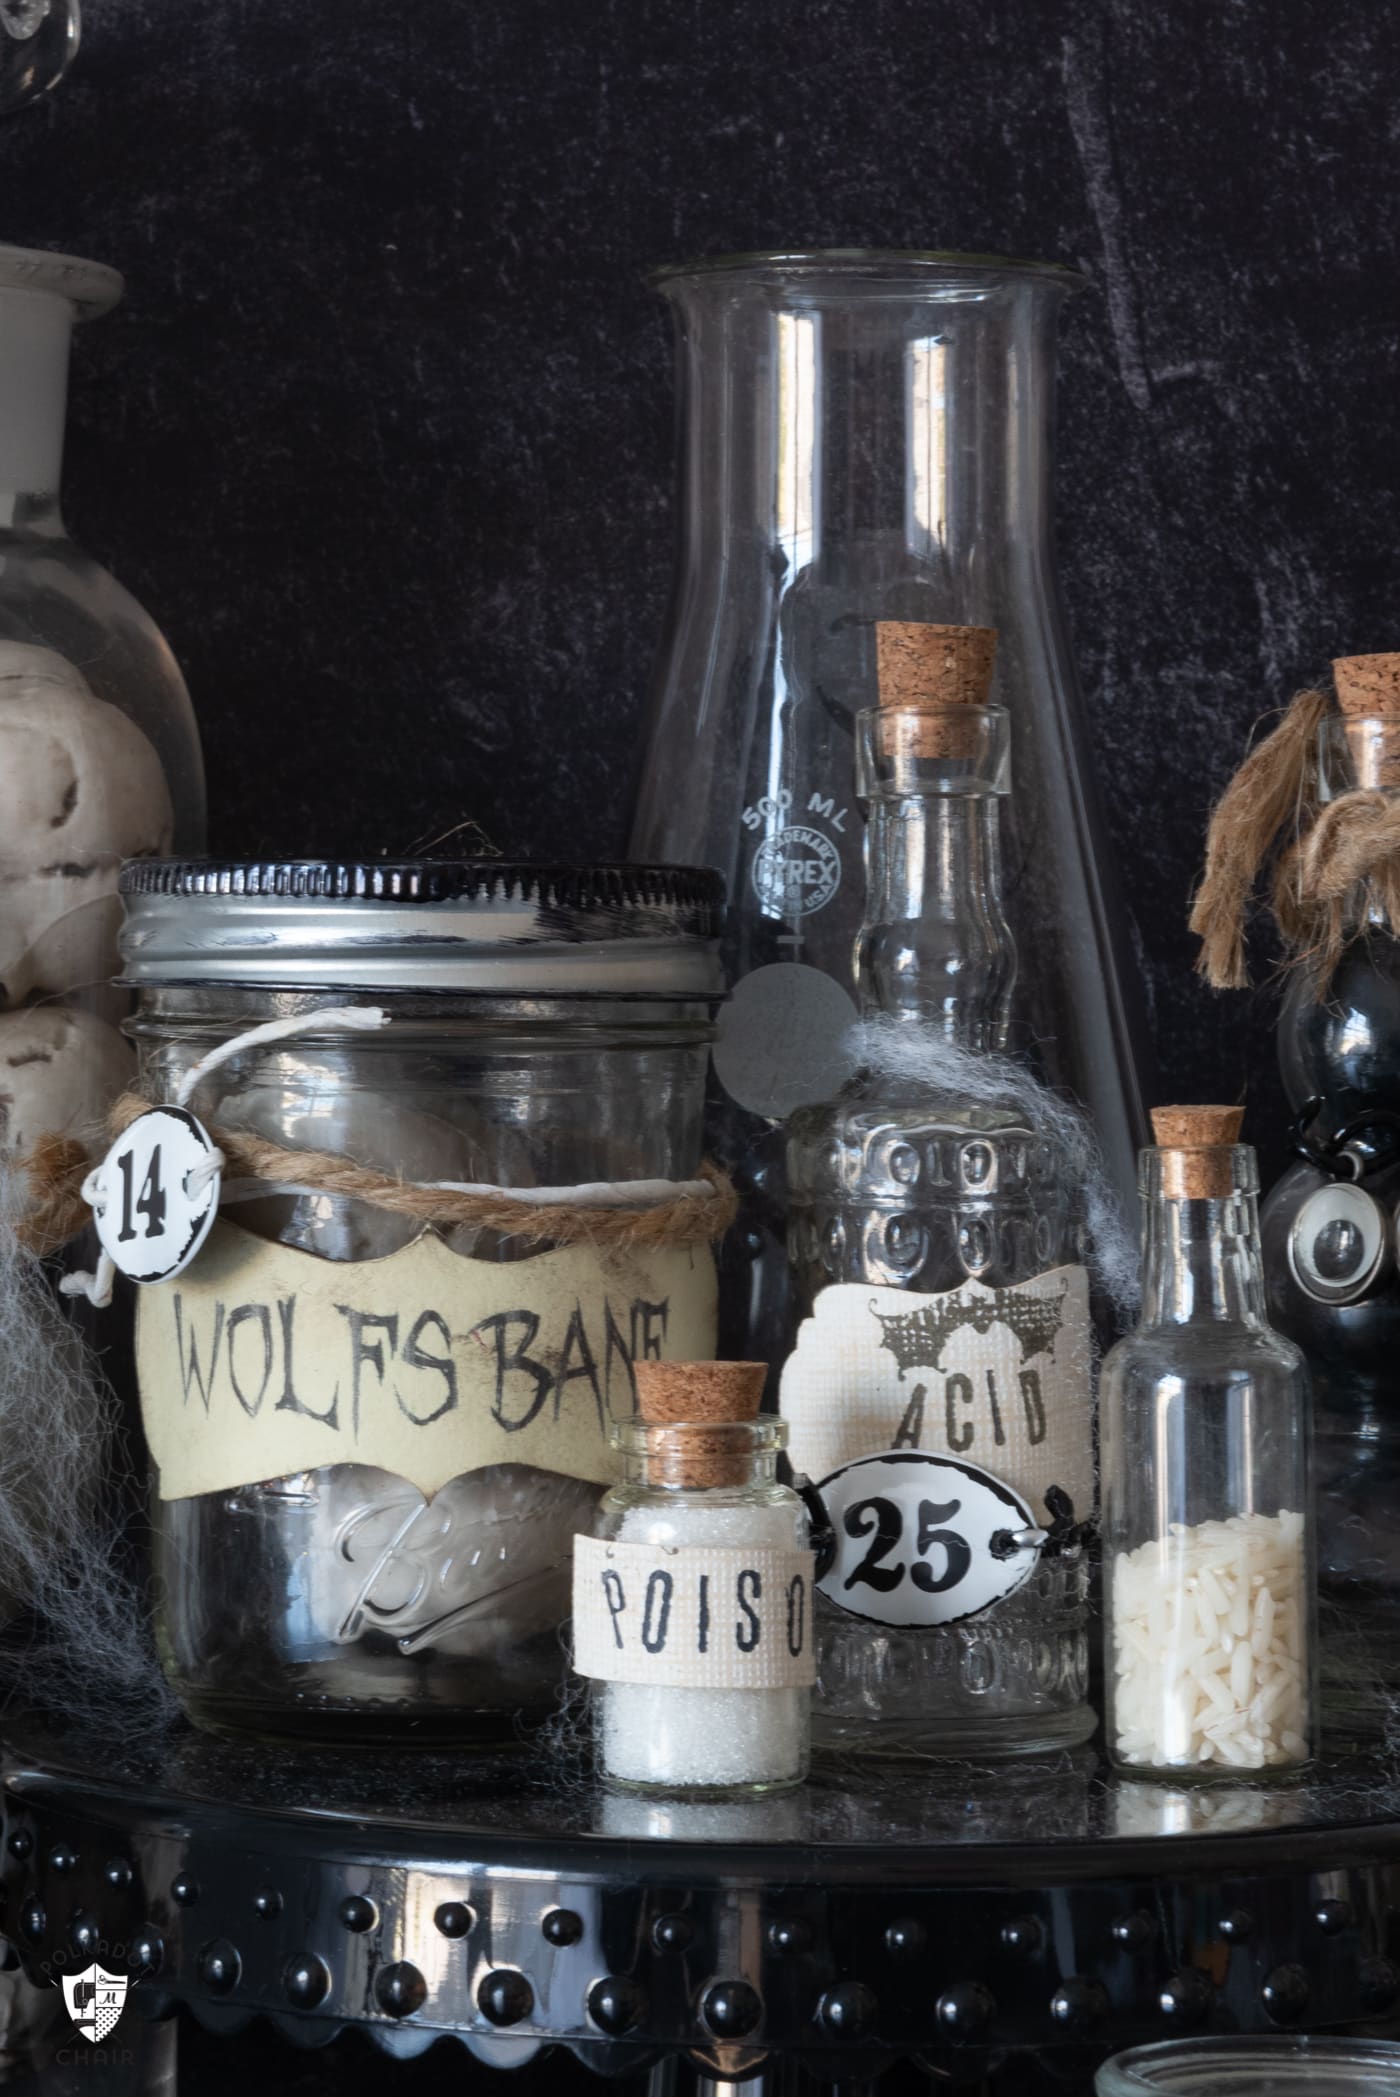
A few years, I purchased a set of vintage beakers and chemistry jars at an antique store. I thought it would be nice to add a set of “potions” to go with the jars.
Today I’m going to show you an effortless way to decorate a set of glass jars to create a potions centerpiece. For a bit of extra fun, if you’re a Harry Potter fan, you can pretend that Professor Snape is yelling at you the whole time you’re concocting your potions!
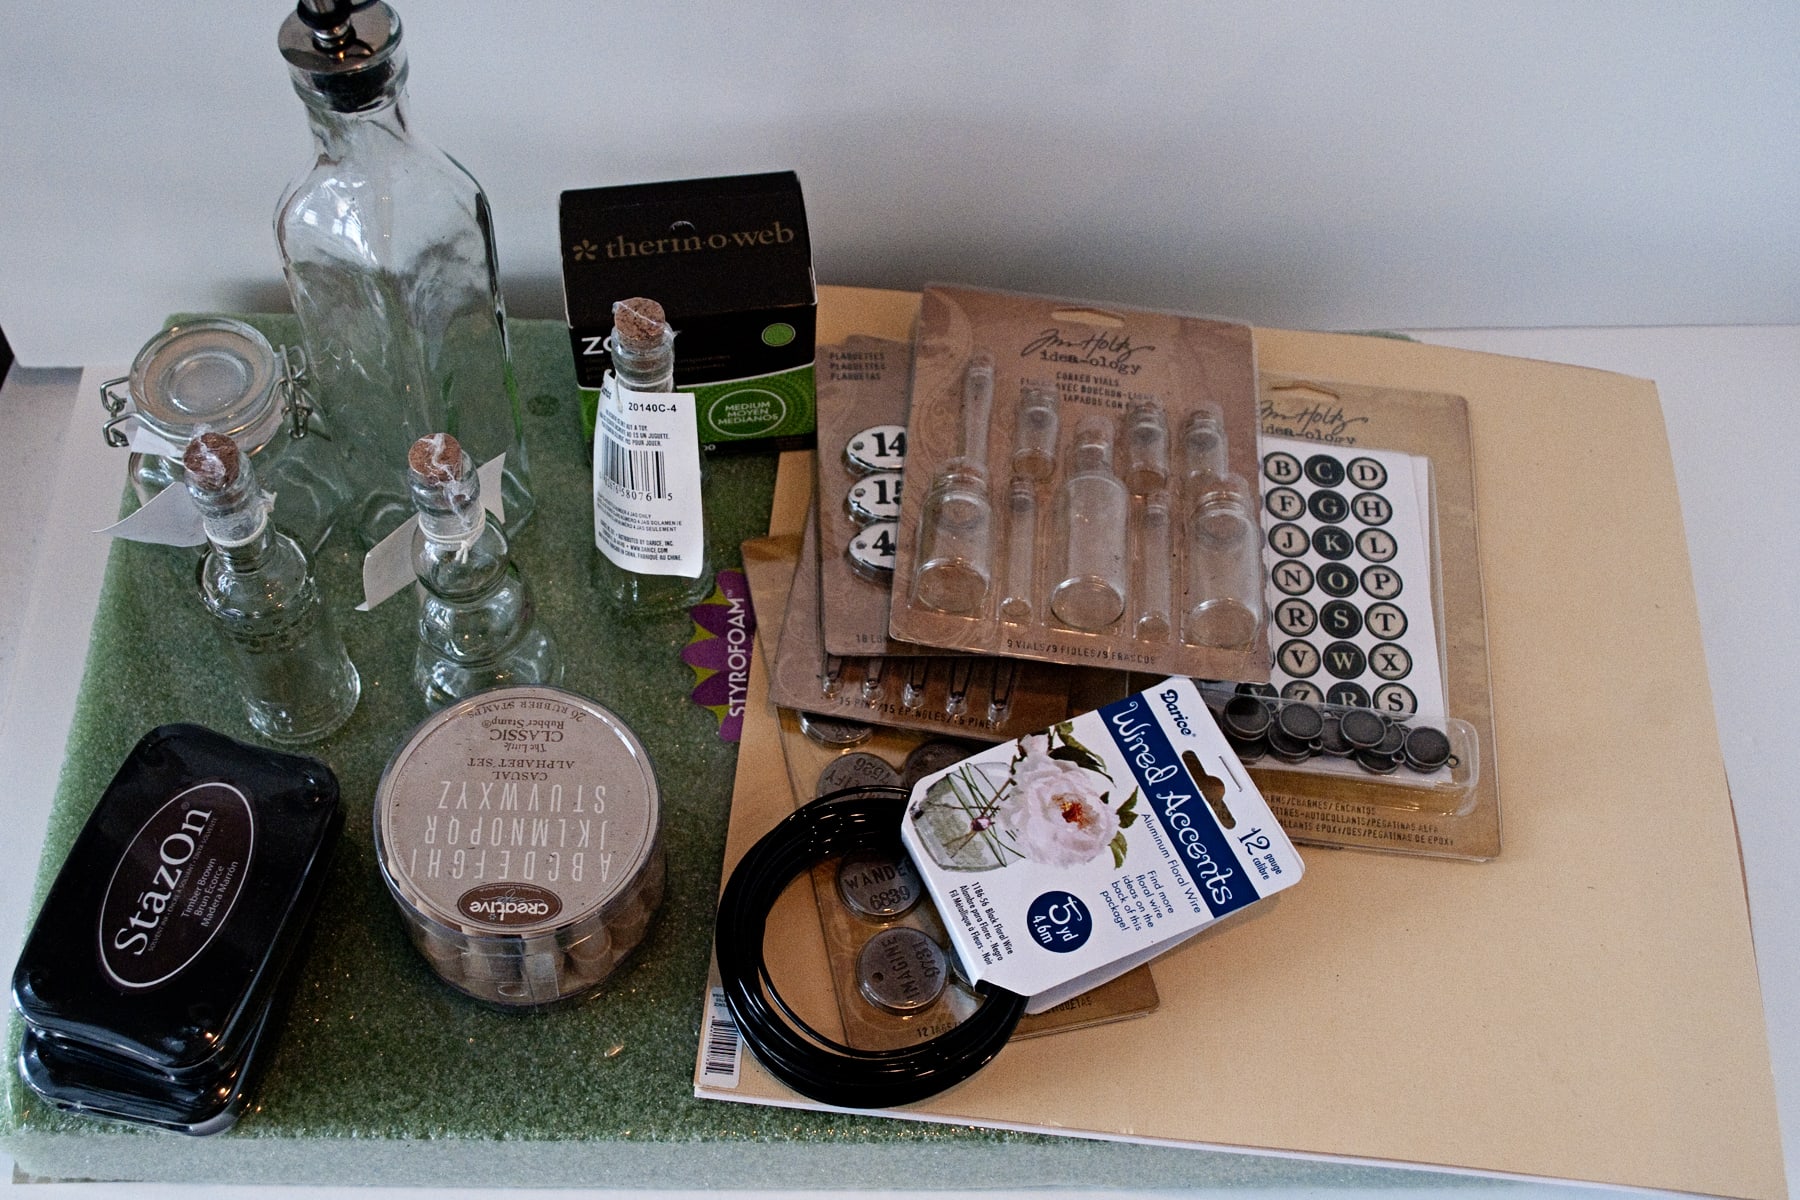
Creating the centerpiece was easy. I simply filled the glass bottles with things I had at home (salt, water with food coloring, feathers, rice & some lichen). Then decorated the outside of the bottles.
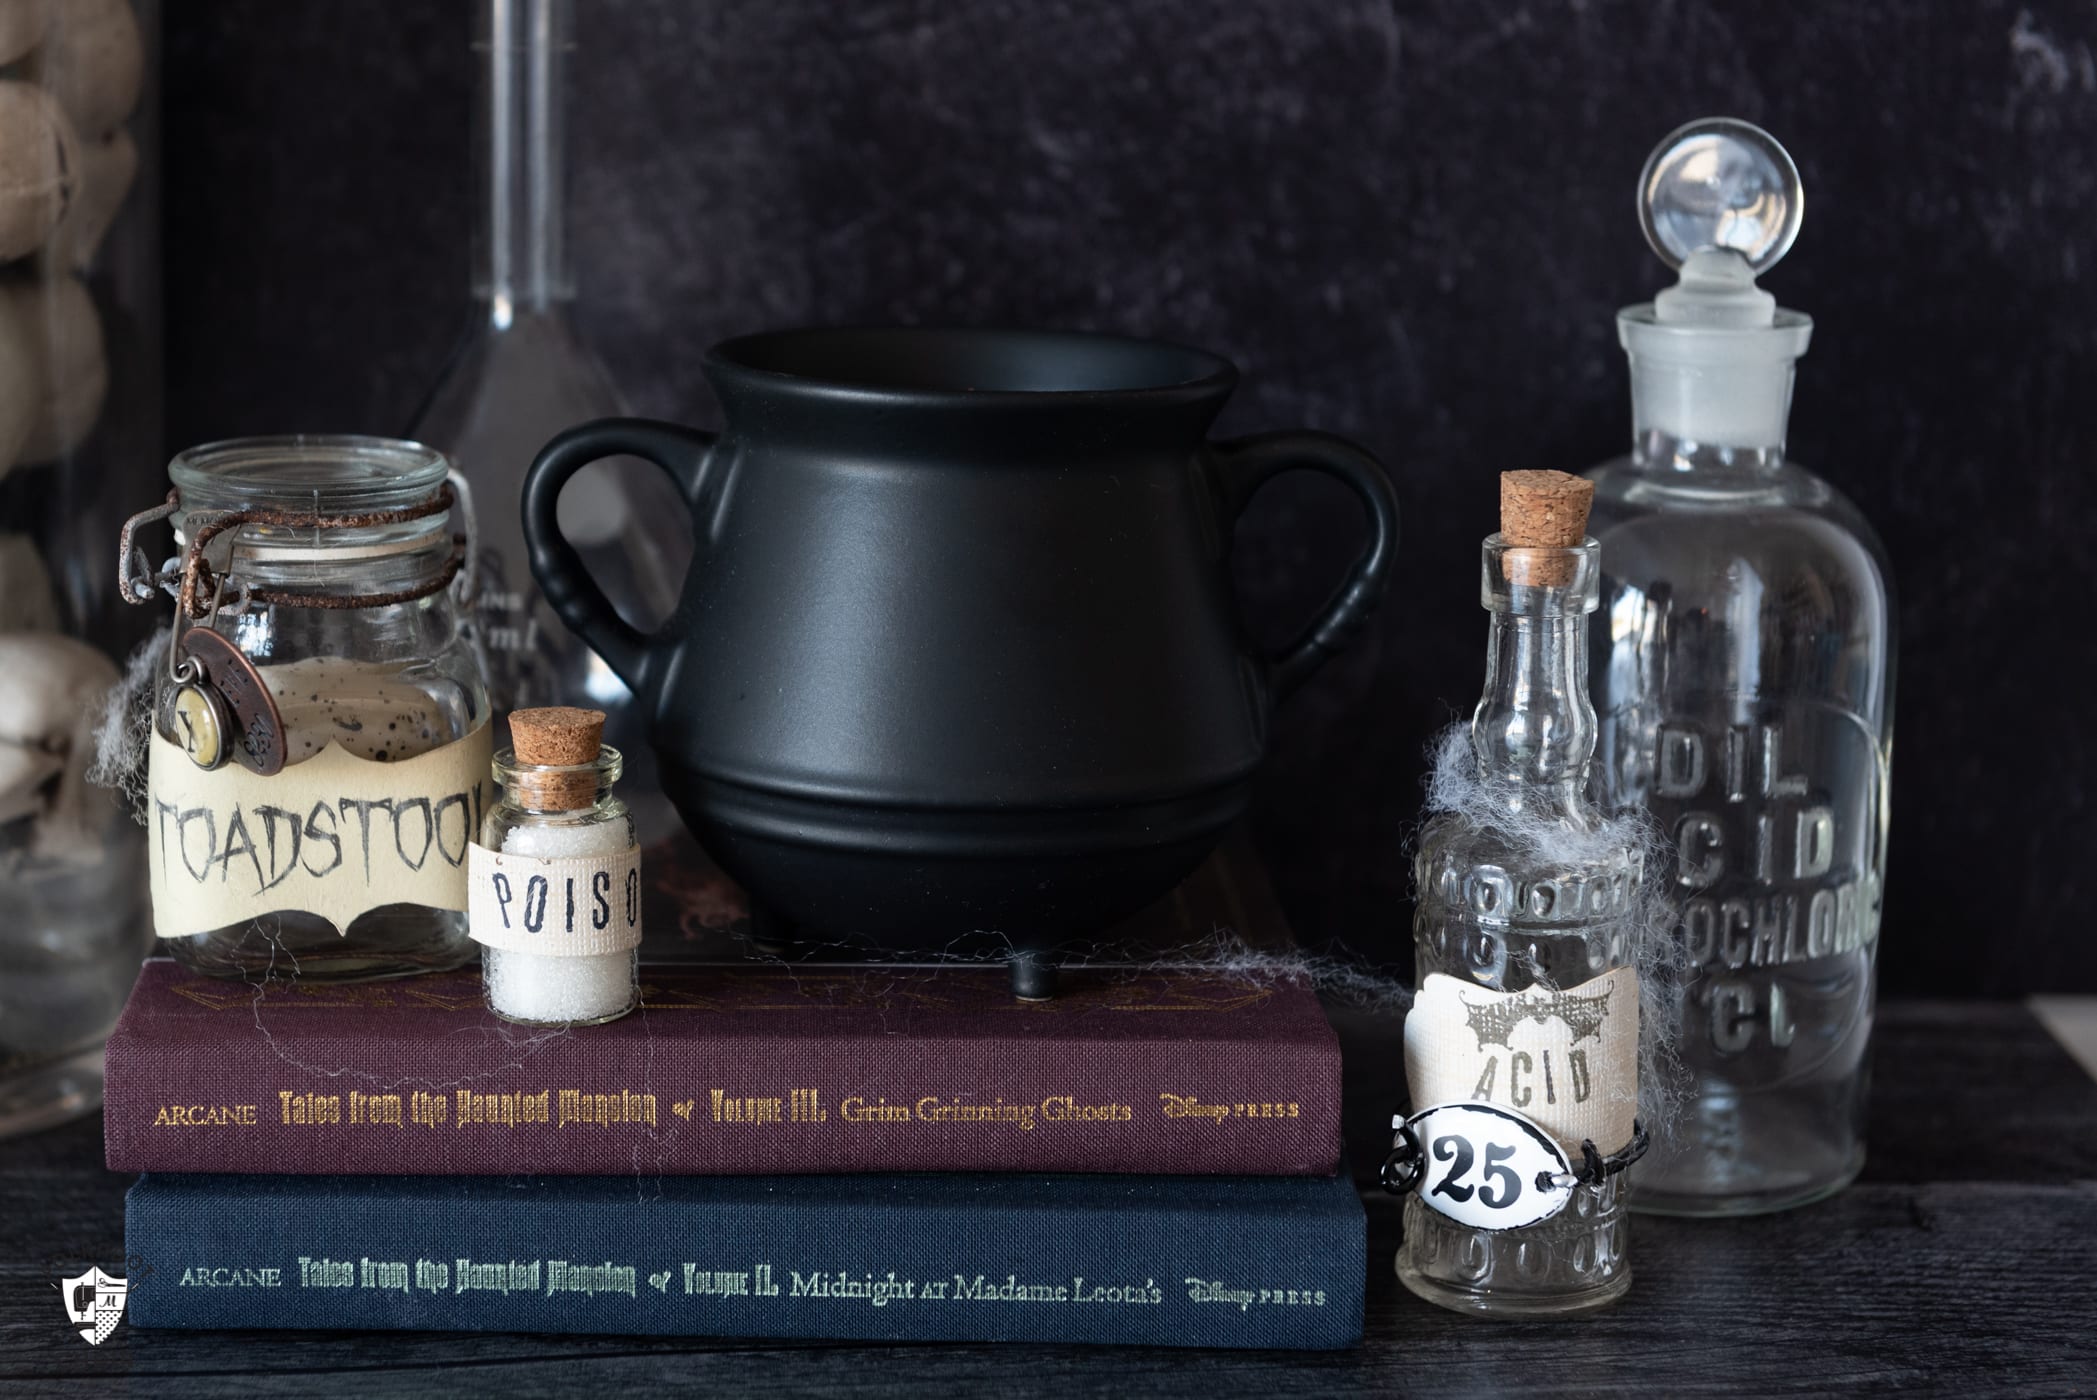
Potions Centerpiece Supplies
- Small Glass Jars in a Variety of Sizes
- Food Coloring (I used red, but purple would also work well)
- Rice, beans, Spanish moss (anything that looks “spooky” to fill the jars)
- A set of alphabet stamps
- Various “findings” I love the Tim Holtz Brand for projects like this
- Distress Ink
- Wire
- Twine
- Free Potions Label Printable (download on our site using the directions below)
How to Make Halloween Potions Jars
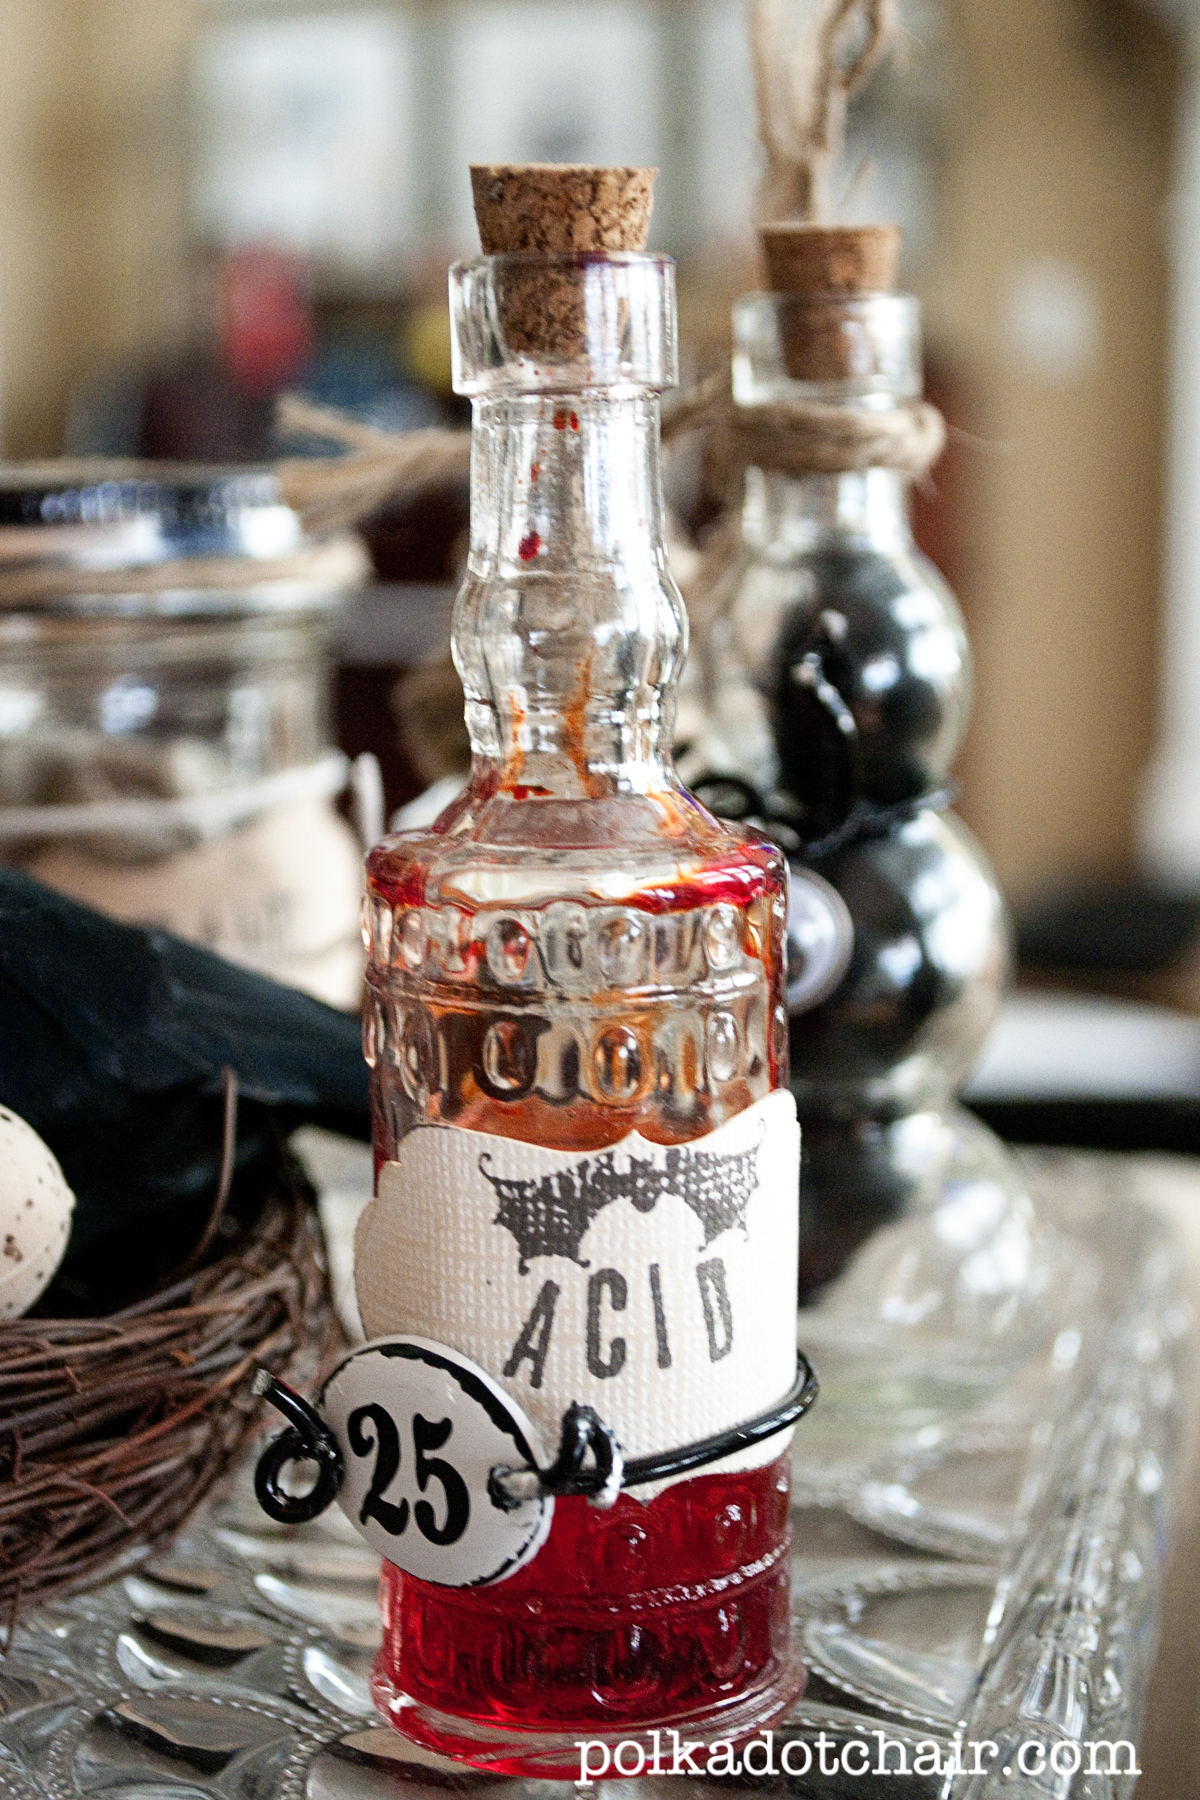
These jars are very simple to make, and a lot of the construction steps are just personal preferences.
Step One: Create the Labels
Print off the label sheet from our blog, OR use a piece of plain cardstock to cut out rectangles that fit your jars.
Tip: Did you know that you can adjust the size of the labels printed in Adobe Acrobat? Simply change the page scaling down until you get labels the size you want.
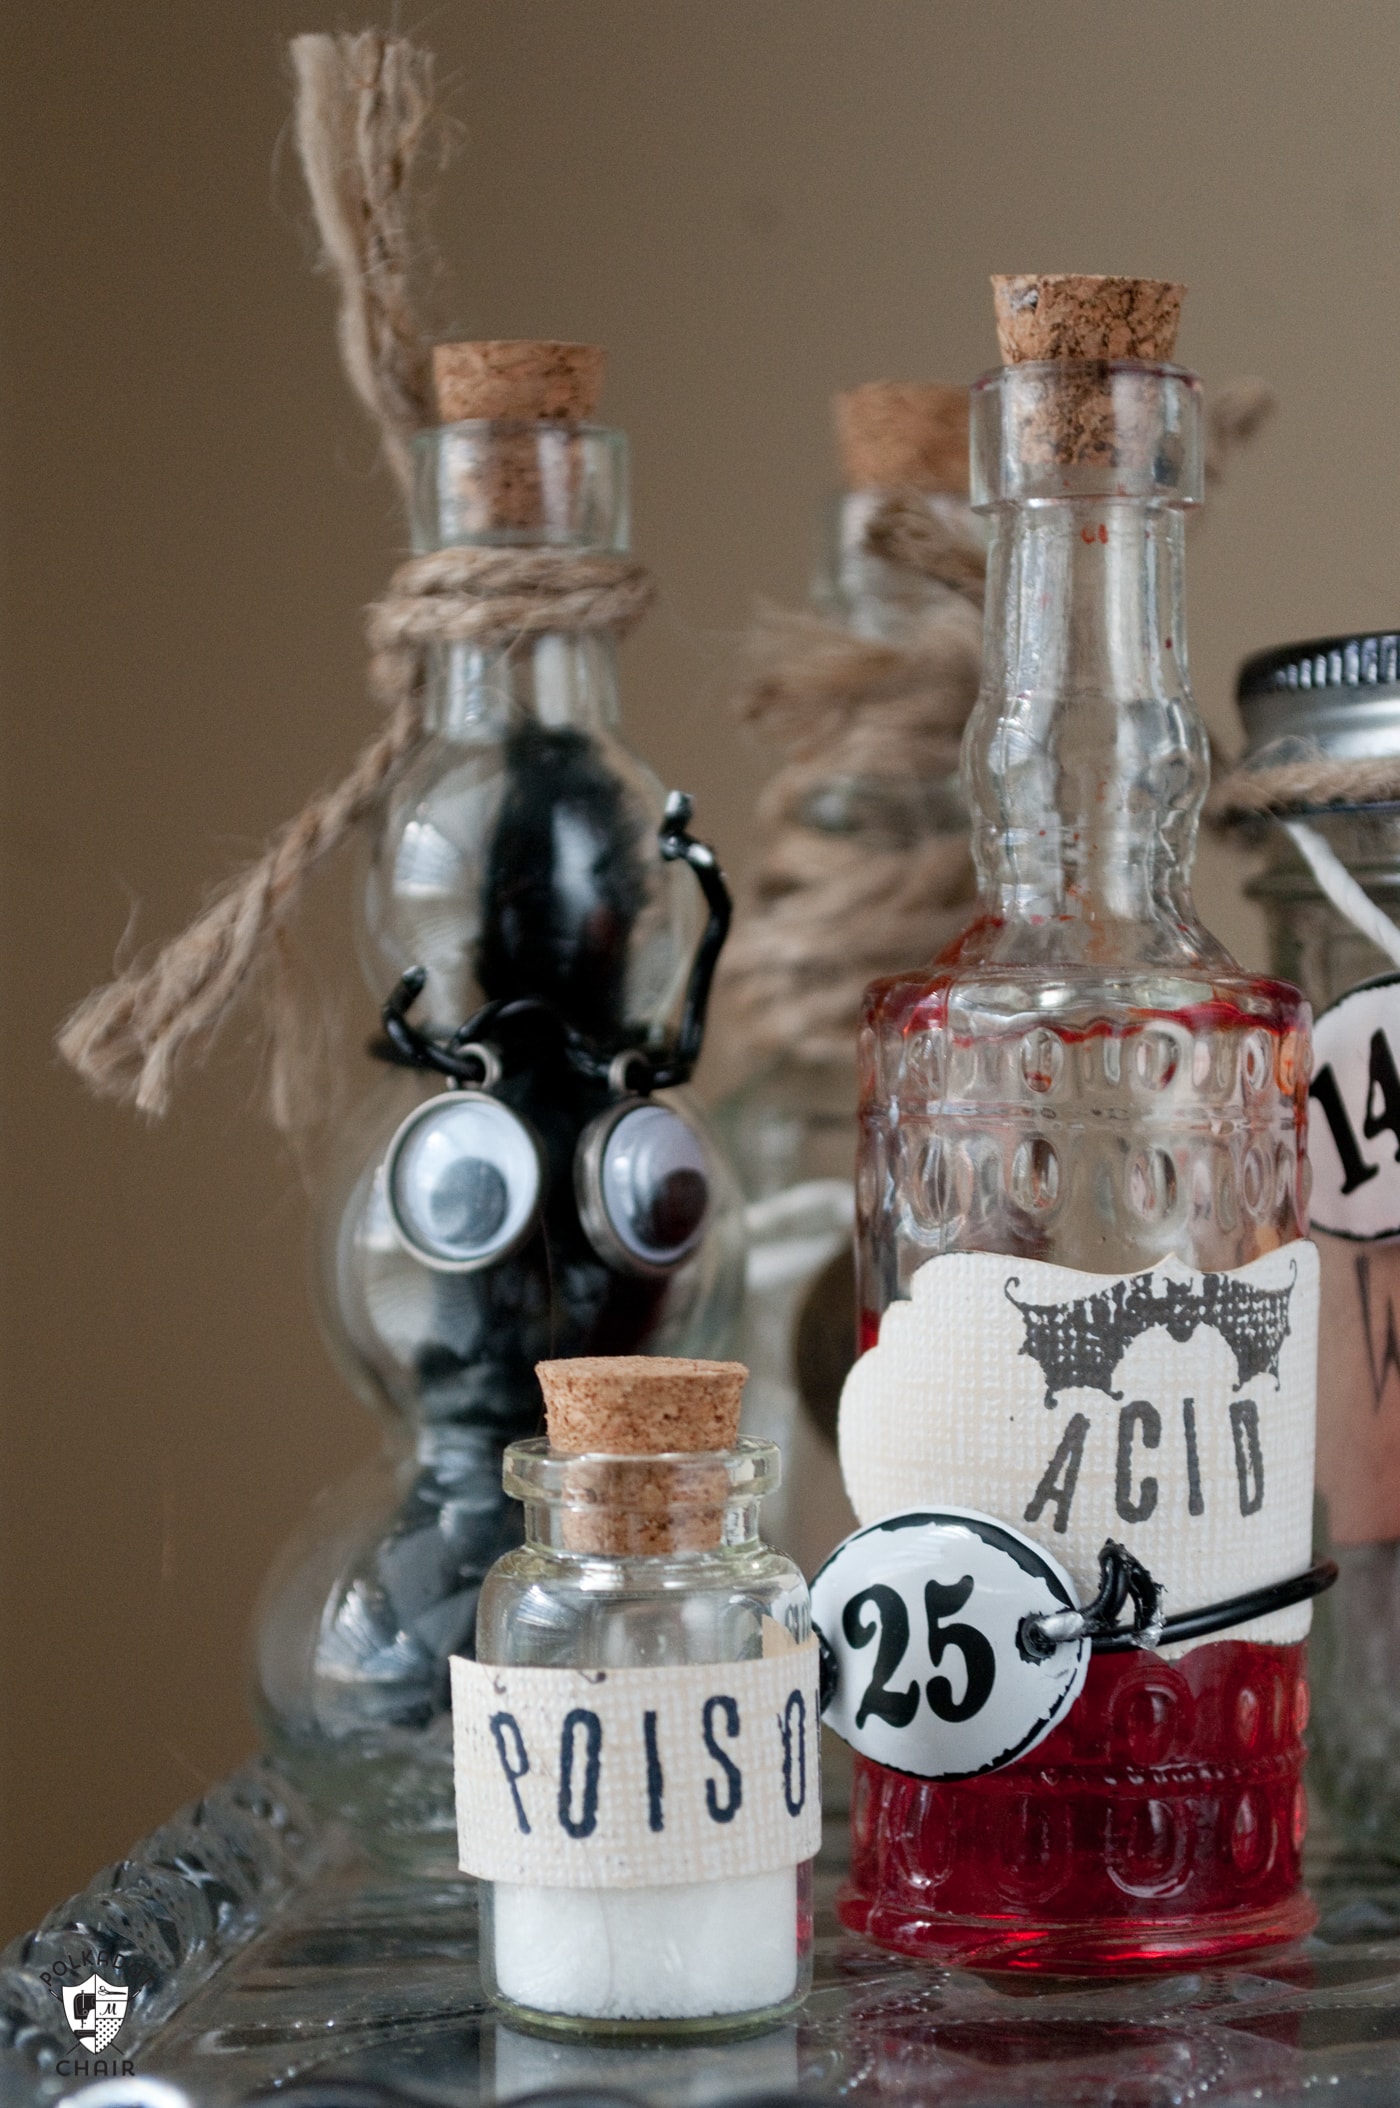
If you are creating the labels using stamps, stamp out the letters on your pieces of cardstock.
Here are a few suggestions for potion jar labels:
- Poison
- Wolfsbane
- Bat Wing
- Venom
- Boomslang
- Acid
- Eye of Newt
- Toadstools
- Dragon Blood
- Ginger
- Sage
Step Two: Attach the Labels to the Jars
After you have printed or created the labels, distress the edges with a bit of distress ink. You can use a makeup sponge or just drag the edge of the label through the ink pad.
Use a bit of double-sided tape to attach the labels to the sides of the jars.
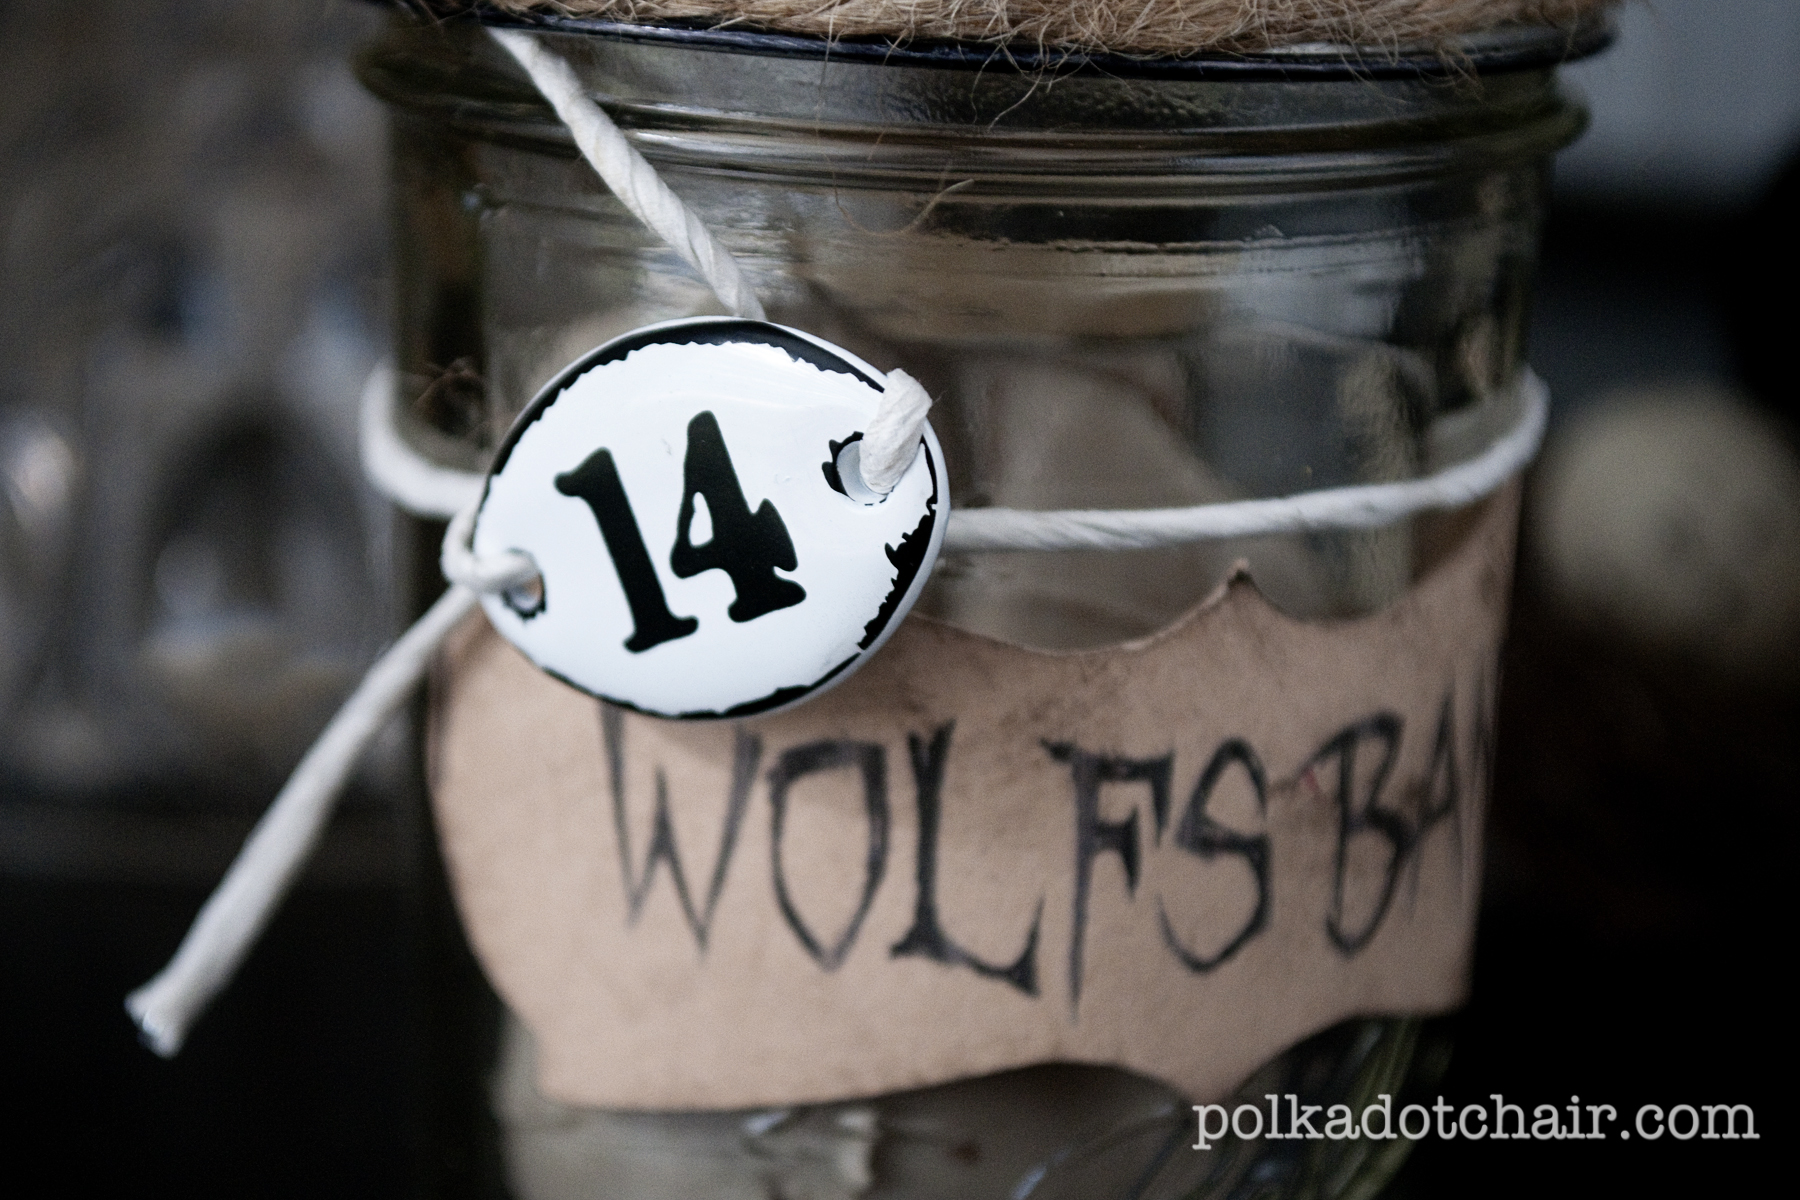
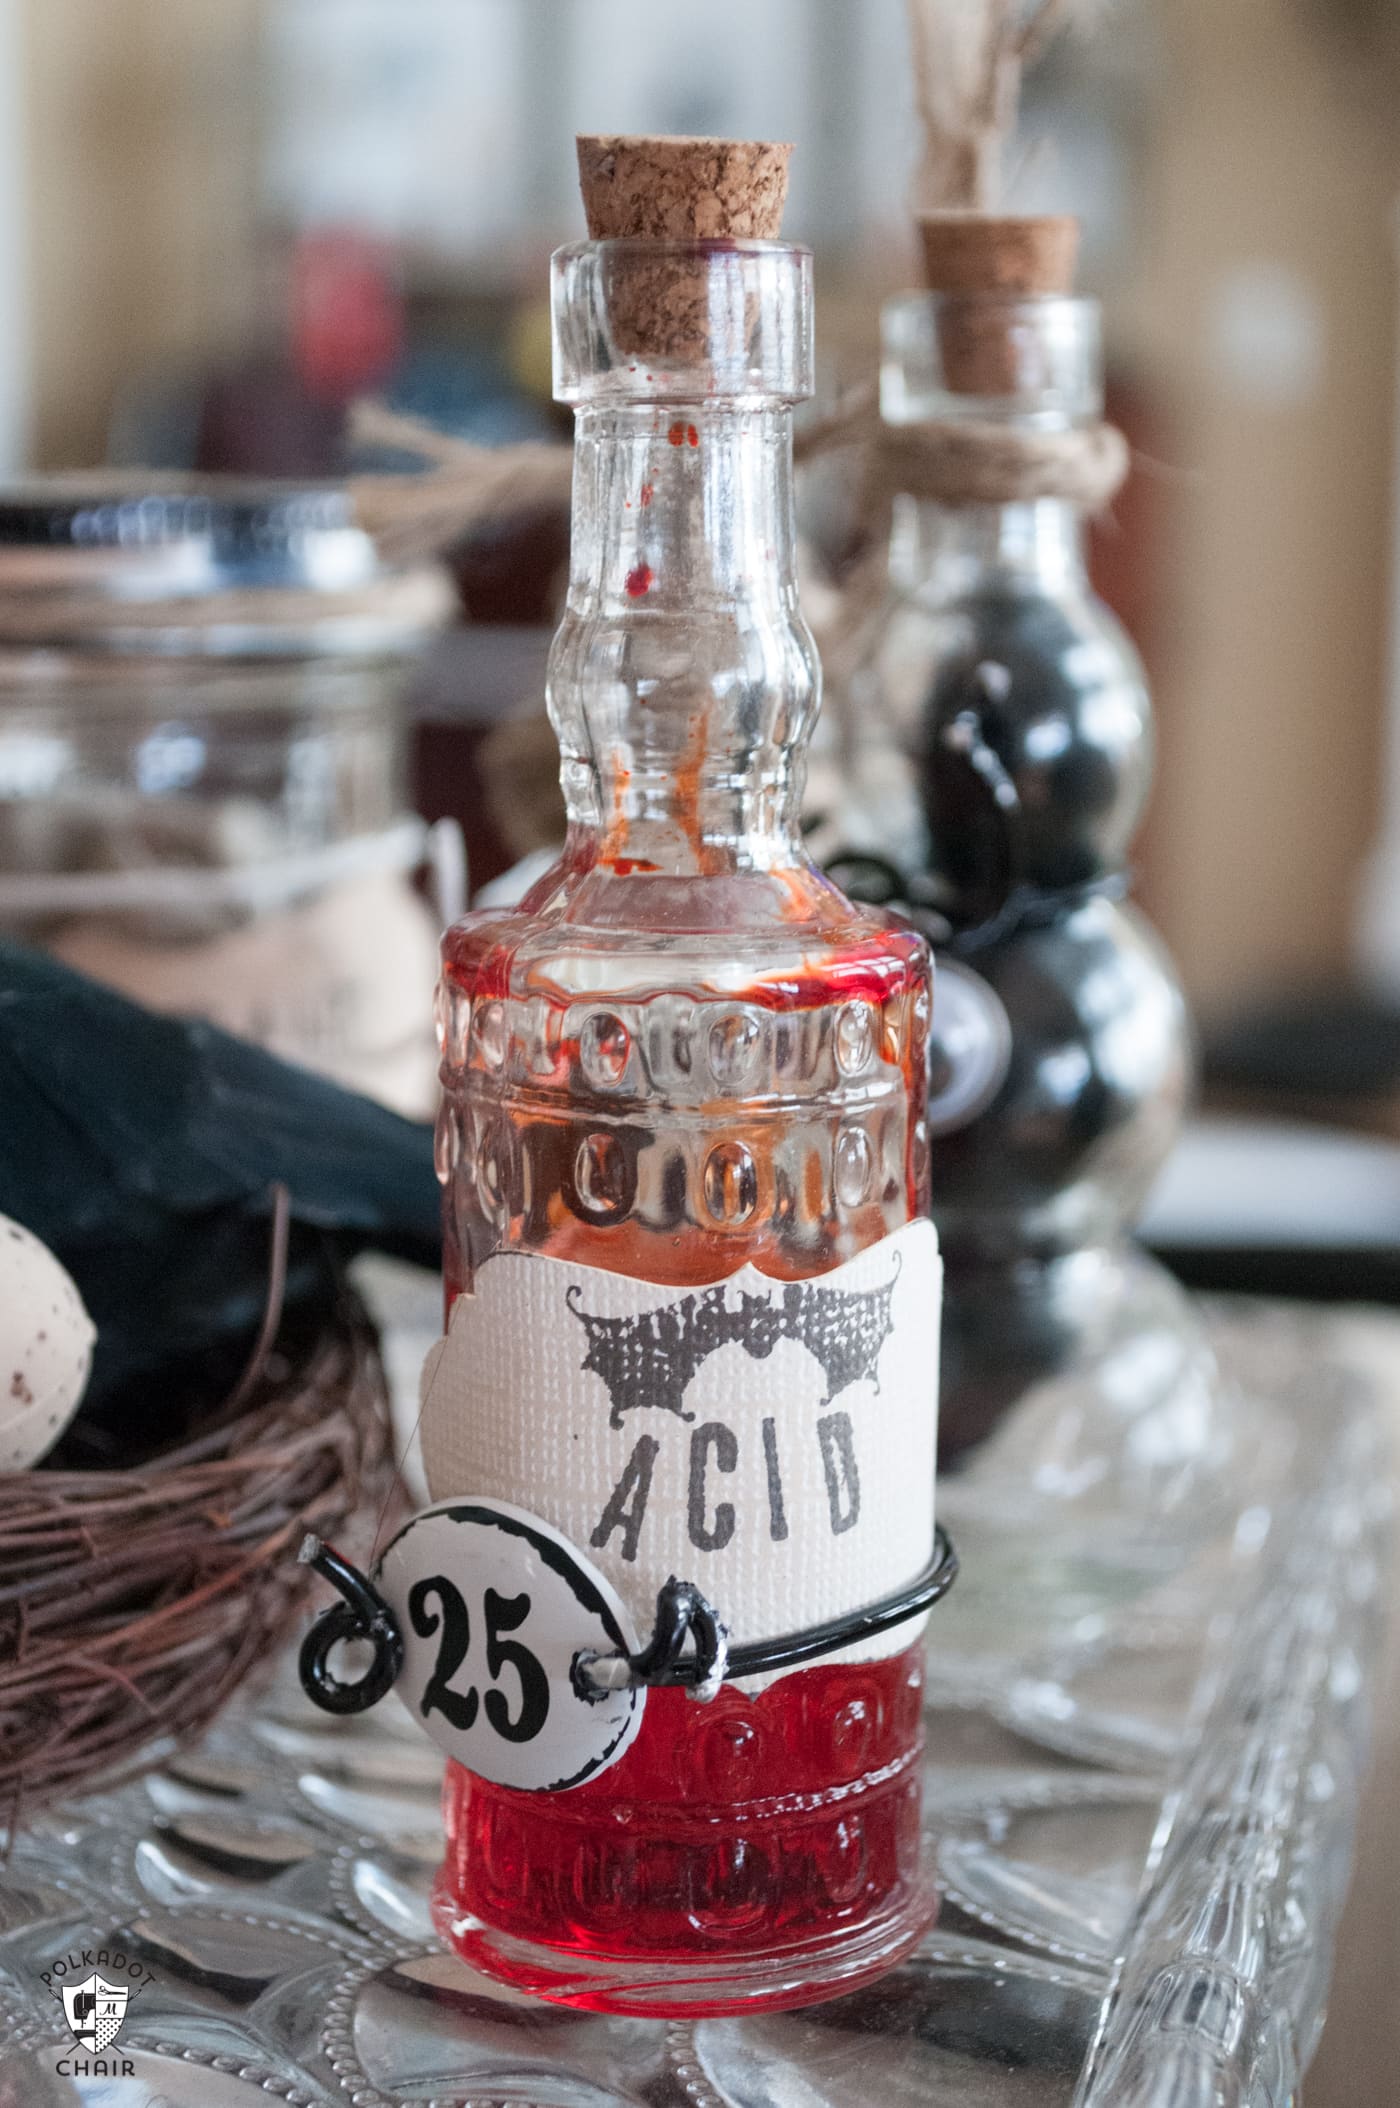
Step Three: Embellish
Using your “findings & ephemera”, twine and wire attach various elements to the jars. I used a lot of googley eyes on my jars.
Just twist the wire around the jars and add other elements as you like.
Step Four: Fill Jars
Fill the jars with items from around your house. You can fill jars with water and tint it with food coloring.
Rice and salt also work well as jar fillers, as do black beans and dried herbs.
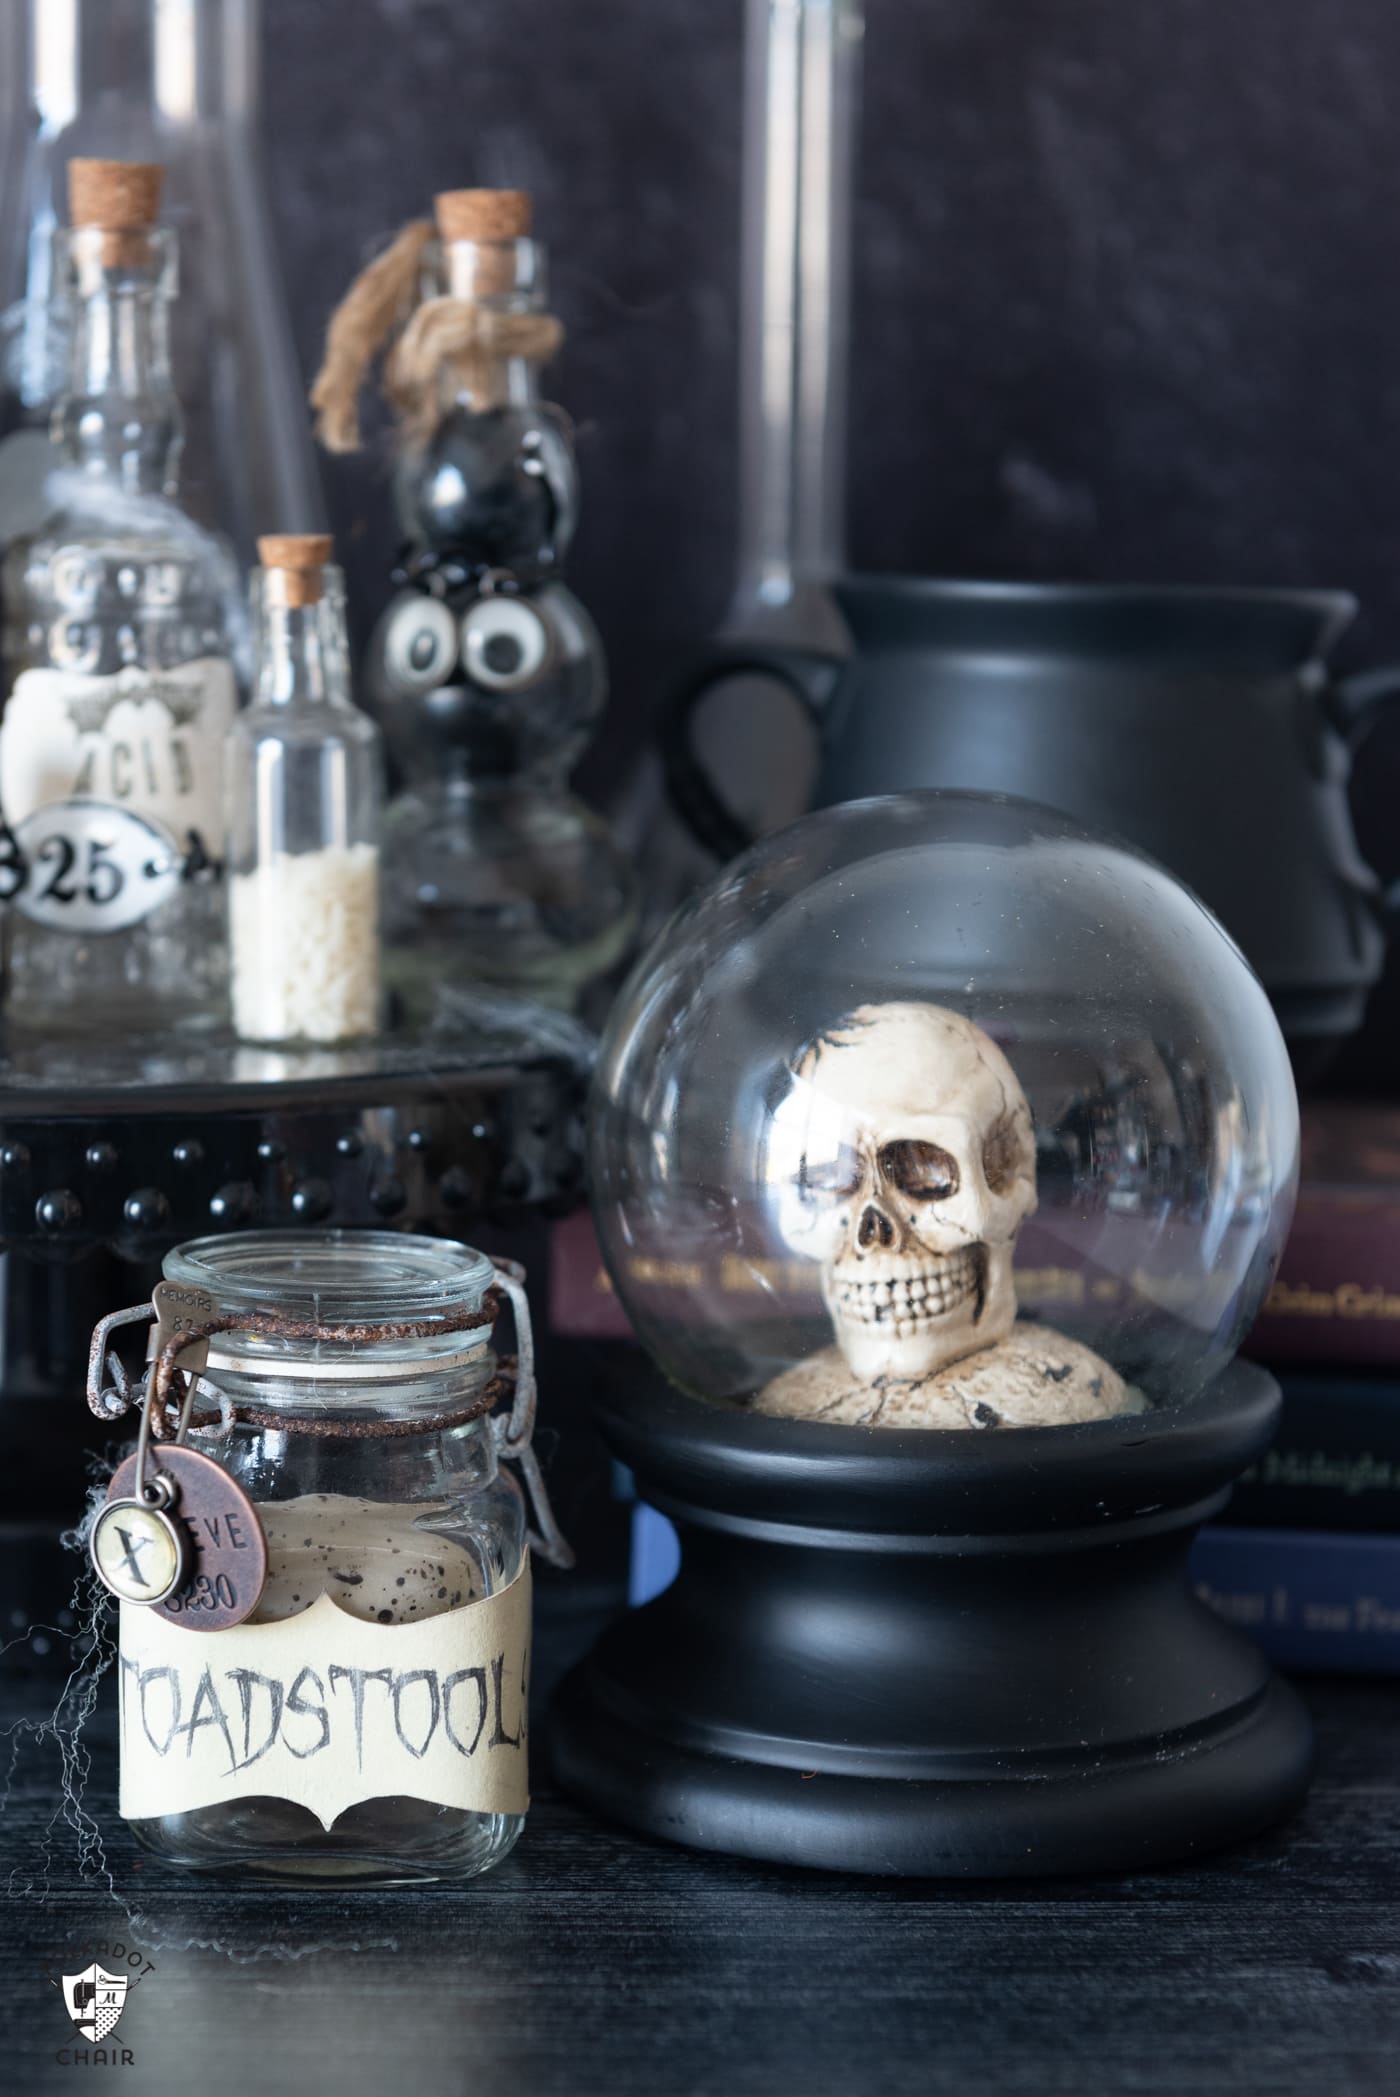
That’s it! Now just arrange it on a cake plate or tray in the center of your table!
To do: Finish a fall table runner, before Christmas gets here!! Oh, and finish the painting started *last* fall. Thanks for the chance to win! Have a lovely day!
I’m planning to whip up a few more Halloween decorations and then I’m going to make blankets for my two boys and the new baby we’re expecting this spring!
My daughter’s 6th birthday is coming up and we’re crafting for a flower theme
I am making Christmas stockings and gift bags. Love your blog! Carolann427@Aol.com
I’m working on a couple of quilts and I need to finish decorating for Halloween and fall! 🙂 Then on to jammies for Christmas!
I always have a zillion projects planned, but right now I need to focus on making a cute baby quilt for my little boy due right after Christmas.
My next creative project involves babies …. the next generation has begun in our family!
Next up on my to-do list is to decorate for Halloween! I still haven’t done it and I’m hosting a party at my house next weekend!!!
I am thinking I will make some more fabric gift bags. Love Joann’s!
I’m going back and forth between an autumn colors wall hanging and sewing with knits in my Craftsy class. Great job on your centerpiece…I’m really inspired to try one!
My next projects are two lap quilts that I’m going to try to sew at the same time.
Must finish up several quilted Mug Rugs that are Christmas gifts for co-workers.
I am absolutely going to finish quilting a baby quilt for my neighbor. It will be a 1st birthday present!
I am going to make new stockings for our family and a Christmas tree skirt. I need to make two tree skirts…yikes!
A baby quilt to finish before Christmas goodies. Thanks for the chance to win
I would like to make a table runner for Thanksgiving. Thanks!
Great project!! I have to finish the binding on a baby quilt! Thanks for the chance to win!
next for me to do is to finish getting supplies for my new Christmas display I will have this year. A big Santa, alpine trees and ?