DIY Princess Diaries Inspired T-Shirts & SVG Files
DIY an adorable set of t-shirts inspired by the Princess Diaries movie with our Genovia Sports-themed SVG files.
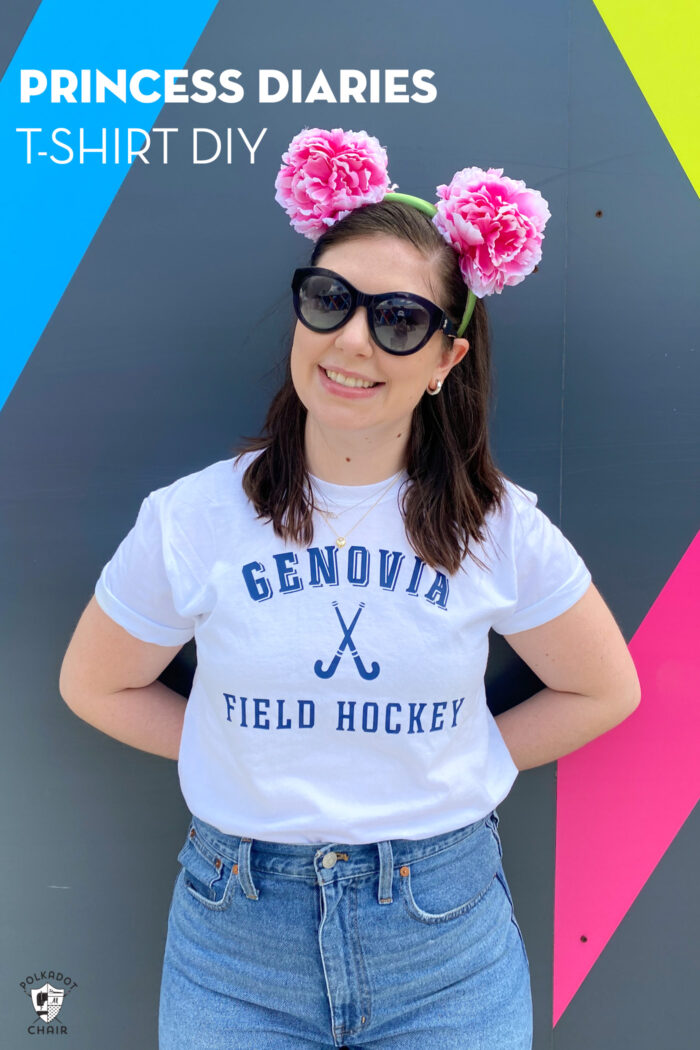
Recently my family was hosted by Disney World to check out some of the changes made in the parks since they reopened. We had a fabulous time, and it felt so great to be back in our “happiest place” again. I’m working on quite a few more blog posts with details from our trip to share with you (and a lot of fun DIYs as well!)

The Inspiration Behind the Design
If you’ve followed me here for a while, then you know that every time we visit Disney World, we love to DIY a set of custom t-shirts to wear while we are there. We’ve done many “obviously” Disney shirts in the past and thought that it would be more fun to create a t-shirt that is a bit more tongue-in-cheek this time.

My girls have loved the Princess Diaries movies since they were young; my oldest has read all the books. They helped me to design a set of SVG files inspired by the movie. Honestly, I love the movies too; I mean, how could you not love a movie with Julie Andrews in it?
You can use your Cricut (or another cutting machine) to cut out iron-on vinyl and create a set of t-shirts to make you feel like you are a genuine resident of Genovia!
Since my daughter played field hockey, we decided to make our SVG files athletic-themed. In addition to a field hockey shirt, you can find other sports in the bundle as well.
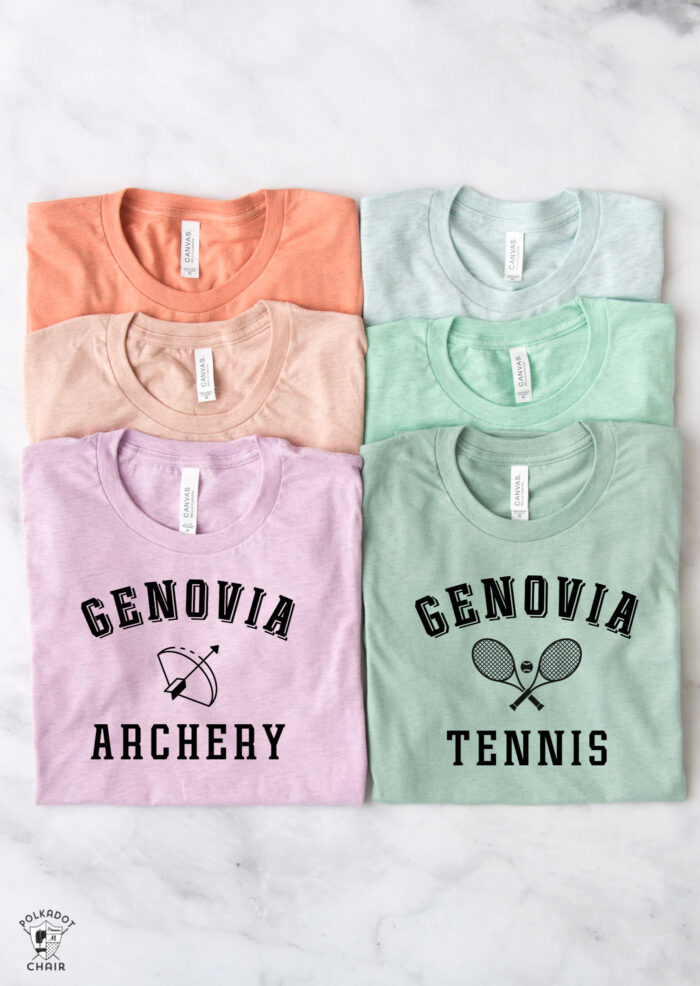
Files Included in the Genovia SVG Bundle
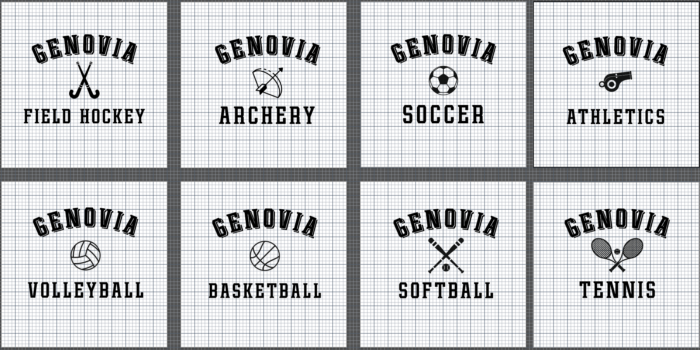
- Field Hockey
- Tennis
- Soccer
- Basketball
- Volleyball
- Archery
- Athletics
This Archery shirt would be fun to wear even if you’re not a sports fan (if you’ve seen the 2nd movie, then you know why *wink*)
DIY T-Shirt Supplies
- T-Shirt (these are our favorites)
- Iron-On Vinyl
- Cricut Machine (Explore or Maker)
- Cricut EasyPress
- Genovia SVG Files
How to Get the Free Princess Diaries SVG Files
Fill out the form, and we will email you the files.
How to Create a T-Shirt with a Cricut Machine
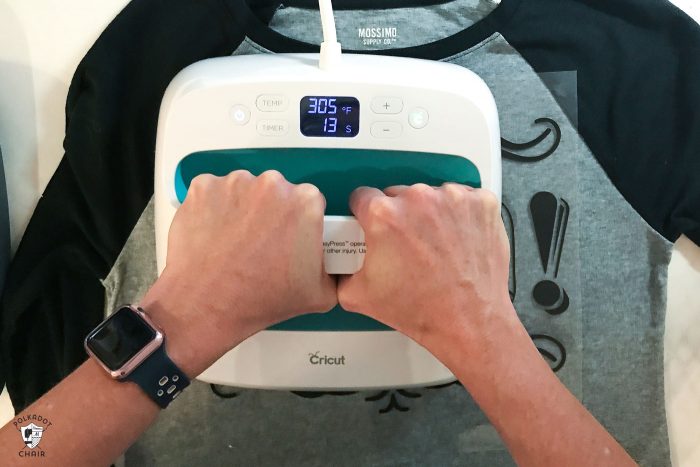
I’ve written an entire blog post with instructions to create a t-shirt using your Cricut machine. To briefly sum up. Upload the file to Cricut Design Space. Select “attach” to ensure that all of the layers are cut simultaneously in the same spot as the design. Resize the image if necessary. Select “send to the machine.” Select “mirror image for iron-on.” Then on the next screen, select the type of iron-on you are using. Load the iron-on onto the mat (shiny side down). Load the mat into the machine and then select cut. Cut out the design and remove the excess vinyl (referred to as weeding). Place the cutout iron-on onto the shirt (or another item). Adhere using a Cricut EasyPress. You’ll need to check the specific settings for your EasyPress, depending on what type of material you are using.

More Disney DIY’s
Free Printable Disney Luggage Tags
“Tiny Hero” Hand Embroidery Pattern
25 Magical Gift Ideas for Disney Fans



Hi, I don’t have a cricut. Could I cut a stencil with freezer paper using these files? Would that work?
Yes!