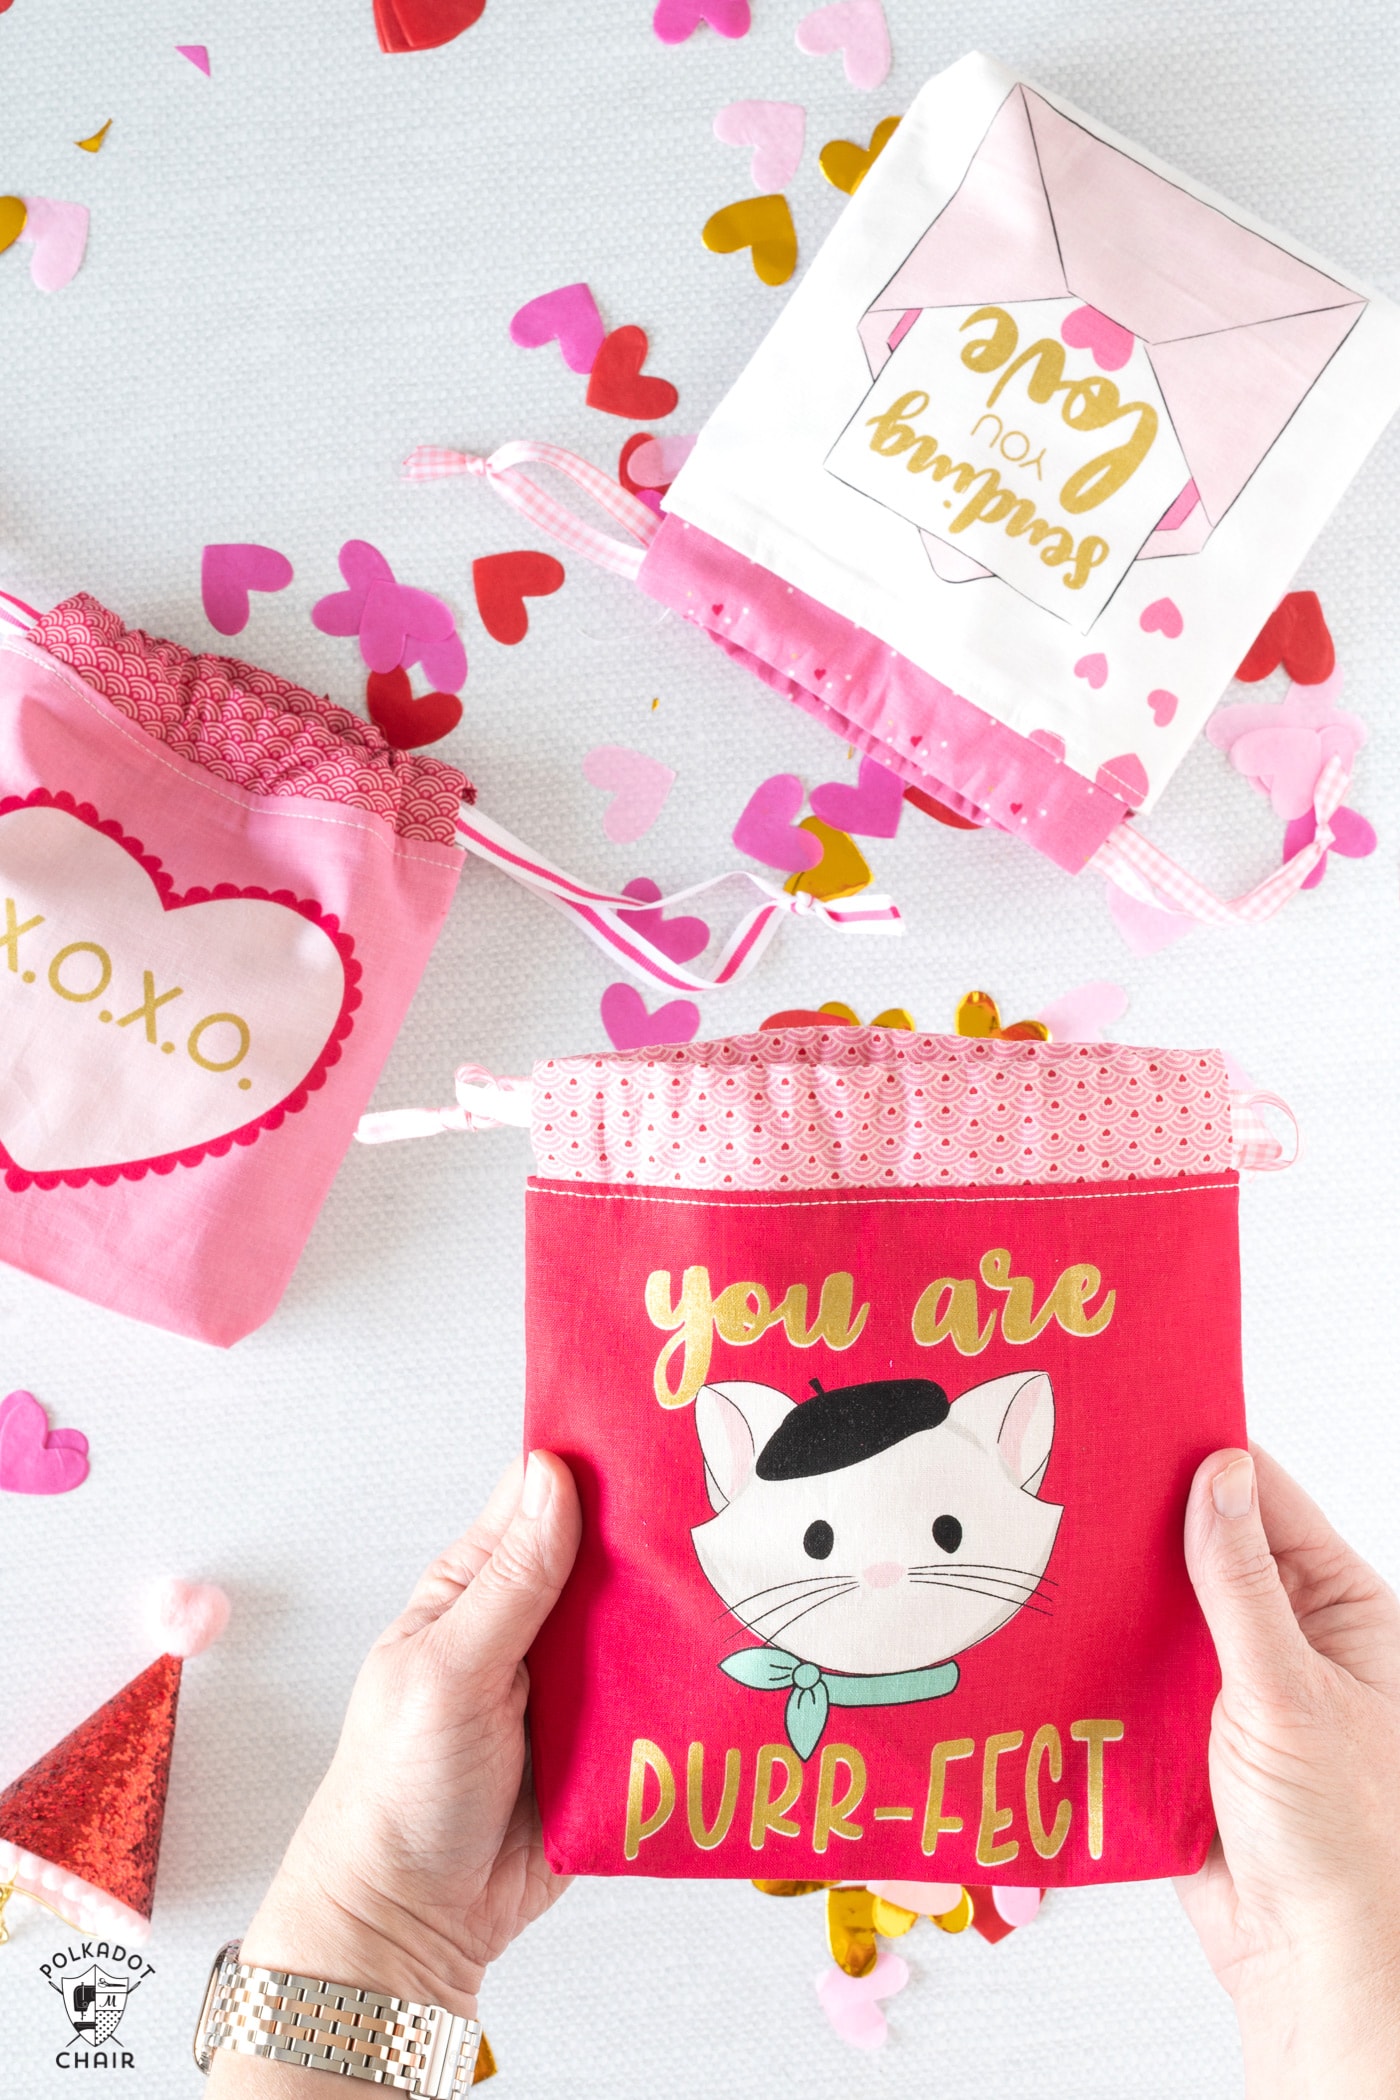
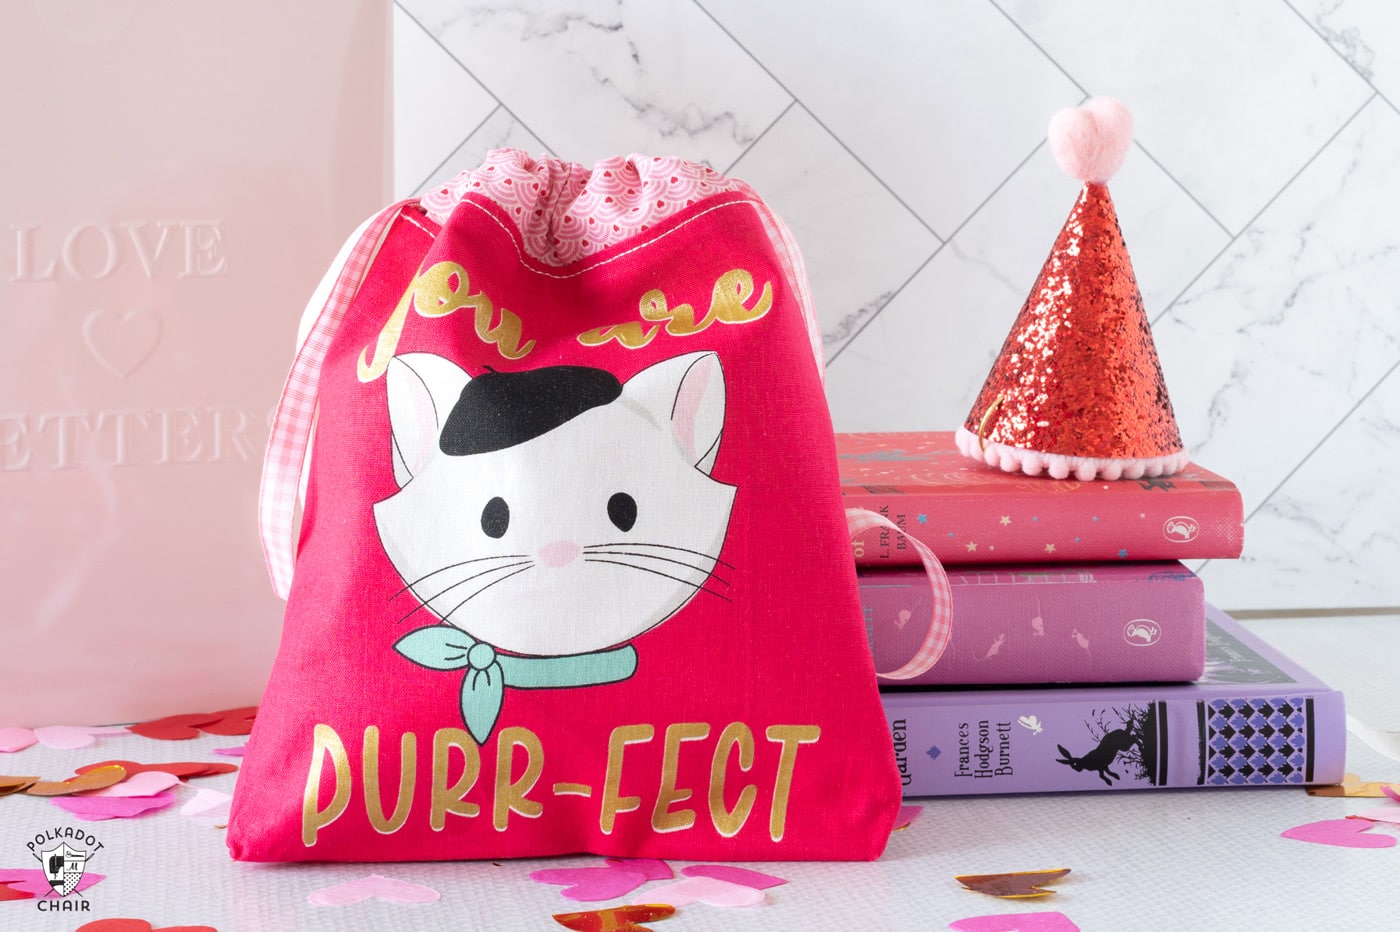
Fabric Valentine’s Day Treat Bag Tutorial
Learn how to make a set of lined, fabric drawstring bags perfect for Valentine’s Day treats. These DIY Valentine’s Day treat bags are made with leftover pieces from a fabric panel or precut stack of fabric.
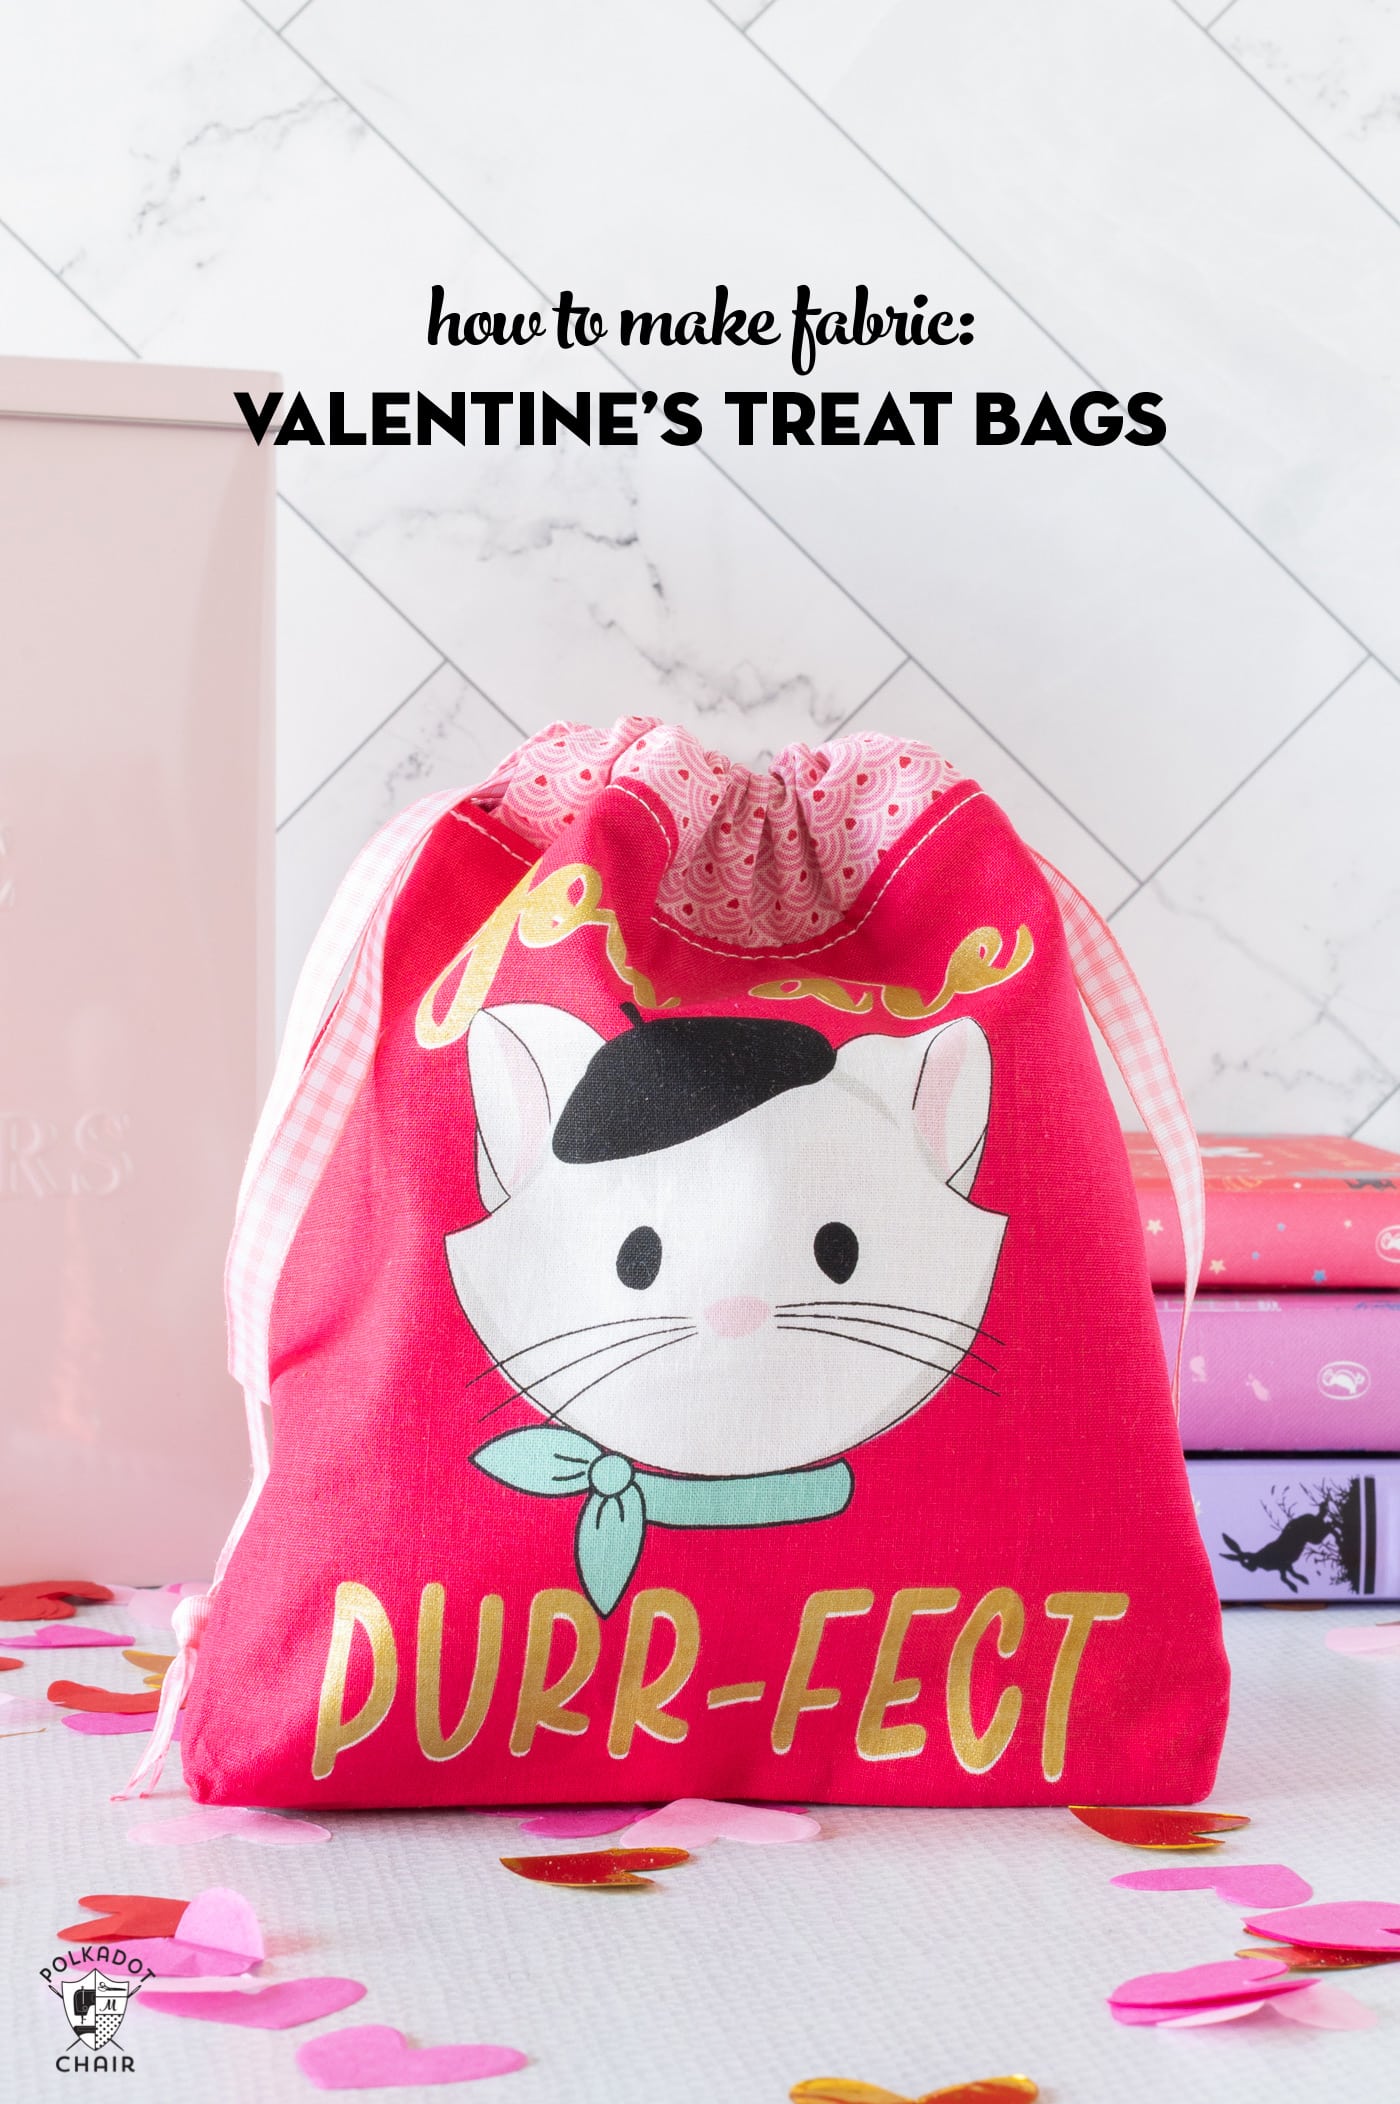
Valentine’s Day is the perfect time to express your love and appreciation for those around you. Instead of purchasing pre-made treat bags, why not add a personal touch by sewing your own charming drawstring treat bag?
In this step-by-step guide, we’ll walk you through the process of creating a delightful fabric Valentine’s Day drawstring treat bag that you can fill with sweets, small gifts, or tokens of affection for your loved ones.
Materials Needed
- Valentine-themed fabric: you will need four pieces that are at least 7 1/2″ square.
- Coordinating thread
- Ribbon or cord for the drawstring
- Fabric scissors
- Pins
- Sewing machine
- Iron
About The Fabric
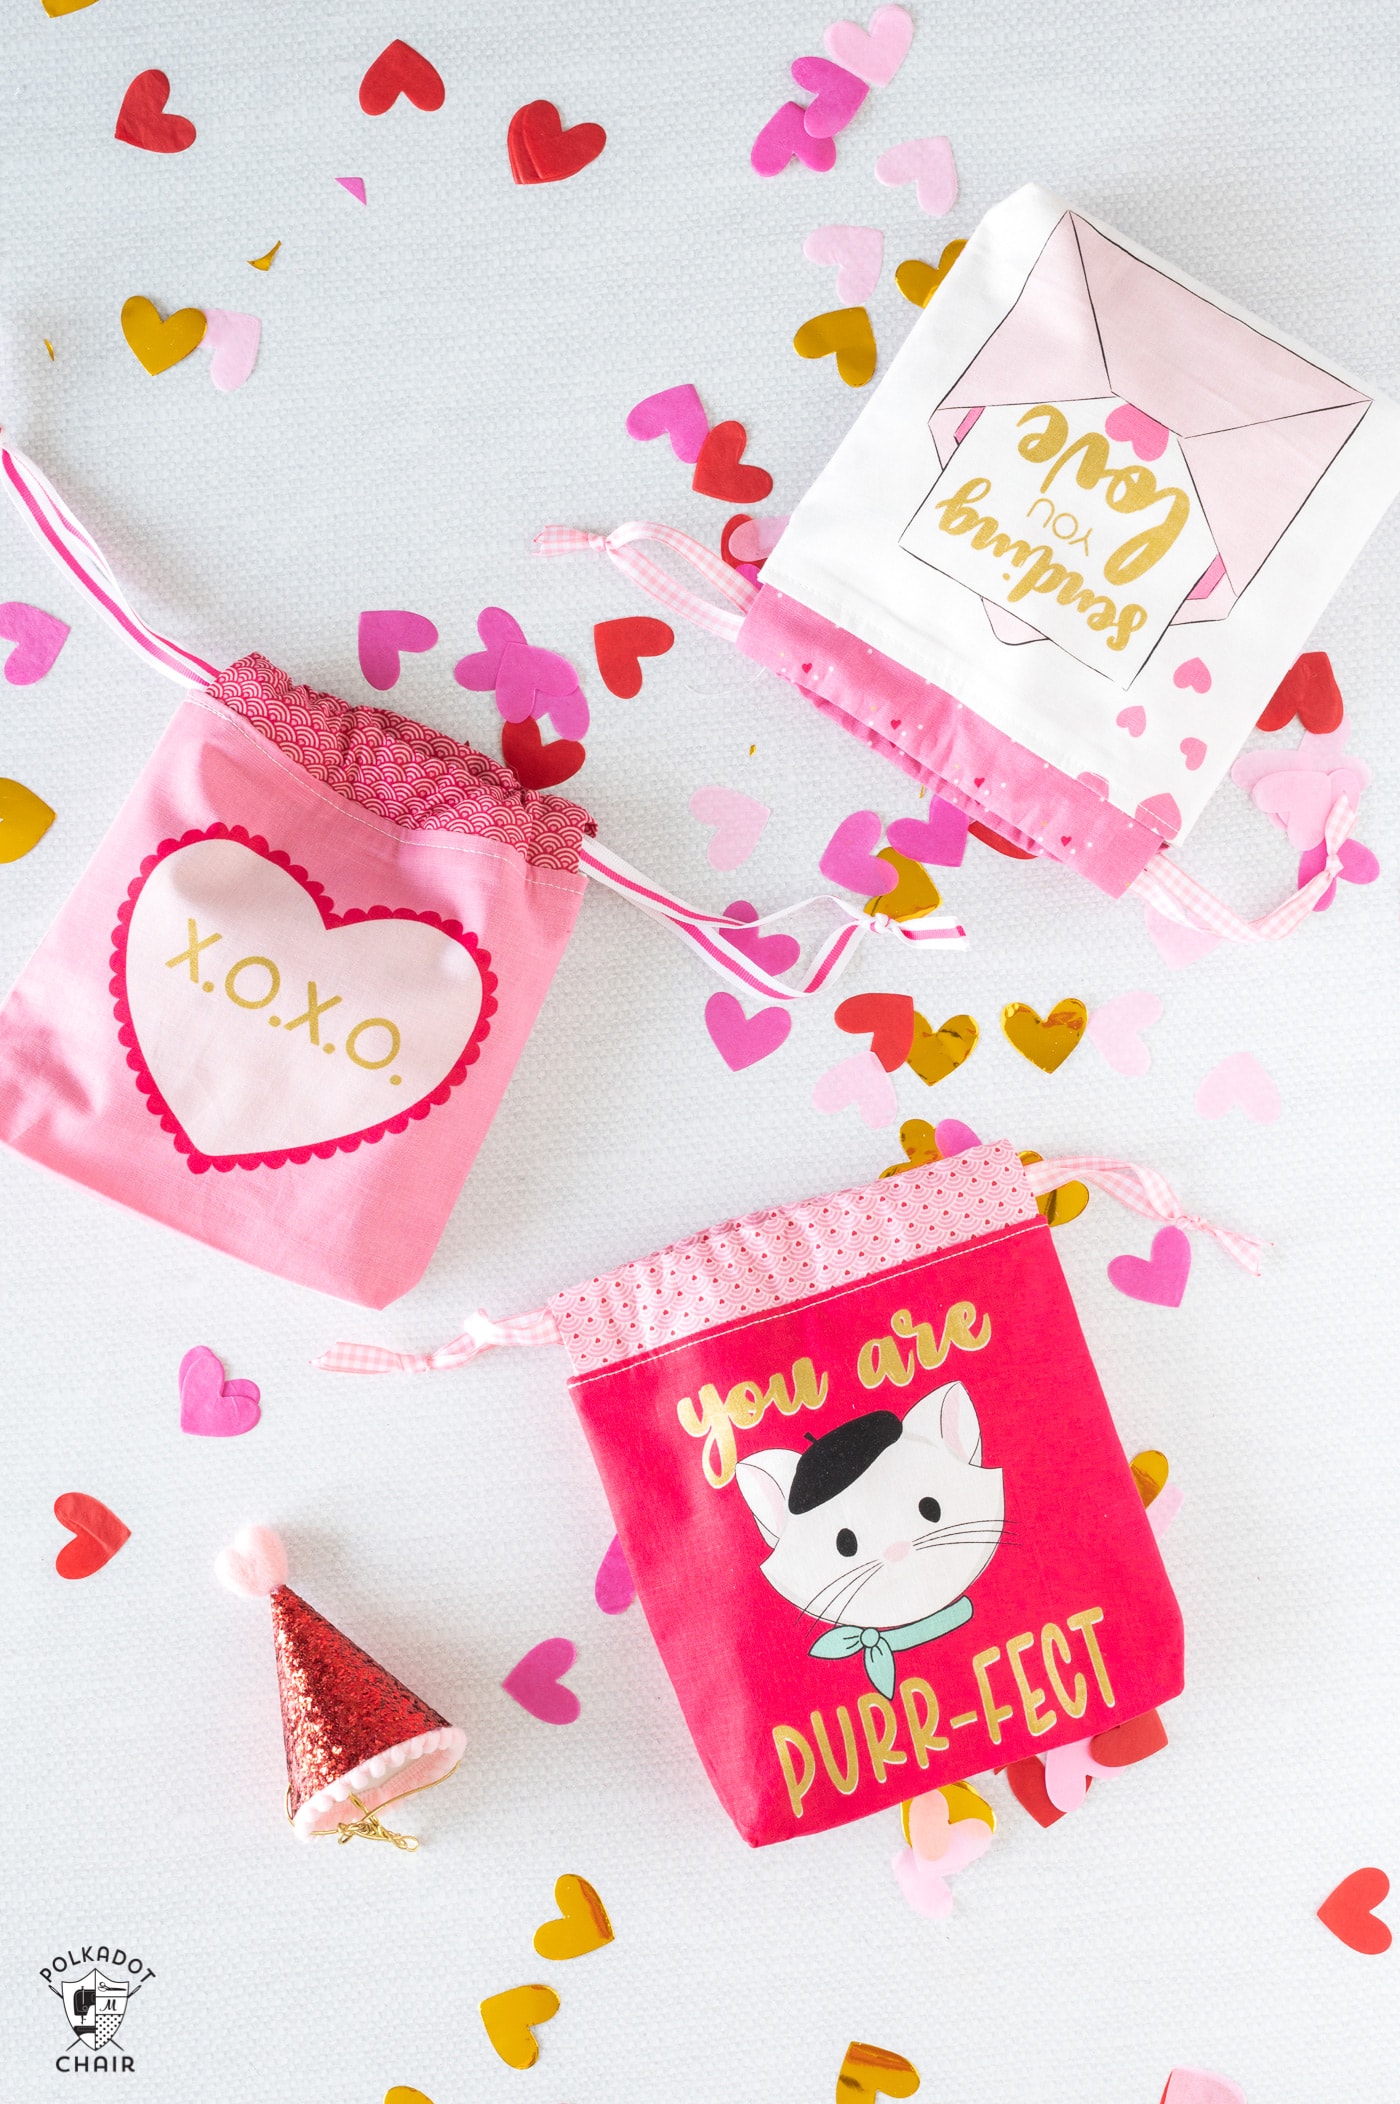
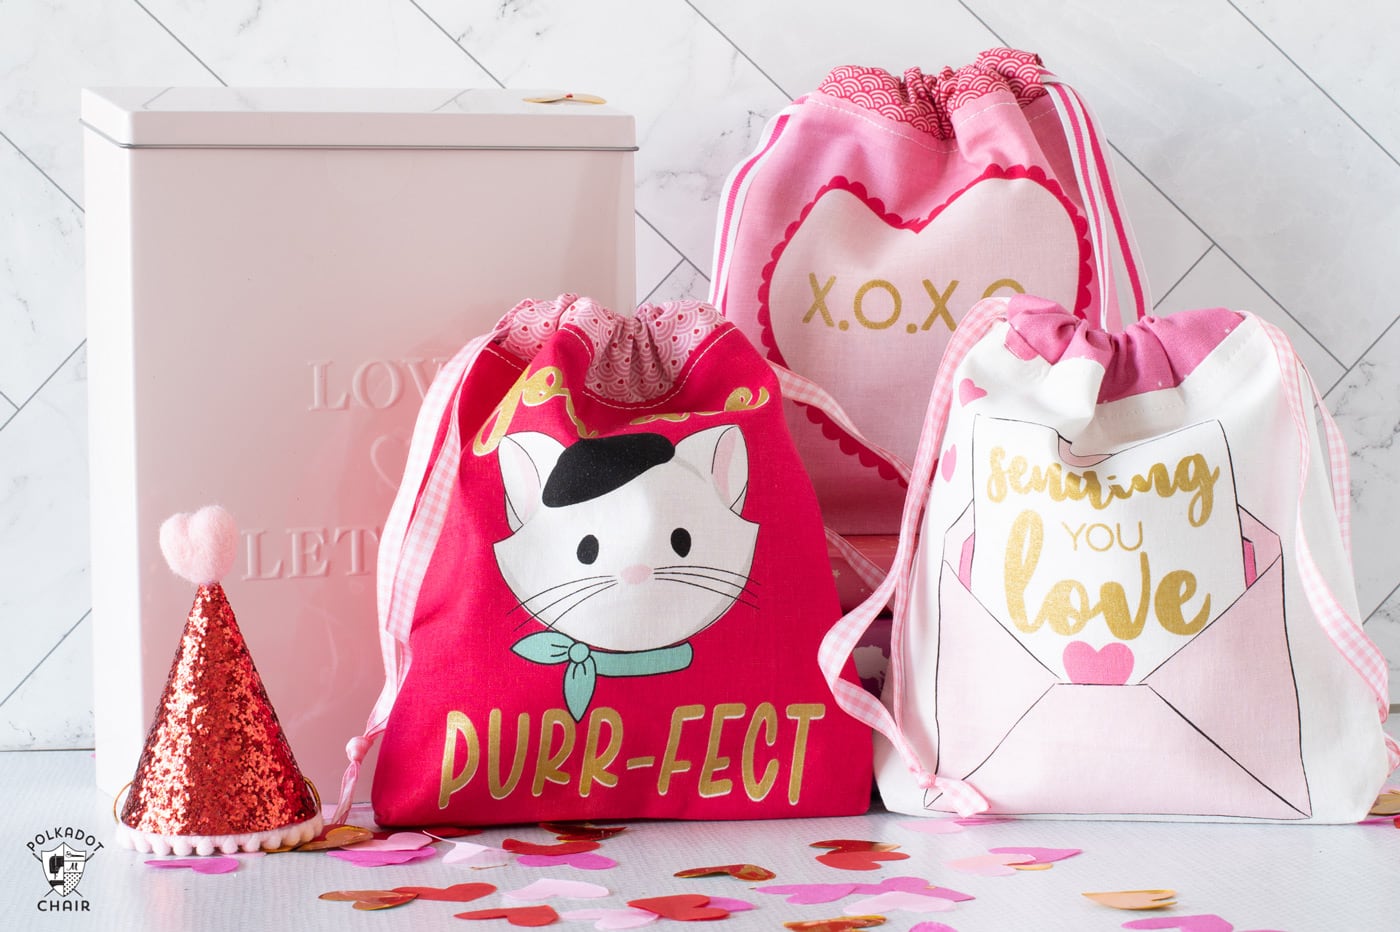
The fabric I used for these treat bags is from my Mint for You collection with Riley Blake Designs. Specifically, the fabric panel that coordinates with the line.
You can still find the panel in stores (I have a few left in my shop), but if you can’t find this panel, you can use ANY Valentine’s Day fabric that you like! There are always so many cute Valentine ‘s-themed fabric panels on the market. All you need are pieces at least 7 1/2″ square.
Where to buy:
TIP: This project is also a great way to use up leftover 10″ precut fabric pieces from a Layer cake! I used leftover layer cake pieces for my lining and the back of the bag fabric.
NOTE: Drawstrings and ribbons can pose a choking hazard to children; for that reason, his project is not intended for children.
Instructions

Lined Fabric Drawstring Valentine’s Treat Bags
Equipment
- Safety Pin
supplies
- Valentine-themed fabric: you will need four pieces that are at least 7 1/2″ square.
- Coordinating thread
- Ribbon or cord for the drawstring
Instructions
Cutting:
- For Bag Outside: 2 pieces 7 1/2” x 7 1/2”
- For Bag Lining: 2 pieces 7 1/2” x 7 1/2”
- For Casing: 2 pieces 7 1/2” x 3”
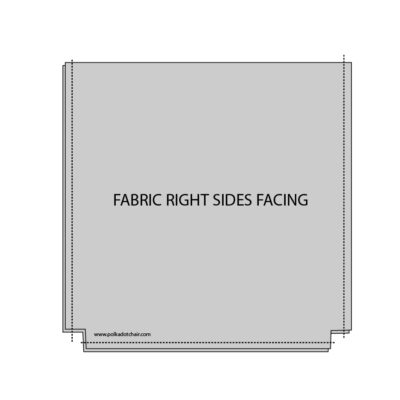
- Lay all four fabric pieces on top of each other so they are stacked up perfectly. The wrong sides of the outside bag pieces should be facing, and the wrong sides of the lining pieces should be facing.

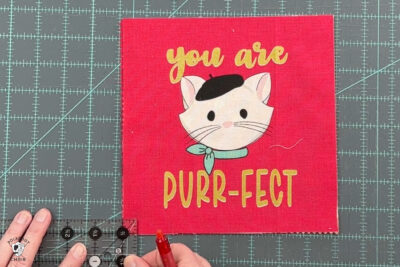
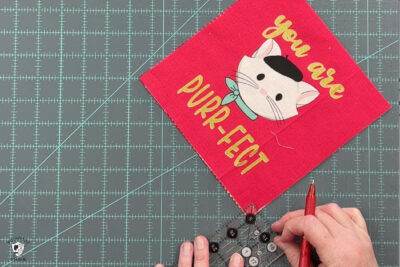
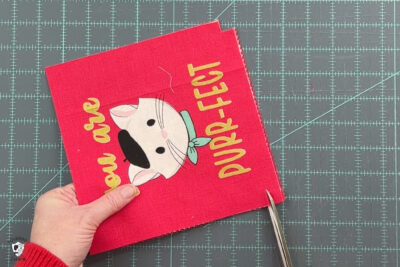
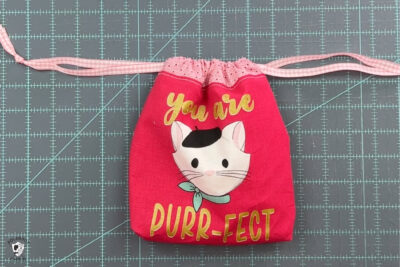
- Using a ruler, draw a 1/2” square on the bottom two corners of the pieces. Cut out.
- TIP: I like to cut the corners off all four pieces simultaneously so that all my pieces are the same size.
- It should look like this when it's done.

Step One: Create the Casing
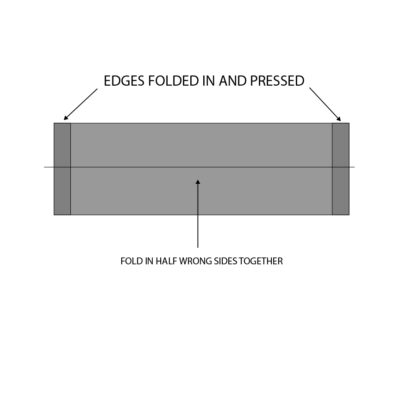
- Begin by pressing the short ends of one of your bag casing pieces in ½″ on each edge. I recommend using a seam gauge for this step.

- Next, fold the piece in half lengthwise and press. Repeat for other bag casing piece.
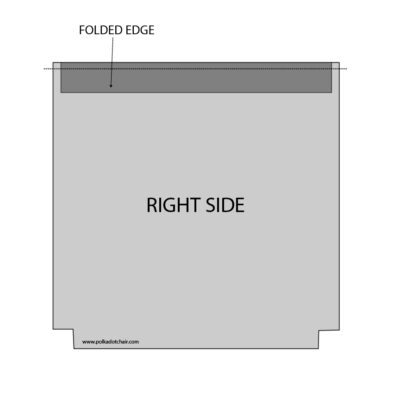
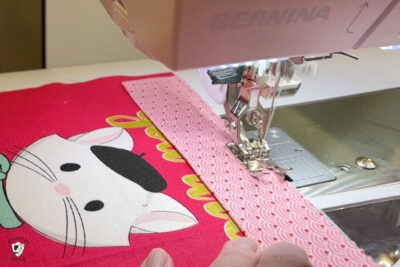
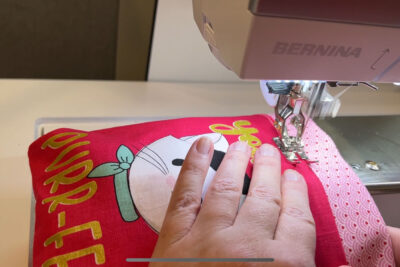
- Pin the bag casing to the bag’s outside piece along the top edge. The raw edges will be flush, and the casing should be centered in the bag’s outside piece.
- Stitch in place with a 1/4” seam allowance.

Step Two: Sew Bag Front & Lining
- Place the bag’s outside pieces together, right sides facing. Stitch along the two sides and the bottom of the bag. Do not stitch inside the square you cut out on the bottom of the bag. Press seams open. As you stitch the side seams, ensure you do not catch the casing pieces in the side seam stitching lines.
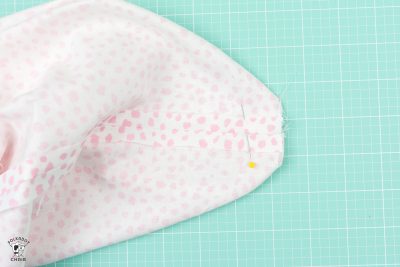
- Pinch the bottom corner of the bag so that the side and bottom seams are on top of each other and the raw edges of the cut-out square are even. Stitch in place. Repeat for the other bag corner.Note: the photo is from a different project, but the steps are the same.
- Repeat for the bag lining pieces (you do not attach a casing to those pieces)
Step Three: Assemble
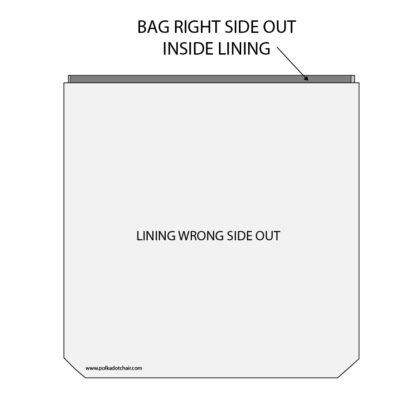
- Turn the bag outside piece right side out. Slip it into the bag lining piece, right sides facing. Match side seams and centers.
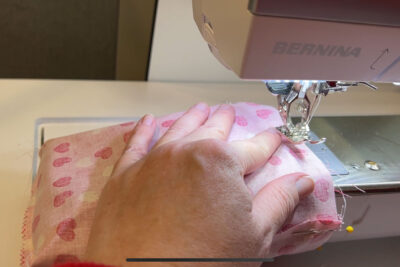
- Stitch around the perimeter of the bag, leaving a 2″ opening in one side.
- Turn the bag right side out through the opening.
- Press well. Topstitch around the top of the bag (on the bag, not the casing), making sure to catch the opening in the bag as you sew.
Step Four: How to Add the Drawstrings
- Cut two pieces of ribbon that are twice as wide as the bag plus 6-8″.
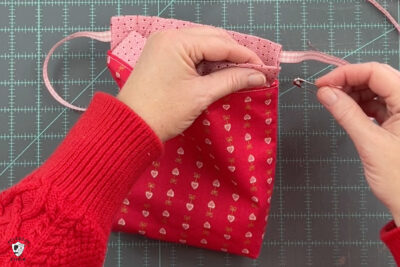
- Feed one piece through the casing of the bag on the front.
- Continue around to the back of the bag. Knot the two pieces.
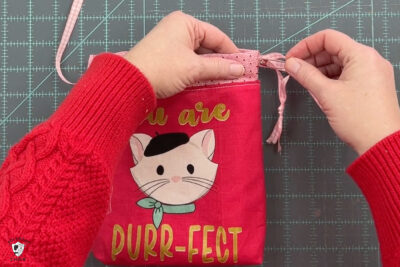
- Starting on the opposite side of the bag, feed the ribbon through the casing on the front of the bag.
- Bring it around to the other side of the bag and knot it in place.
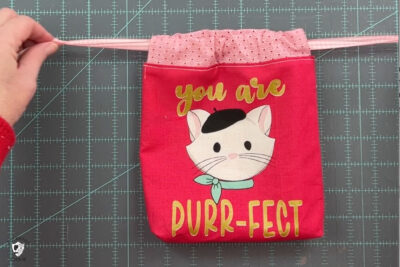
- Gently pull on strings to close bag.

Experiment with different fabrics and sizes to make unique bags for everyone on your list.
Handmade gifts have a way of expressing love! So, grab your materials and let your creativity flow as you craft a heartfelt treat bag for this special day.