How to Make Paper Memory Christmas Ornaments
These memory capsule Christmas ornaments are a beautiful way to remember a favorite place or to capture the memory of someone you love. Learn how to make them with our simple Christmas Ornament Tutorial.
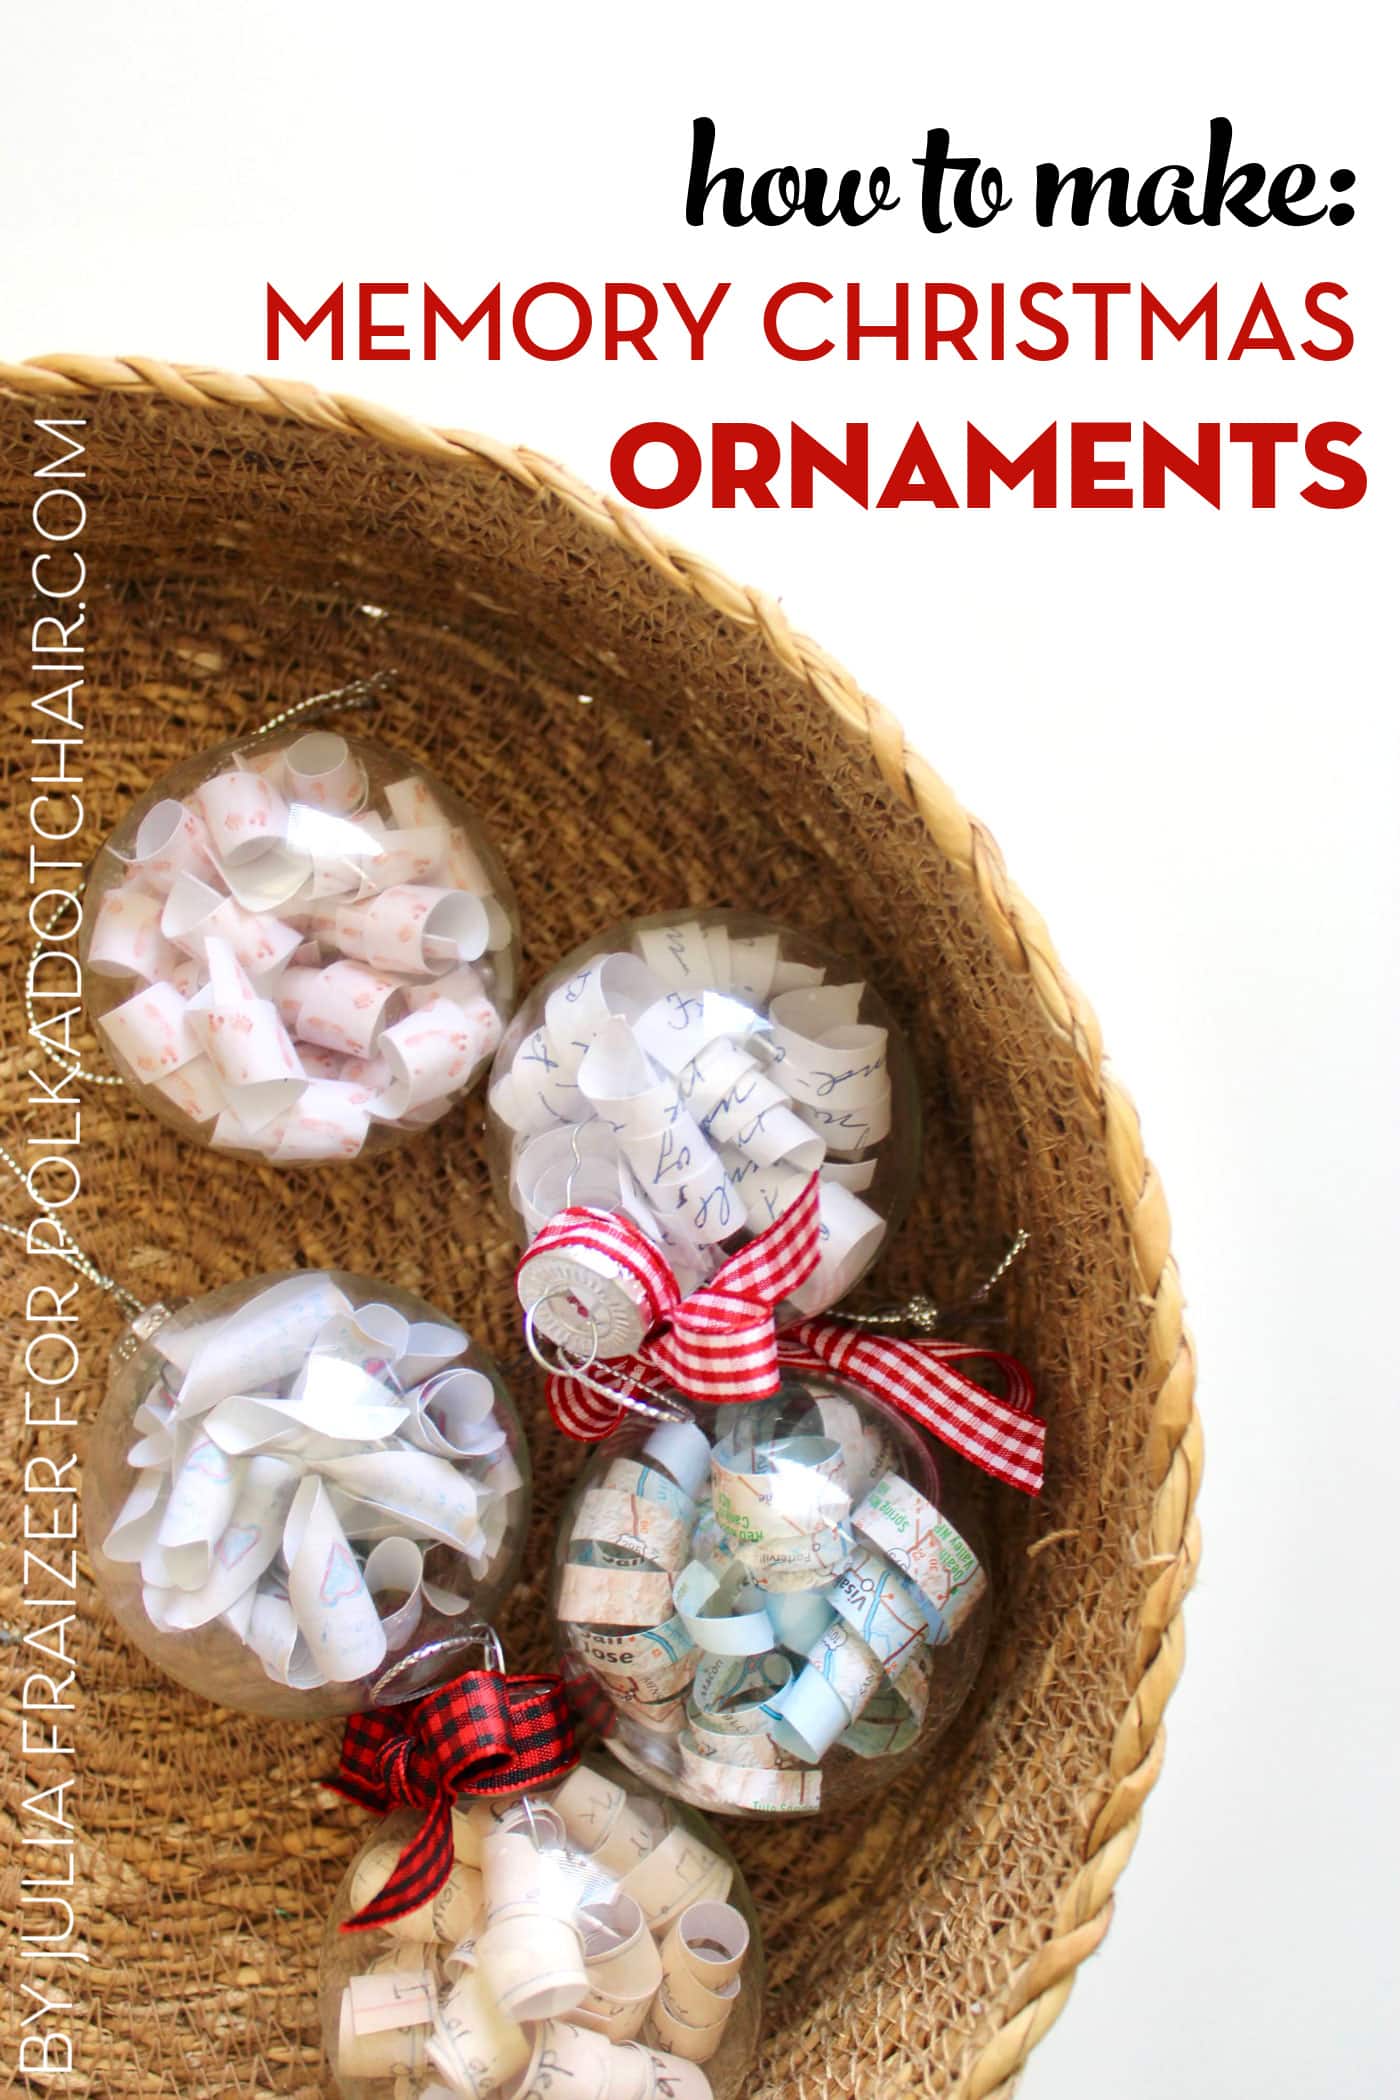
Hello, friends! It’s Julia from Bayhill Studio. Today is the second installment of my monthly ornament series, and I’m really excited about the ornaments I am sharing with you today.
Christmas Ornament Tutorial Series Posts:
- July: Paper Poinsettia Ornaments
- August: Paper Memory Christmas Ornaments
- September: Kimekomi Fabric Ornaments
- November: Granny Rocker Christmas Ornaments
- December: String Christmas Ornaments
- January: Retro Diorama Ornaments
- February: DIY Splatter Paint Glass Ornaments
- March: Blown Egg Ornament
- April: Retro Photo Ornament Tutorial
- May: Vintage Folded Fabric Ornament
- June: Patchwork Heart Ornament
- July: Improv Pieced Heart Ornaments
- October: Plastic Canvas Gift Card Holder
- November: Yarn Stitched Jingle Bell Ornament
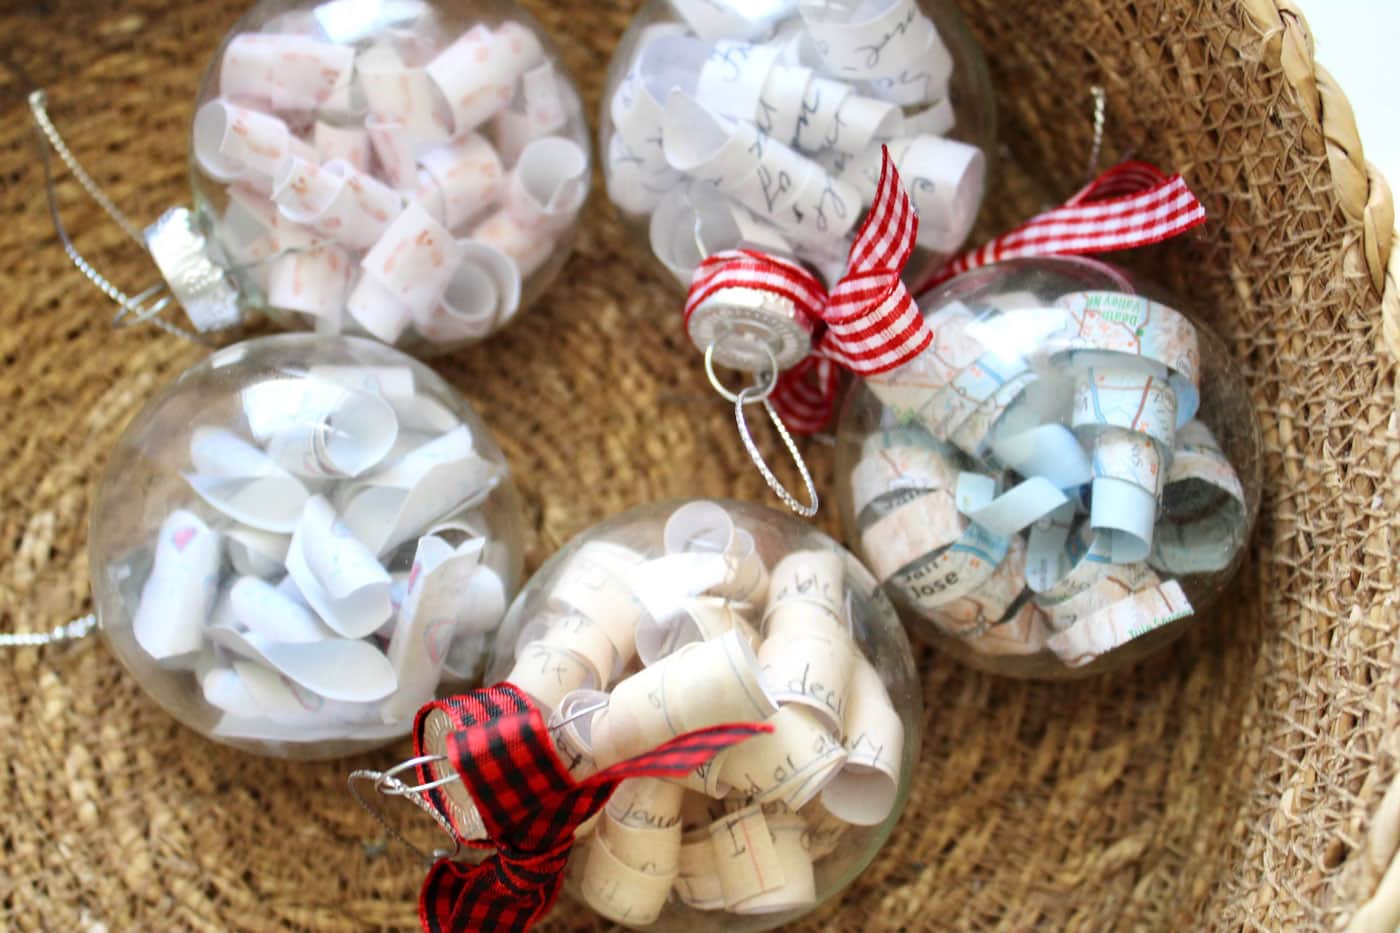
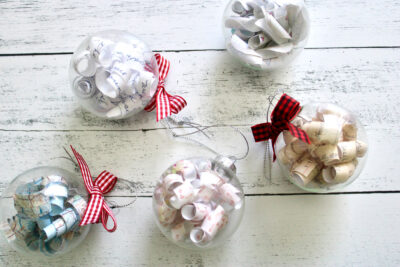
I wanted to share an easy way to create “memory ornaments.” These ornaments are perfect for remembering places you have traveled, grandma’s recipes, a favorite musical number, and for remembering and including those who have passed away in our current holiday traditions.
Map Ornaments
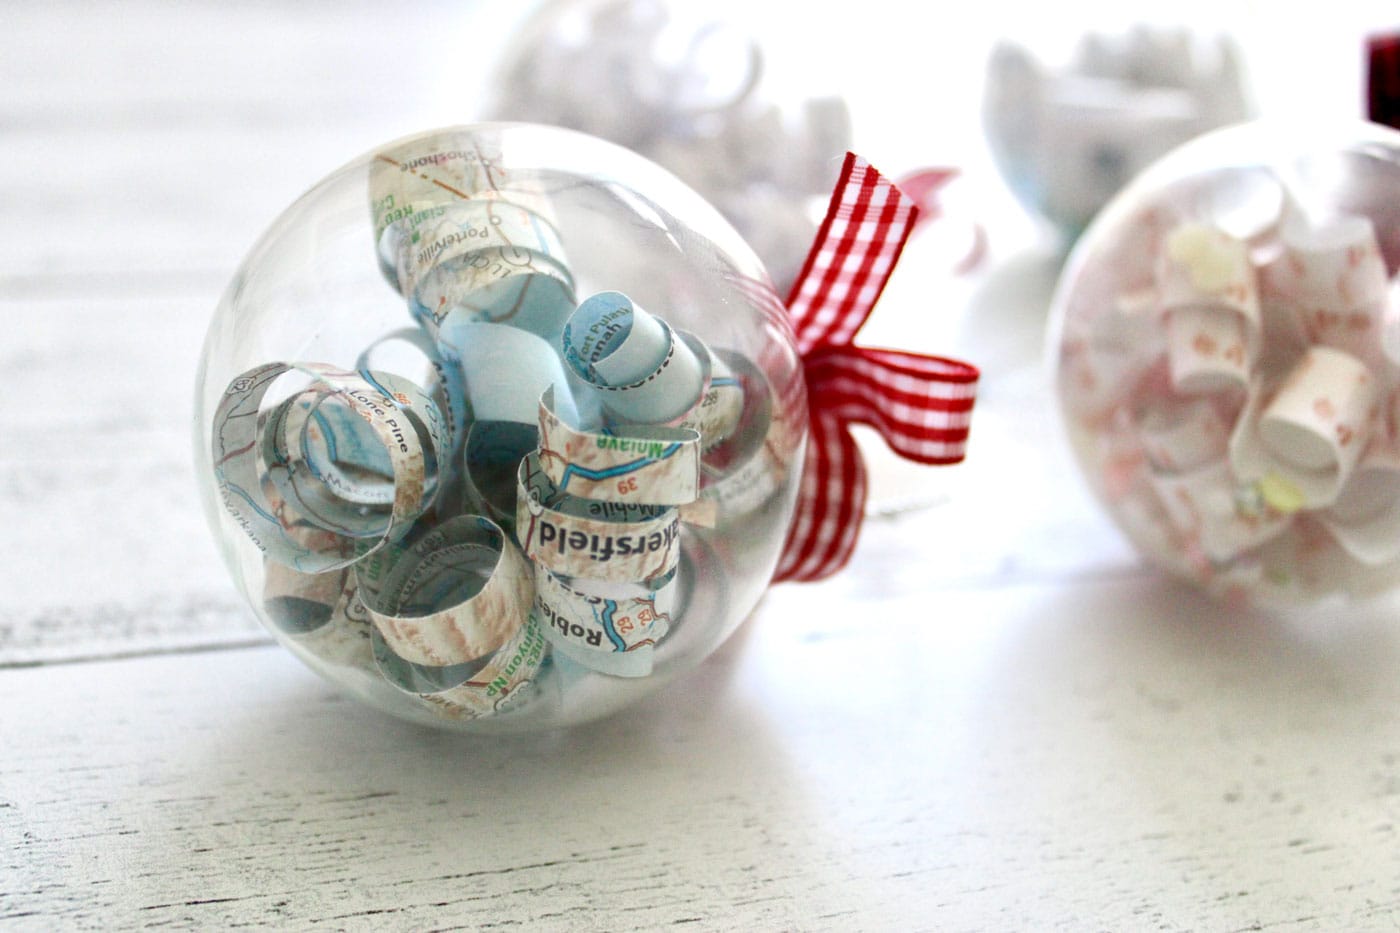
I made this fun map ornament by cutting strips from a map book. I was born and raised in Southern California, so I cut out a map of the west coast and turned it into an ornament. You could do this for any place special to you — a favorite travel destination or place that holds special meaning. This would be a fabulous gift for just about anyone on your list.
Handwriting Ornaments
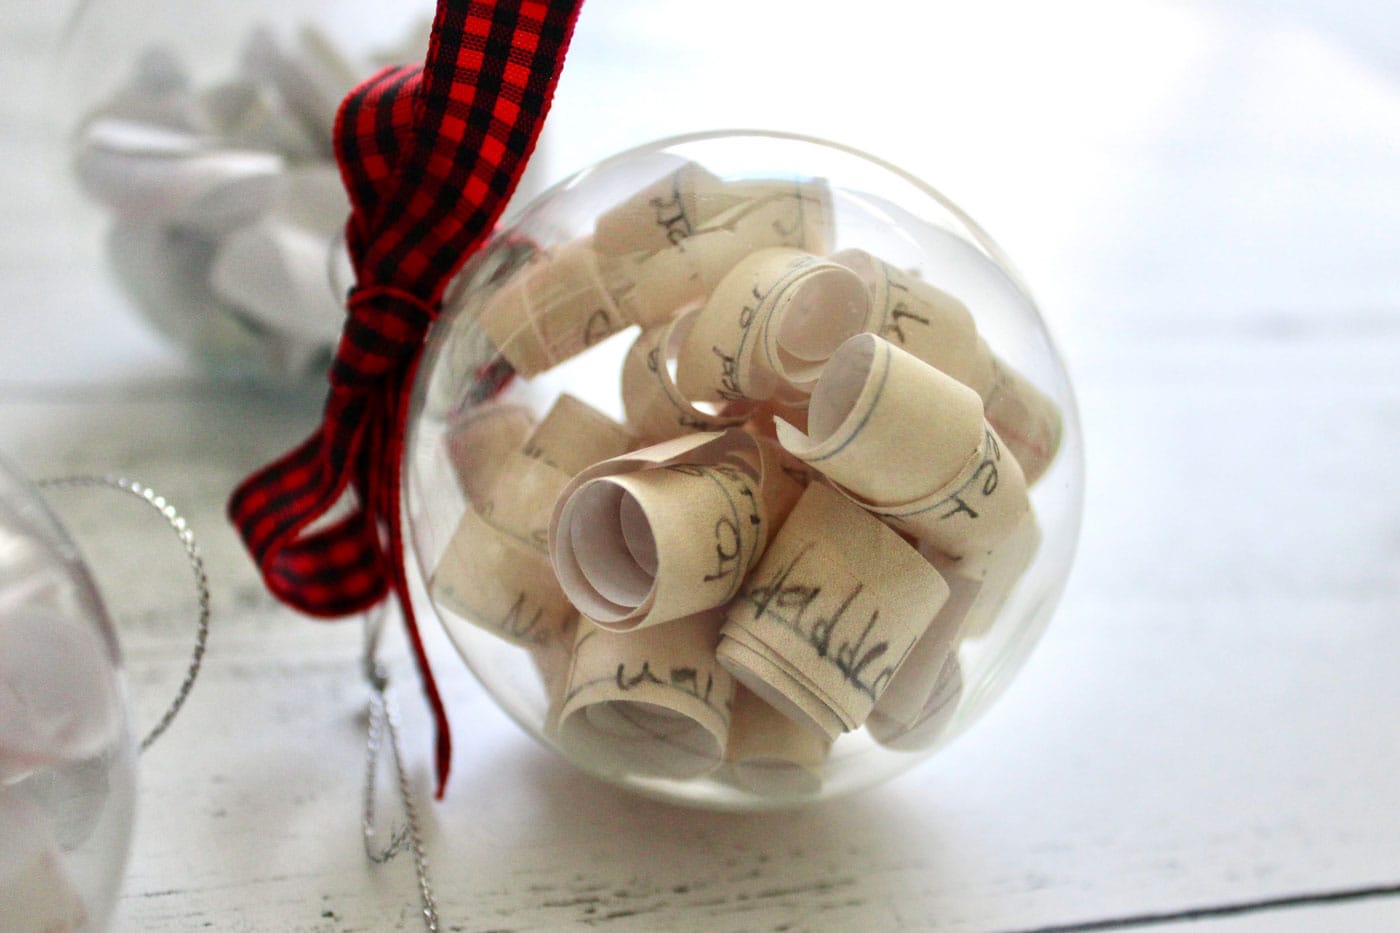
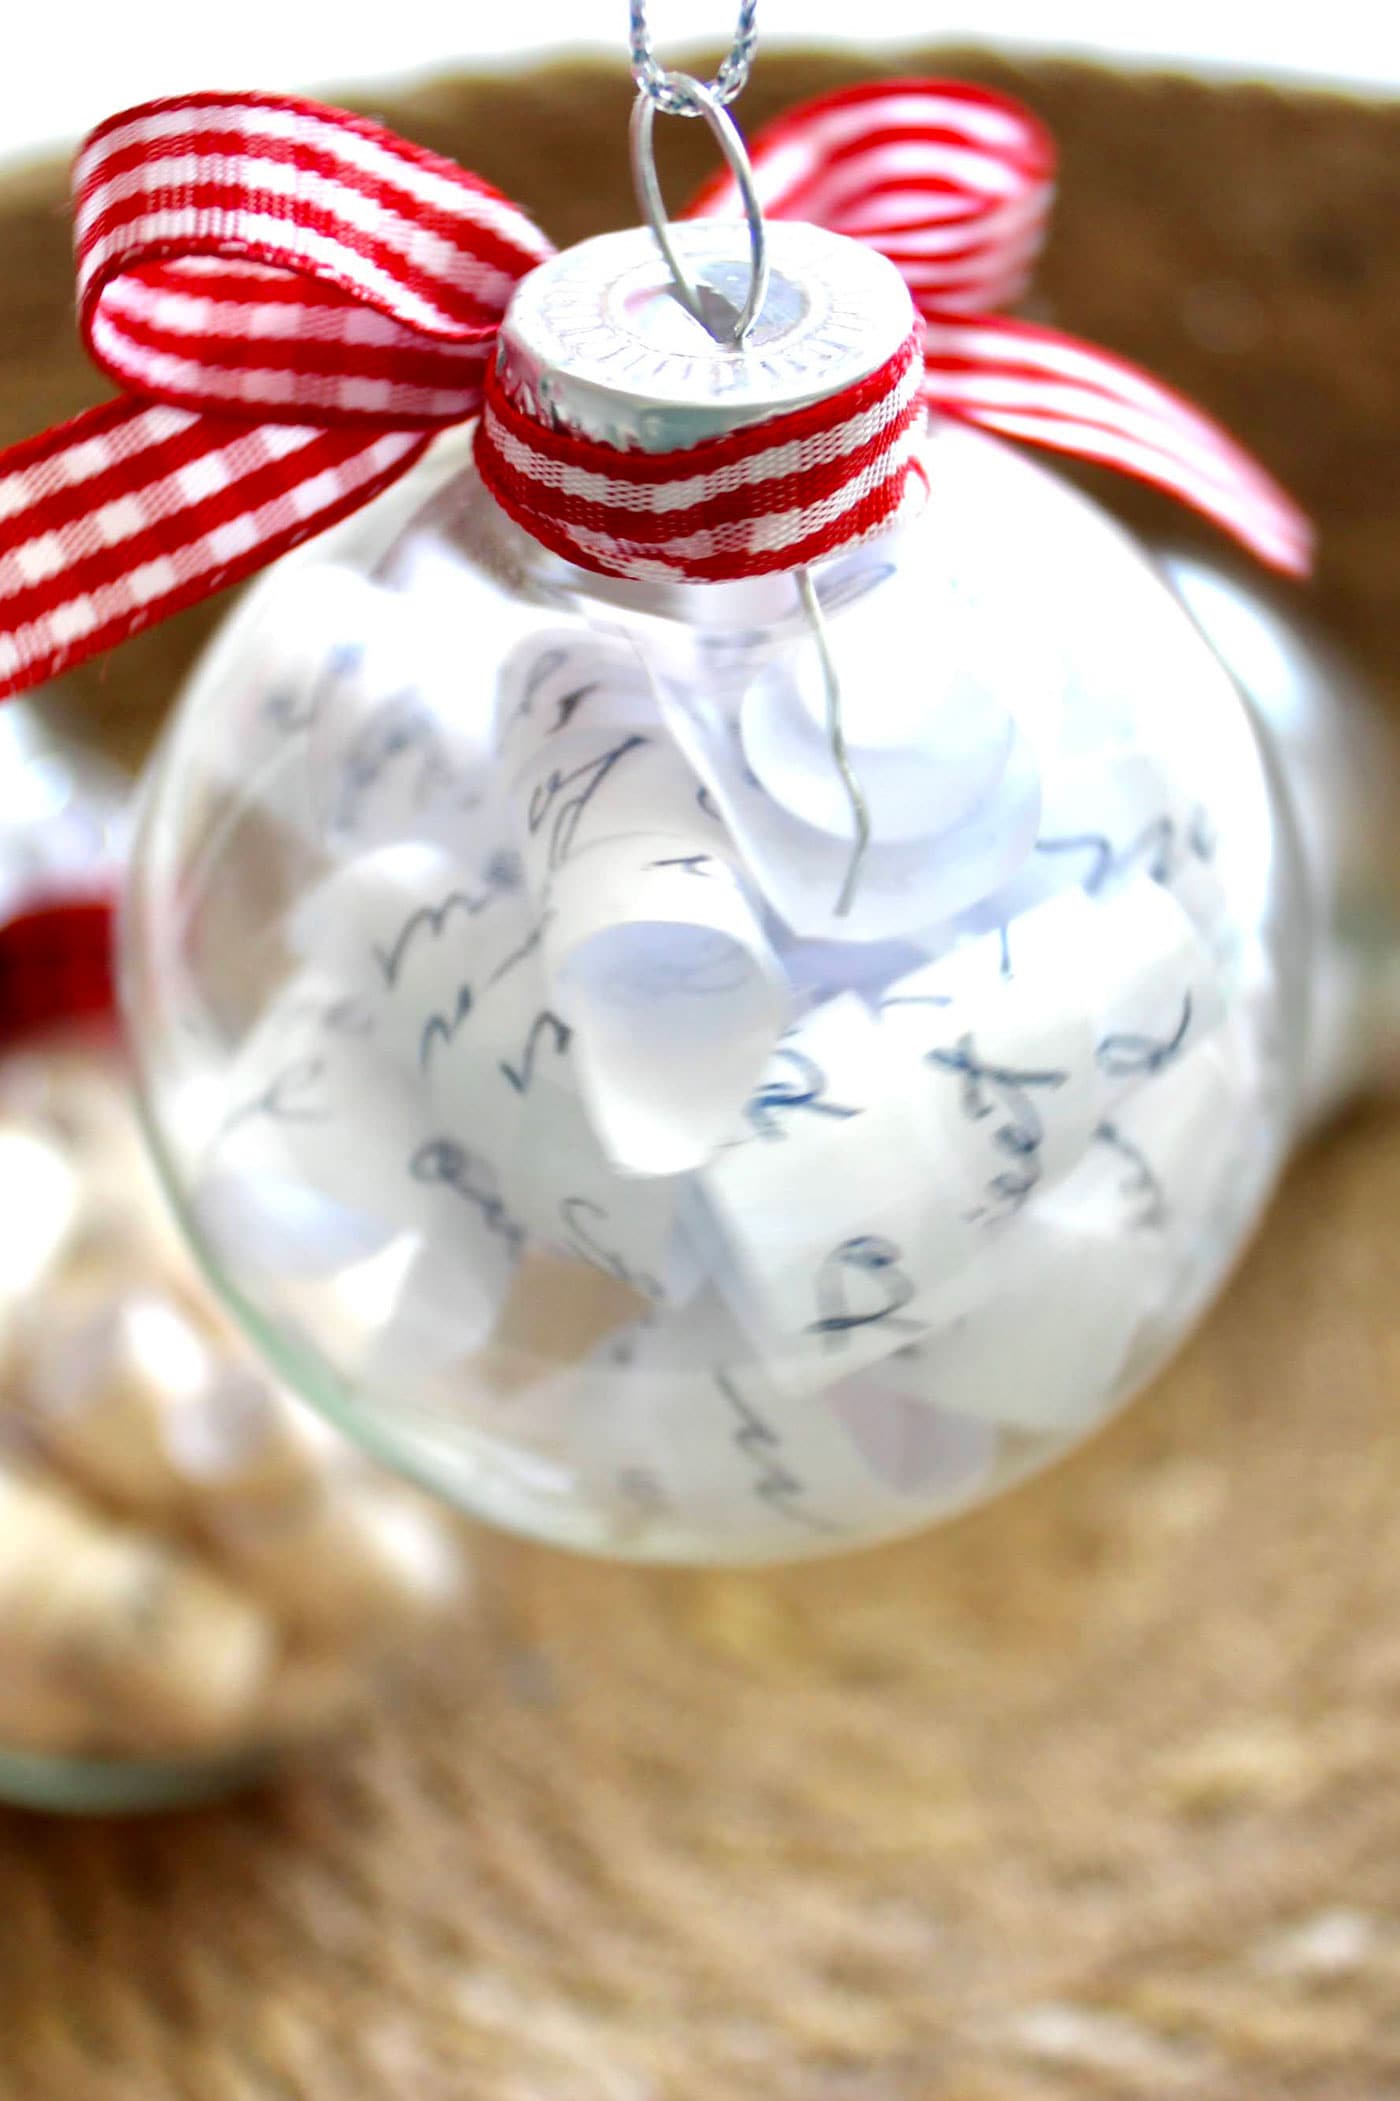
I made several ornaments in memory of loved ones who have passed on. The first is this ornament for my nephew, Jonathan. My sister sent me a scanned sheet of paper with Jonathan’s handwriting on it. I printed it and cut it into strips, which I curled to create this lovely, timeless ornament.
Child’s Artwork
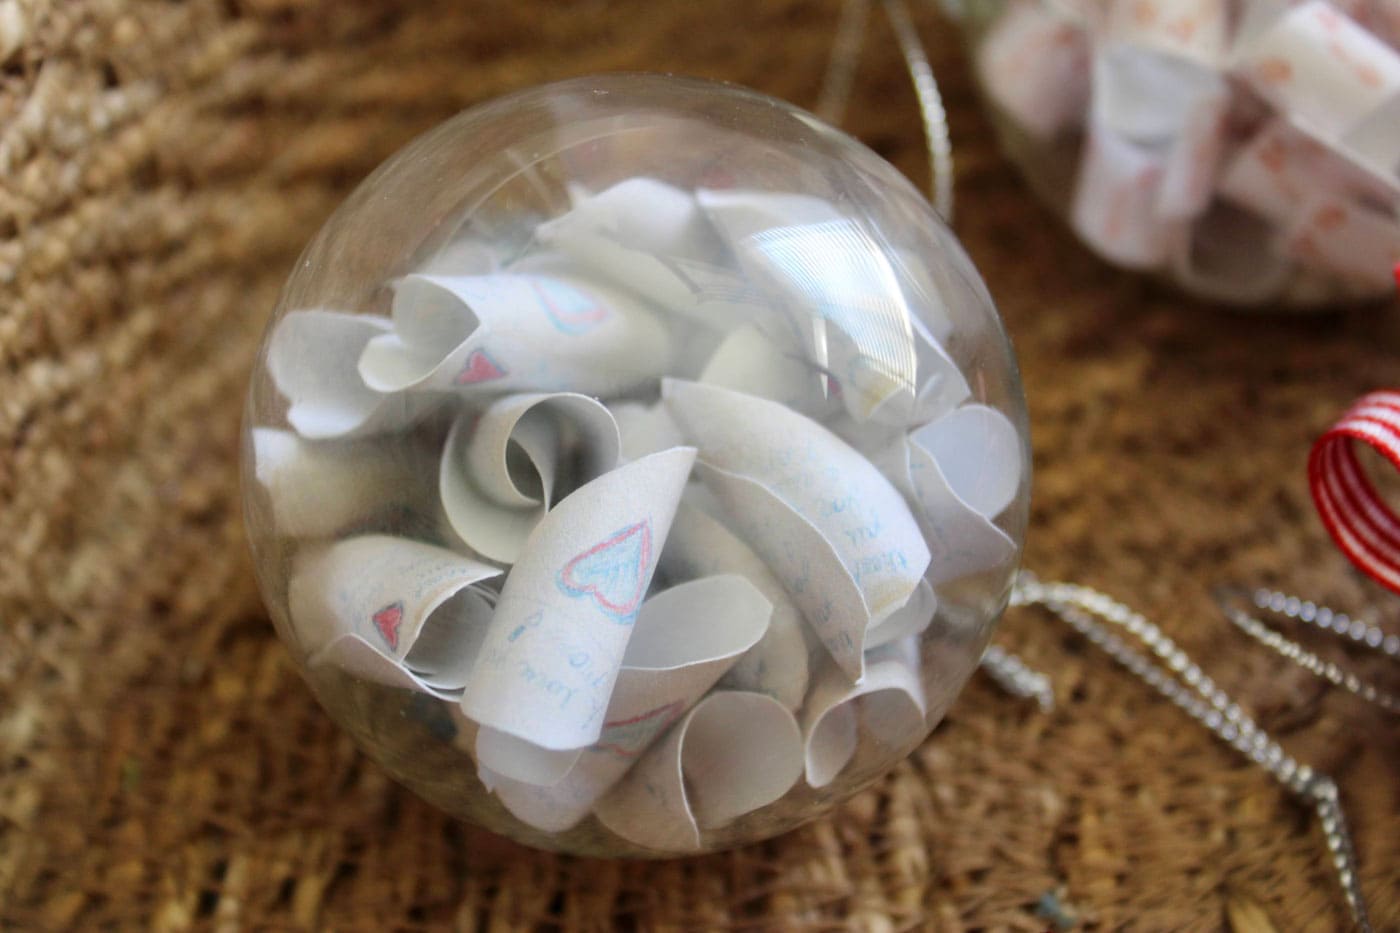
Next, I made this sweet ornament using a little heart drawing made by my niece, Kathryn.
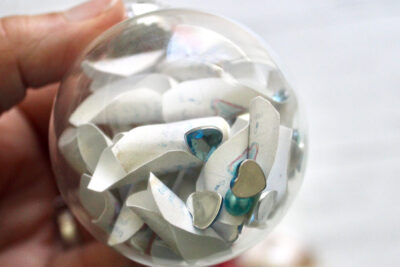
She drew this for her mom just two days before she passed away, so this heart is a treasure. I ran the drawing through my photo editing software and scaled it down to about 1”. Then I copied the scaled-down heart to create a full sheet of hearts, which I printed on card stock and cut out to create this ornament.
Our symbol for Kathryn is blue hearts, so I decided to add these adorable little blue heart gems and blue pearls for an extra personal touch.
Baby Ornaments
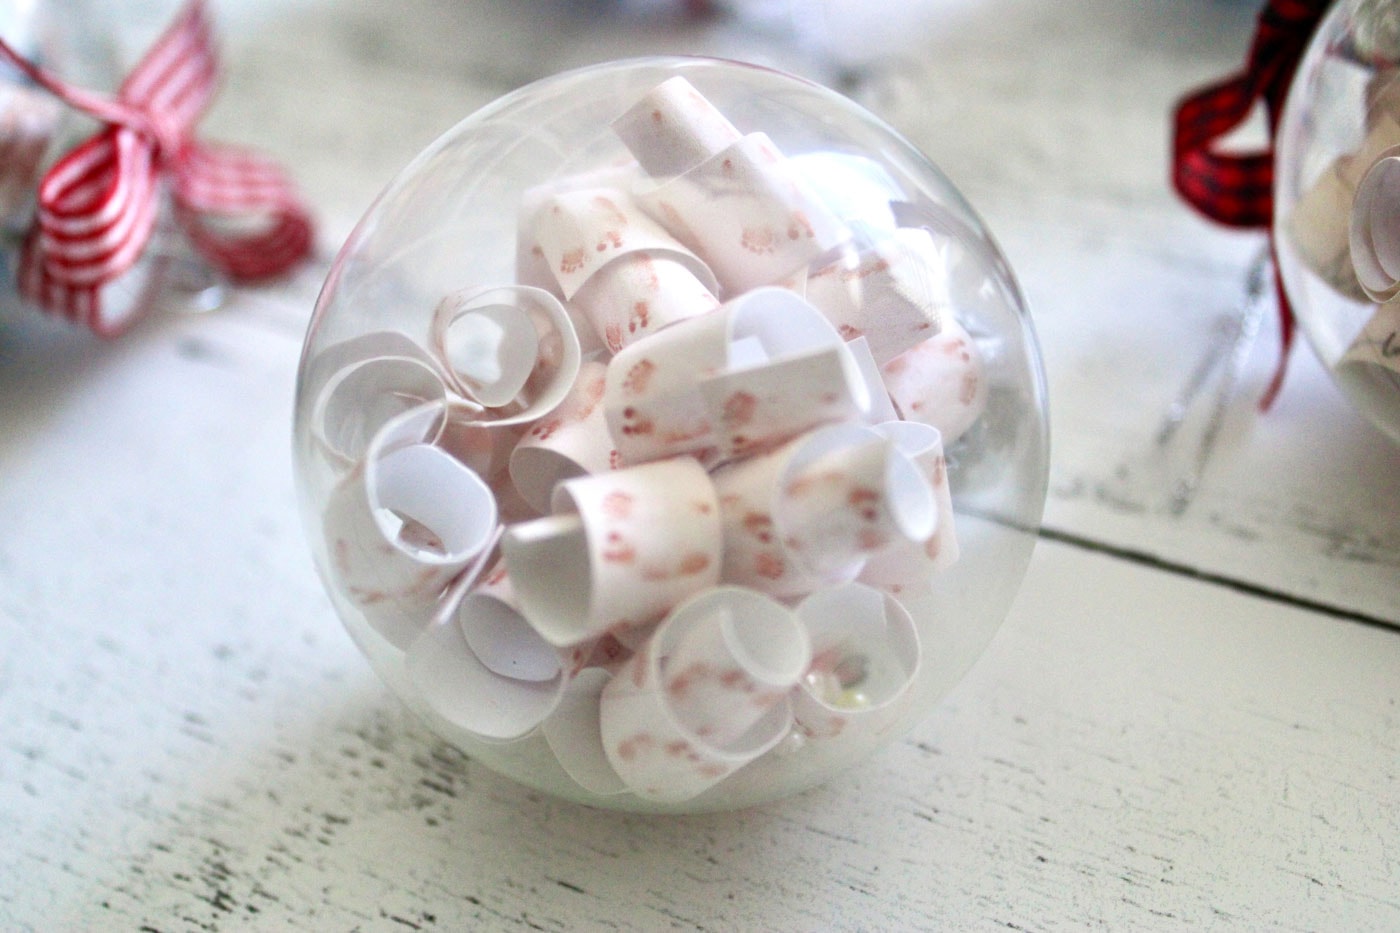
This next ornament would be a lovely way to acknowledge any new addition to the family. Our little girl, Julia Anne, was stillborn at 36 weeks, so this ornament is my way of remembering her and including her in our holiday celebrations.
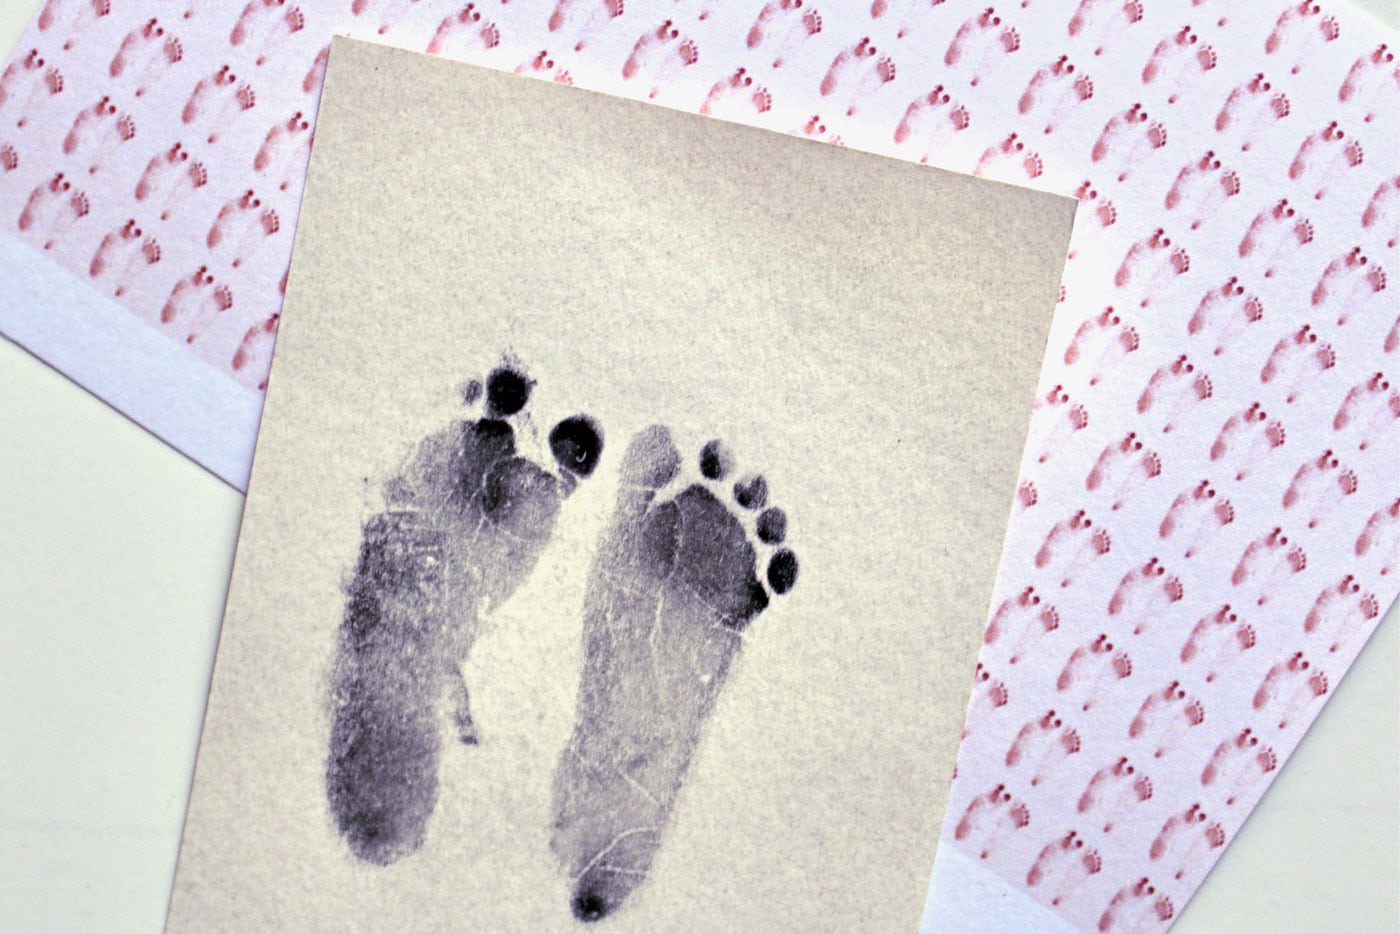
I scanned a little card I have of her footprints and ran it through my photo editing software to create a soft pink sepia look to it. I then shrunk it down so each set of footprints measured about ⅜”.
I wanted the paper strips to be shorter than the others I had done in previous ornaments, so I cut them about 2” long and created short, adorable little curls. I printed these on card stock so they would hold their shape.
Memorial Ornaments
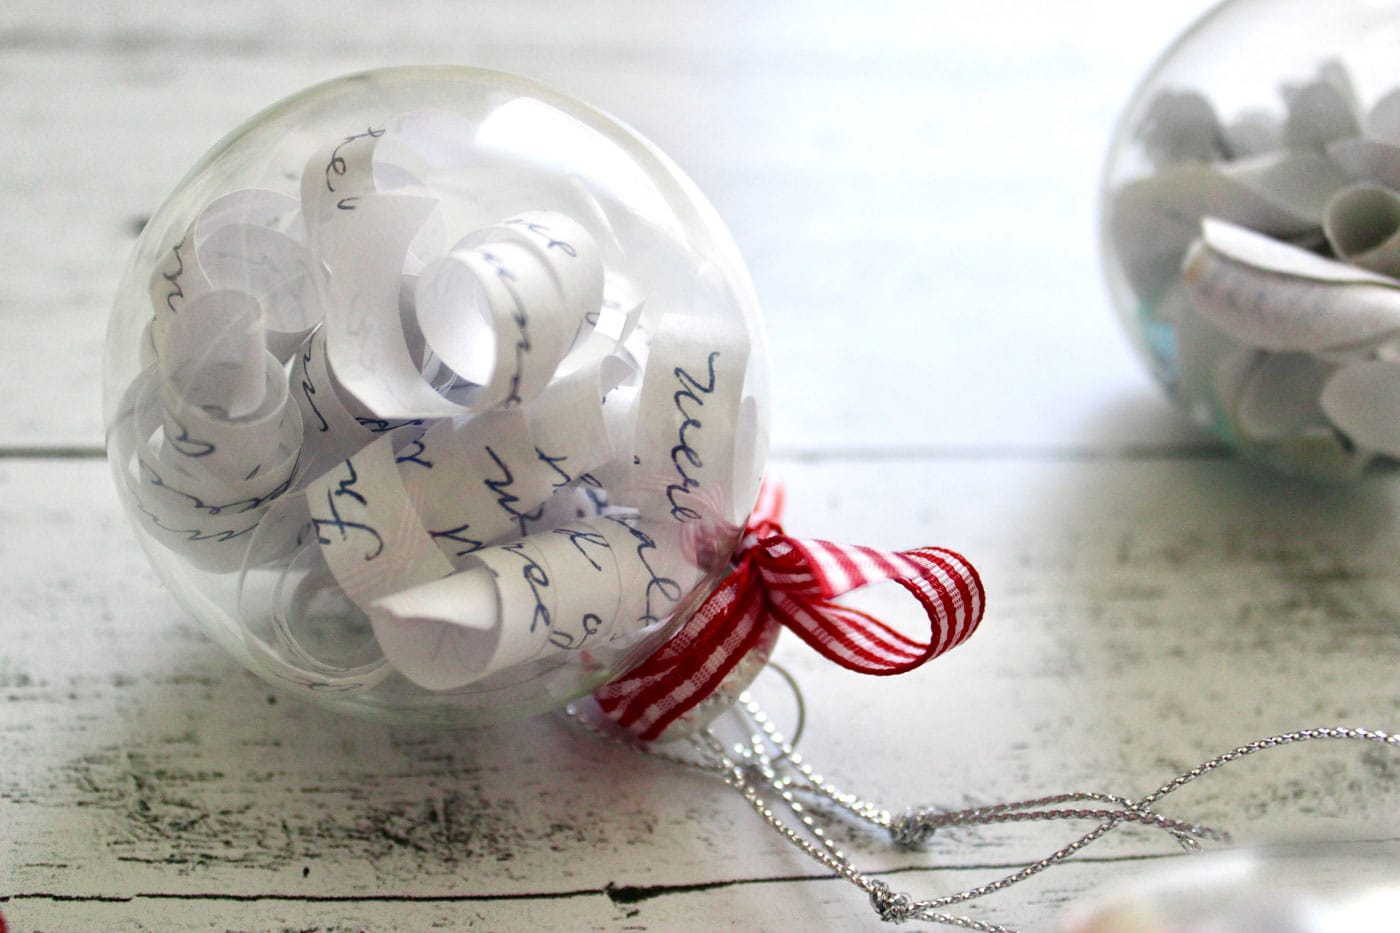
Finally, I really wanted to create an ornament using my mom’s handwriting, and here it is. I scanned a few pages she had written about her life story, although I ended up using less than ½ page (it doesn’t take much!). I LOVE this!
Each of these ornaments are made the same way with just a few variations here and there.
Memory Capsule Christmas Ornament Tutorial
Equipment
supplies
- 1 Clear glass or plastic ball ornament. My ornaments measure 60mm or about 2.5 inches. You can use whatever size you prefer.
- 1 Any printable image you want to use to fill your ornament. Some ideas include: handwriting recipes, maps, artwork, a favorite piece of music, etc.
- 2-3 pieces Paper – I used both regular printer paper and card stock.
- Glitter gems, pearls…small decorative items to add for a personal touch *Optional –
- 1 package 3/8" wide Ribbon to hang ornament
Instructions
Step 1: Gather Images
- If necessary, scan any images you are planning to print, and scale them to the size you want. I didn’t change the scale for the handwriting documents, but I did reduce the scale for the footprints and hearts so they would fit in the ornaments.
Step 2: Print & Cut
- Print documents and cut into strips about ¼” wide and 2-6” long. You can really make these as long as you want. Play around with it and adjust the length until you have the look you desire.
Step 3: Create Curls
- Using a long, thin tool such as a screwdriver, chopstick, or pencil, wrap the strip of paper around the tool to curl it. You can also use scissors to curl the paper like you would with curling ribbon.
Step 4: Insert into Ornament
- Put the curly strips in the ornament along with any decorative baubles you want to add.
Step 5: Optional –
- Replace the ornament top and tie a ribbon around the neck of ornament top. Add a dab of glue to hold it in place if you think it needs it.
- That’s all there is to it! I created a short YouTube video demonstrating how I made the ornaments for all of you visual learners. You can watch the video HERE.
Video
Be sure to subscribe to my YouTube channel and follow me on Instagram for more creative content and project inspiration. Have a blessed day!
About the Maker

Julia Frazier is the founder of Bayhill Studio. Julia designs quilts and projects geared toward beginner quilters and crafters. You’ll usually find her at her sewing machine or hiking in the nearby mountains. Follow Julia on Instagram @bayhillstudio, and subscribe to her YouTube channel for new and exciting projects and tutorials. Be sure to check out her Bayhill Studio website for a growing list of tutorials and patterns.
Also by Julia:
Grandmother’s Groovy Garden Quilt
