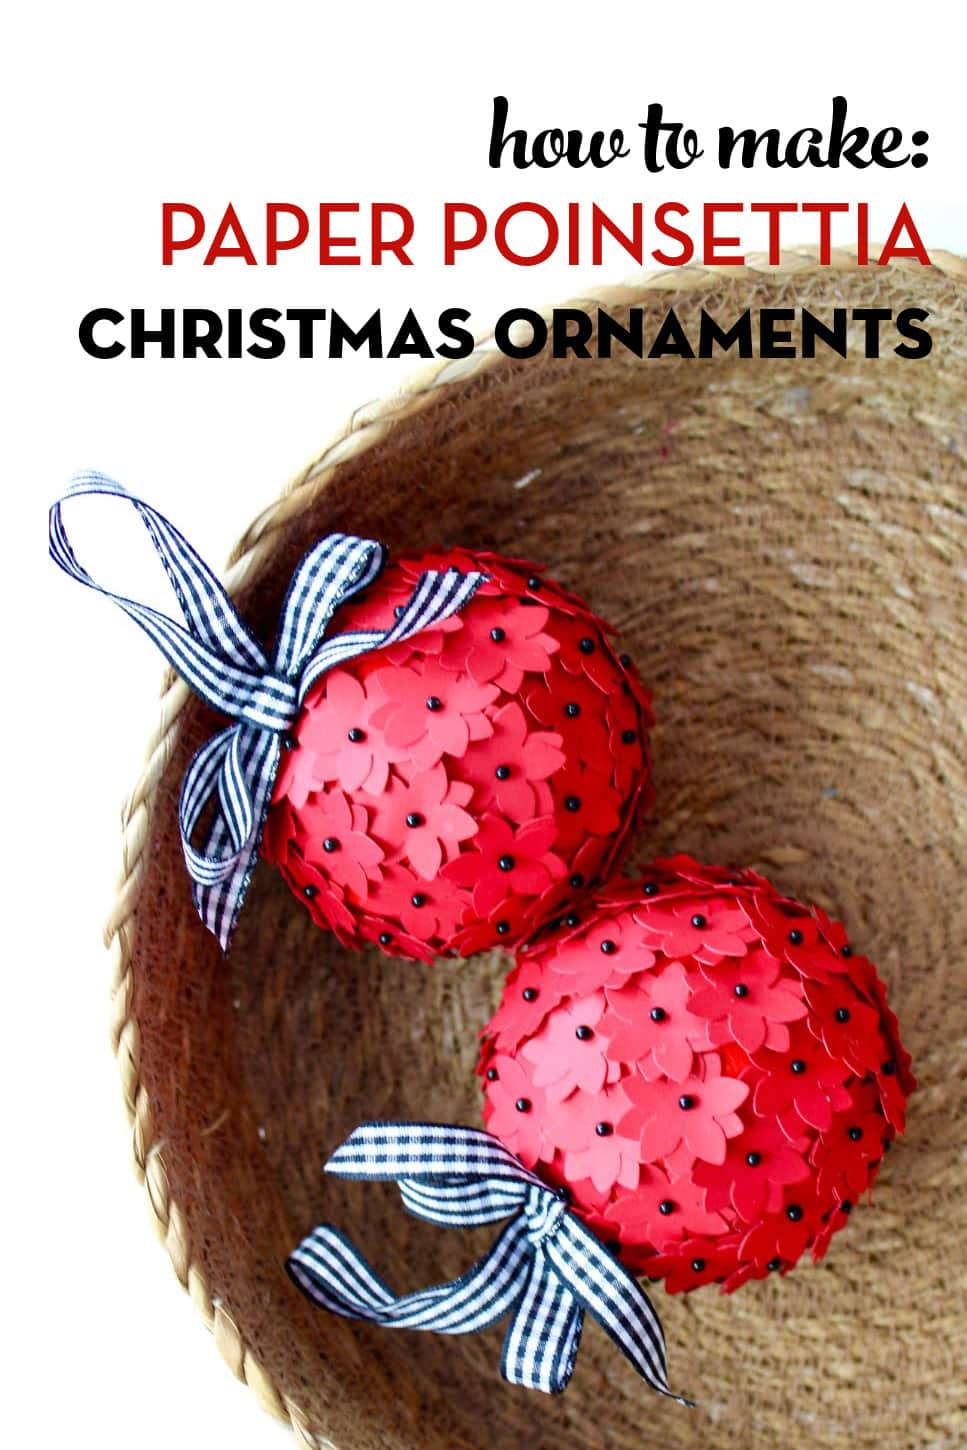
How to Make a Paper Poinsettia Christmas Ornament
These beautiful red and black Poinsettia Christmas Ornaments are so much fun to make and simple too! All you need is a styrofoam ball, paint, pins & paper! No sewing or special skills are required.
Hello friends! It’s Julia from Bayhill Studio. I am starting a series of monthly ornament tutorials, and the first tutorial features the classic red Poinsettia we all associate with the holiday season. If you enjoy crafting with paper, this project is for you!
These ornaments are so easy to make and beautiful that you will want to make extras to give as gifts to family, friends, and coworkers. My advice is to get all of your supplies ready, pop in a good movie, and get started!
Supplies

- 1 – 3” Styrofoam Ball
- Glass Head Straight Pins in the color of choice.
- 5-6 Shirt Pins
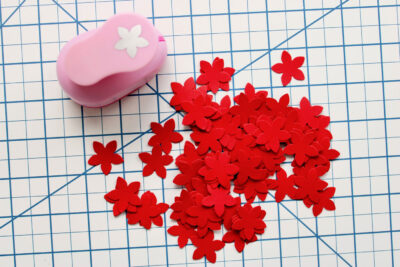
- 25mm Flower Punch.
- ⅜” Ribbon of choice.
- Tacky Glue or any craft glue
- 2-3 sheets of Red Card Stock.
Paper Poinsettia Christmas Ornament Tutorial
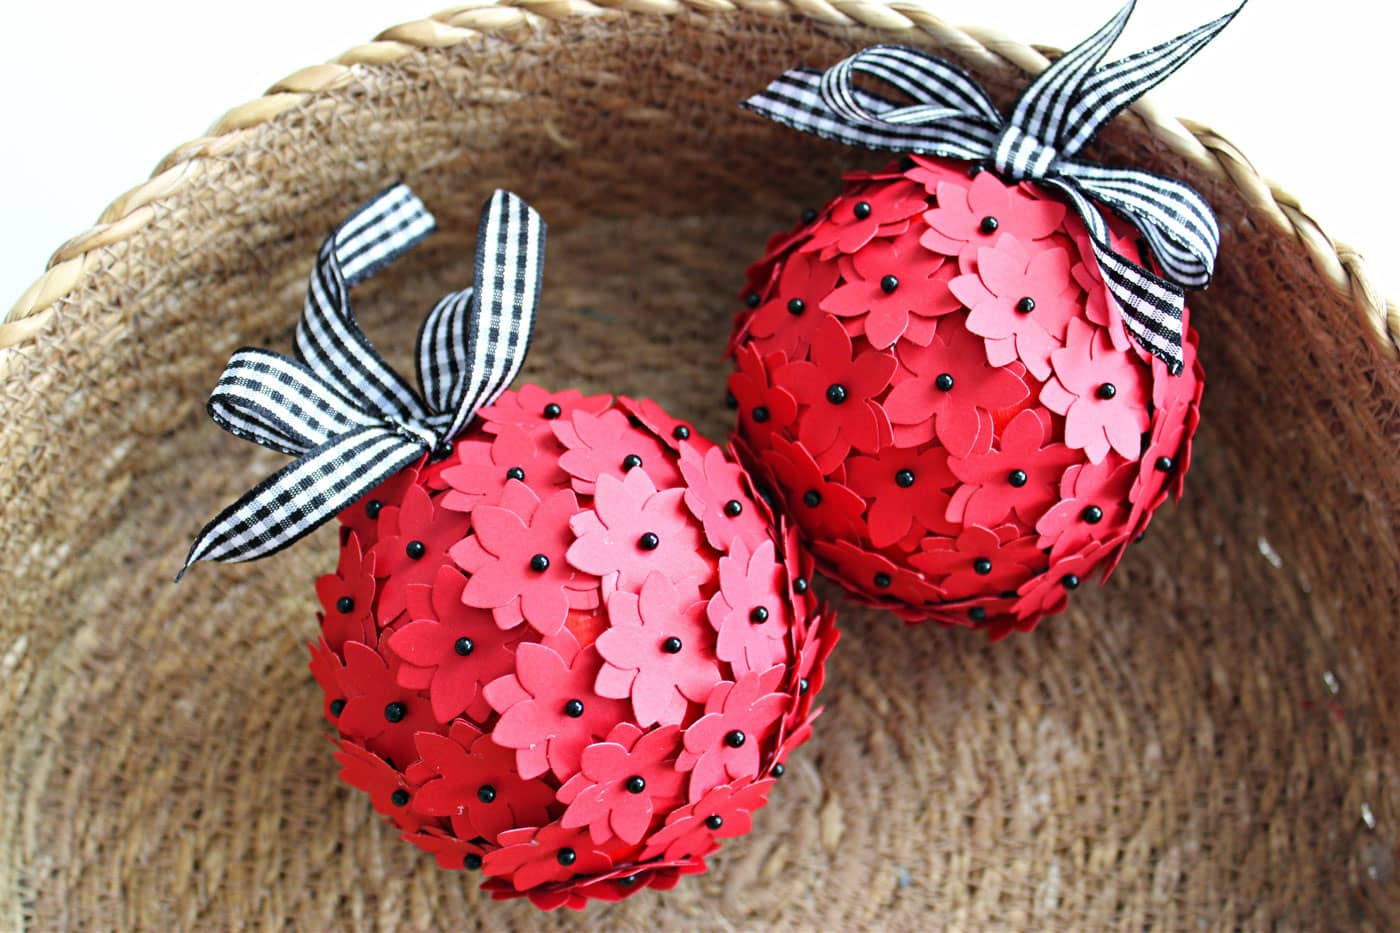
Create a beautiful Poinsettia inspired red and black handmade Christmas ornament from paper flowers.
Equipment
- Flower Paper Punch
supplies
- 1 3" Styrofoam Ball
- 1 box Glass Head Straight Pins in the color of choice
- 5-6 Shirt Pins
- 25 mm Flower Punch
- ⅜ yard Ribbon of choice
- Tacky Glue or any craft glue
- 2-3 sheets Red Card Stock
Instructions
- Step 1: Begin by painting the styrofoam ball red. This step is important so that the white styrofoam doesn’t show through from behind the flower petals.
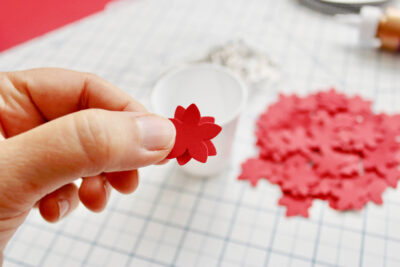
- Step 2: Punch out the flowers. I used a little over 2 sheets of card stock to cut out enough flowers for one ornament. Set the flowers aside until Step 5.

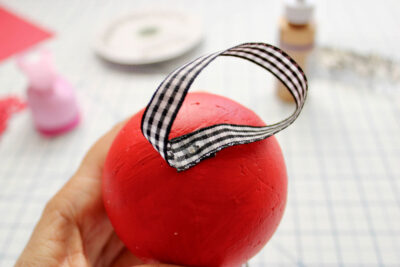
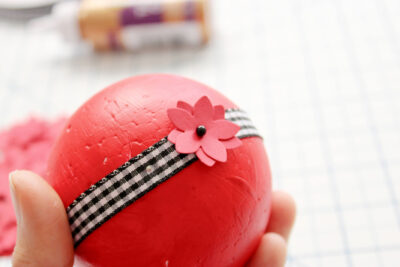
- Step 3: Cut a 7” length of ribbon. Fold over the ends and insert a shirt pin through the overlapping portion. Dip the straight pin into the craft clue and insert the pin into the foam ball along the “equator line” marked on the ball. If your foam ball doesn’t have a line, that’s fine as it will not make a difference.
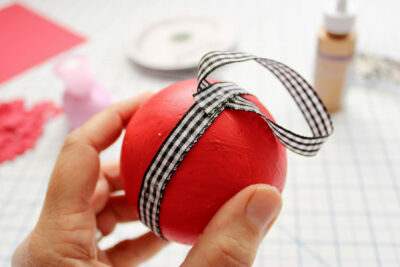
- Step 4: Cut another length of ribbon, approximately 11” long and wrap it around the center line on the ball so that the ends overlap over the loop in Step 3. Dip straight pins in glue and insert along several points to hold the ribbon in place (I inserted four pins at roughly four quadrants of the circumference).
- The final pin holds the ends in place as shown. Notice the overlapping ends are directly over the overlapping ends of the loop in Step 3. Each time you insert a pin, first dip the end of it in glue.
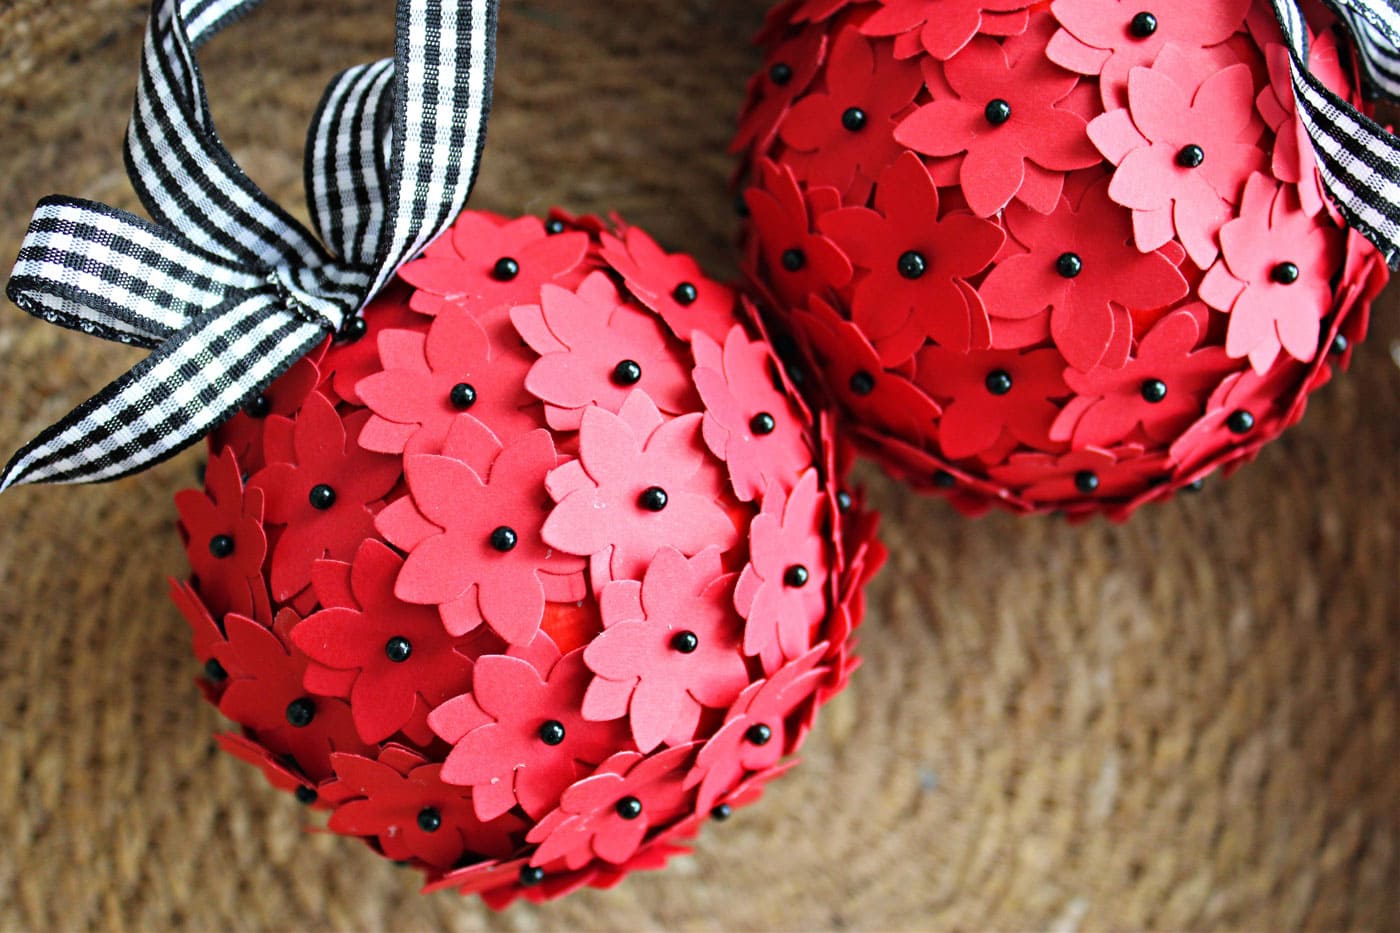
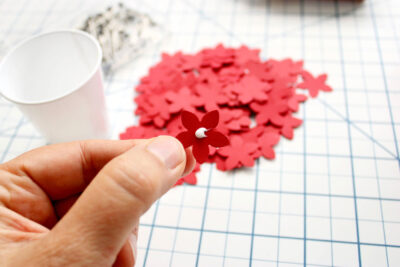
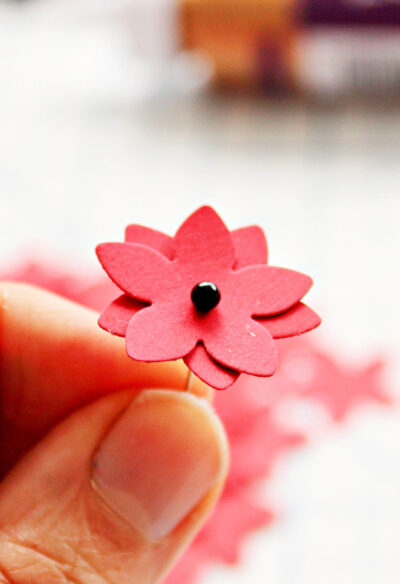
- Step 5: Gather up your flowers, it’s time to start adding them to the ornament! To create the Poinsettia look, take one flower and add a dab of glue to the center.
- Step 6: Place another flower on top of the first so that the petals are alternating as shown here.
- Step 7: Insert a Glass Head Pin through both layers of paper flowers to create the Poinsettia.

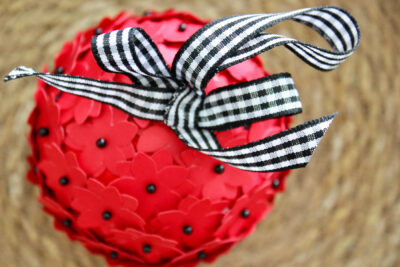
- Step 8: Dip the end of the pin in the glue and insert it into the foam ball. Continue until the entire ball is covered.
- **Note: I like to “pinch” my loop, so I doing pin any flowers in-between the loop. Instead I pin a flower on all four sides. Watch my YouTube video where I demonstrate exactly how I do this.

Love this tutorial? Get the behind the scenes on Instagram
Love this do you have a book?
Thank you for all of the wonderful ideas and projects you are sharing.