Scandinavian Cross Stitch Ornament Pattern
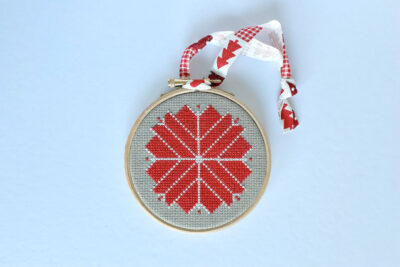
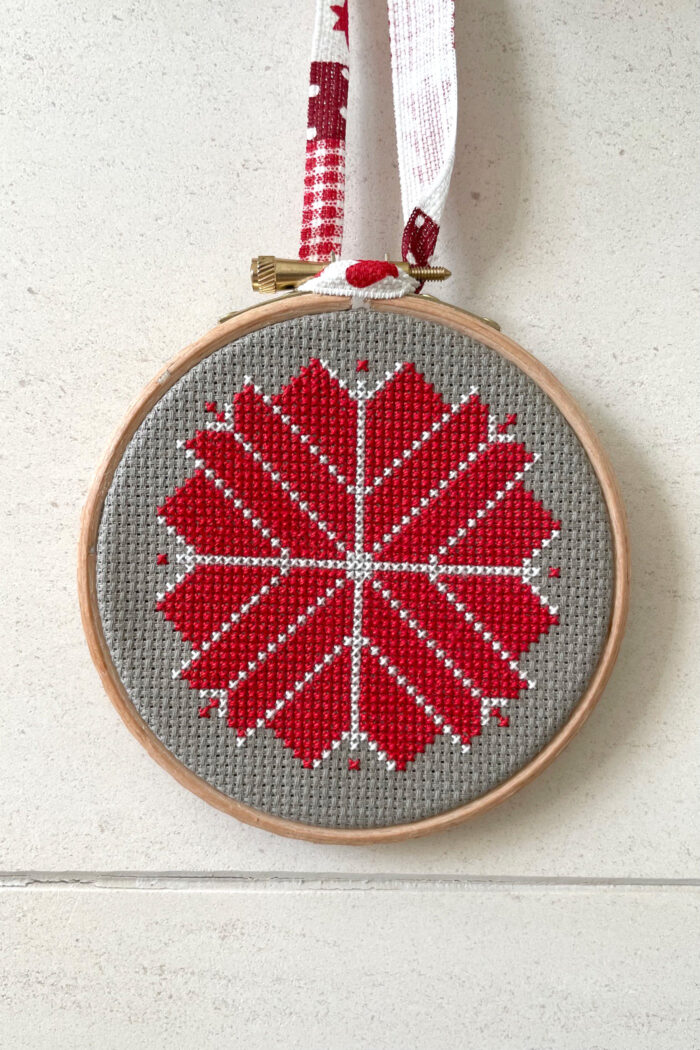
Create a beautiful cross-stitched red & white Scandi style Christmas ornament with this free Scandinavian Star Cross Stitch Ornament Pattern.
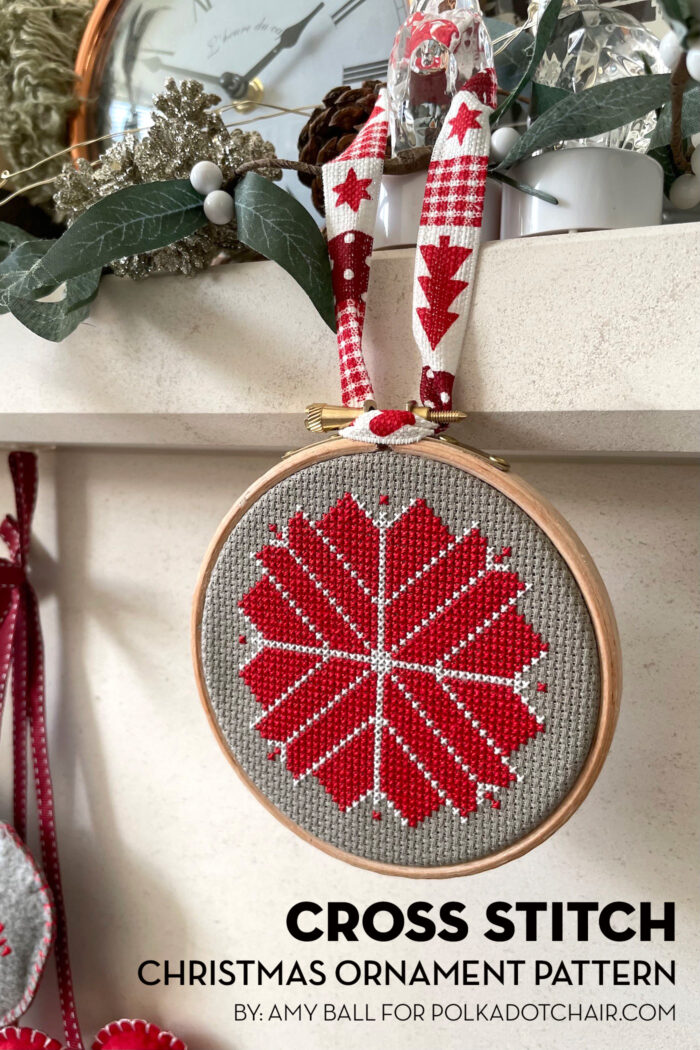
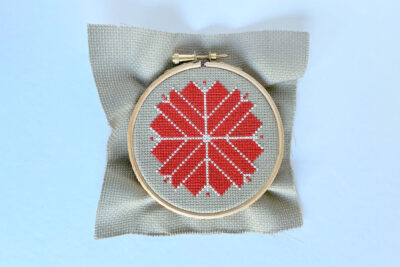
My family is from Norway & Iceland, I think because of that I have always absolutely adored Scandinavian-inspired Christmas decorations! This free pattern by Amy Ball features a beautiful red and white Scandinavian Star cross stitch design.
Cross stitch is such a lovely craft for winter evenings, curled up on the sofa. For me, the combination of hand sewing and the guidance of the cross stitch fabric is perfect for an easy, low concentration make…and that means it’s perfect for beginners too.
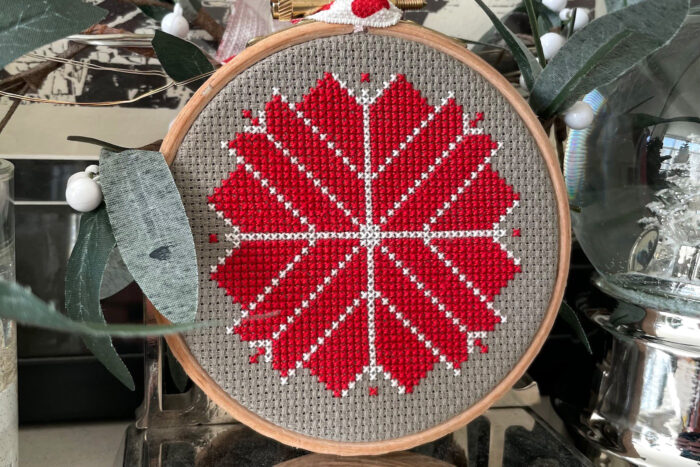
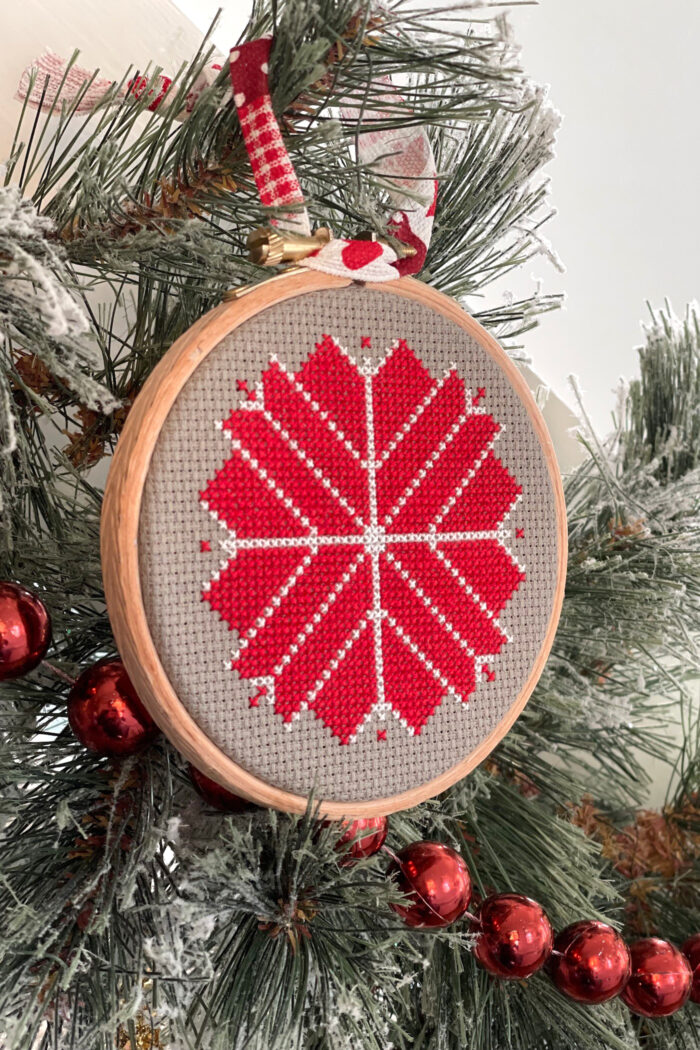
Hang up this little hoop for Christmas or just as part of your winter season decor; I think the Scandic-style colors and design make it great for a handmade Christmas ornament decoration that lasts beyond December.
What Fabric Should I use for a Cross Stitch Ornament?
Aida fabric is the go-to for most cross-stitch projects. It is a precise square pattern weave of fabric that is perfect for cross stitch. The holes are very visible, making it a great choice for beginners. Aida fabric comes in a multitude of colors.
What Does “14 Count” Mean?
For this project, you will want to use 14 count Aida fabric. 14 refers to the number of squares per inch of fabric. So the smaller the count number, the fewer squares of fabric per inch, which gives you LARGER stitches. The inverse is also true.
What is the Best Size for an Embroidery Hoop Ornament?
I don’t think there is really a “best” size for an ornament, anything that you like would be wonderful. I do notice, however, that most Christmas ornaments made with embroidery hoops feature a 4″ diameter hoop.
How to Get the Pattern Piece
Just fill out the form below and we will email you a copy of the cross stitch pattern. You will still need to read the directions on this post to complete your project.
How to Make a Cross Stitch Christmas Ornament
Scandi Star Cross Stitch Ornament Pattern
supplies
- 4 inch
Embroidery hoop
- 6 1/2 inch Square 14 count Aida Cross Stitch Fabric
- 4 inch Diameter circle of felt
- 1 skien Red embroidery thread
- 1 skien White embroidery thread
- 1 piece Ribbon for hanging
- 1
Cross stitch design pattern
fill out the form on the blog page to have the ornament pattern sent to you.
Instructions
Preparation
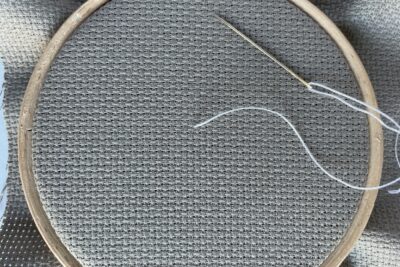
- Secure the Aida square into the embroidery hoop, making sure the hoop’s screws are at the centre top and the fabric is even with the holes running straight up and down and across.
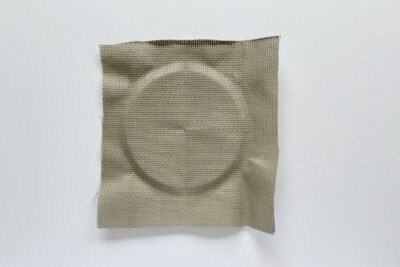
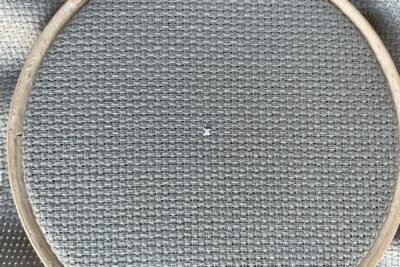
- Find the center of the circle. The easiest way to do this is to remove the Aida from the hoop. You should see the indentation where the hoop has been.
- Mark this with a small dot then smooth out the folds and put the Aida back in the hoop being careful to use the original hoop marks to get it back in the same position.
Cross Stitch
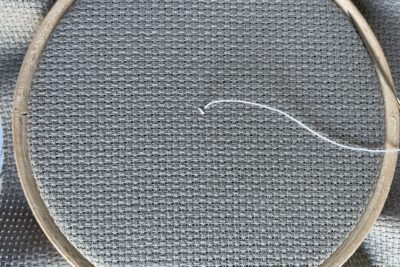
- How to form a cross-stitch. Bring your needle up through the top left hole of the “square” you are creating the stitch over then go down the bottom right hole.
- Then come up the top right hole and finally go down the bottom left hole. This will have created two small diagonal lines that overlap to create a cross.
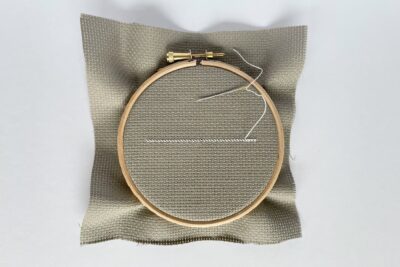
- The pattern shows the cross stitch design and has the center point indicated. It’s up to you the order you add the stitches but I prefer to work in rows sewing the first side of the X all the way from left to right and then come back finishing the other side of each X.
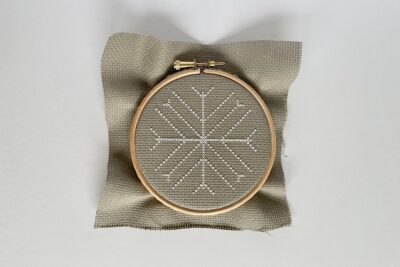
- I’d recommend doing all of one color and then swapping to the second color.
- Complete the white stitches then add the red stitches according to the pattern.
Finishing
- After you have completed the red and white cross stitch you are ready to turn the stitching pattern into an ornament.
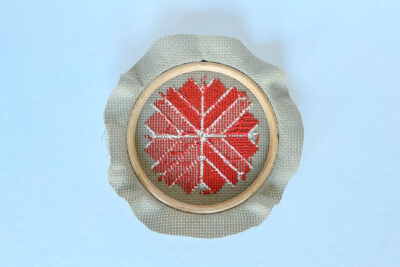
- Trim the excess fabric around the embroidery hoop to about an ¾” border.
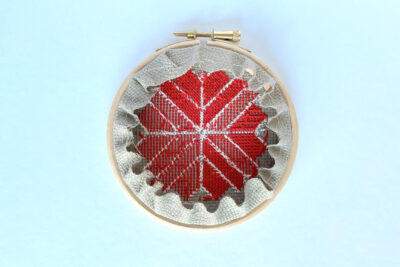
- As Aida is slightly stiffer than other fabrics you can gently scrunch it into the center and press it to hold in place. Or if you prefer, you can sew a large basting stitch close to the edge of the fabric then gently pull the thread ends to gather the excess fabric.
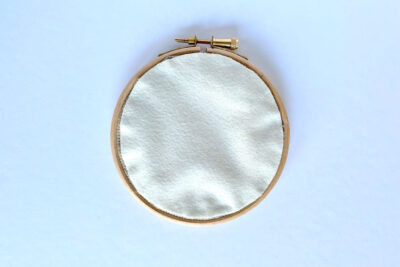
- Attach the 4” felt circle to the back; you can glue it in place or secure it with a running stitch.
- To finish, loop a ribbon around the top of the embroidery hoop.
About the Designer

Amy lives in the north of England with her husband and son. When she’s not sewing and quilting, Amy can usually be found baking or reading. You can find her on Instagram @amyatthegate
Also by Amy:
Guide to (near) Perfect Patchwork
