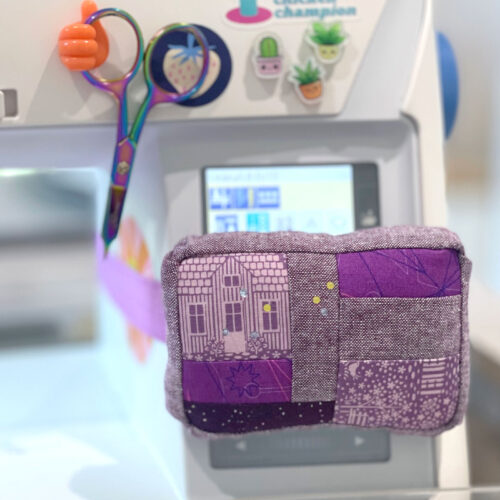
Sew Smart! Make a Pincushion That Attaches to Your Machine
Learn how to make a pincushion that attaches to a sewing machine with our free sewing pattern!
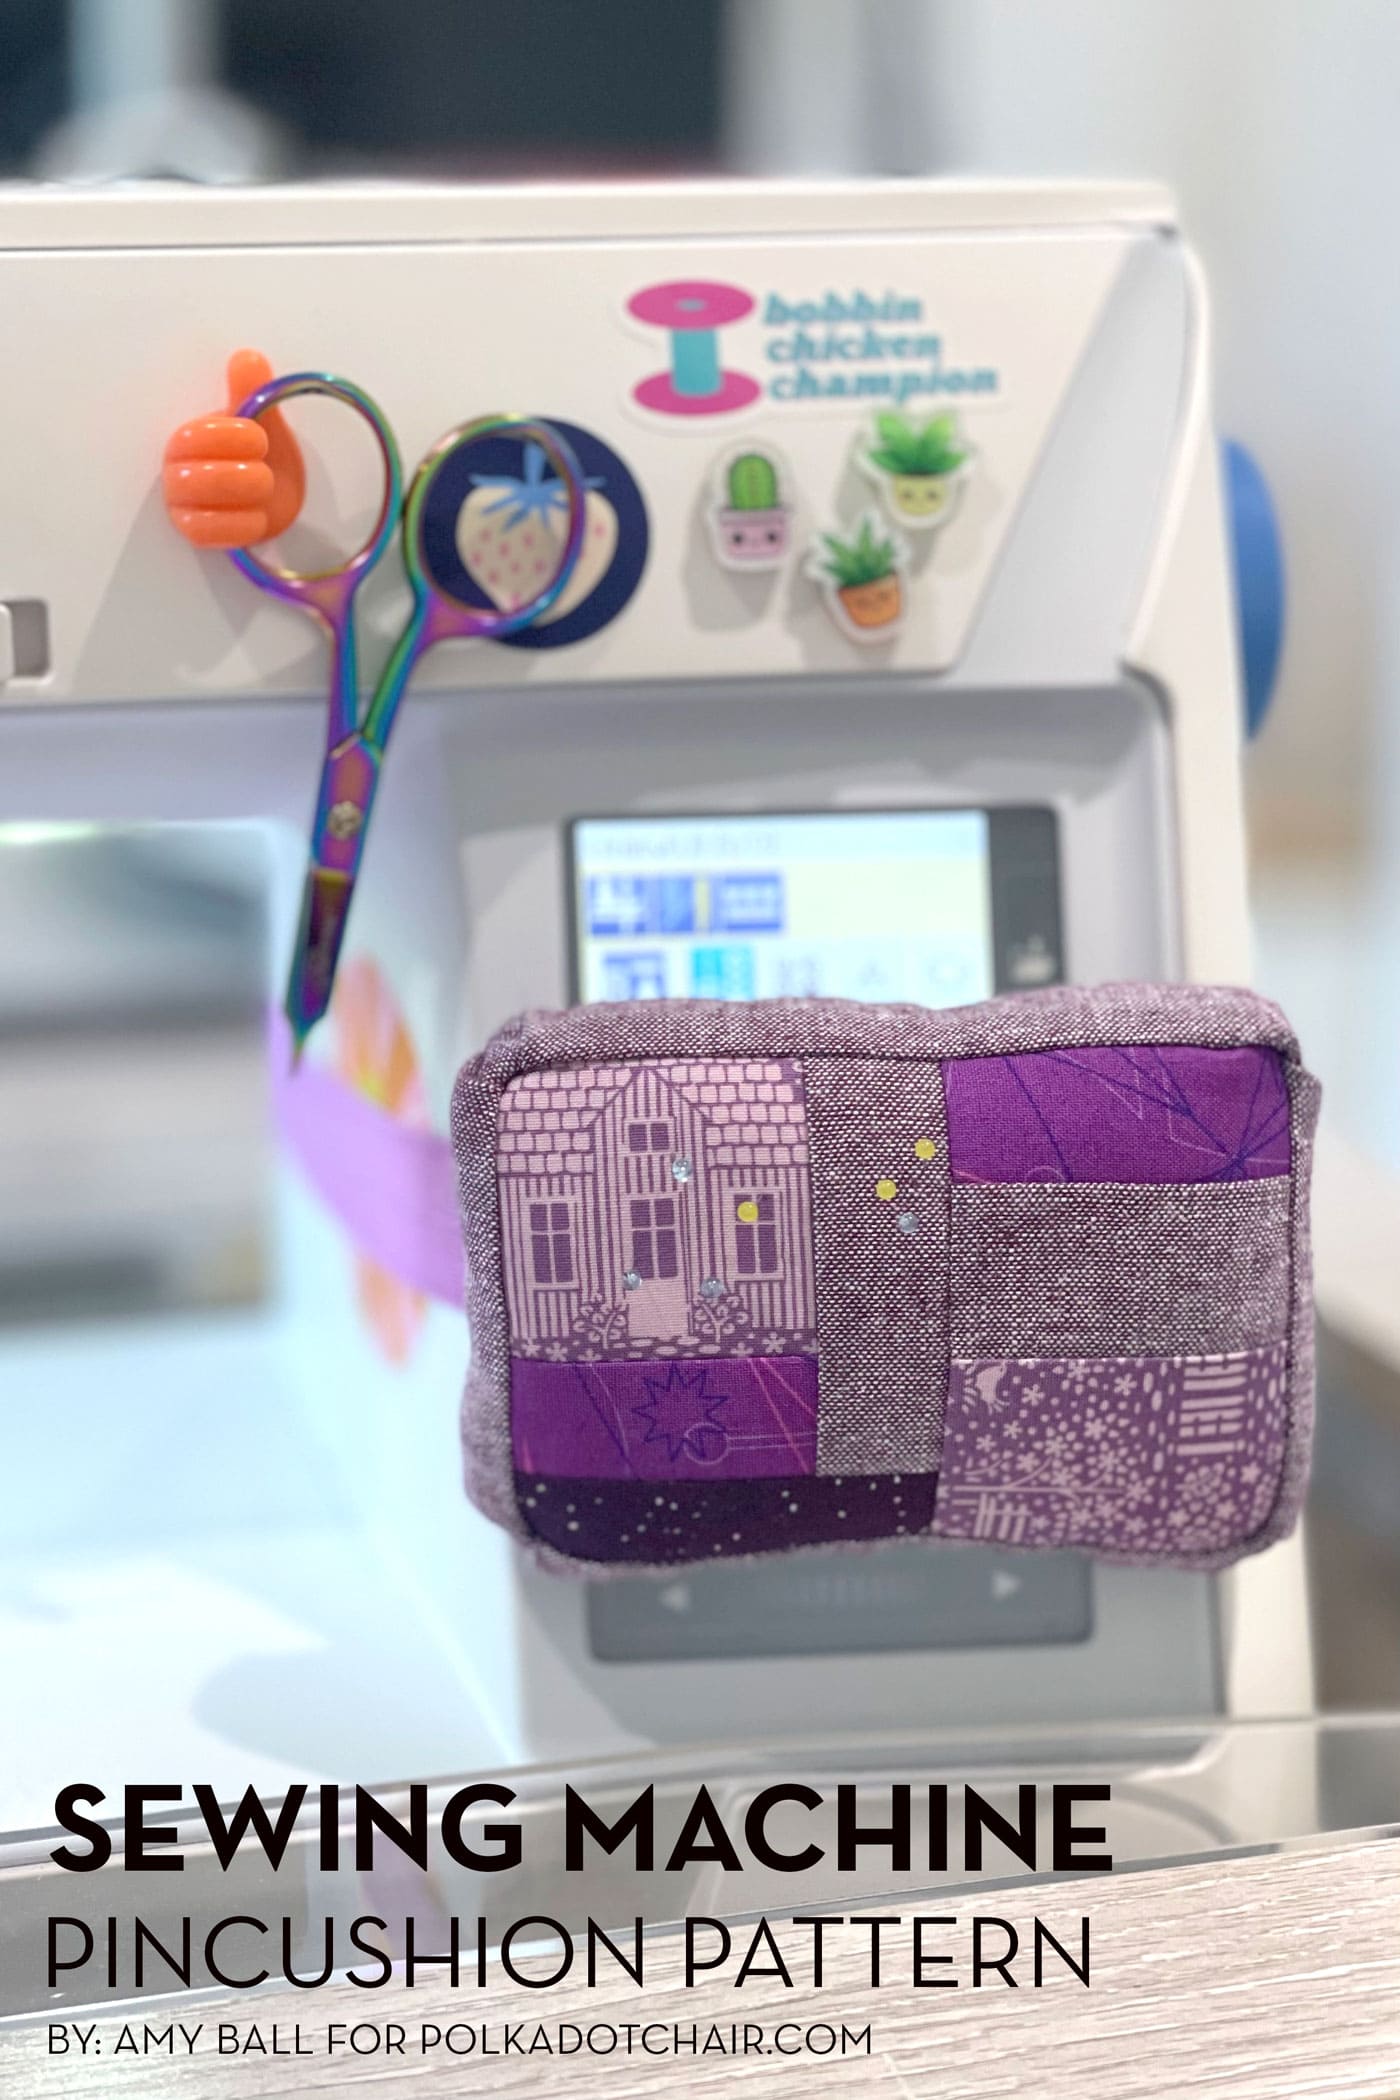
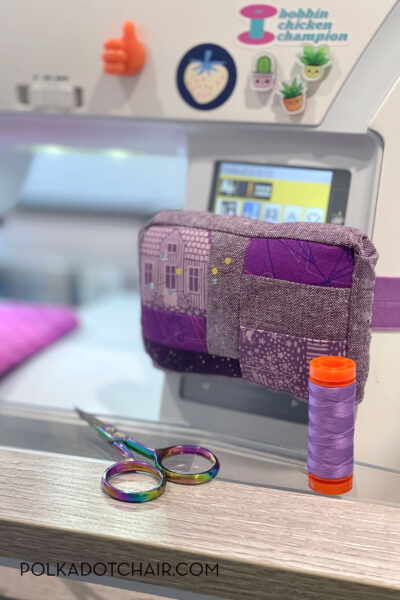
If you’re constantly moving your pin cushion around your sewing space and losing track of where it is, this is the make for you! A pin cushion that slips around your sewing machine and stays in place thanks to a bit of elastic!
This is a great scrap buster and a fun way to use up some very small pieces of fabric. You could also use some of those beautiful selvages you’ve saved for just the right project.
Project Details
info
- Skill Level: Confident Beginner
- Finished Size: Approximately 3″ x 4 1/2″ x 1″
- Techniques Used: Simple Patchwork Piecing, Elastic Insertion, Stuffing
Materials Needed
- Main Fabrics: At least three different fabric scraps
- Fat Eighth: Sides/Back Fabric
- Batting: 5½” x 4” rectangle
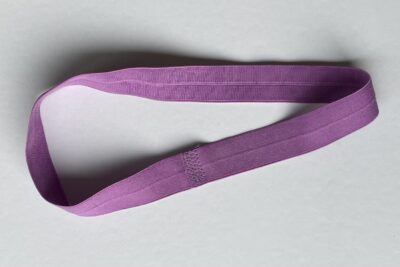
- 1” Wide Elastic (length depends on the size of your sewing machine (I used about 15”)
- Stuffing
Sewing Machine Pincushion Pattern
Sew a pincushion that attaches to your sewing machine with an elastic with our sewing pattern.
Equipment
supplies
- 3 Large Scraps Main Fabrics
- 1 Fat Eighth Sides and Back Fabric
- 1 piece Stuffing 5½” x 4” rectangle
- 1 piece 1” Wide Elastic length depends on the size of your sewing machine (I used about 15”
- 1 package Stuffing
Instructions
Cutting:
- From Sides/Back Fabric cut 1½” x 4” (2), 1½” x 5½” (2), 2” x 3” (1), and 5” x 3½” (1).
- Main Fabrics will be cut as you go along.
- Instructions for measuring/cutting elastic will come later on.
Construction:
- Use a ¼” seam allowance unless otherwise stated.
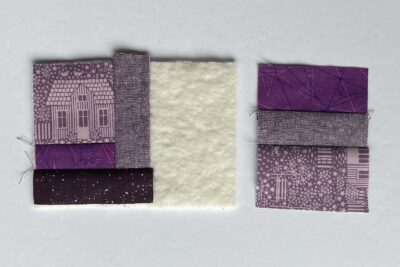
- We are going to use Improv Patchwork to cover the rectangle of batting. You can do this in any way you’d like (especially if you have used a technique for Improv Patchwork before), but I have also made some instructions to follow if you’re unfamiliar with the technique or simply prefer a little extra guidance. Mix up your selection of Main Fabrics as you go so you don’t end up with two of the same next to each other.

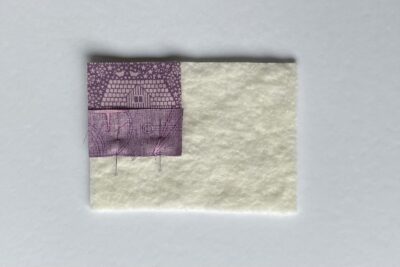
- Cut out a 2½” square and place it in the top left corner of the batting rectangle. Then cut out a 2½” x 1¼” rectangle and pin this, right sides together, matching the long edge of the rectangle to the bottom edge of the square.
- Sew together (going through the two layers of fabric and the batting) and then press the rectangle down.
- Now cut out a 1½” x 3½” rectangle and pin it, right sides together, to the right edge of the section you created in step 3. Sew and then press the rectangle to the right.
- Cut out a 1¼” x 3½” rectangle and pin it, right sides together, to the bottom edge of the section you created in step 4. Sew and then press the rectangle down. The left half of the batting should now be covered with fabric. Don’t worry if the fabric is overhanging the batting a little bit; it will be trimmed down later.
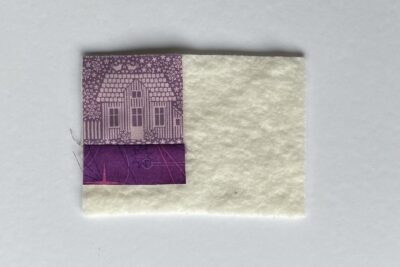
- To fill the right half of the wadding, we’re going to make a simple patchwork section. Cut out three rectangles as follows: 2½” x 1½”, 2½” x 1½”, and 2½” x 2”. Sew together, in this order, matching long edges of the rectangles and then press the seams to the side.
- Take the unit from step 6 and pin it, right sides together, to the right edge of the fabrics already on the batting.
- Sew and then press the patchwork rectangle to the right. The batting should now be completely covered. If it is not, add some more pieces of fabric using the same method. Don’t worry about small gaps at the edge as these will be trimmed off.
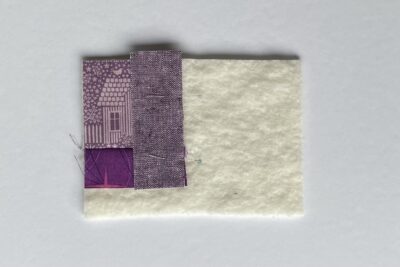
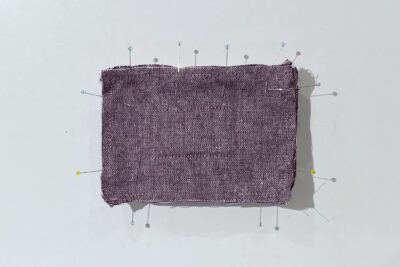
- Trim the patchwork-covered wadding rectangle to 5” x 3½”. Sew around the four sides using a ⅛” seam allowance to secure the edges. This is now the Pin Cushion Front.
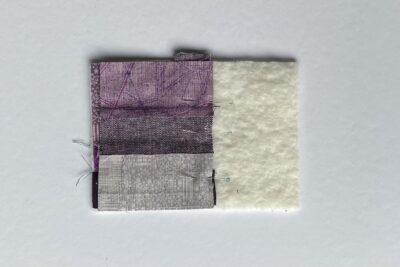
- Take one Side/Back Fabric 1½” x 4” rectangle and one Side/Back Fabric 1½” x 5½” rectangle. Sew, right sides together, matching short edges. Repeat to make a second set. Back stitch on all the sewn seams.
- Take the two pairs of rectangles from step 10 and sew together to make one long length, with the rectangle sizes alternating (e.g. long rectangle, short rectangle, long rectangle, short rectangle). Back stitch on all the sewn seams.
- Sew together the two remaining short edges to make a ring (don’t forget to back stitch!). Press all four seams open.
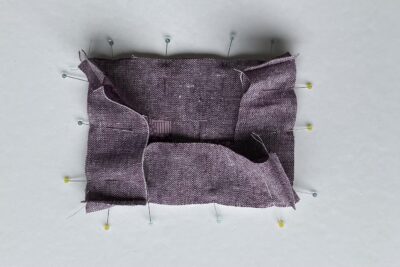
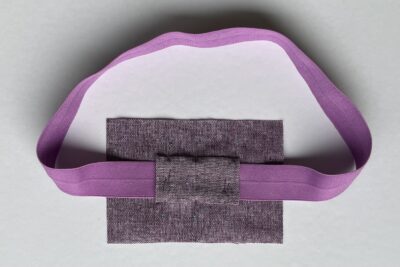
- Pin the ring you made in step 12, right sides together, to the Pin Cushion Front. Match the seams of the ring to the four corners of the Pin Cushion Front and then pin along the lengths in between.
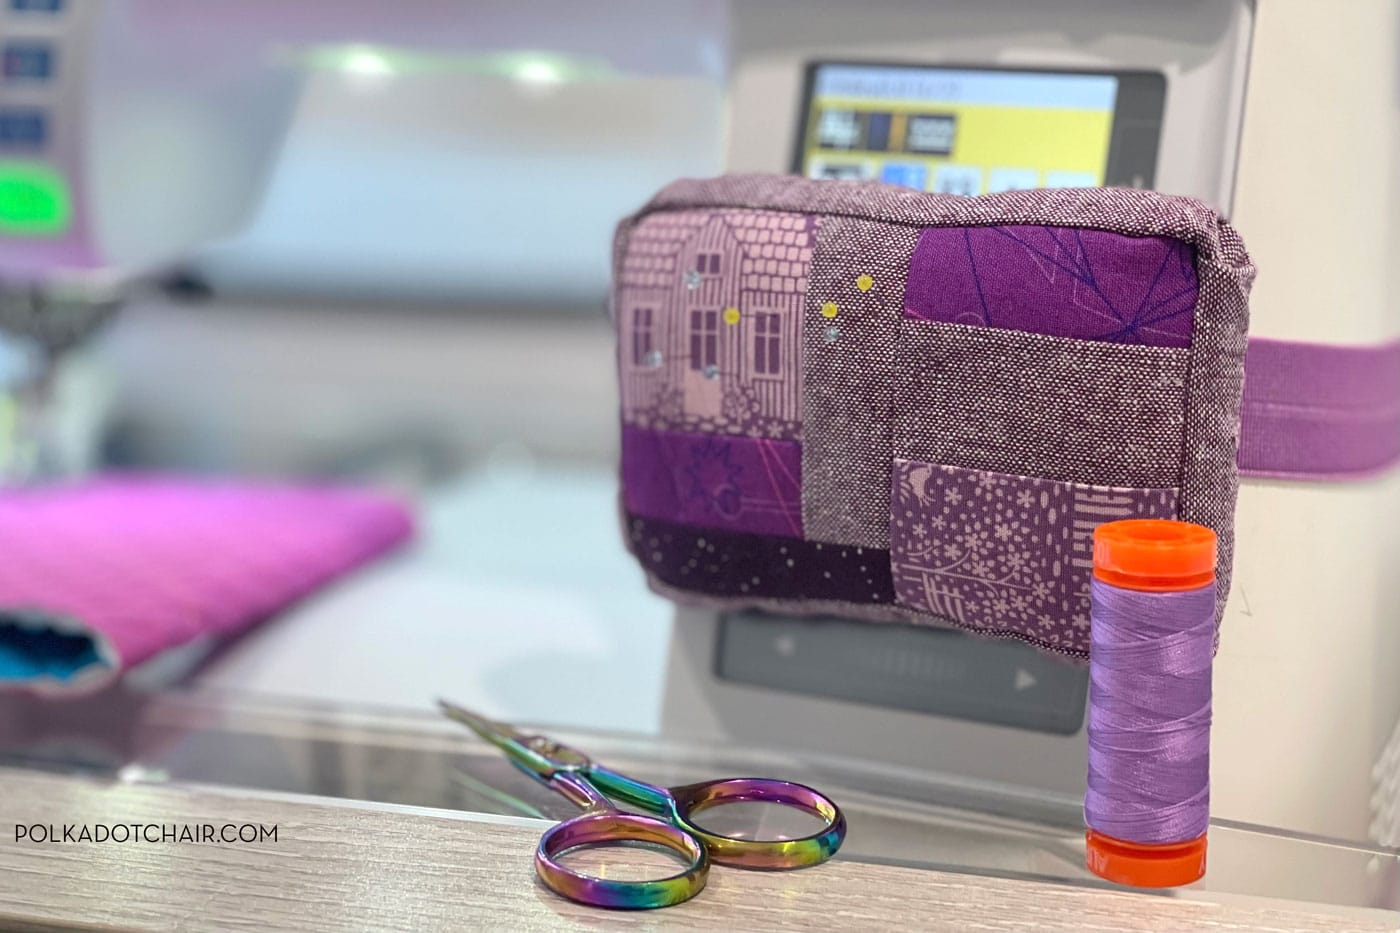
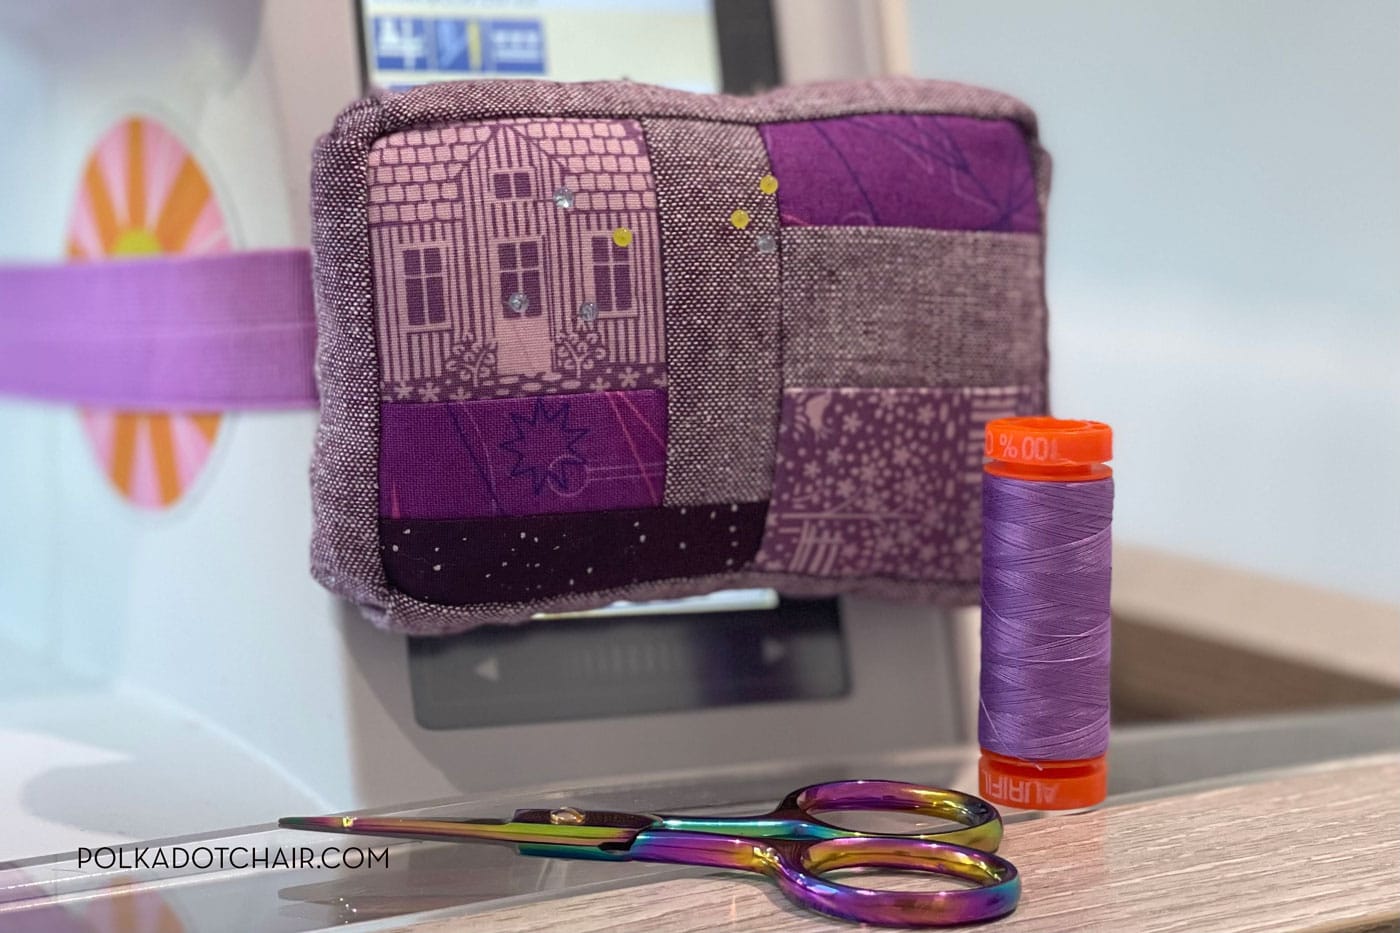
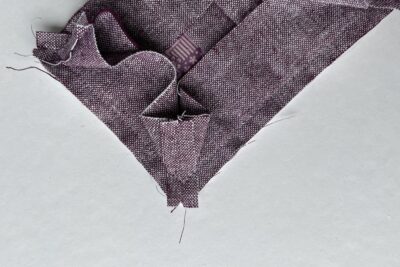
- Using the photo as a guide, create a folded pleat at each corner before sewing. Sew round the four edges. When you get to each corner stop with the needle down when it is in the centre of the seam then, leaving the needle down, lift the presser foot and turn the pin cushion 90°. Then put the presser foot back down and continue sewing along the next edge.
- Clip the four corners to reduce bulk. Set aside.
- Measuring the elastic. Start by deciding where on your sewing machine you would like the pin cushion to sit. This will vary from one machine to the next depending on where the buttons/dials are, and where the thread sits. The best place for mine is on the vertical section to the right of the machine’s throat. To measure the amount of elastic you will need; take a long length of elastic and loop it round the area you want to use without stretching the elastic, cut the length so that the two ends don’t meet by about 2” – 3”.

- Join the raw ends of the elastic by overlapping them ½” and then sewing with a few lines of zigzag stitch.
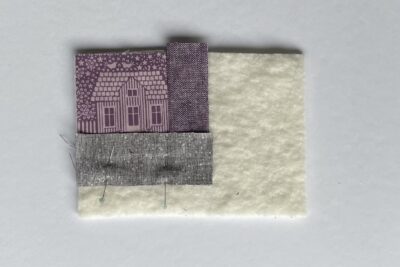
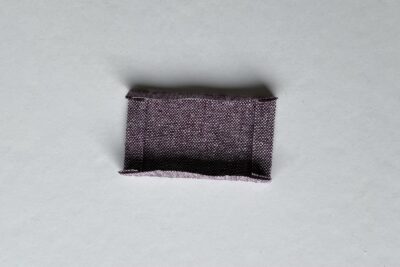
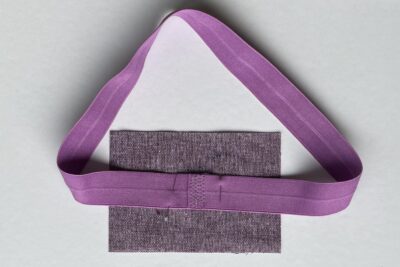
- Take the Side/Back Fabric 2” x 3” rectangle and press the four raw edges in by ¼”, wrong sides together.
- Take the Side/Back Fabric 5” x 3½” rectangle and pin the elastic to the right side, in the centre. Position the elastic so the joined area is in the centre of the fabric.
- Now pin the pressed rectangle from step 18, with the right side facing towards you, over the elastic and positioned so it is in the centre of the fabric. Sew around the four sides, close to the folded edge.
- Bundle up the elastic loop and secure it together (with a pin or sewing clip) so it doesn’t get caught in any seams in the next steps.
- Pin the Back/Elastic unit, right sides together, to the pin cushion unit from step 15. Follow the same tips about creating a folded pleat at the corners and using the sewing machine needle to help pivot at each corner. This time when you sew the four edges, leaving a turning gap of about 3” in one long edge.
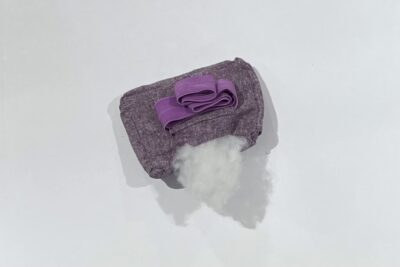
- Trim the corners, turn the pin cushion the right way out through the turning gap and gently poke out the pleated corners.
- Stuff the pin cushion making sure to get enough stuffing all the way into the corners.
- Hand sew the turn gap closed using a whip stitch.


Notes
If you want to make a pincushion with an elastic that you can hook and un-hook to attach to your machine (versus this one which features a full circle of elastic that you have to slip over the machine).
In that case, you can use the same technique for this Elastic Bookmark to create a hook and loop for your elastic.

Love this tutorial? Get the behind the scenes on Instagram
About the Designer

Amy lives in the north of England with her husband and son. When she’s not sewing and quilting, Amy can usually be found baking or reading. You can find her on Instagram @amyatthegate


What a cute and practical idea! Thanks so much for sharing!