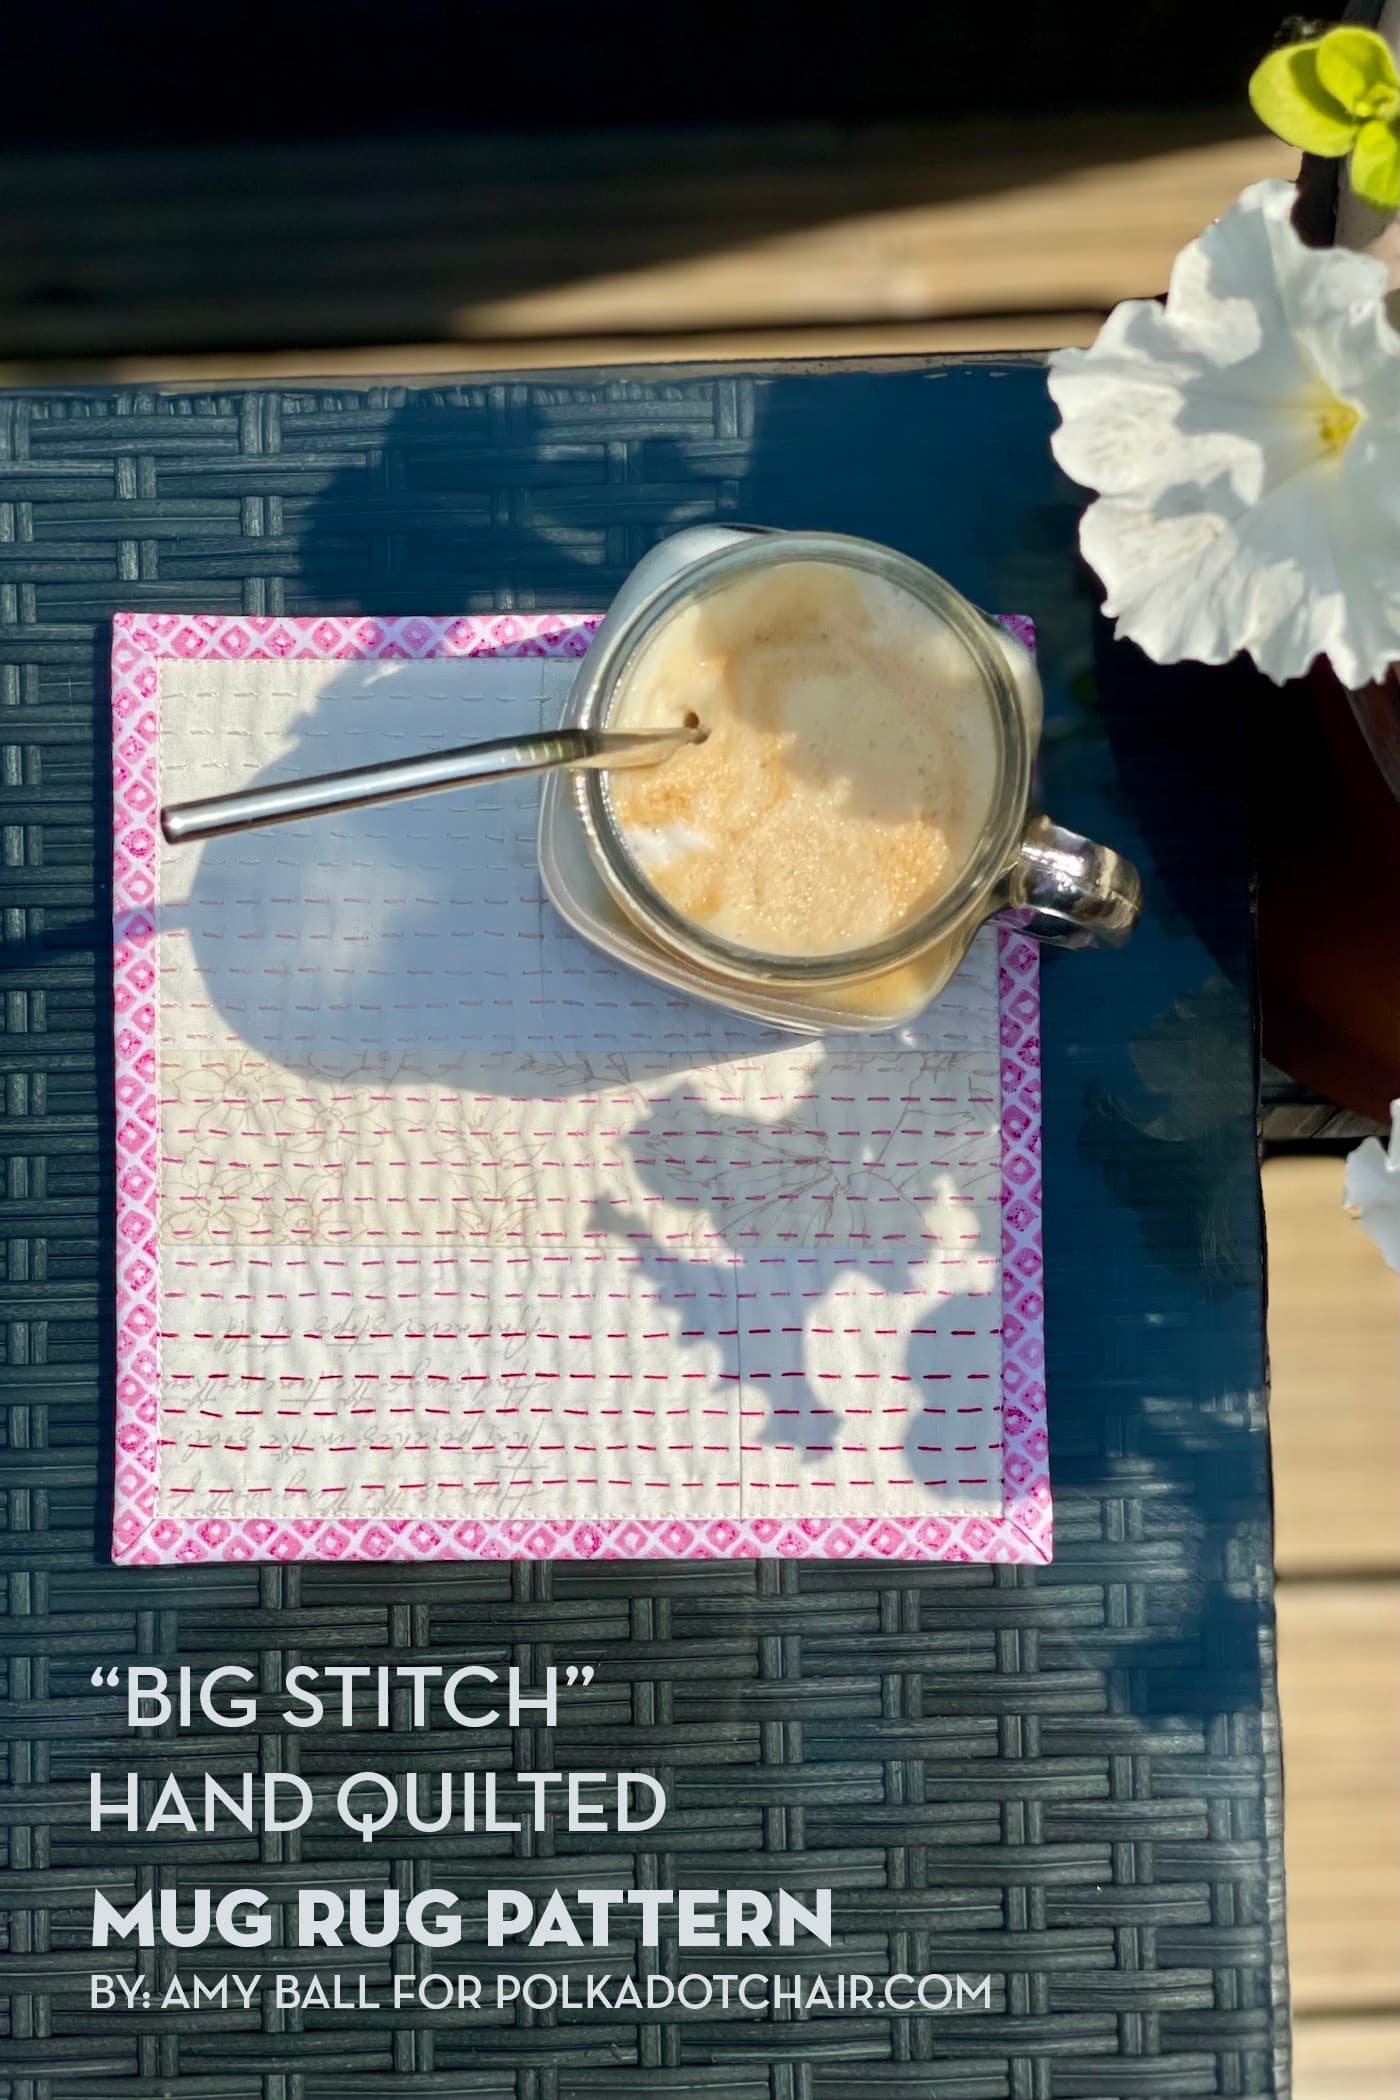
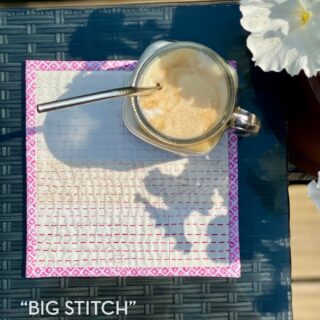
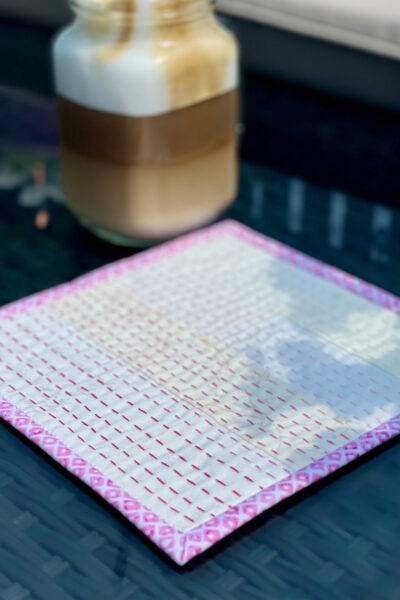
Big Stitch Hand Quilted Mug Rug Pattern
Perfect your hand quilting skills while you create a mug rug that is perfect for summer with our free mug rug sewing pattern.
Kantha stitching is a style of hand embroidery that uses an organic running stitch with an emphasis on the stitches not being perfect.
It originated in Bangladesh and parts of India and is often sewn onto reused sari fabric and other clothing items. Traditionally it also includes detailed embroidery, which often tells a story.
True Kantha stitching is a culturally and regionally specific art form passed down through the generations. For this month’s mug rug, we are using the beauty of Kantha stitching for our inspiration only.
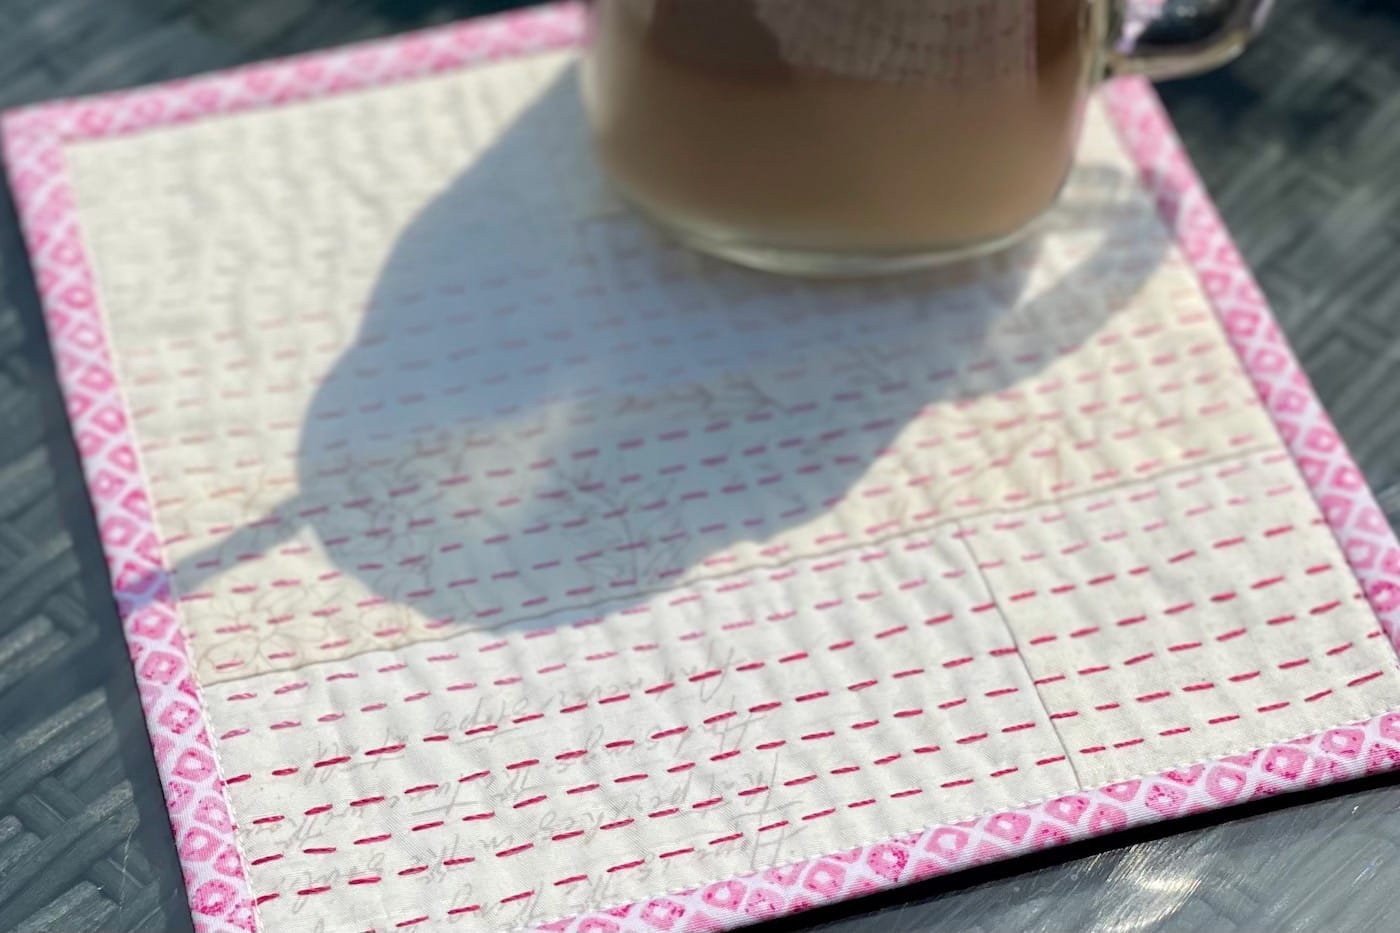
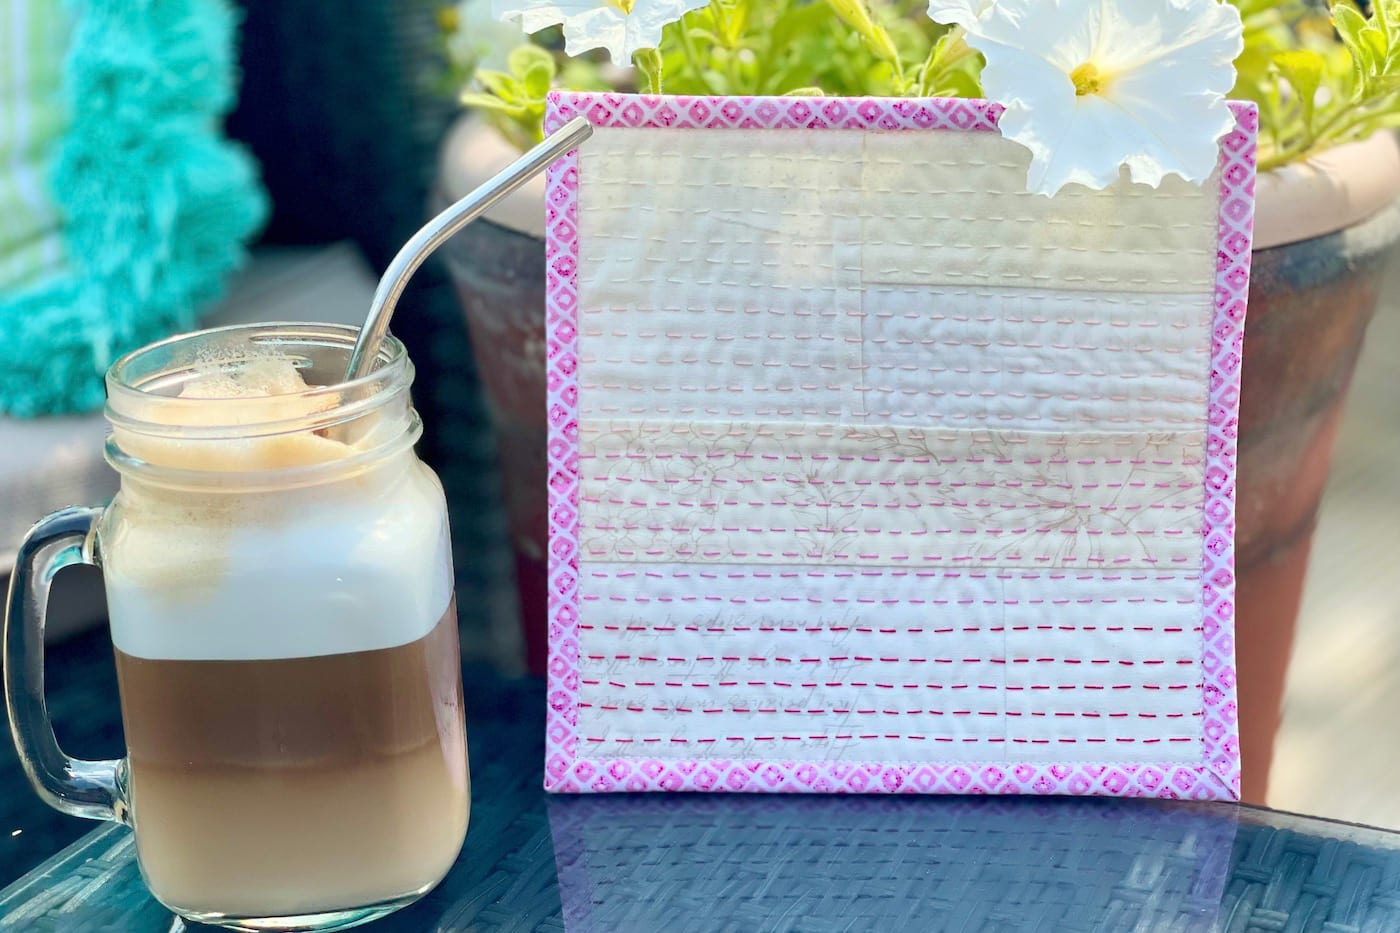
Therefore the skill focus for June is both big stitch hand quilting and working to let go of trying to get our hand sewing to look perfect. This project is all about filling the space with long lines of running stitches to give texture to the fabric; we don’t want perfectly spaced rows and stitches!
Monthly Mug Rug Patterns & Skill Focus
- January: Fabric Flash Mug Rug – Using Selvages
- February: First Edition Mug Rug – Fussy Cutting
- March: English Bloom Mug Rug – English Paper Piecing (EPP)
- April: Coffee Cabin Mug Rug – Binding with Quilt Backing
- May: Street Party Bunting – Raw Edge Applique
- June: Big Stitch Mug Rug – Hand Quilting
- July: Summer Sun Mug Rug – Improv Piecing
- August: Heart Mug Rug – Patchwork Piecing
- September: Pumpkin Face Mug Rug – Reverse Applique
- October: Cozy Cup Mug Rug – Big Stitch Binding
- November: Christmas Tree Mug Rug – Free Motion Quilting
There is no batting in this mug rug (because only using fabric helps to add to the texture of the stitching), which means this mug rug is going to be less heat resistant than previous ones. This makes it perfect for a summer mug rug…use it outside with an iced coffee or lemonade.
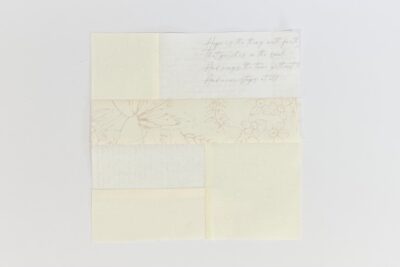
This mug rug is made from a selection of low volume fabrics. Low volume fabrics are fabrics that are “quiet”. Most of the time, they are shades of white or ivory and contain subtle prints and designs to add texture and interest.
Supplies
Main Fabrics: Low Volume scraps/fat eights (at least three different prints)
Backing Fabric: 1 fat eighth
Middle Layer Fabric: 1 fat eighth (low volume or very light solid)
Binding Fabric: 1 fat eighth
What is a Fat Eighth?
A Fat Eighth is an eighth yard of fabric cut so that it is wider than a traditional eighth of a year of fabric which measures 4 1/2″ x 44″. A Fat Eighth is 9″ x 22″. It is still an eighth yard of fabric, but the wider size makes it more usable for quilting projects.
Instructions
Big Stitch Hand Quilted Mug Rug
Equipment
- quilting ruler
supplies
Fabrics:
- 3 fat eights Low Volume Fabric at least three different prints
- 1 fat eighth Backing Fabric
- 1 fat eighth Middle Layer Fabric low volume or very light solid
- 1 fat eighth Binding Fabric
Instructions
Cutting:
- From Main Fabrics cut: 2½” sq (1), 3½” sq (1), 4” x 2” (2), 5” x 2½” (1), and 7” x 2” (1). From Backing Fabric cut: 7” sq. From Middle Layer Fabric cut: 7” sq. From Binding Fabric cut: WOF x 2¼” (2).
Construction:
- Use a ¼” seam allowance, unless otherwise stated.
- Take the Main Fabric 2½” square and 5” x 2½” rectangle and sew together with the square on the left. Press the seam to the side.

- Take the two Main Fabric 4” x 2” rectangles and sew together matching the long edges. Press the seam to the side then add the 3½” square to the right edge of this unit, making sure the first seam is running horizontally. Press the second seam to the side, away from the first seam.
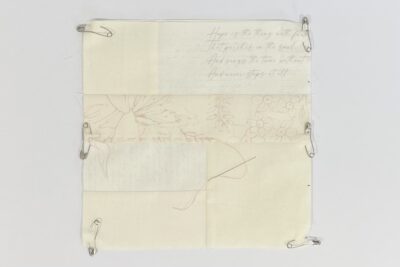
- Sew together the units from steps 1-2 with the 7” x 2” rectangle in the centre. Use the photo as a guide for placement. Press the seams towards the central rectangle.
- Press the patchwork block well and trim to 7” square if required.
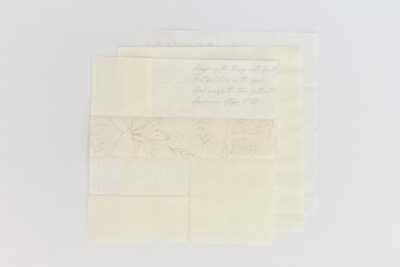
- Now it’s time to make a slightly different type of quilt sandwich. Place the Backing Fabric square right side down, then add the Middle Layer Fabric square If this fabric has a print then have this right side down too so the print doesn’t show through to the front.Finally, add the patchwork block with the right side facing toward you. Make sure all the raw edges match up.
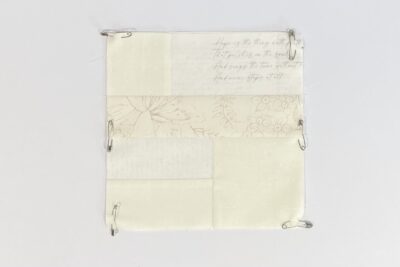
- Pin the three layers of fabric together at the four corners, plus two more at the central horizontal seam. This is the only basting you need…don’t add anymore pins or any basting spray!
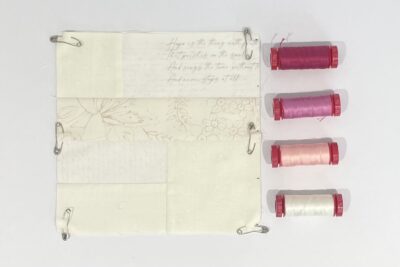
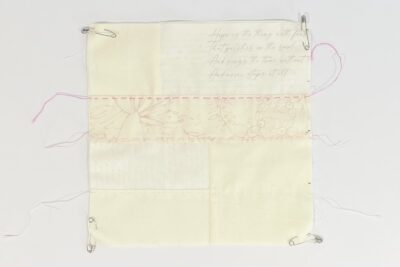
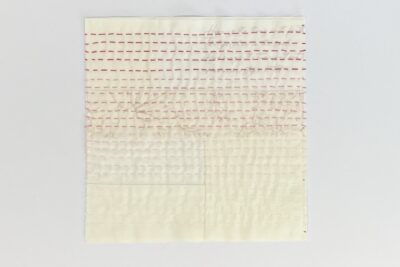
- At this stage, take some time to think about the colors of thread you are going to use for the hand stitching and where you want each color to be on the mug rug because you aren’t going to sew the rows in order in the early stages. I am using an ombre of four different pink threads so I have marked where I want the four sections of color to be, at the edges of the mug rug.
- The first line of running stitch will be going along the central horizontal seam so choose the thread color you want in that section. Cut a piece of thread about 12” long. Thread your needle but don’t add any knots. [The best thread to use is something that is hand quilting/hand embroidery weight…like Perle No. 8 or Aurifil 12wt]
- Start the first line of stitches in the middle of the mug rug, in the seam allowance of the central horizontal seam. Sew a large running stitch from the middle out to one edge, leaving a tail of thread long enough to reach beyond the opposite edge. Remember the running stitch is meant to be organic so don’t worry about getting even stitch lengths and spacing.
- Now thread the other end of the thread length and stitch from the middle to the opposite edge. Don’t trim the thread tails! You should have excess at both edges.
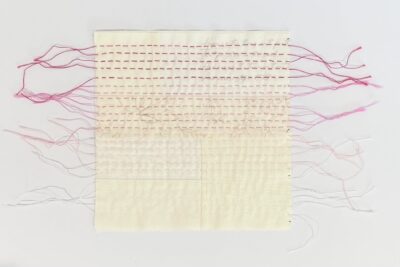
- Repeat steps 8-10 on the other two horizontal seam allowances, always sewing from the middle to one edge and then to the other edge.
- Now repeat steps 8-10 to fill in the gaps with more lines of running stitch. On a small piece of fabric like this, it doesn’t really matter the order you sew the lines, but I’d recommend sewing on the other side of the three horizontal seam allowances to add some stability to the fabric layers first.
- Cover the whole mug rug with lines of running stitch but leave a ½” space along the top and bottom edges for the binding.


Finishing:
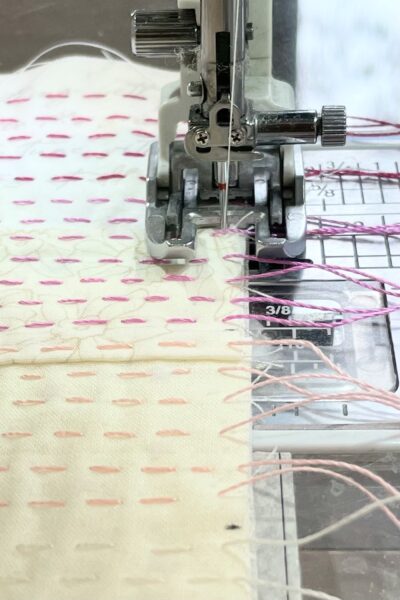
- On the sewing machine, sew ⅛” from the raw edges to help secure the thread tails. Make sure all of the thread tails are extending beyond the raw edges of the mug rug and don’t get caught underneath.

- Now trim away all the thread tails.
- Take the two binding fabric WOF x 2¼” strips. Draw a 45° line on the wrong side of one strip, at the top corner from top left to bottom right. Pin the strips (right sides together) so the strips are at a right angle to each other, and the drawn line is visible. Sew along the drawn line, then trim off the excess corner fabric with a ¼” seam allowance and press to create a long strip. Fold the strip in half along the full length (wrong sides together) and press.
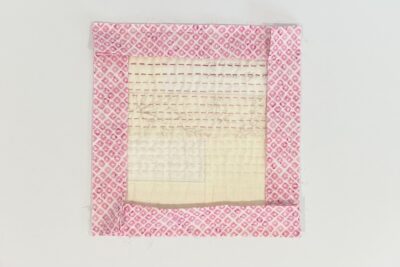
- Pin/clip the binding in place on the front, round the mug rug edges, with the raw edges of the binding and raw edge of the mug rug matching up. [TIP: Clip the binding around all four edges before you start sewing to make sure the seam line from when you joined the two strips isn’t going to be close to any of the corners as this would create too much bulk; ideally you want the binding seam to be close to the middle of one edge.]
- Sew the binding to the front of the mug rug using a ¼” seam allowance, in the same way you would add binding to a quilt top. Take your time to give the four corners neat mitres.
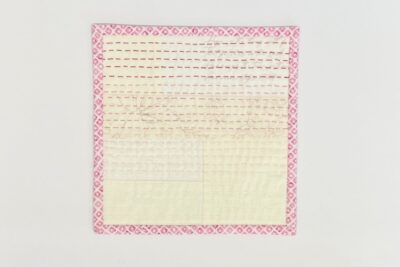
- Fold and press the binding round to the back. I usually hand sew binding in place on the back to finish, but for this mug rug, I have sewn it on the machine to give some extra security to the hand stitching. With the binding pinned in place (including mitered corners) sew on the front of the mug rug just inside the binding edge, carefully stopping with the needle down in each corner before turning to the mug rug to sew along the next binding edge. Press well.
- Head outside with your favoured summer drink and enjoy your new Imperfectly Stitched mug rug.

Another style of running stitch is used in Japan, called Sashiko. Unlike Kantha, Sashiko is highly regimented and precise stitching. (Each stitch should be the length of a grain of rice, and the spaces in between stitches should be the length of half a grain of rice…) The good news is that there is pre-printed fabric available in a wide variety of designs. I have found my quilting stitches getting better the more Sashiko I do… it’s a wonderful meditative practice…
Thank you for the info!!
Melissa, I love this mug rug. Thank you for the tutorial. I would love to try this on a lap quilt. Would the technique be the same, or would more pins be needed in the middle, like normal quilting?
Thank you for this tutorial. Can you tell me, is there a reason a row of stitches is started in the center part of the line of stitches? Why not at the edge of the piece and stitch the whole line straight across?