
Child’s Apron Pattern with Video Instructions
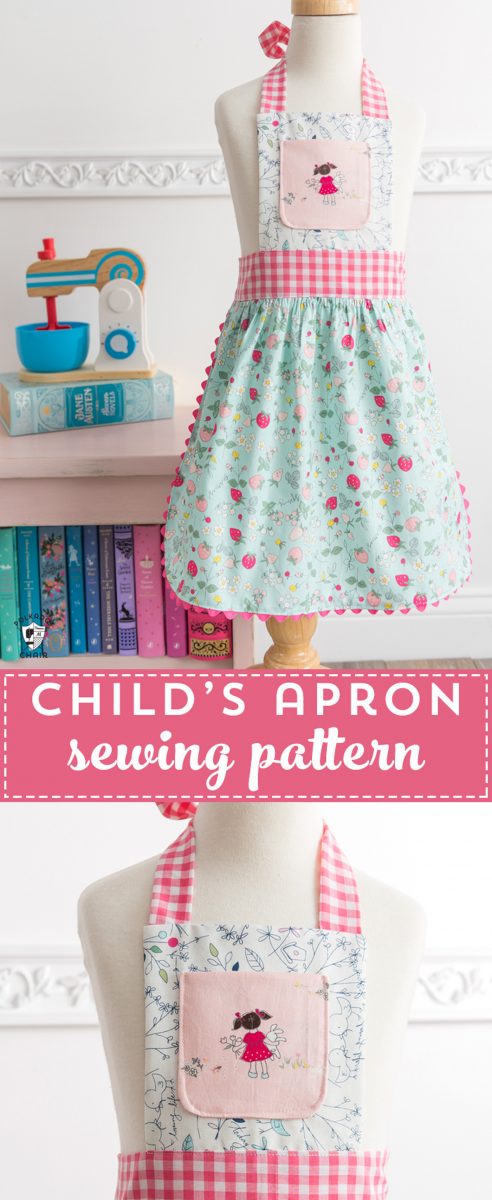
Today I have a fun sewing project to share with you, this Child’s Apron pattern. It’s pretty simple to stitch up and would make a great gift for your favorite kid!
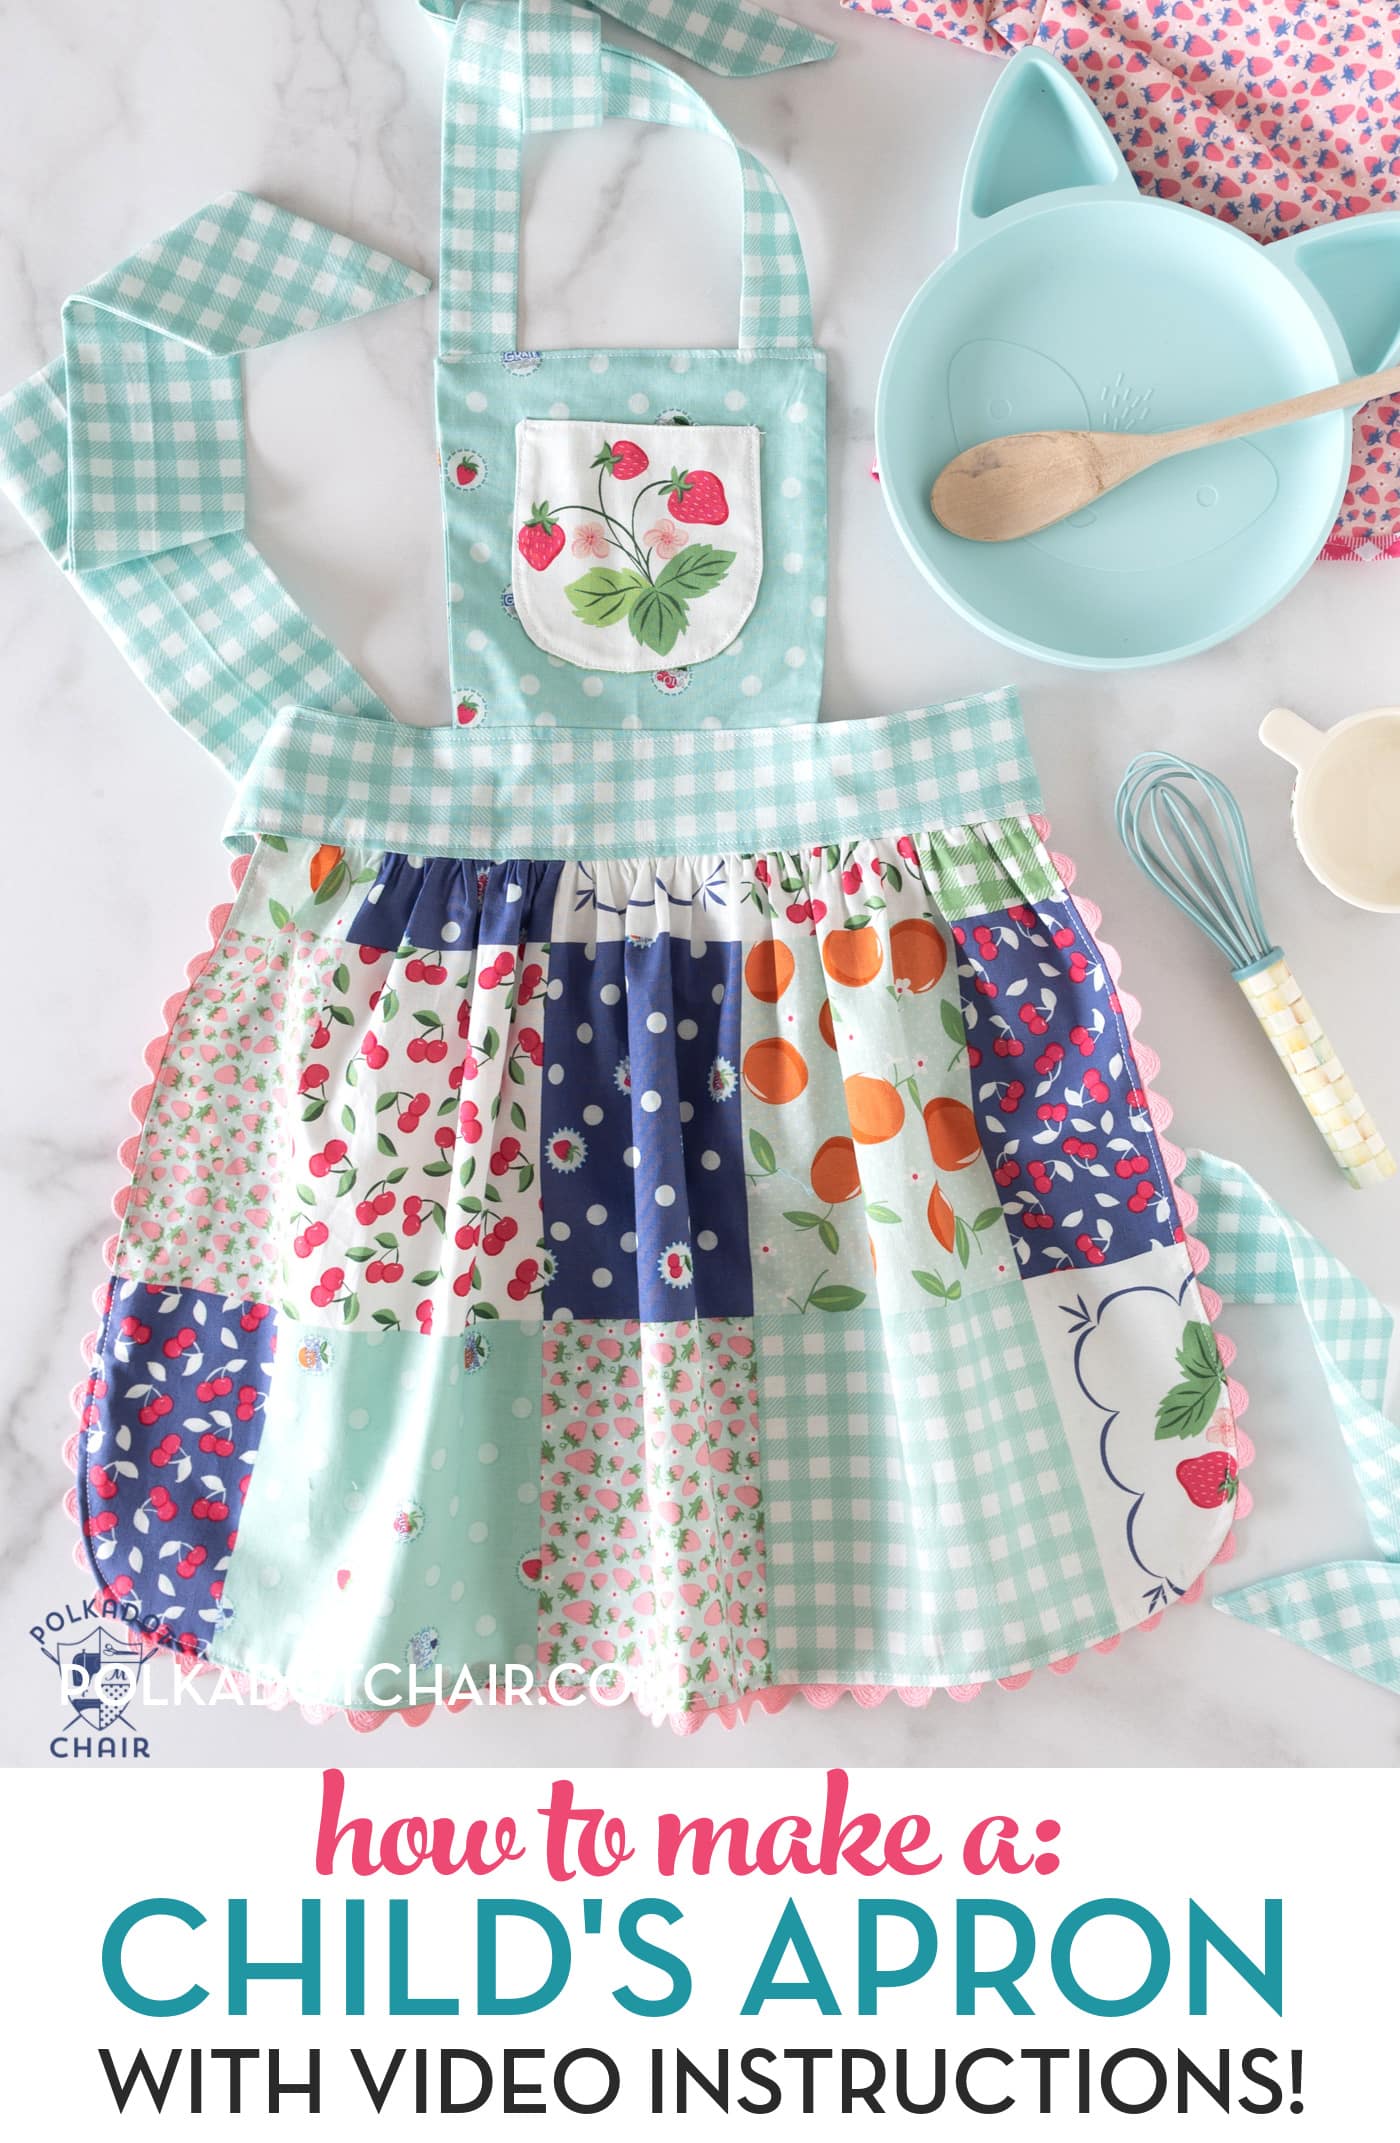
A few years ago, I wrote this Child’s Apron sewing pattern for the blog. Recently, I’ve gone in and updated and refreshed the tutorial AND added video instructions. I hope that you enjoy the updated project!
If you like this project, then you may also like the Ruby Lou Bag sewing pattern.
I adore making things for kids. I think that children’s sewing projects must be some of my favorite sewing projects. When my girls were small, I stitched up Easter dresses, skirts, and aprons like they were going out of style.
Now that my girls are older, I no longer make them Easter dresses. However, I did just make my daughter a summer skirt to take with her on her internship. I tend to jump at the chance to stitch something up for a little one.
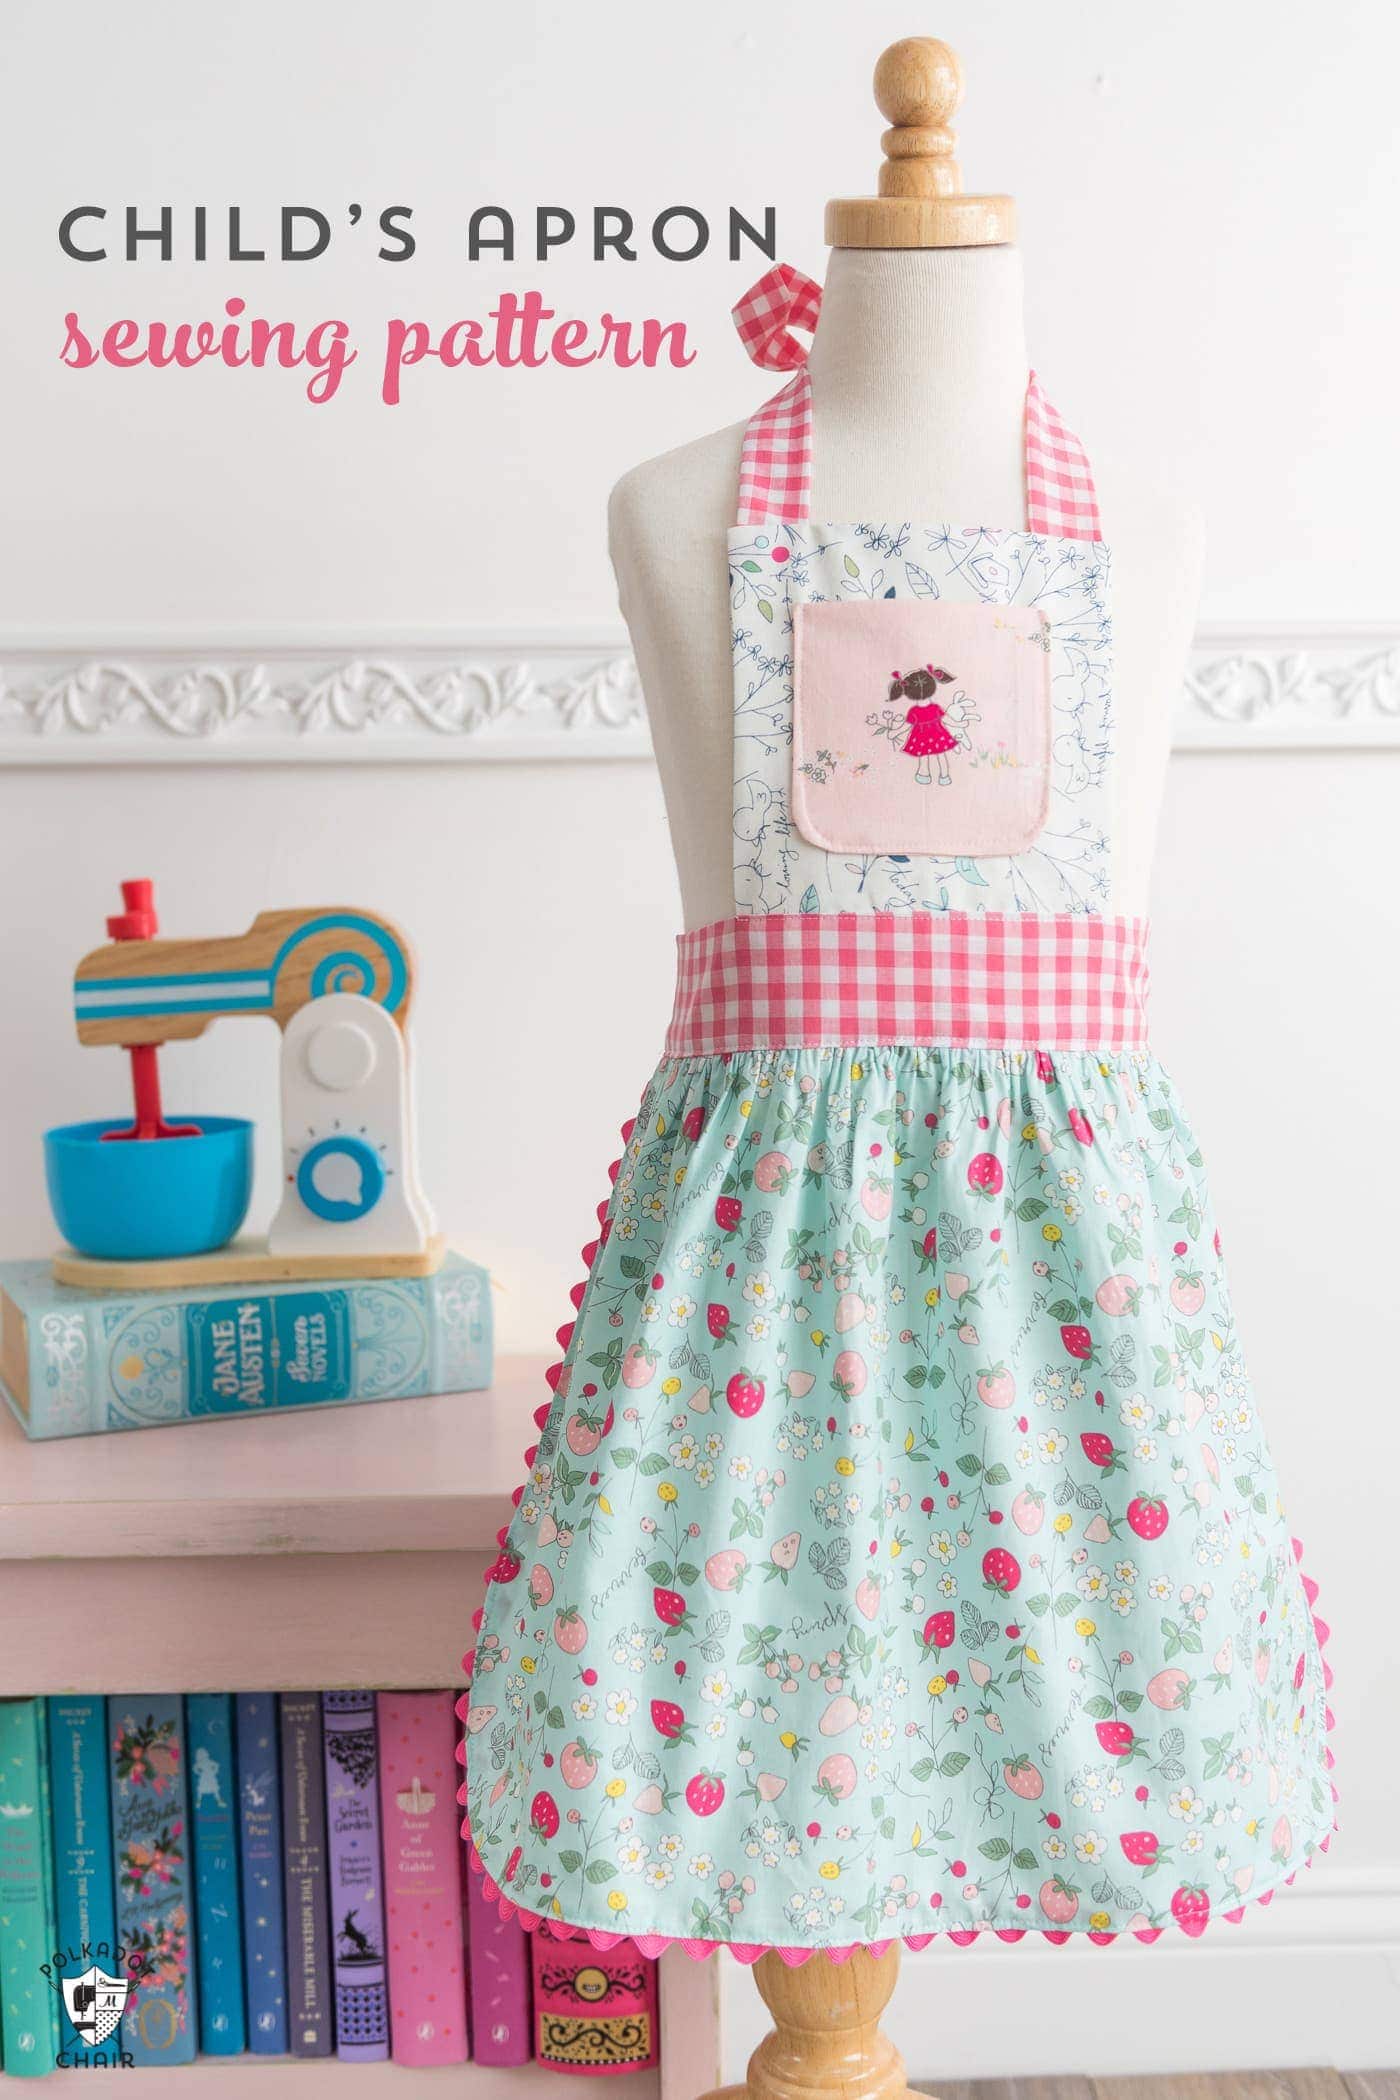
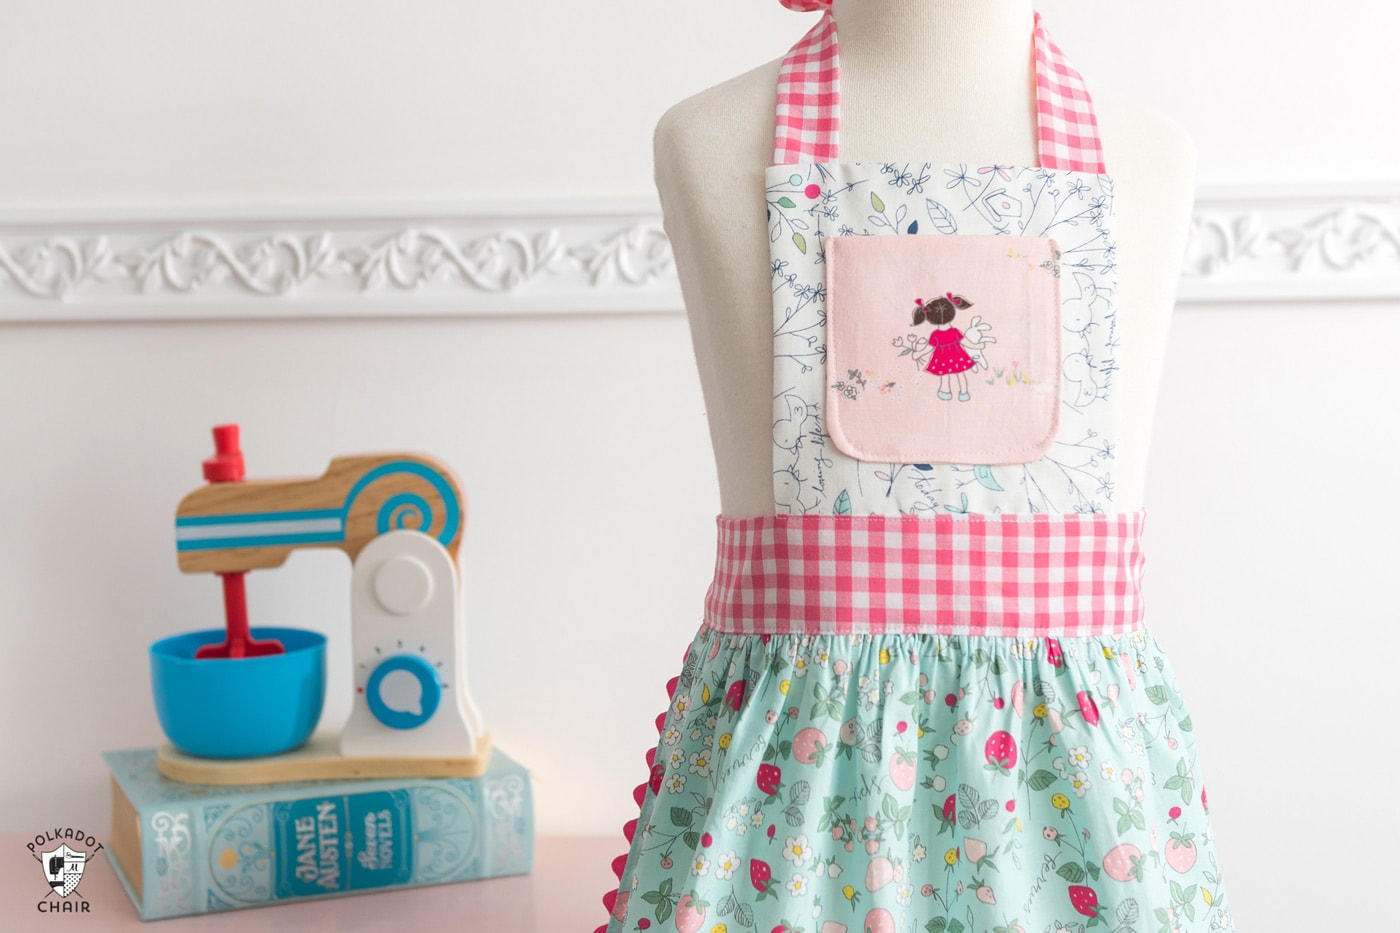
Child’s Apron Sewing Pattern
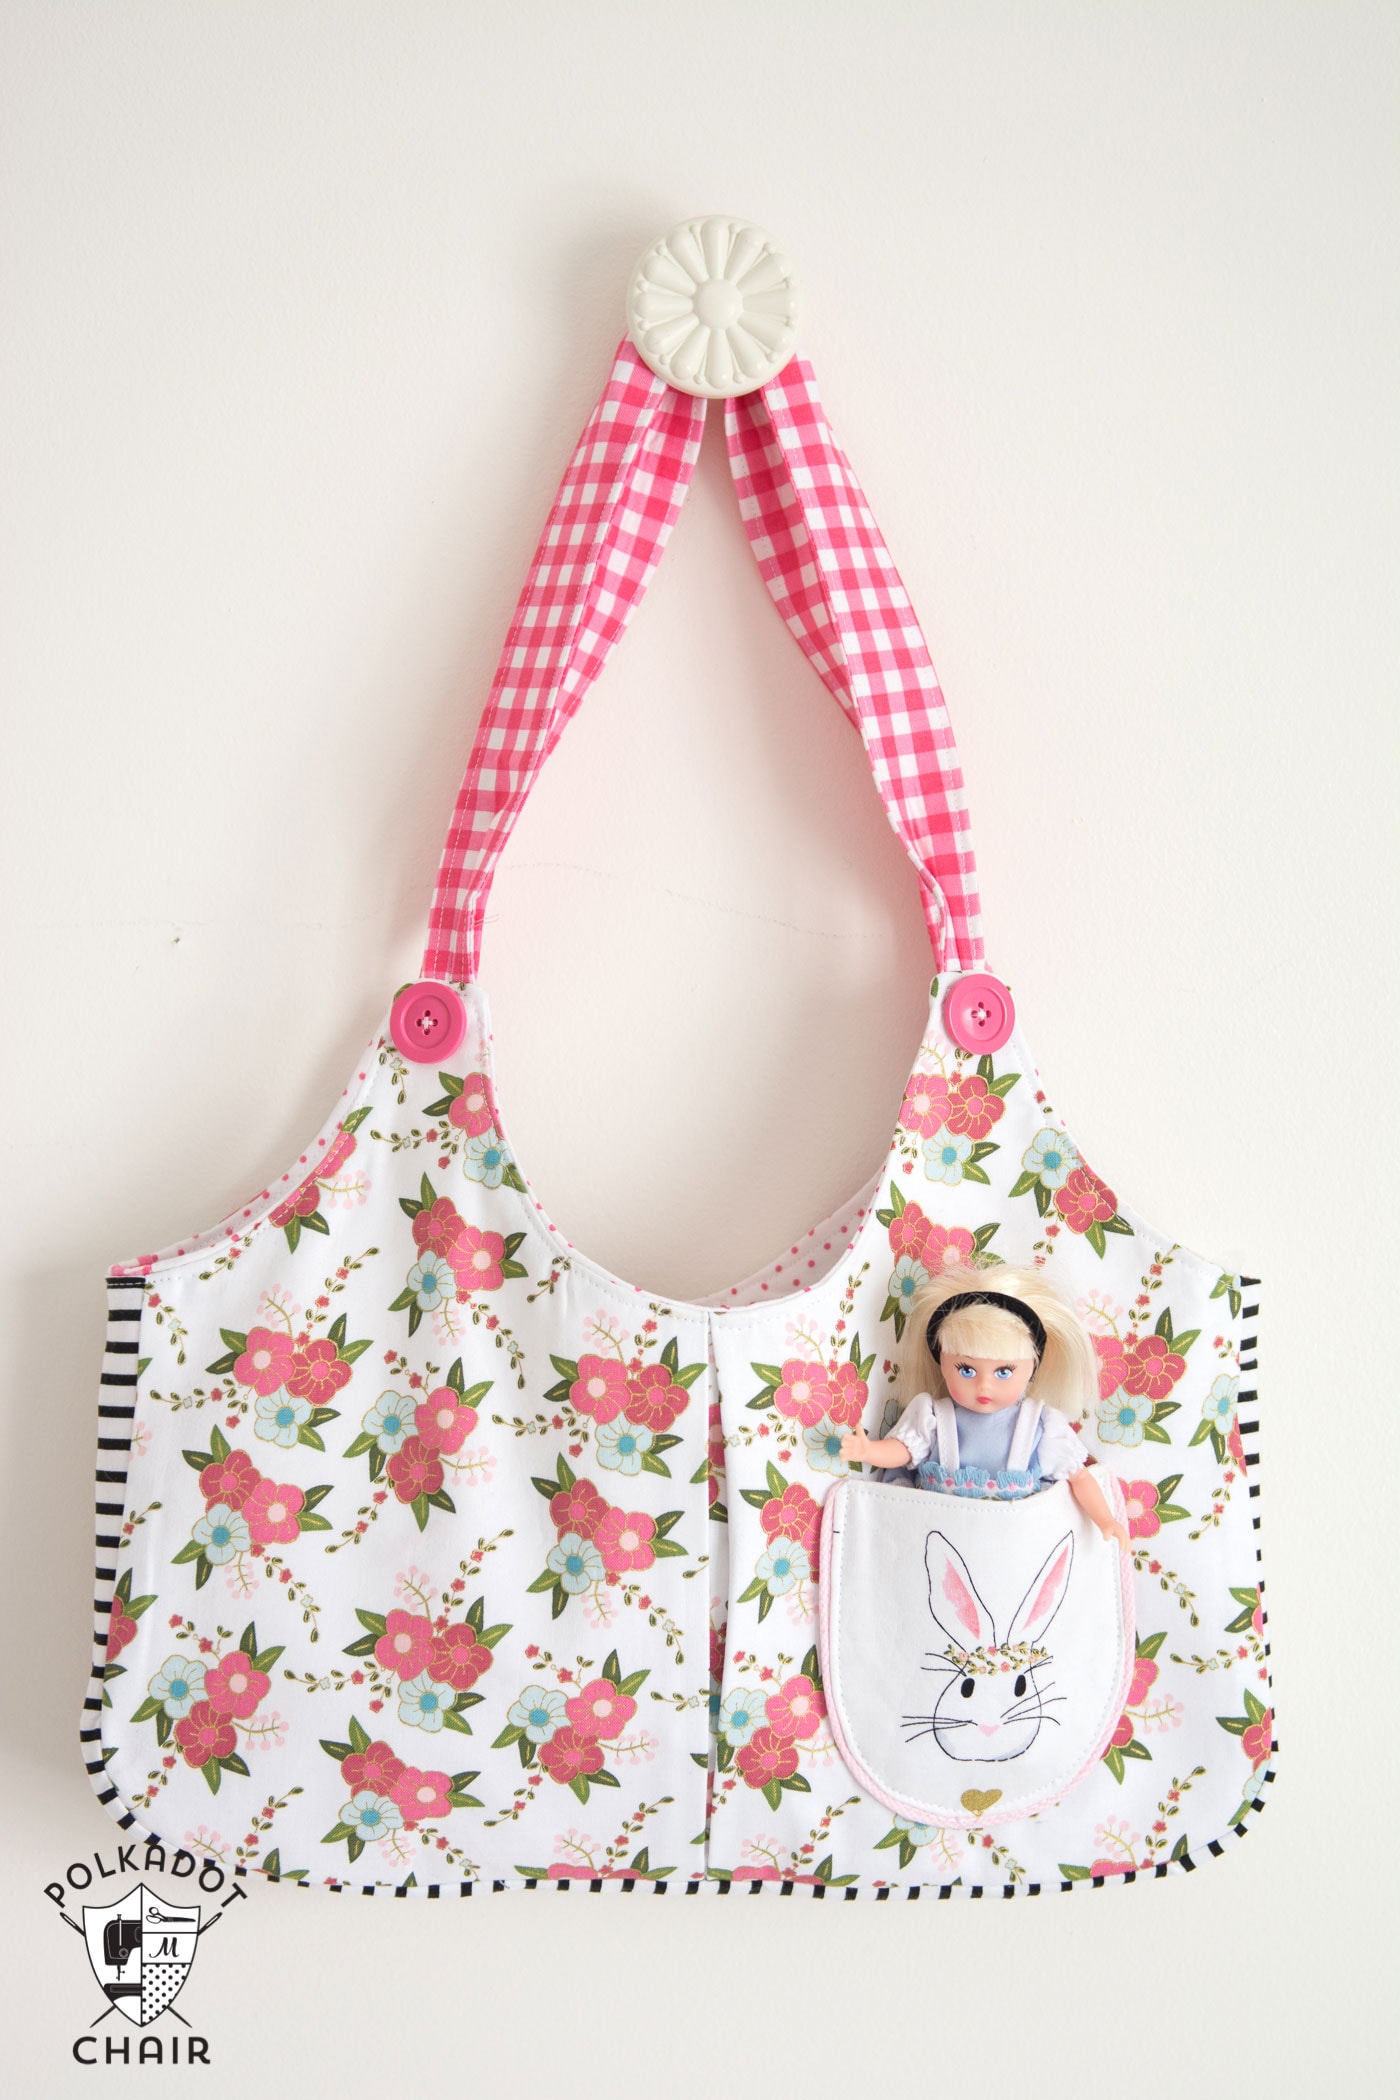
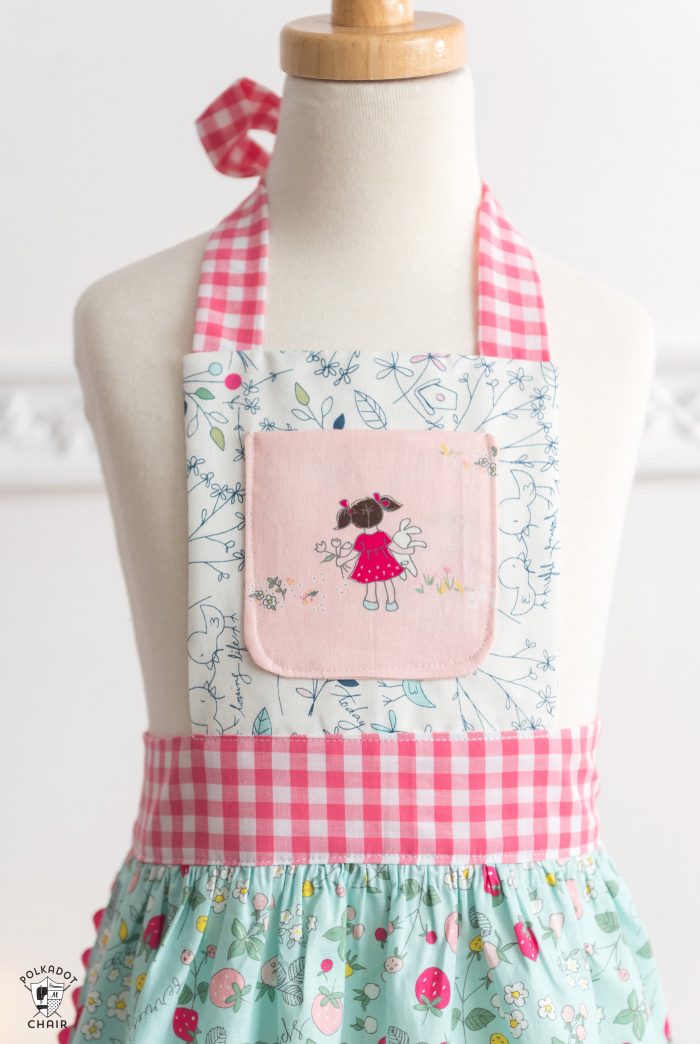
I designed this Apron to coordinate well with my Ruby Lou Bag sewing pattern. There are many cute illustrations in designer fabric collections that can be fussy cut for the pocket of the bag. The small pocket at the top of the Apron is the same as the sweet little one on the kid’s purse.
Kids Apron Sizes
This apron is sized for a small child, probably about 5 years old. Since it’s an apron sewing pattern, it’s quite forgiving in terms of sizing.
Aprons are fairly forgiving when it comes to sizing. The one in the photo for which I wrote the original tutorial is a size 4-7.
If you’d like to make an apron that is kids’ size 8-12, I’ve listed those measurements separately BELOW the cutting directions.
If you’re looking for an adult-sized apron, then I recommend this Apron Tutorial instead.
Video Instructions
We are so excited to announce that we now have a video to help you create this apron. You can find the video on our Polka Dot Chair YouTube channel or in the instructions below.
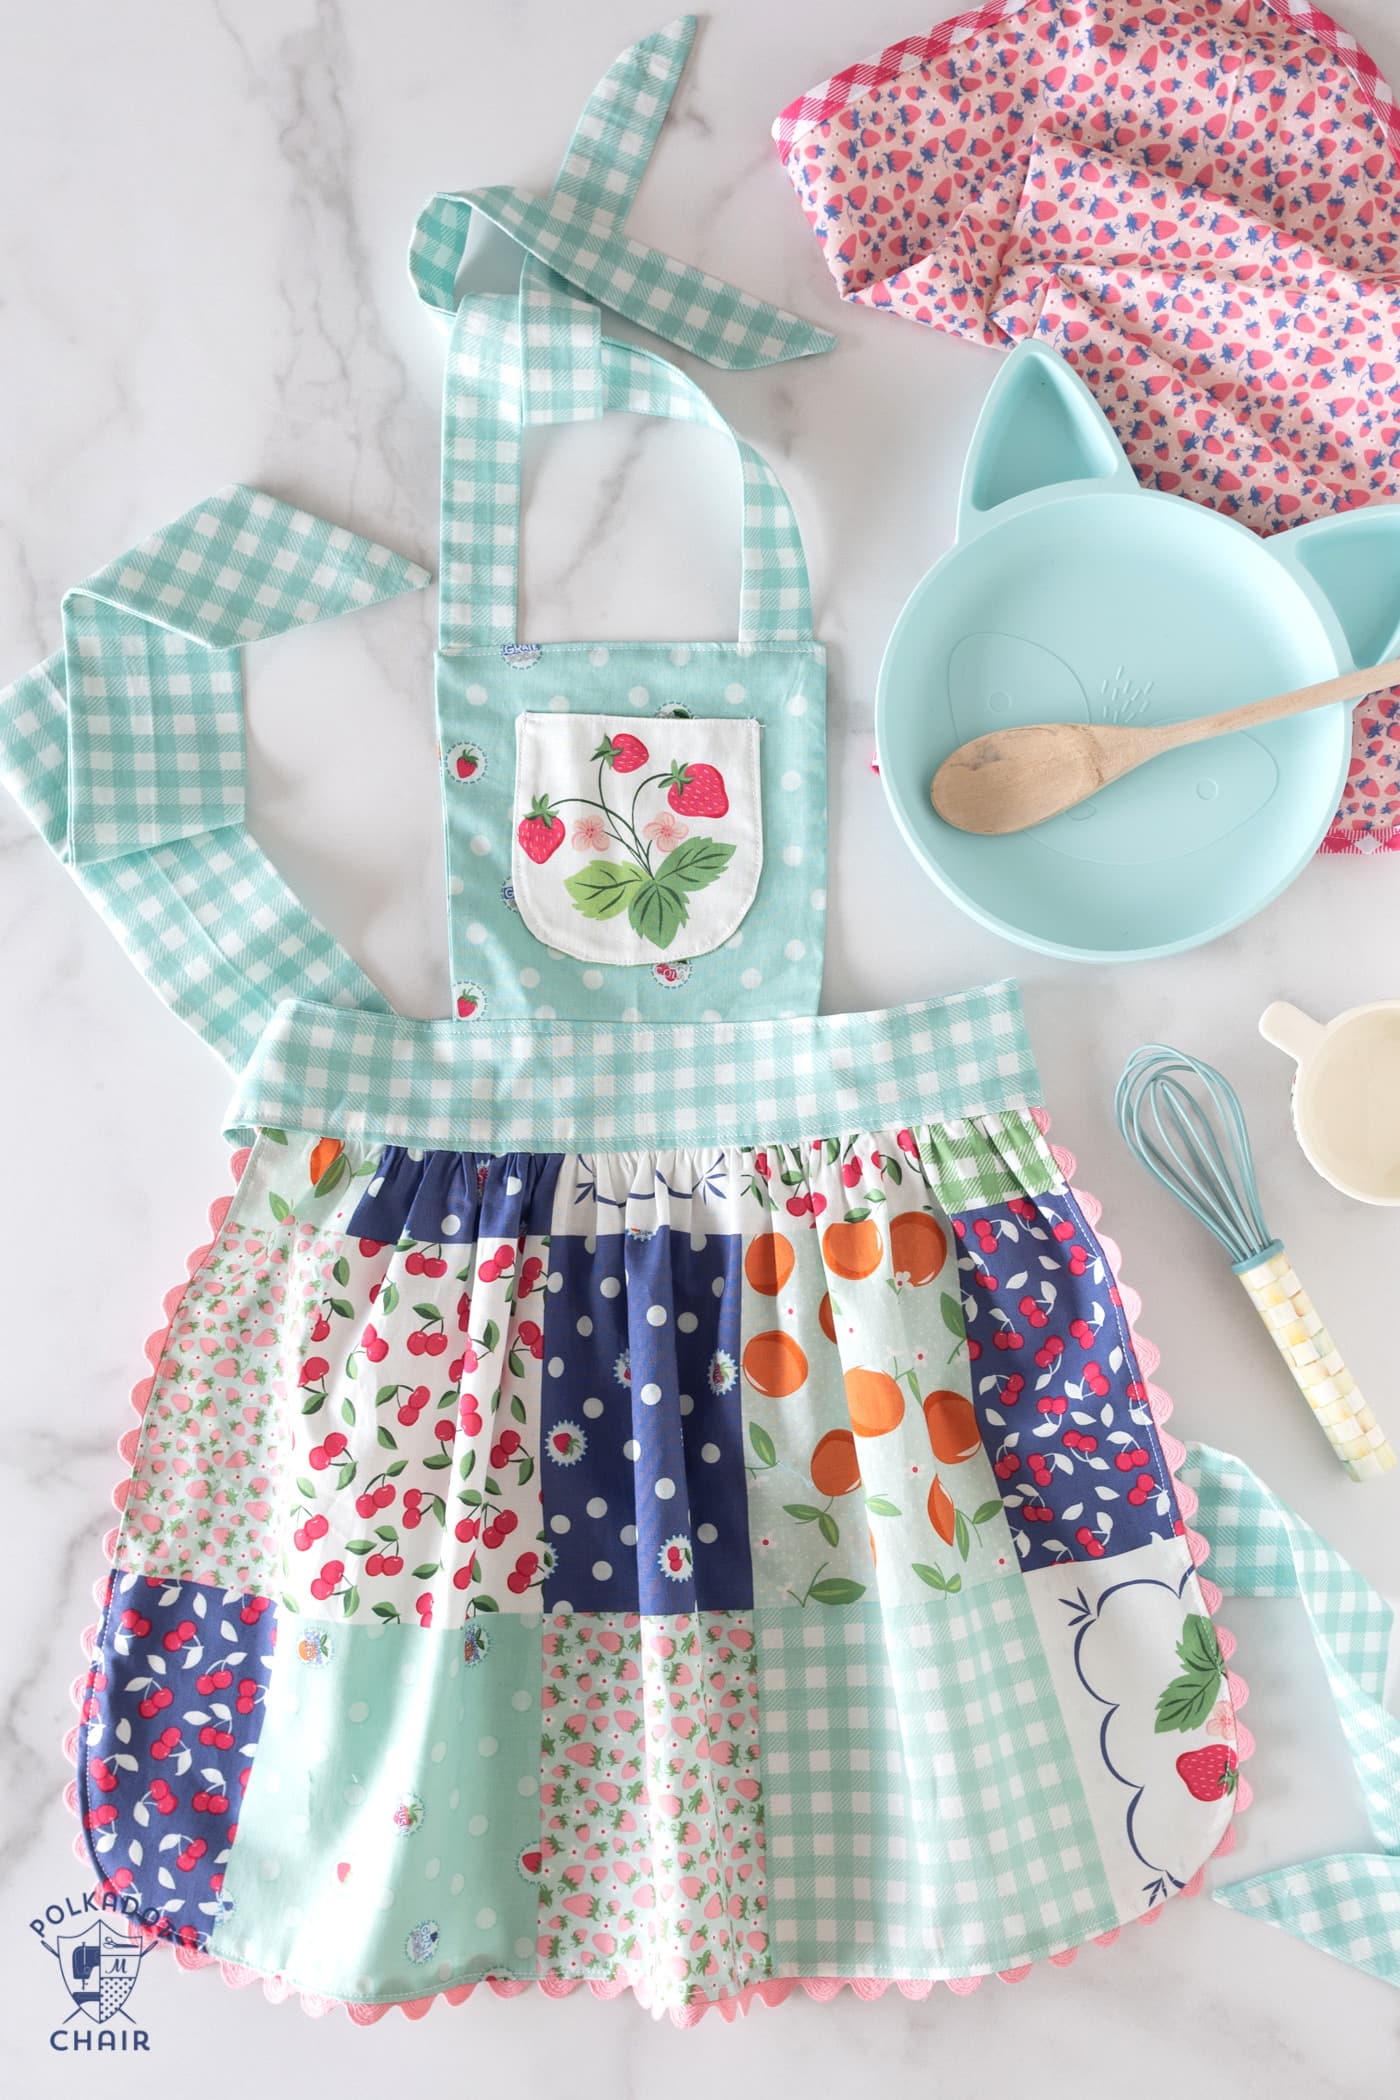
The fabric above the apron is from my Summer Picnic Collection with Riley Blake Designs.
Childs Apron Pattern
Equipment
- Curved Corner Ruler optional
supplies
- ½ Yard Fabric for Skirt
- ¼ yard fabric for Apron Top
- 1 Fat Quarter Fabric Fat Quarter for Pocket
- ½ yard Fabric for Ties
- 1 package ric rack
Instructions
Cutting Directions For a size 4-7 Apron:
- For Skirt Cut:
- 1 piece 24″ x 14″ (it is 24″ wide and 14″ tall- the 24″ will be gathered)
- For Apron Top Cut:
- 2 pieces 7″ x 7″
- From Pocket Fabric Cut:
- 2 pieces 4 ½″ x 4 ½″ – note for this step I made sure to fussy cut the fabric so that the illustration I wanted was in the center of the pocket.
- For Shoulder Straps:
- 2 pieces each 3″ x 18″
- For Waistband:
- 2 pieces each 3″ x 18″
- For Waist Ties:
- 2 pieces each 6″ x 30"
Cutting Directions/Changes For a Size 8-12 Apron:
- For Skirt Piece Cut:
- 1 piece 17″ x 29″ (it is 29″ wide and 17″ tall- the 29″ will be gathered)
- For Apron Top Piece Cut:
- 2 pieces, 9″ x 9″
- Pocket Piece is not changed: 2 pieces, 4 ½″ x 4 ½″
- Shoulder Straps:
- 2 pieces 3″ x 24″
- Waistband:
- 2 pieces 3″ x 20″
- Ties:
- 2 pieces 6″ x 40″
Construction Steps
Step One: Create the Pocket:
- Using a Curved Corner Ruler, plate, or an old CD, round the bottom two corners of your two pocket pieces.
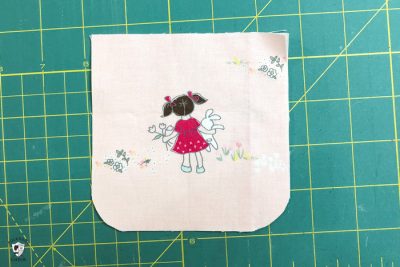
- Place the pocket pieces right sides facing, and stitch around the edge, leaving a 2″ opening in the bottom of the pocket.
- Turn the pocket right side out.
- Press well.
Step Two: Create Ties
- To Make Shoulder Straps;
- Fold one of the shoulder straps in half lengthwise
- Stitch along the outside edge using a ¼″ seam allowance. Leave one end of the strap open and miter the end of the other side of the strap. Turn the strap right side out. For this step, I find it helpful to use a turning tool (linked above).
- Repeat for the other strap piece.
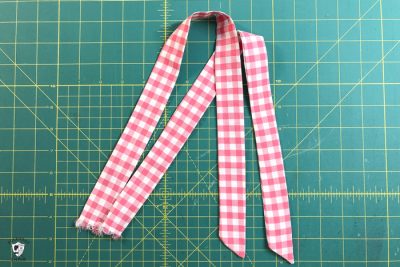
- Make Waistband Strap/Ties:
- Fold the Waist Tie pieces in half lengthwise with right sides facing. Stitch with a ¼″ seam allowance down one long side and one short side. Turn right side out and press. I recommend mitering the ends as you did for the neckties.
Step Three: Apron Top
- Pin the sewn pocket piece to one of the Apron Top pieces.
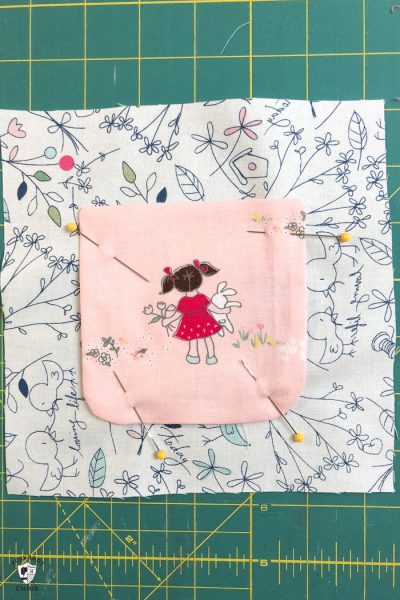
- Make sure the pocket piece is in the center of the apron top piece. Stitch around the edge of the pocket, making sure to backstitch at the top and the bottom of the pocket.
- Pin the two shoulder straps to the top of the apron top piece, ½″ in from the edge. Stitch in place.
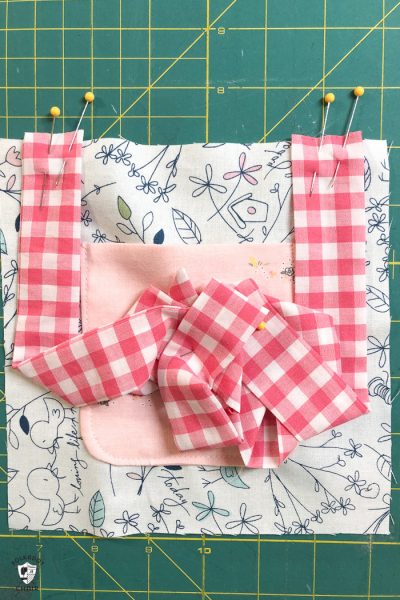
- Pin the other apron top piece to the sewn apron top piece, right sides facing. Stitch around the top and two sides with a ½″ seam allowance making sure not to catch the straps as you sew.
- Turn right side out and press. The bottom seam will still be open.
Step Four: Apply Ric Rack
- Round the bottom two corners of the Apron Skirt piece.
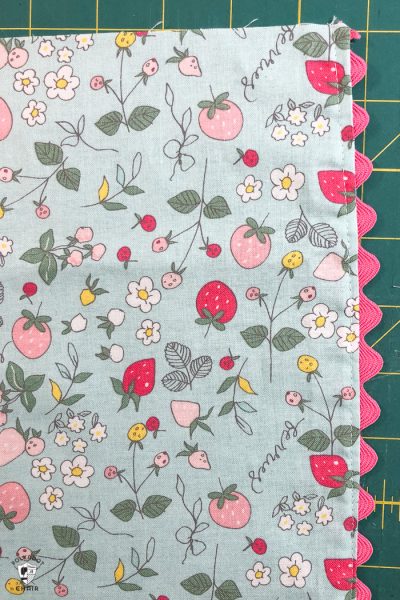
- Stitch a piece of ric rack to the outside edge of the right side of the apron skirt piece. The rick rack will be on top of the edge of the skirt and you will stitch right down the middle of the rick rack.
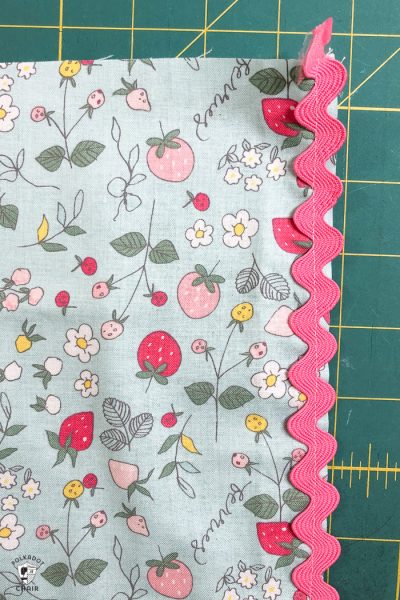
- Turn the rick rack to the wrong side of the fabric and press.
- Top stitch the right side of the fabric.
- Step Five: Skirt Assembly
For Size 4-6:
- Find the center of one of your waistband pieces.
- Find the center of your apron skirt piece.
- Run two lines of gathering threads (set your machine stitch length to a 6) along the top of the apron skirt piece.
- Pull up on the gathering threads until your skirt piece is 12″ wide.
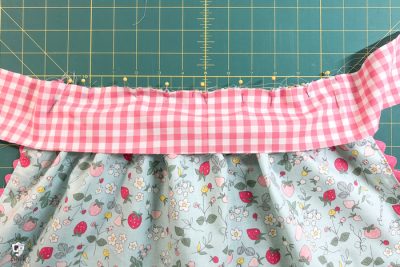
- Pin the right side of the gathered skirt to the right side of the marked waistband piece, matching the center of the skirt with the center of the strap. The gathered shirt will NOT extend to the waistband ends as the gathered piece is 12″ and your waistband piece is 18″.
For Size 8-12:
- Find the center of one of your waistband pieces.
- Find the center of your apron skirt piece.
- Run two lines of gathering threads (set your machine stitch length to a 6) along the top of the apron skirt piece.
- Pull up on the gathering threads until your skirt piece is 16″ wide.
- Pin the right side of the gathered skirt to the right side of the marked waistband piece, matching the center of the skirt with the center of the strap.
For All Sizes:
- Stitch the skirt to the waistband with a ½″ seam allowance. You are stitching the top of the skirt to the bottom of the waistband piece right sides facing.
- Press along the seam you just stitched. Flip the waistband piece up so that all fabrics are right side up, pressing the seam allowance towards the waistband.
- If desired, topstitch this seam along the edge of the waistband.
Attach Apron Top Piece:
- Find the center of the sewn apron top piece.
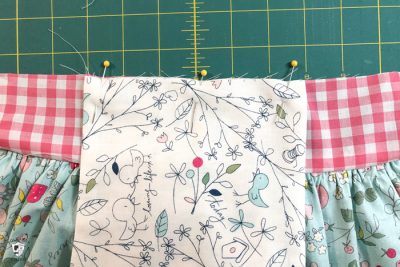
- Place it on the TOP of the right side of the apron skirt/waistband piece on the other side of the waistband (the side of the waistband that does not have the skirt stitched to it). Stitch in place with a ½″ seam allowance.
Attach Waist Ties:
- Pin one of the sewn waistband STRAPS to the edge of the waistband piece. You will want to “pleat” the sewn straps so that they fit inside of the waistband with ½″ left on each side of the strap. Baste in place. Repeat with the other strap on the other side of the waistband.

- Note: Make sure that the waistband ties stay TUCKED in as shown in the illustration above during all of the remaining construction steps. I like to pin mine in place so they don’t slip out.
Attach the waistband lining:
- You are going to make a “sandwich” with the apron top as the “meat” and the waistband and waistband lining pieces as the “bread”.
- Pin the 2nd waistband piece (this is your waistband lining piece) to the sewn waistband/apron top piece along the top edge of the waistband right sides facing, pinning around to the sides of the waistband but not the bottom of the waistband.
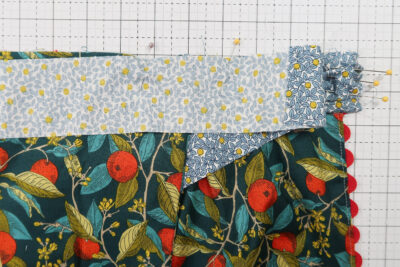
- Photo is from another apron I made, construction steps are identical.
Finishing:
- Make sure that the waistband lining and waistband pieces are RIGHT SIDES FACING.
- Stitch the waistband lining with a ½″ seam allowance beginning at one side and all the way around the top of the waistband to the other side. Again, do not stitch the bottom. Make sure the waist ties are “tucked in” towards the center of the apron as shown in the illustration above)
- Turn the waistband lining right side out to the back of the apron and press. The waist ties will “pop out” when you turn it right side out.
- Fold under the raw edge of the waistband lining and hand stitch in place to finish the apron. You can also machine stitch it if you like.
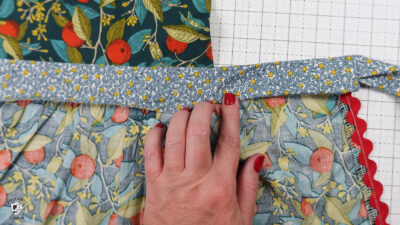
- For an extra finishing touch, topstitch the top of the center strap just below the seam between the apron top and center strap.
Notes
More Apron Patterns you May Like:
Kids Apron Made from Laminate Fabrics
Halloween American Girl Doll Apron Pattern
Giving this as a gift?
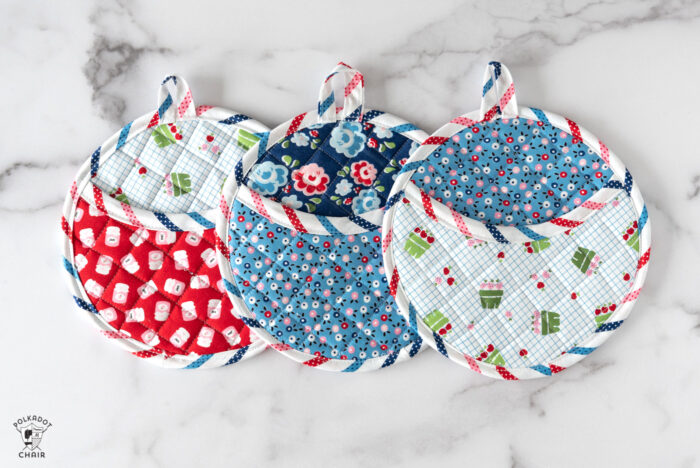
Stitch up a set of cute pot holders to match!
Original post date June 25, 2018.
Do you have a picture of the back of the center strap where you hand sewed? I’m not sure what it’s supposed to look like.. That would be helpful! Great post!
I want to make this for my daughter, but she’s two. I think the 4-7 size will be too big. Do you have any suggestions for sizing down? Thanks!
Hi
I don’t think it will size down that small easily. You could try it and just make the skirt shorter but I think it would still be too big.
Very cute pattern! I’m wondering if the ties are a bit long though. My granddaughter lives out of state so I’m unable to double check the size. Perhaps the bow is meant to be on the big side. Fun pattern to sew – thank you!
I have a question about the waistband in the child size. The instructions say to gather the skirt to 12″ and attach to the waistband. In the cutting instructions it says to cut the waistband 18″. I wondering if the waistband cutting measurement should be 13″ x 3″ instead.
No, the skirt is shorter than the waistband piece. The measurement is correct as listed.
I love this apron for my own little baker! But my daughter is looking for a craft apron with sleeves that would cover her dress sleeves. Do you have a pattern like that? Could you create a pattern that covers her arms? Thank you!
Thank you for this tutorial! I am a beginner and I was able to use it to make three aprons for my nieces. They turned out great and I learned a lot of new skills!
i’m having a problem puttin the center straps. can you give more detail. i’m not a real experienced sewer. if the strap is sewn on how do. add the next strap on top and still make the ends and turn
My daughter asked me to sew an apron for my five year old granddaughter and yours will be perfect. Thank you.
Finished my first apron and I’m an experienced seamstress but still had to pick out a lot of seams. Not that your instructions were not clear i should have printed a copy as i needed to refer to it often . My memory is not as good as it used to be. Love the apron and I’ve started the 2nd. Need 6 for Christmas .
I’m making one for my 10 yr old great grand daughter and plan to use the 8 to 12 measurements.
Hi,
I was wondering for the skirt piece if it was the 14″ or 24″ side that had to be curved.
It’s the corners that are curved. not the sides.
My granddaughter is 11 yo. I used her as a model and increased the size to where the top came across her chest and lengthened the top so it would come to her waist and lengthened the bottom by about 2 inches and also the side. I did not increase the amount of material I bought. It worked fine and she was happier because she picked the length of the bottom and the width of the top.
Just made this apron and its fantastic. I’m very much a novice sewer and this was perfect. Took a bit of thought sewing the final strap piece – sewed it on the back instead of on top to start with and had to unpick, but it is very clever! Will be a great birthday present for my niece.
I am almost finished with the apron but the last part has me confused where Im going to stitch around the edge and skip the part where the strap is attached to the skirt. Then you say to turn the right strap inside and out and stitch the opening in the strap skirt closed. Please advise. Im so frustrated now. 🙁
I would like to make this for my 10 year old granddaughter. What measurements would you suggest? Thank you
Honestly, I don’t know. I’m sorry.
My granddaughter is 11 yo. I used her as a model and increased the size to where the top came across her chest and lengthened the top so it would come to her waist and lengthened the bottom by about 2 inches and also the side. I did not increase the amount of material I bought. It worked fine and she was happier because she picked the length of the bottom and the width of the top.
I’d like to make this for a 10 year old, but am thinking the pattern as stated will be a bit small. Any suggestions?
I have the same question – im thinking about adding 2 inches on to the top and bottom. any thoughts?
That would be a good place to start. You can always make the skirt less gathered. You might also want to make the ties for the waistband longer
Love this pattern. I made an apron for my granddaughter who is delighted with it. I’m just about to size one up for me – minus the ric rac!
Is the “bottom of the skirt” the 14″ side or the 24″ side?
The 24
Darling finished product shown on your website, but I found the directions most confusing, particularly in regard to the two long strap sections. Is there a missing photo or missing sentence or two?
Are the 2 long strap sections sewn together before we are attaching them to the skirt and top?
They are folded in half and sewn and turned right side out. Is that what you meant?
I just made this apron for my granddaughter Max. My theme fabric was giraffes as she loves animals! It is so cute and your directions were great! I got it all done in one afternoon.