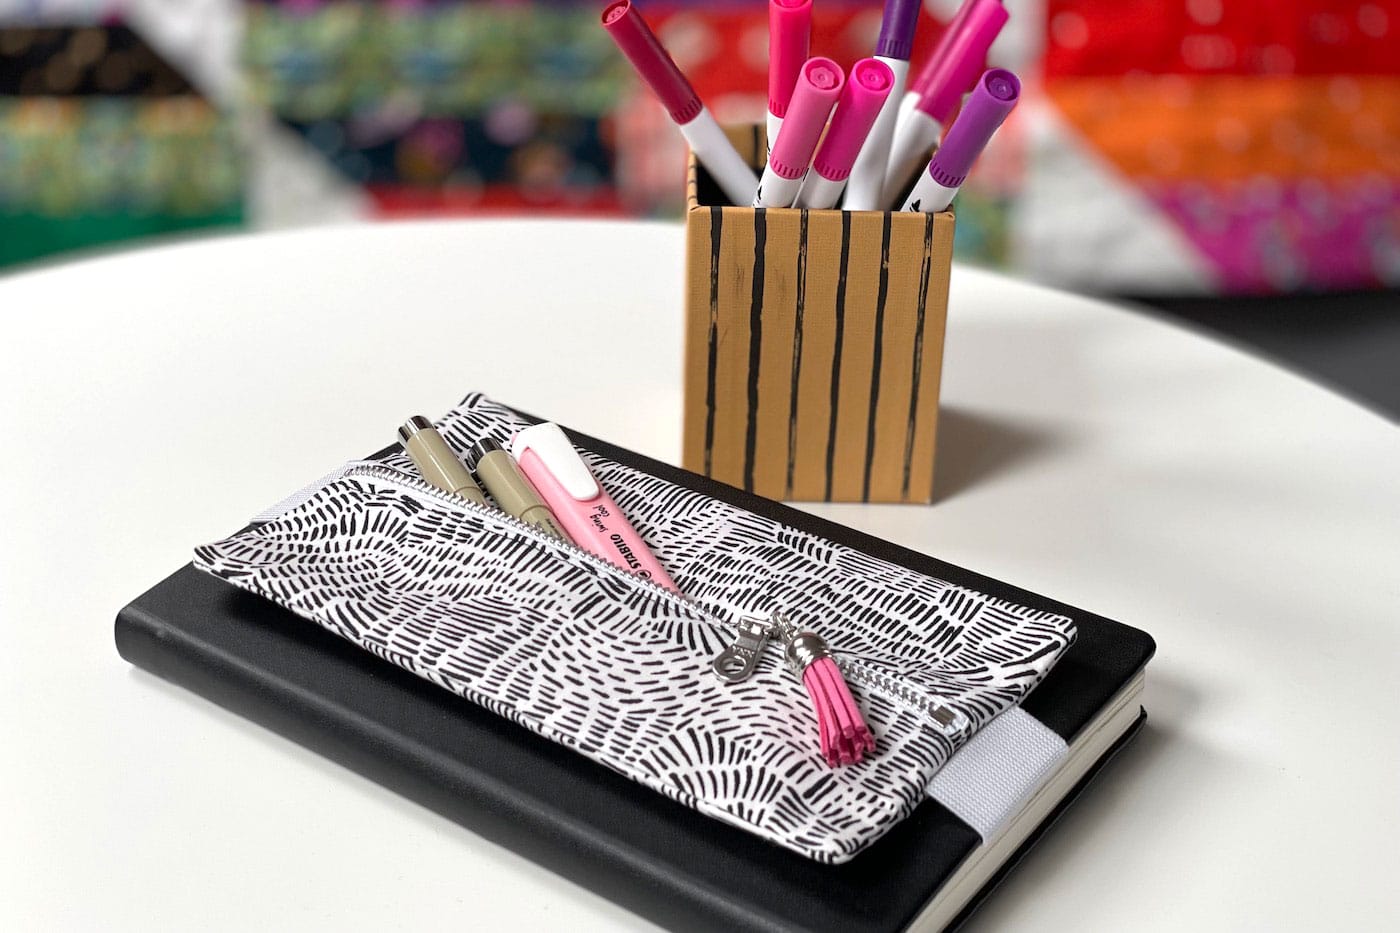
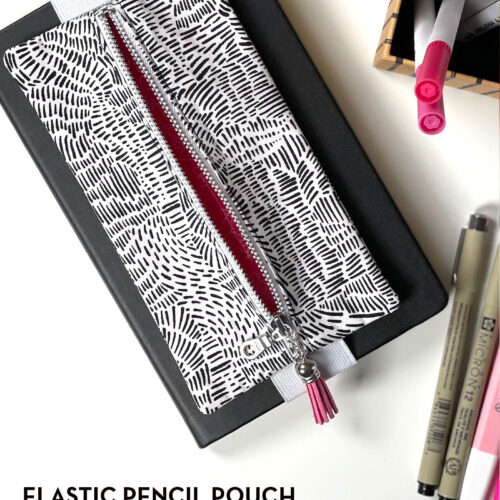
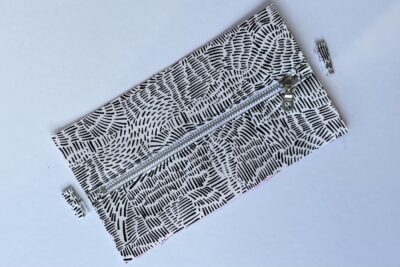
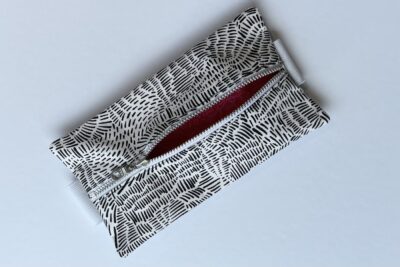
Elastic Pencil Case Bookmark Sewing Pattern
Elevate your organizational game with this versatile Elastic Pencil Case designed to attach seamlessly to your book! Learn how to make one with our free, easy-to-follow sewing tutorial.

Journal writing has existed for thousands of years, and more recently, various types of journaling have become popular, including Bullet Journals. Many people also enjoy making notes and highlighting favorite quotes in printed books!
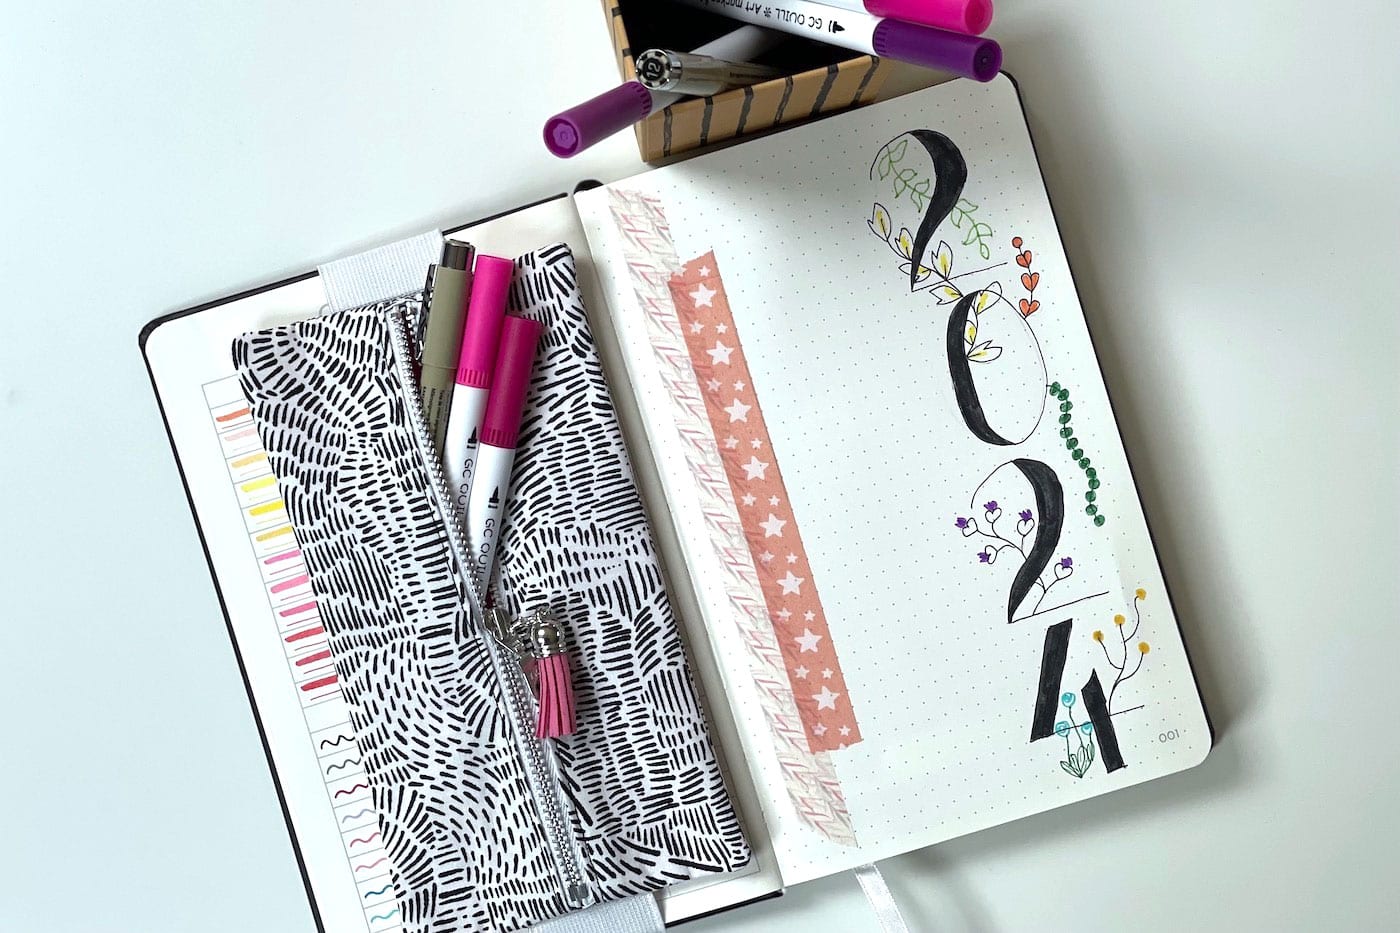
This cute pouch is perfect for students, artists, and anyone who loves to keep their writing tools close at hand. It offers a stylish and practical solution. The elastic strap ensures a snug fit around a small notebook, while the compact design keeps pencils, pens, and other essentials secure and easily accessible.
This project would also make a great gift for someone who enjoys bullet journaling!
Bookmark Details
Instructions
TIP: If you’d like this bookmark to fit a larger book (like a textbook) just increase the length of the elastic.
Elastic Pencil Case Bookmark Tutorial
Equipment
supplies
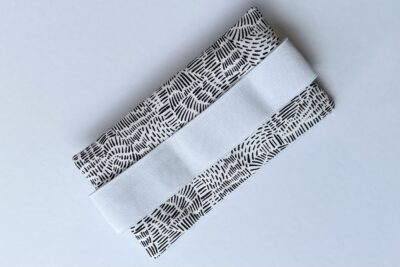
- 1 Fat Eighth Main Fabric
- 1 Fat Eighth Lining Fabric
- 1 piece Iron-On Interfacing
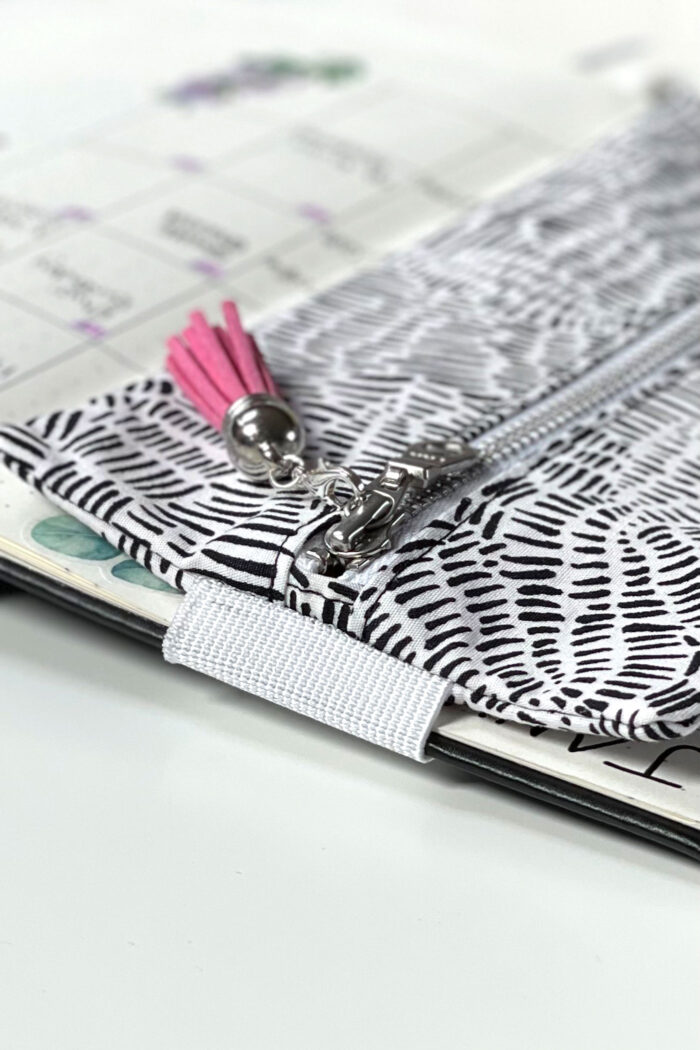
- 1 piece Elastic 10½” I’m using 1½” wide but you could use a slimmer width
- 1 zipper 7"
Instructions
Cutting:
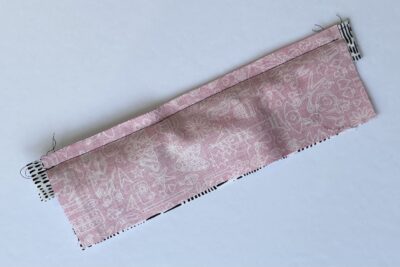
- From Main Fabric cut 4¾” x 8” (1), 2½” x 8” (2), and 1” x 3” (2).
- From Lining Fabric cut 4¾” x 8” (1) and 2½” x 8” (2).
- From Interfacing cut 4¾” x 8” (1) and 2½” x 8” (2).
Construction:
- Following the manufacturer’s guidelines, add the interfacing to the three larger Main Fabric rectangles. Set aside.
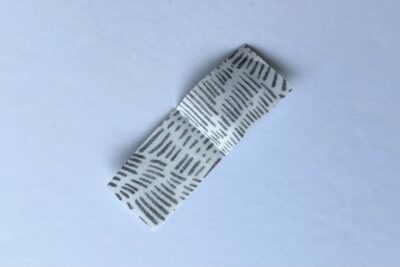
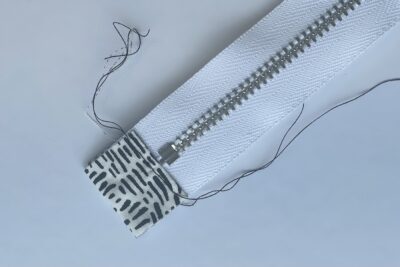
- Take one of the Main Fabric 1” x 3” rectangles. Press in half, wrong sides together, so the short ends of the rectangle come together.

- Unfold then press the two short ends into the first pressed seam, wrong sides together.
- Then press the first seam again so the raw short edges are now enclosed.
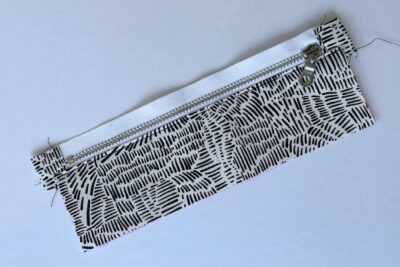
- Slip this unit over one end of the zip so that the raw edges of the fabric tab line up with the zip edges and the folded ends are close to the zip’s stop. Pin in place.
- Sew close to the folded end nearest the zip’s stop to secure the fabric tap in place. I recommend using a zipper foot for this step.
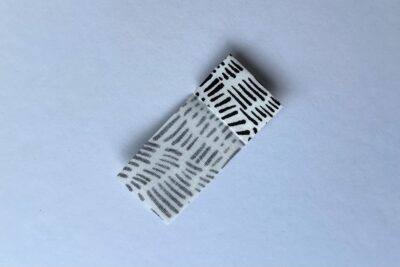
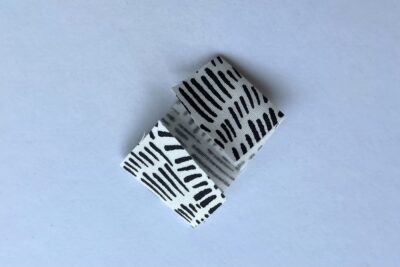
- Repeat steps 2 to 5 for the other end of the zip.
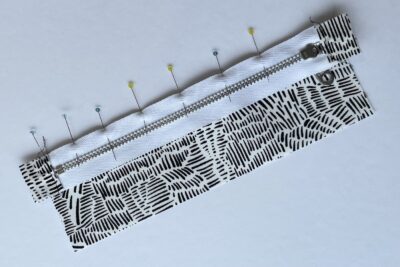
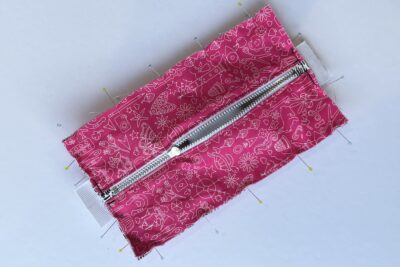
- Mark the center of the zip unit and the center of the long edge of one of the Main Fabric 2½” x 8” rectangles. Place the Main Fabric rectangle right side up and then place the zip unit right side down on top. Match up the center points and line the top edge of the zip to the edge of the Main Fabric rectangle.
- Pin and then baste in place with a ⅛” seam allowance. The fabric zip tabs will extend beyond the Main Fabric rectangle.
- Now pin one of the Lining Fabric 2½” x 8” rectangles right side down on top, lined up with the Main Fabric rectangle that’s underneath. Sew along the top edge with a ¼” seam allowance and using a zipper foot.
- [TOP TIP: to create a straight line of stitching start at the opposite end to the zip and sew about three-quarters of the way along and then, with the needle in the down position, lift your zipper foot and carefully move the zip to the end you have already sewn and then put the foot back down and finish the stitching line. Keeping her bulk of the zip out of the way when you’re sewing makes it much easier!]
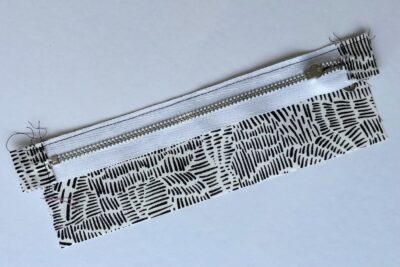
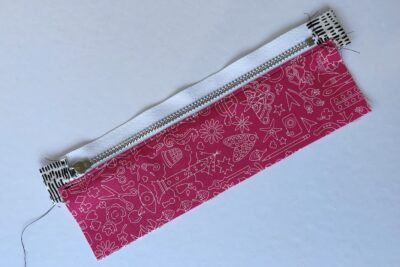
- Press both fabric rectangles away from the zip so that they are wrong sides together (be careful not to melt the zip teeth if they are plastic!).
- The top stitch in place close to the folded edge.
- Repeat steps above for the other side of the zip.
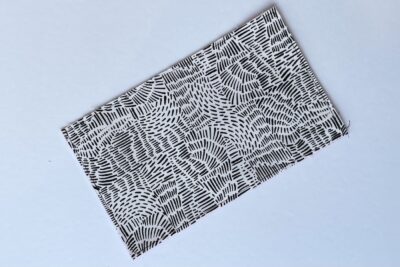
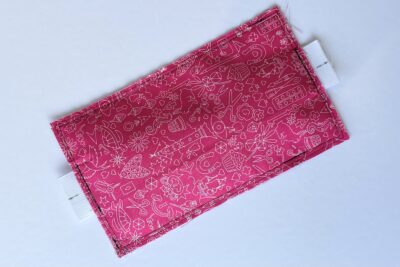
- Trim away the excess zip tab fabric. The unit should now be 4¾” x 8”.
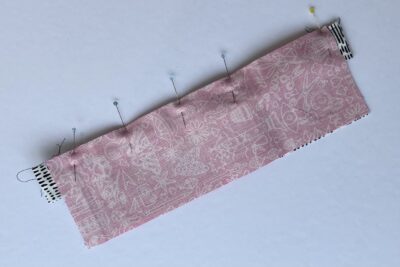
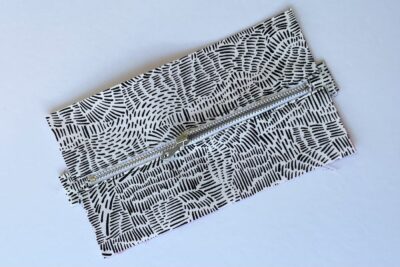
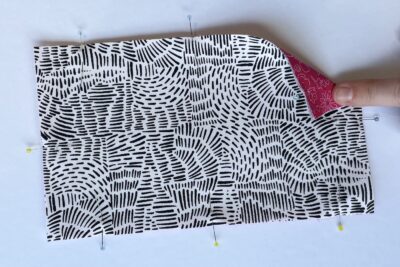
- Take the remaining Main Fabric and Lining Fabric 4¾” x 8” rectangles and pin them together wrong sides facing.
- Baste the rectangles together along all four edges using a ⅛” seam allowance. Set aside.
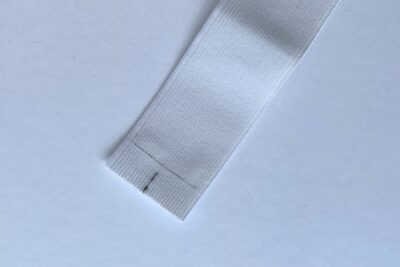
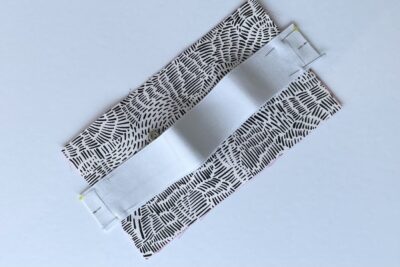
- Take the piece of elastic and mark a line ¼” away from both raw edges, and also mark a center point on each edge.
- Take the zip unit from step 15 and pin the elastic to the right side at both ends. Line up the center points to the center of the zip (where the teeth meet) and match the ¼” seam allowance lines to the edges of the zip unit.
- Baste both the elastic ends in place using a ⅛” seam allowance. The elastic won’t lay flat again the zip unit.
- VERY IMPORTANT STEP…unzip the zip about three-quarters of the way.
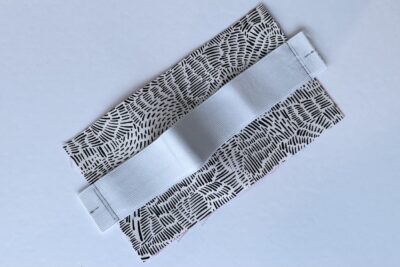
- Take the attached Main and Lining Fabric rectangles from step 13 and place it with the Main Fabric facing up. Put the zip unit on top so the Main Fabrics are facing and you are looking at the Lining Fabric side of the zip unit. Line up the four raw edges and pin all the way round.
- Sew around all four edges using a ¼” seam allowance. Add a couple of extra lines of stitch at the elastic.
- Trim the raw edges with pinking shears to avoid fraying, and clip the four corners.
- Turn right side out through the open zip and carefully poke out the four corners.
- Finish by pressing the two long edges; be careful not to iron the elastic.

About the Designer

Amy lives in the north of England with her husband and son. When she’s not sewing and quilting, Amy can usually be found baking or reading. You can find her on Instagram @amyatthegate