Four Ways to Finish the Edge of a Pillow
You’ve created your pillow front, but now, what do you do? How do you turn the fabric into a quilted pillow cover? Today, we will walk you through four different ways to finish or bind the edge of your pillow cover. Choose the one that works best for you!
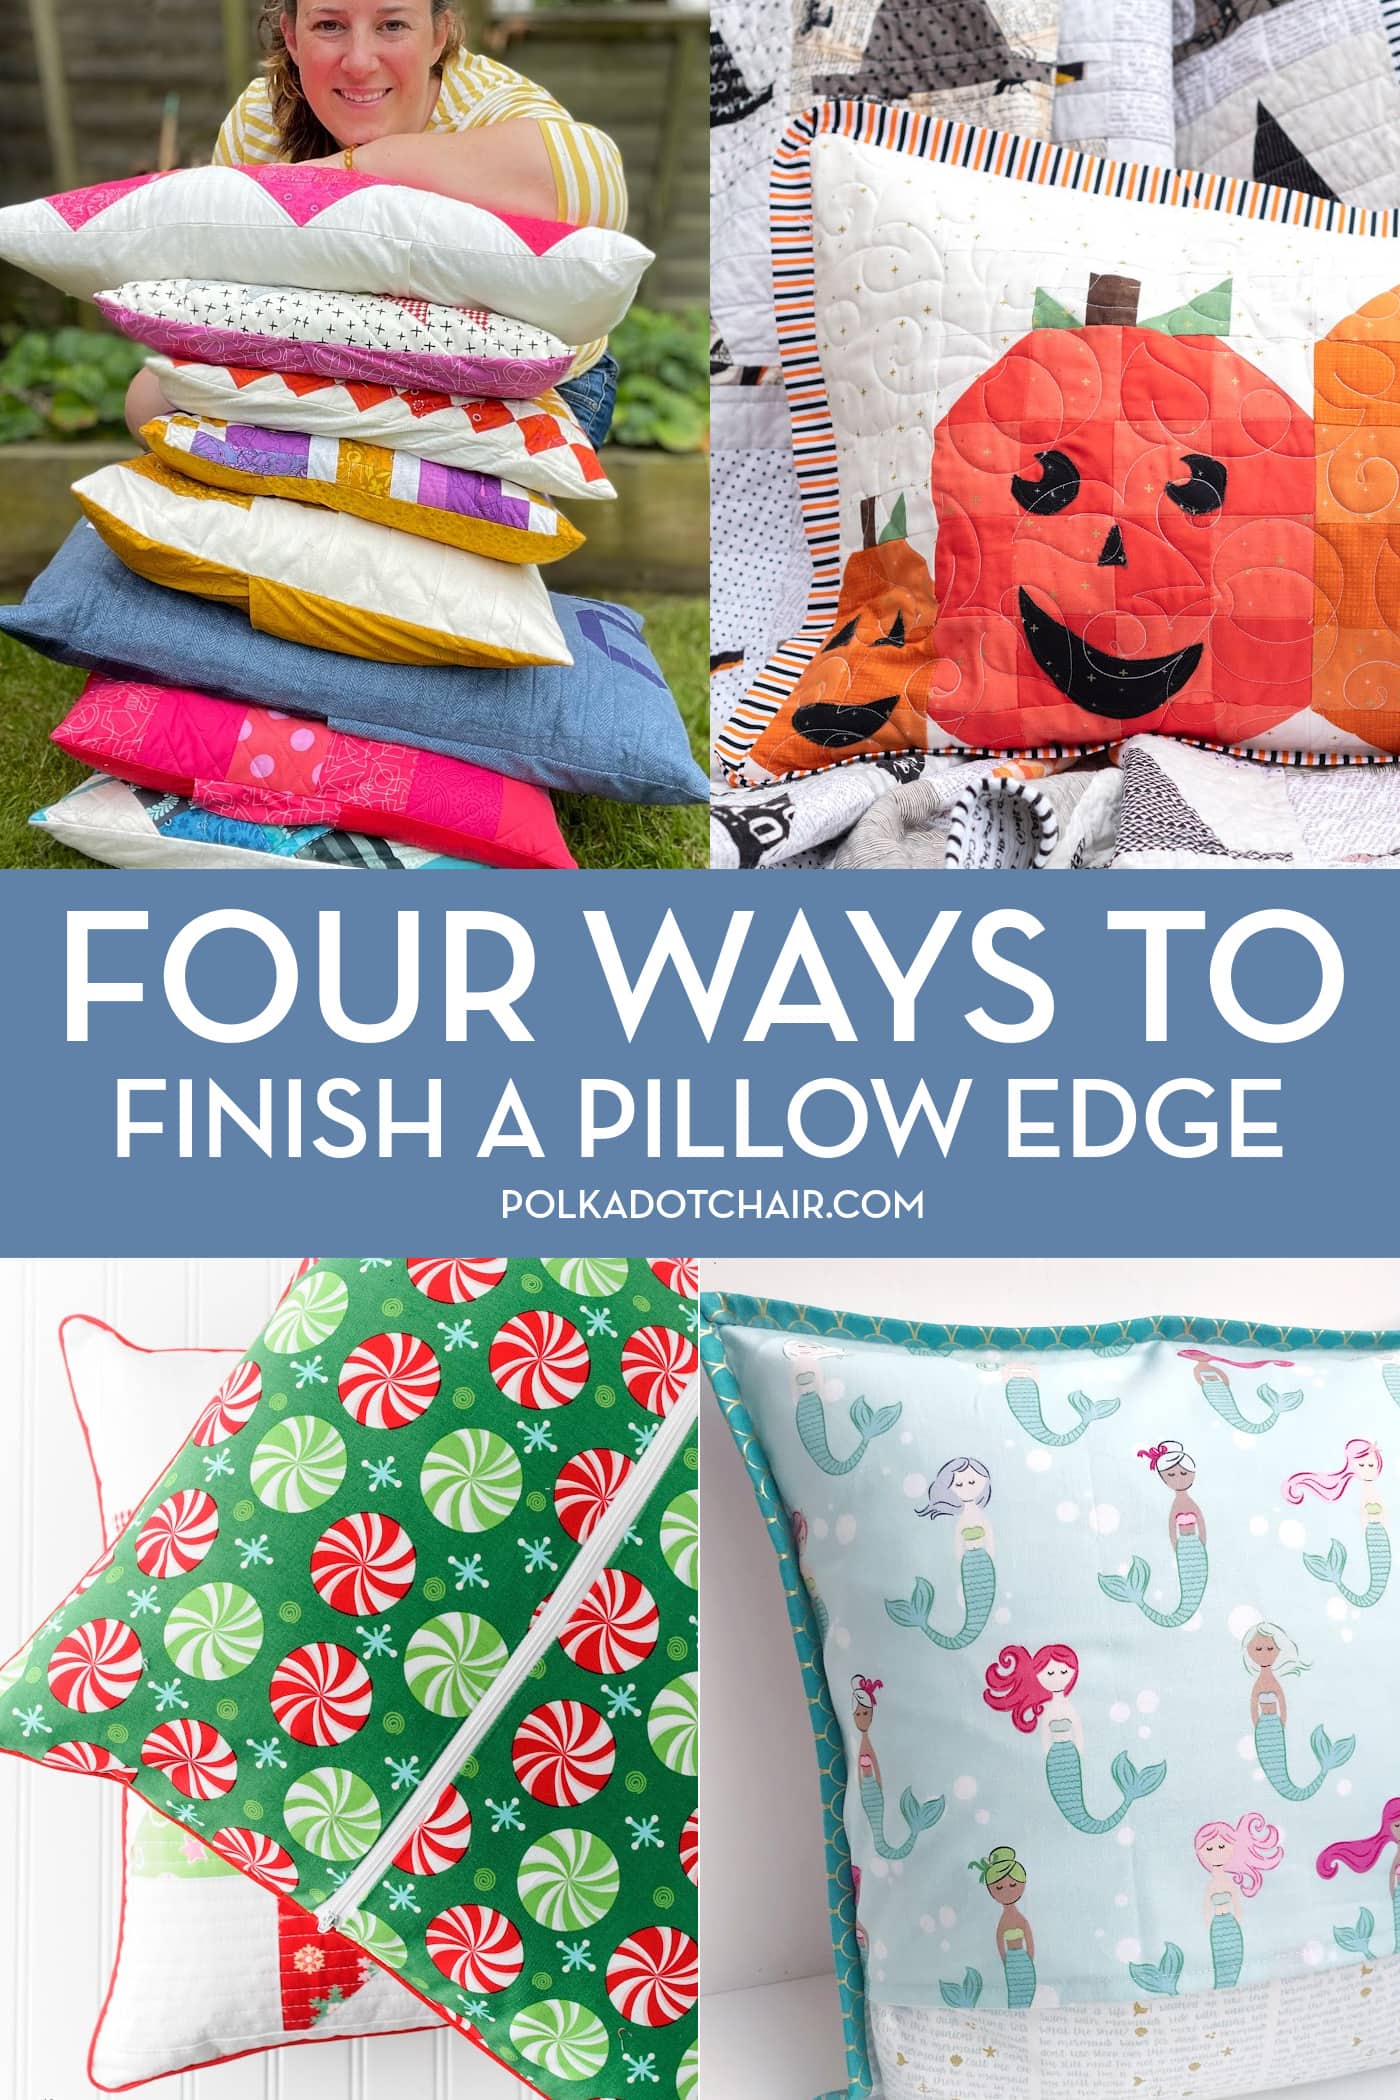
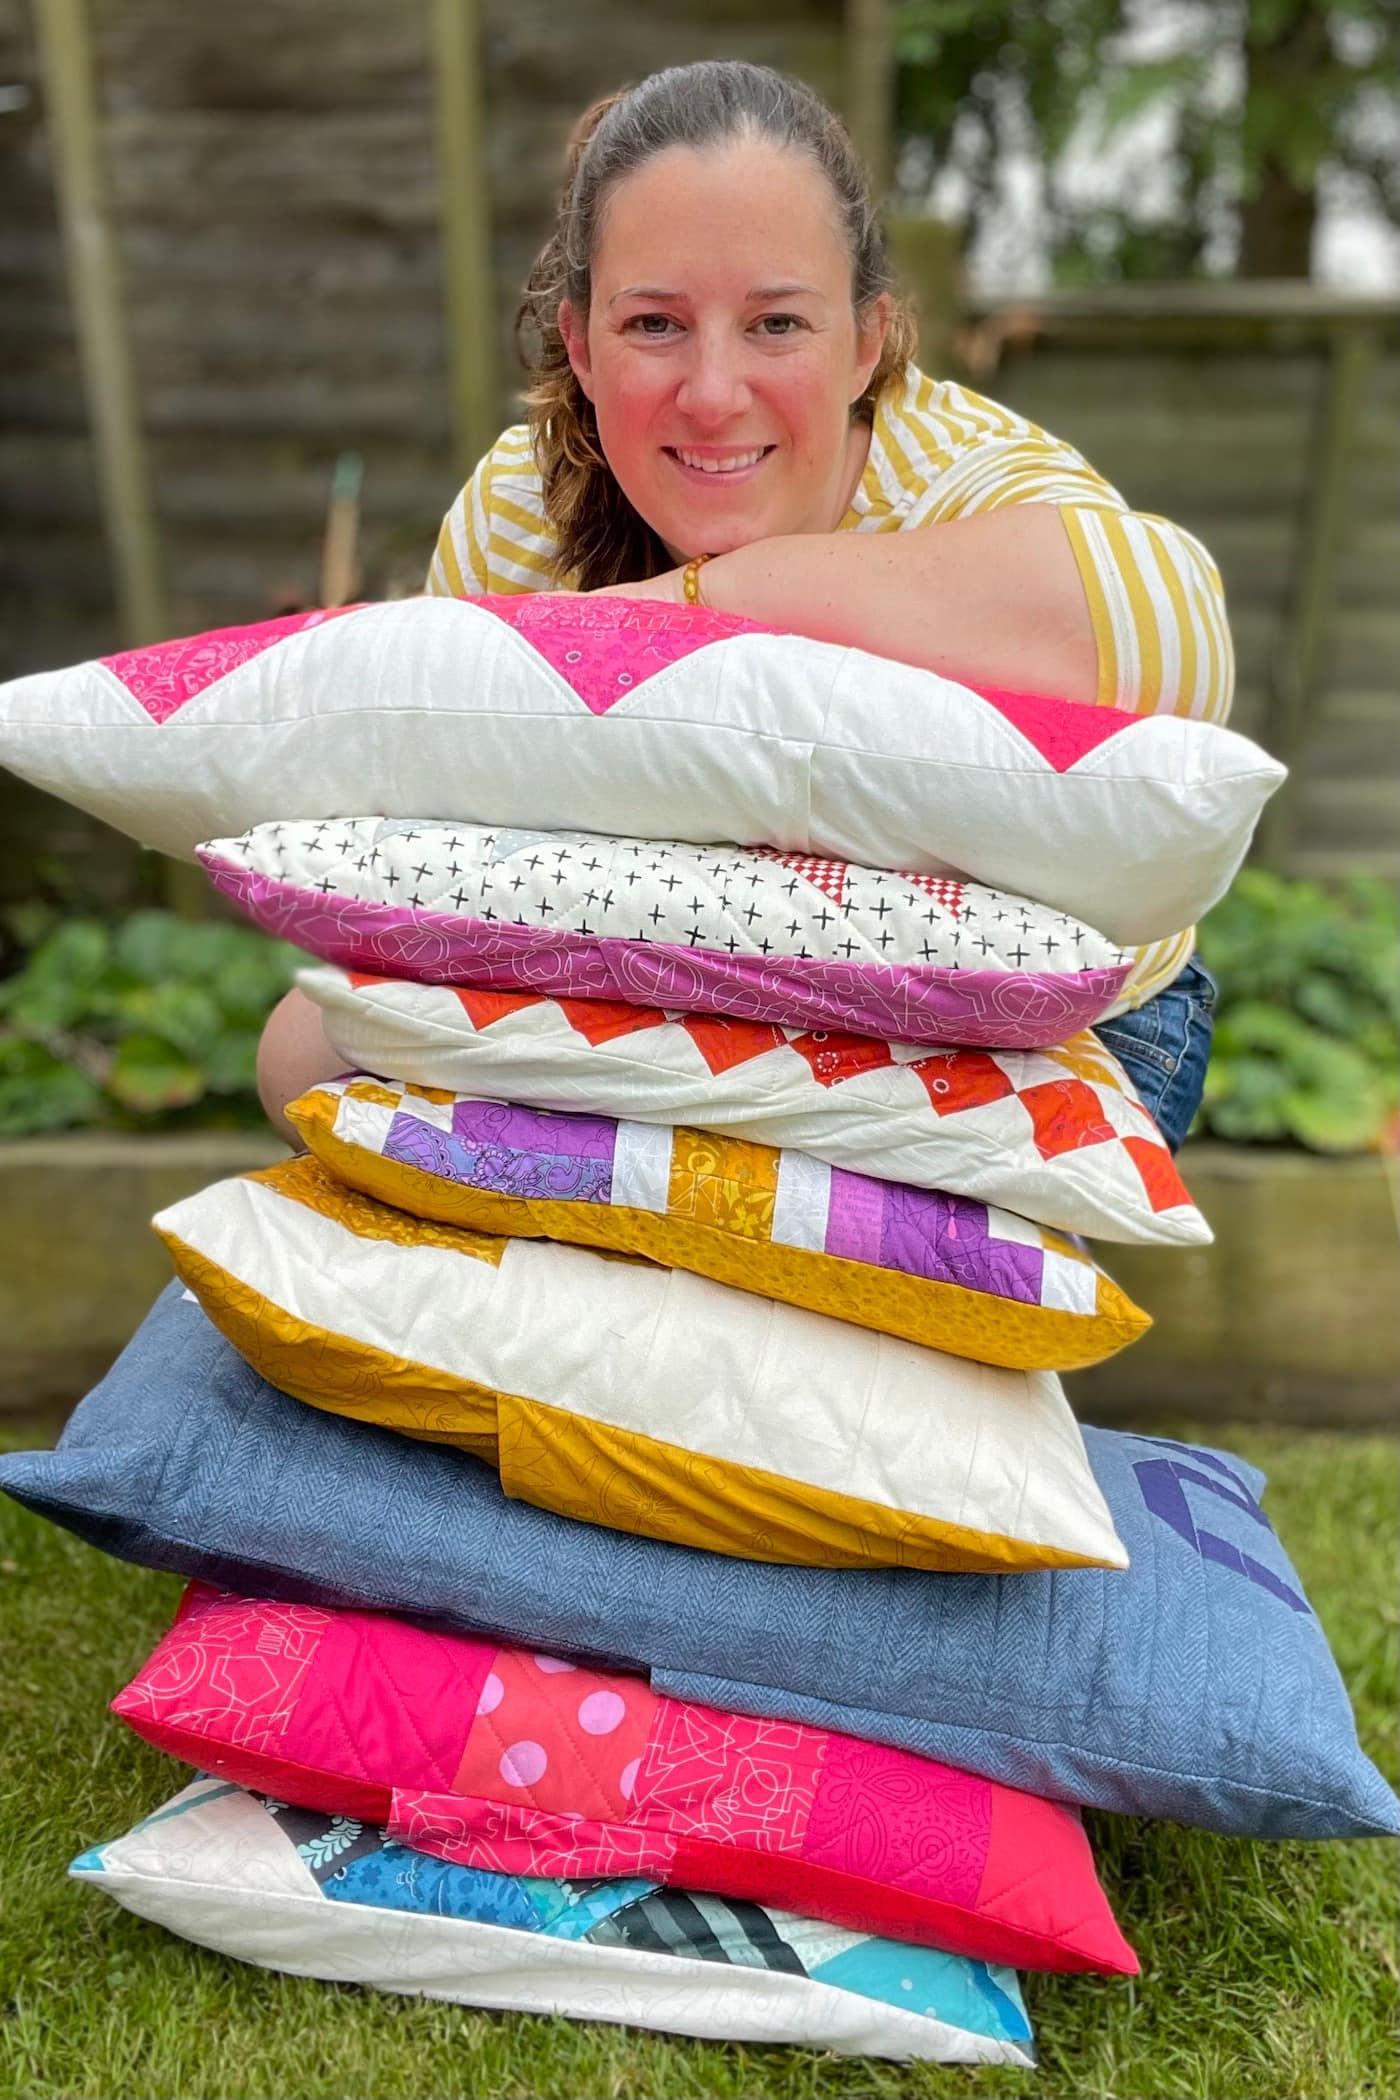
Recently, I’ve been having a lot of fun making seasonal pillows for my home. Most of the pillows I’ve created are quilted, and today, I thought I’d share with you some ways to finish the edge of your pillows.
The edge of a pillow is generally referred to as a “flange,” and there are several ways to add more detail to this part of a pillow. I’ve used a combination of these over the years.
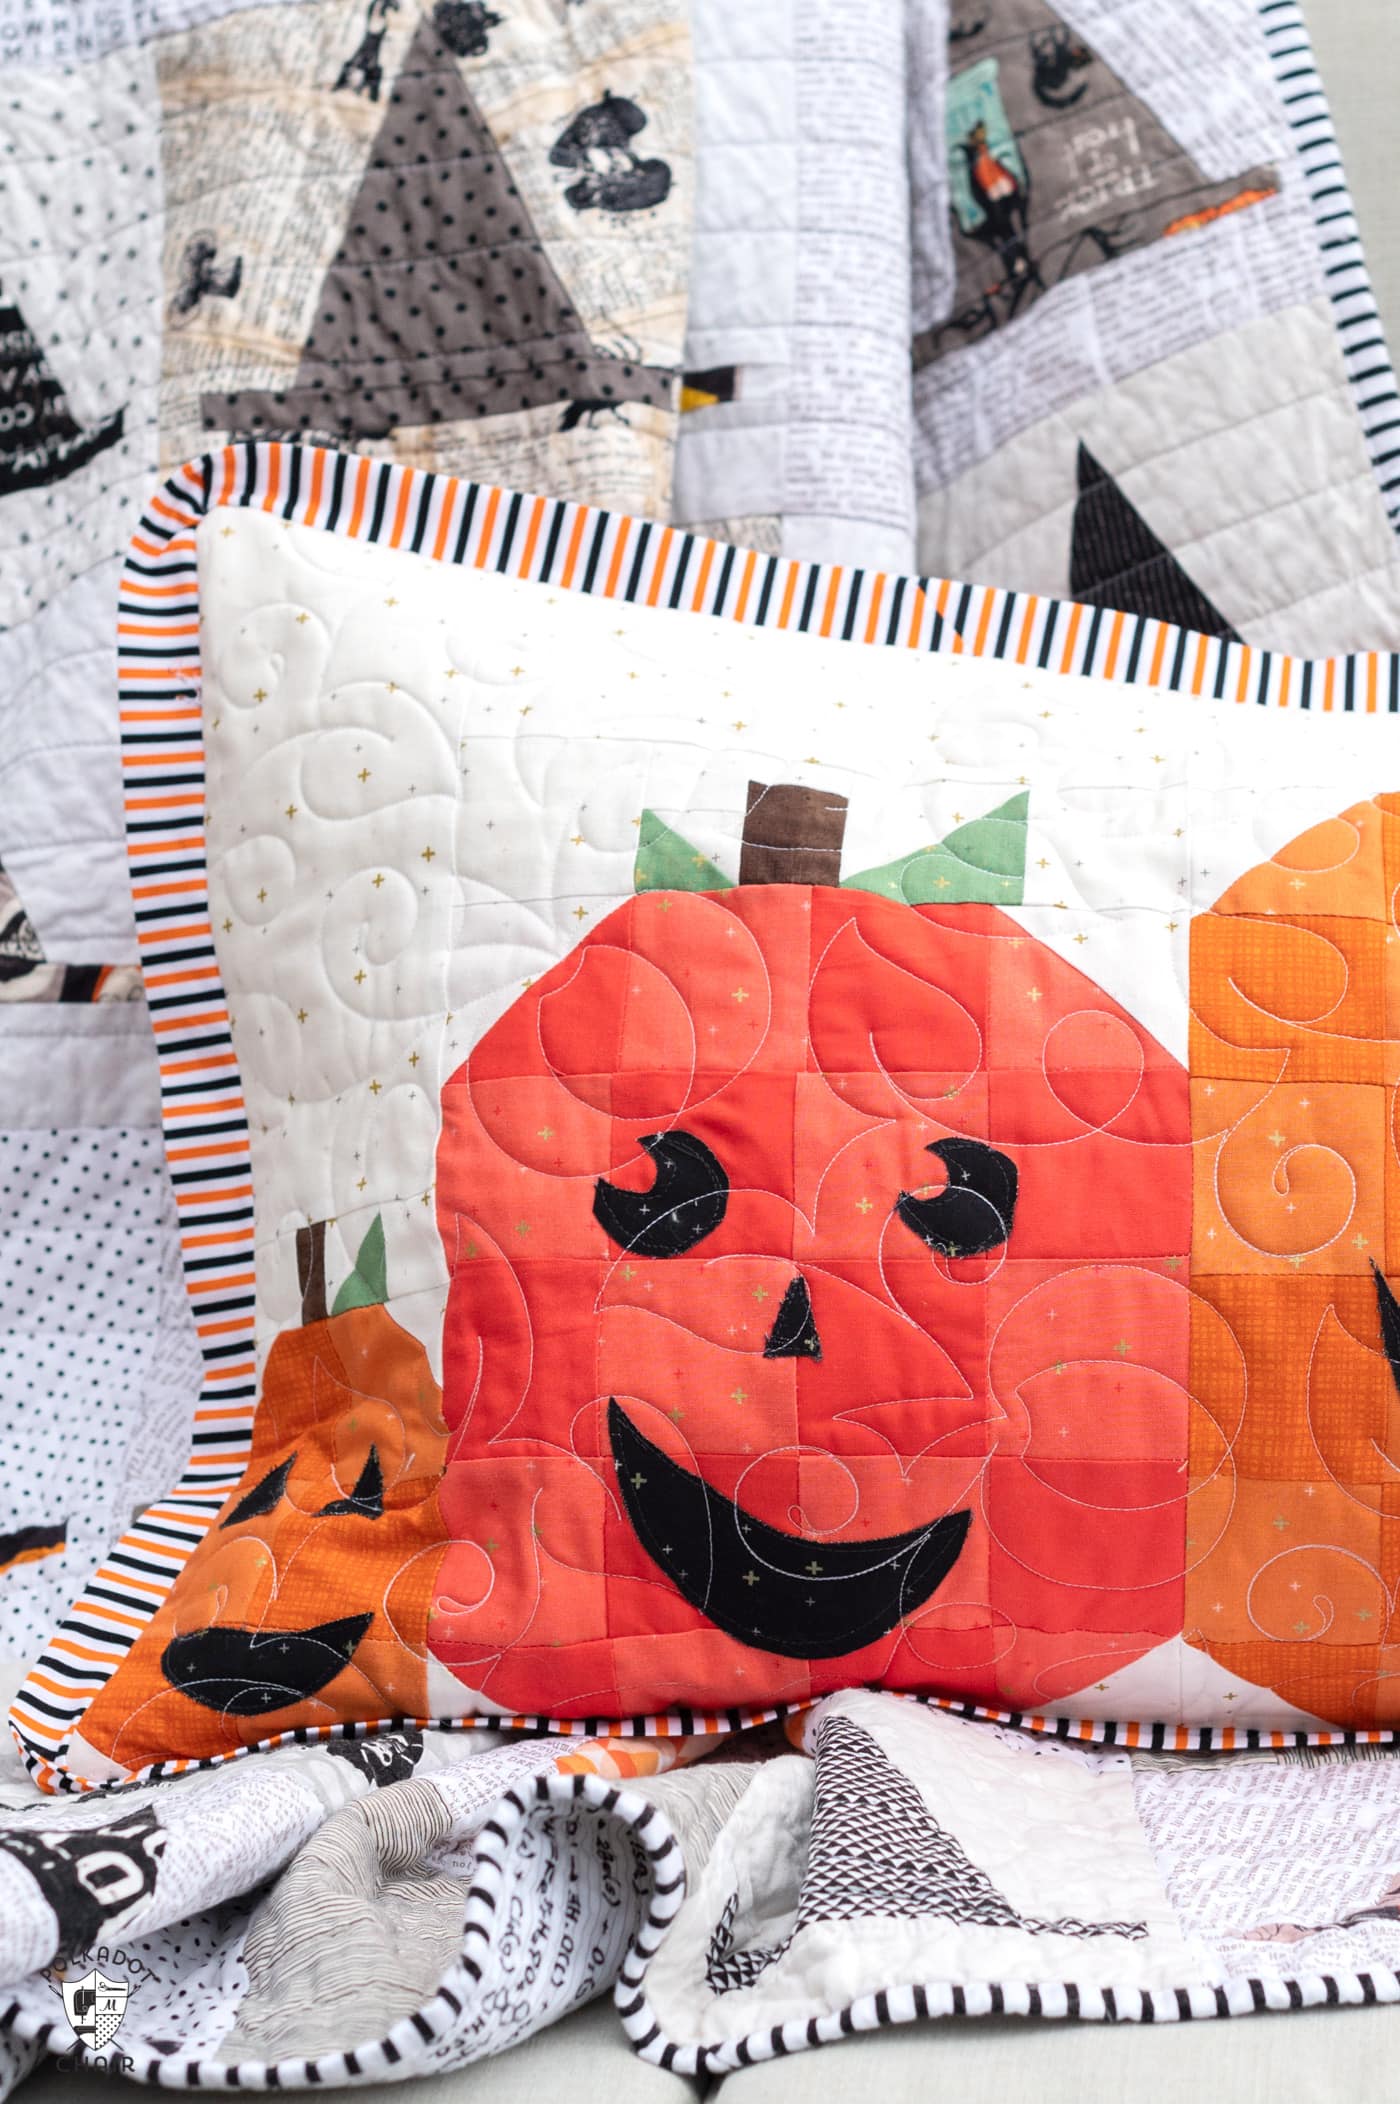
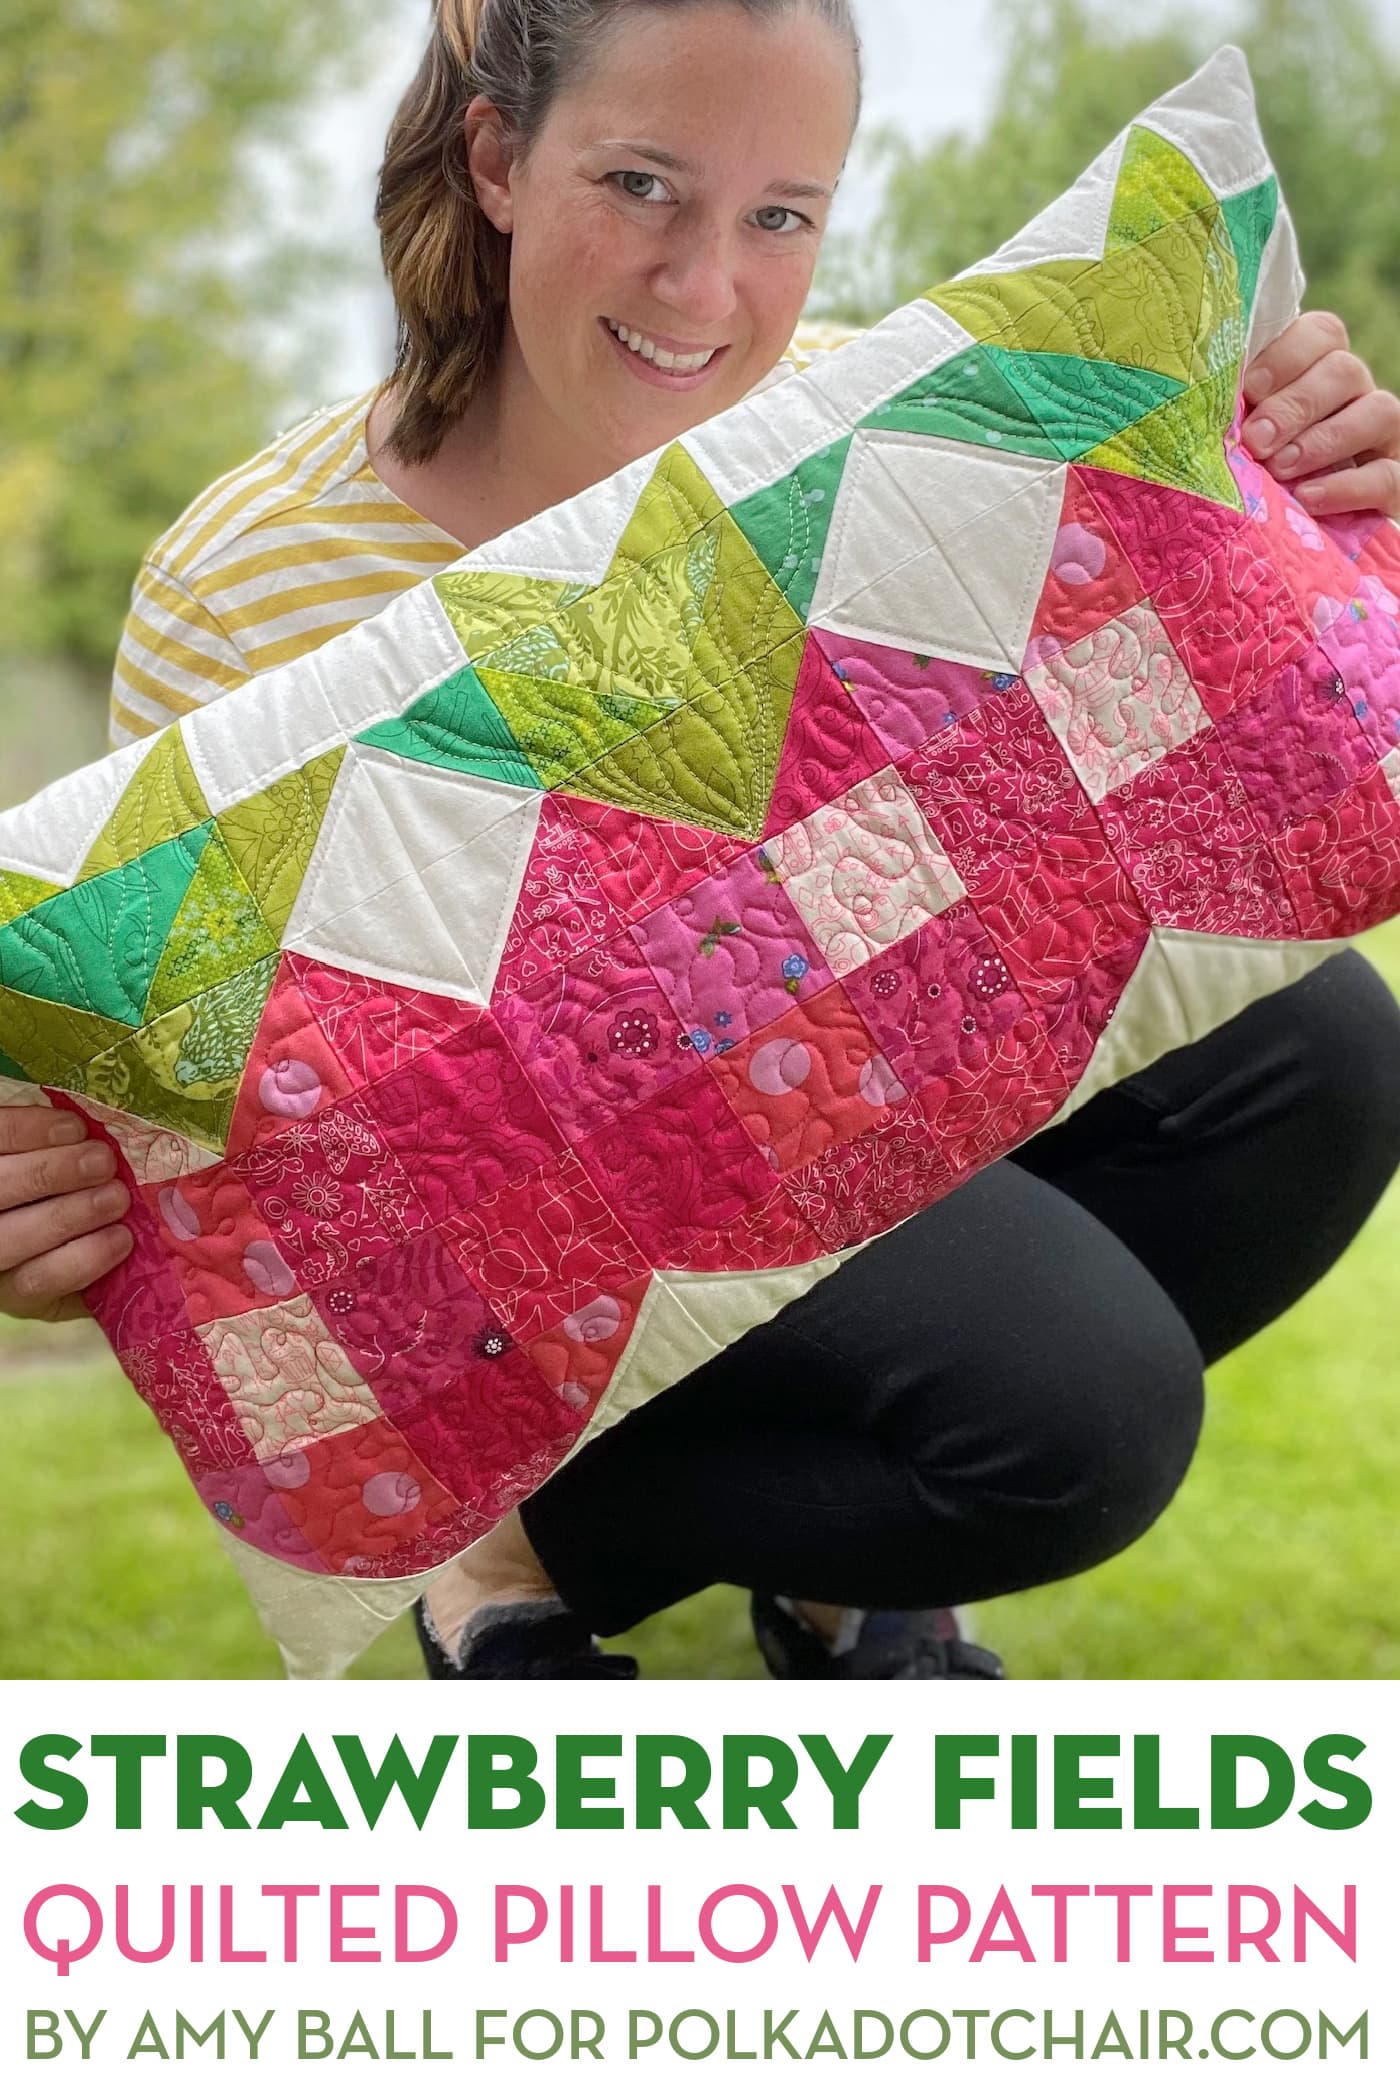
One of the things that I’ve enjoyed sewing lately is the Riley Blake Designs Bench Pillow of the Month kits. If you’re unfamiliar with them, Riley Blake has created twelve boxed kits to create quilted bench pillows. One for each month of the year.
Each pillow kit was designed by one of their fabric designers. I designed the “Carve Time Out for Fun” pillow kit featured in this post. Most of the pillows have a seasonal theme, and all feature a combination of traditional quilting techniques.
All of the pillow covers are the same size, so you can purchase one pillow form and then swap out the covers all year!
You can find the kits at many quilt shops and on Etsy.
How to Finish the Edge of a Pillow
There are many different ways to sew a pillow and many different types of fabric as well. The pillows in this article are not made with upholstery fabric but rather a quilting-weight cotton.
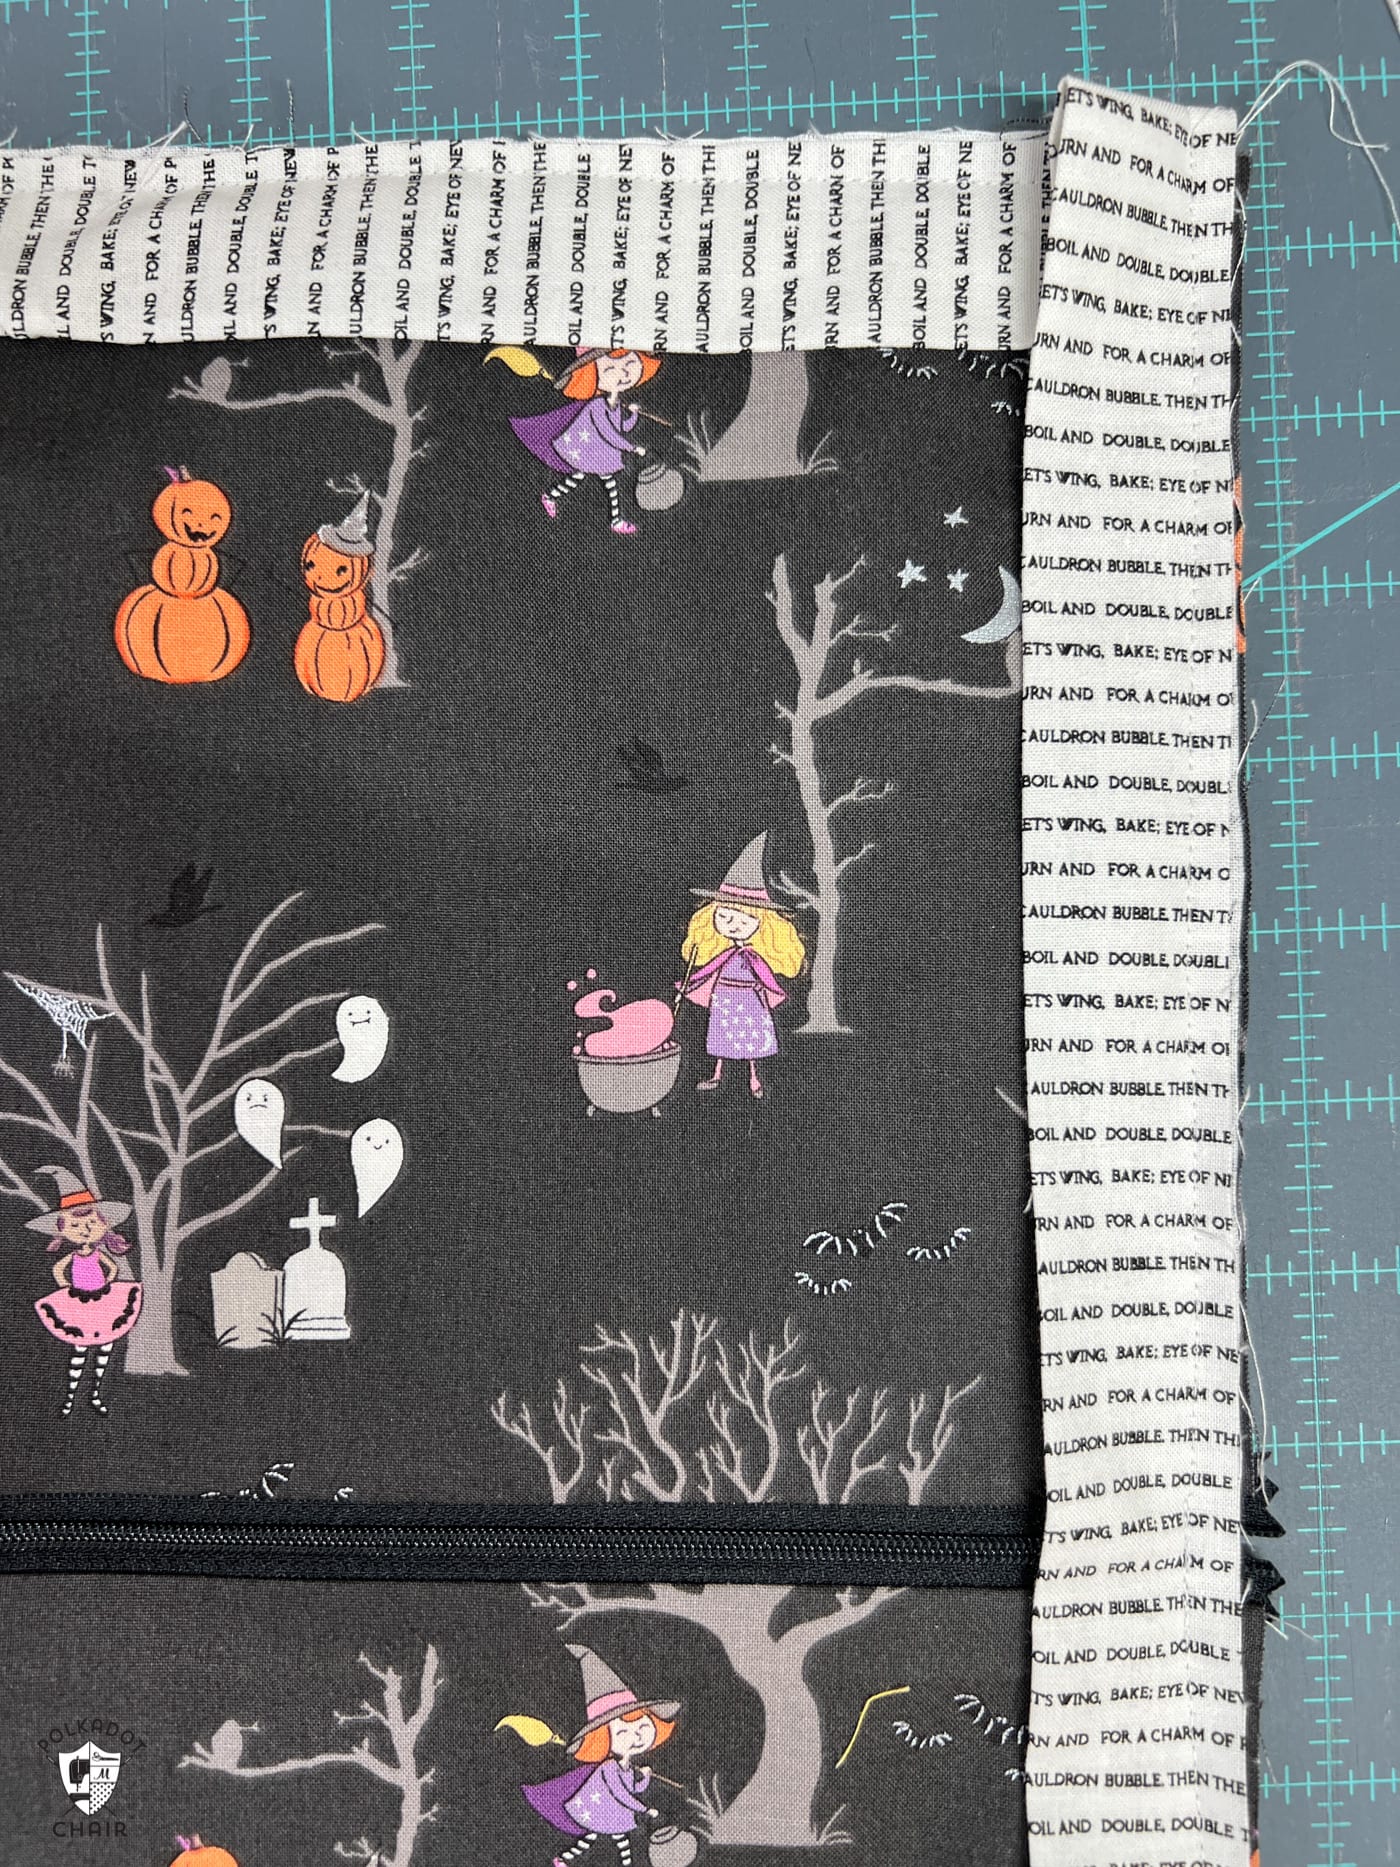
The pillow fronts are made using the same technique you would use to make a quilt. Think of them as just a mini quilt. Since you need to sew a back on the pillow sham, it gives you a few options to finish the edge of your pillow. Many of these pillows feature an envelope back, but you can also add a zipper to the back of your pillow if you want.
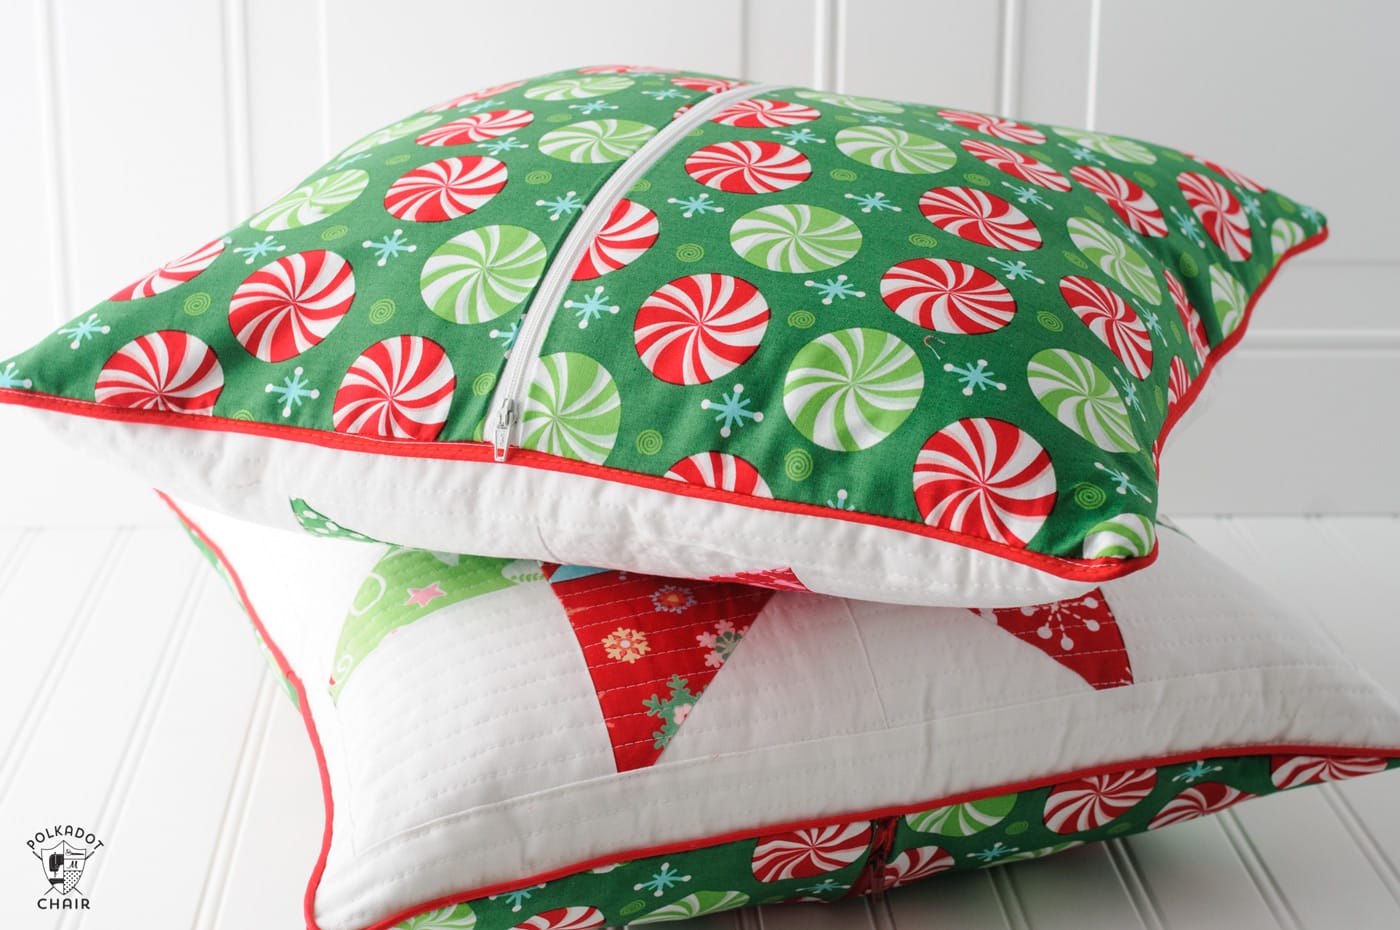
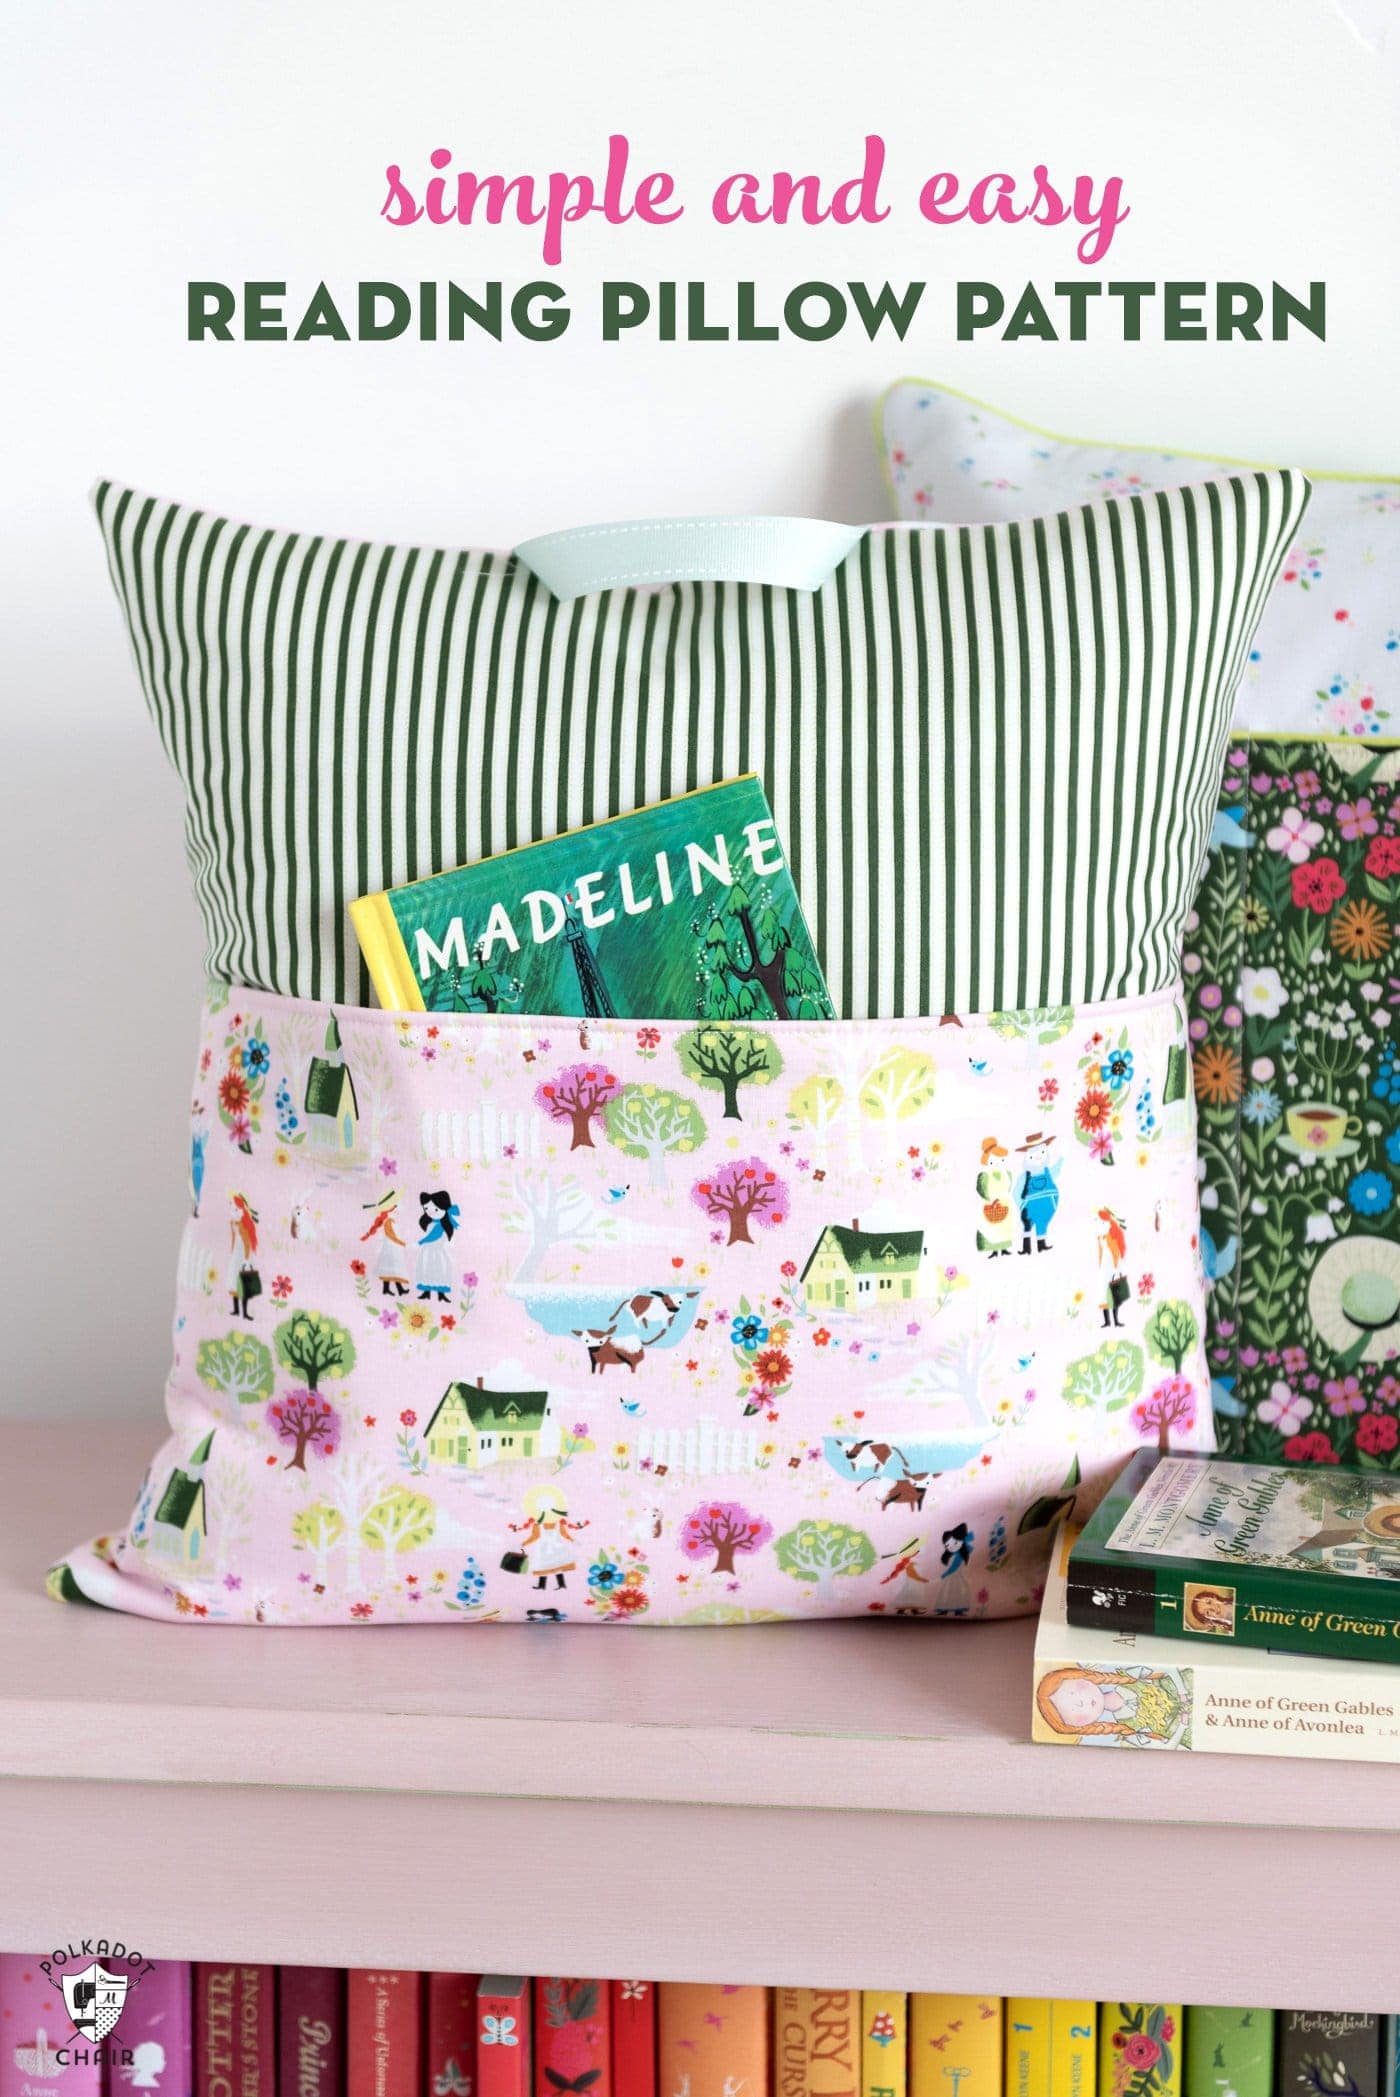
Option 1: Simple Knife Edge

The Reading Pillow pictured above features a simple Knife Edge detail. A knife edge refers to a sharp, flat seam or edge found on the sides of the pillowcase or pillow cover.
This edge is made by sewing two pieces of fabric together with a straight seam and then flipping the fabric right side out so the seam is hidden on the inside.
This is the simplest way to finish a pillow. If you’re making a quilted pillow cover with this technique, all you need to do is quilt your pillow front piece, trim the excess batting, and then sew the back onto the pillow.
Option 2: Bound Edge
Another way to finish the edge of a pillow is to bind it using the same method you would use to bind a quilt.
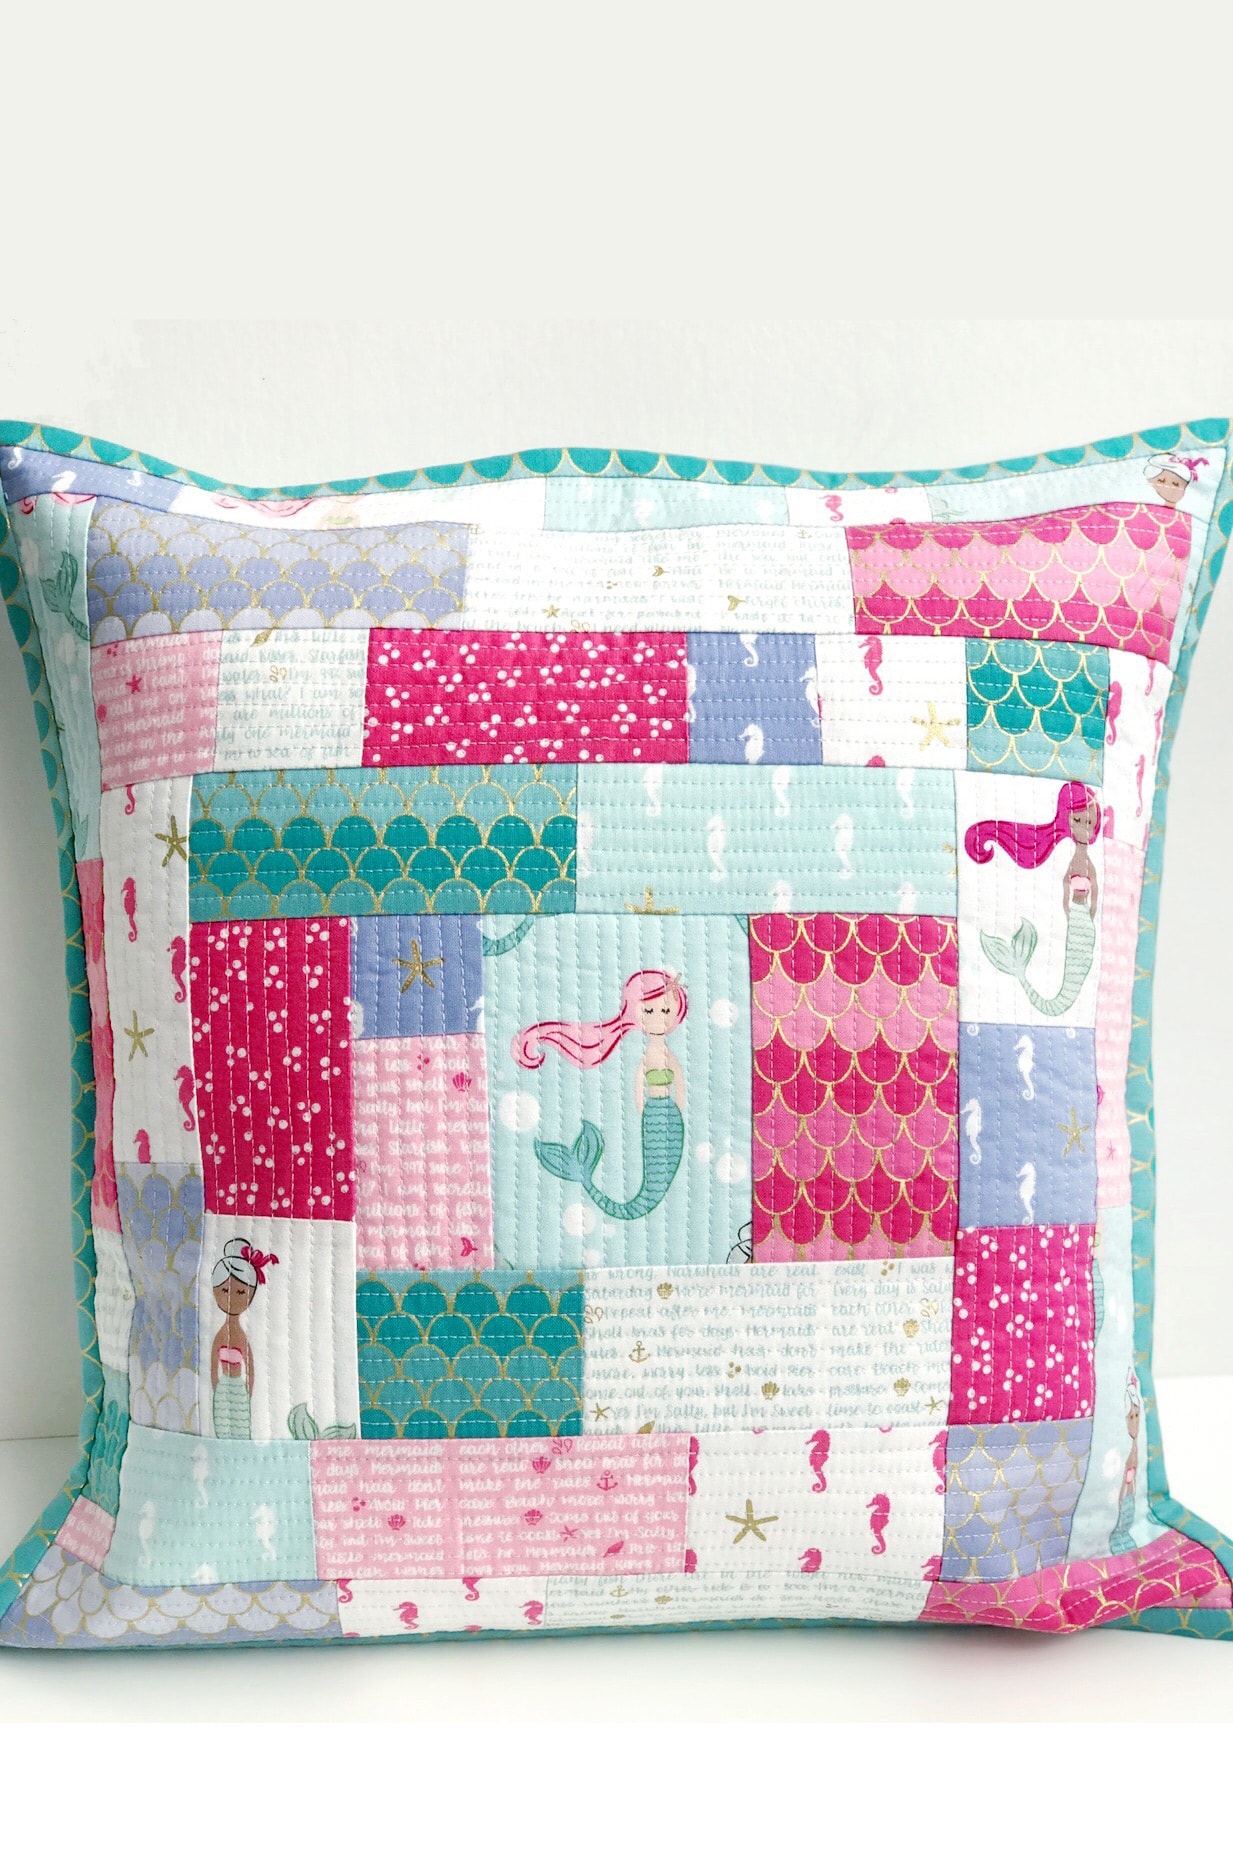
This “quilt as you go” pillow cover is finished with a bound edge.
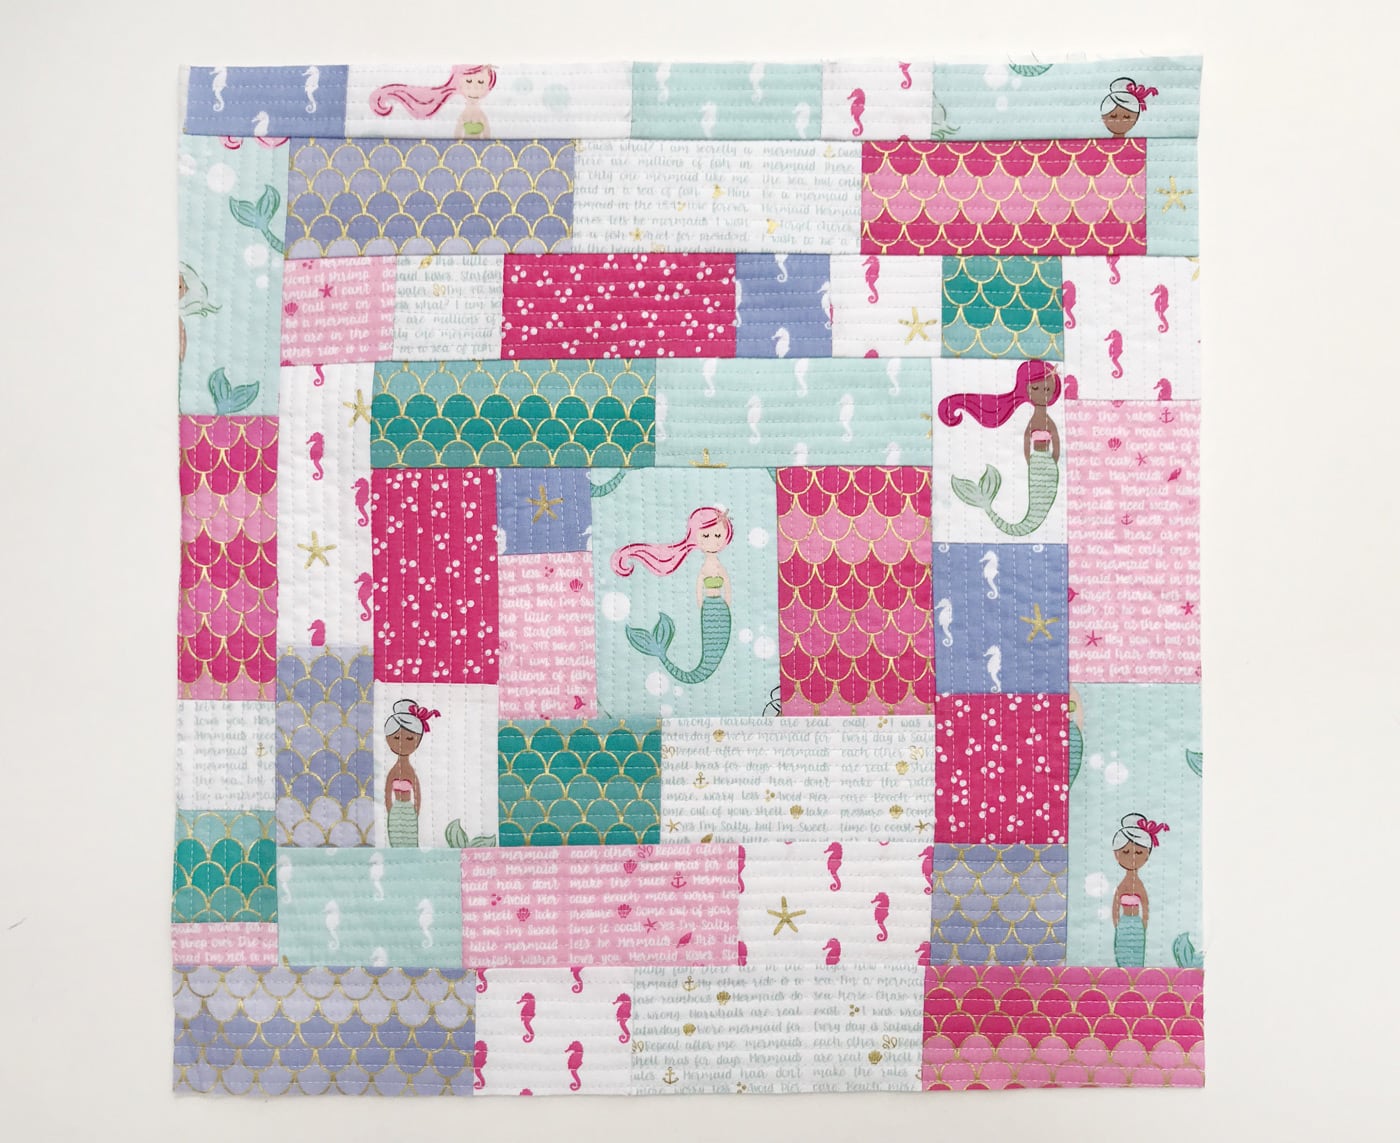
First, quilt and trim your quilted pillow front. Then, decide what type of backing you want on your pillow. After that, to add this edge to a pillow, sew the pillow cover and pillow back pieces together with the wrong sides facing. I like to baste the pieces together before I add the binding around the edge.
You can either then sew the binding to the front of the pillow and hand stitch the binding to the back of the pillow as shown above.
You can also sew the binding to the back of the pillow first, then machine stitch the binding down on the front of the pillow.
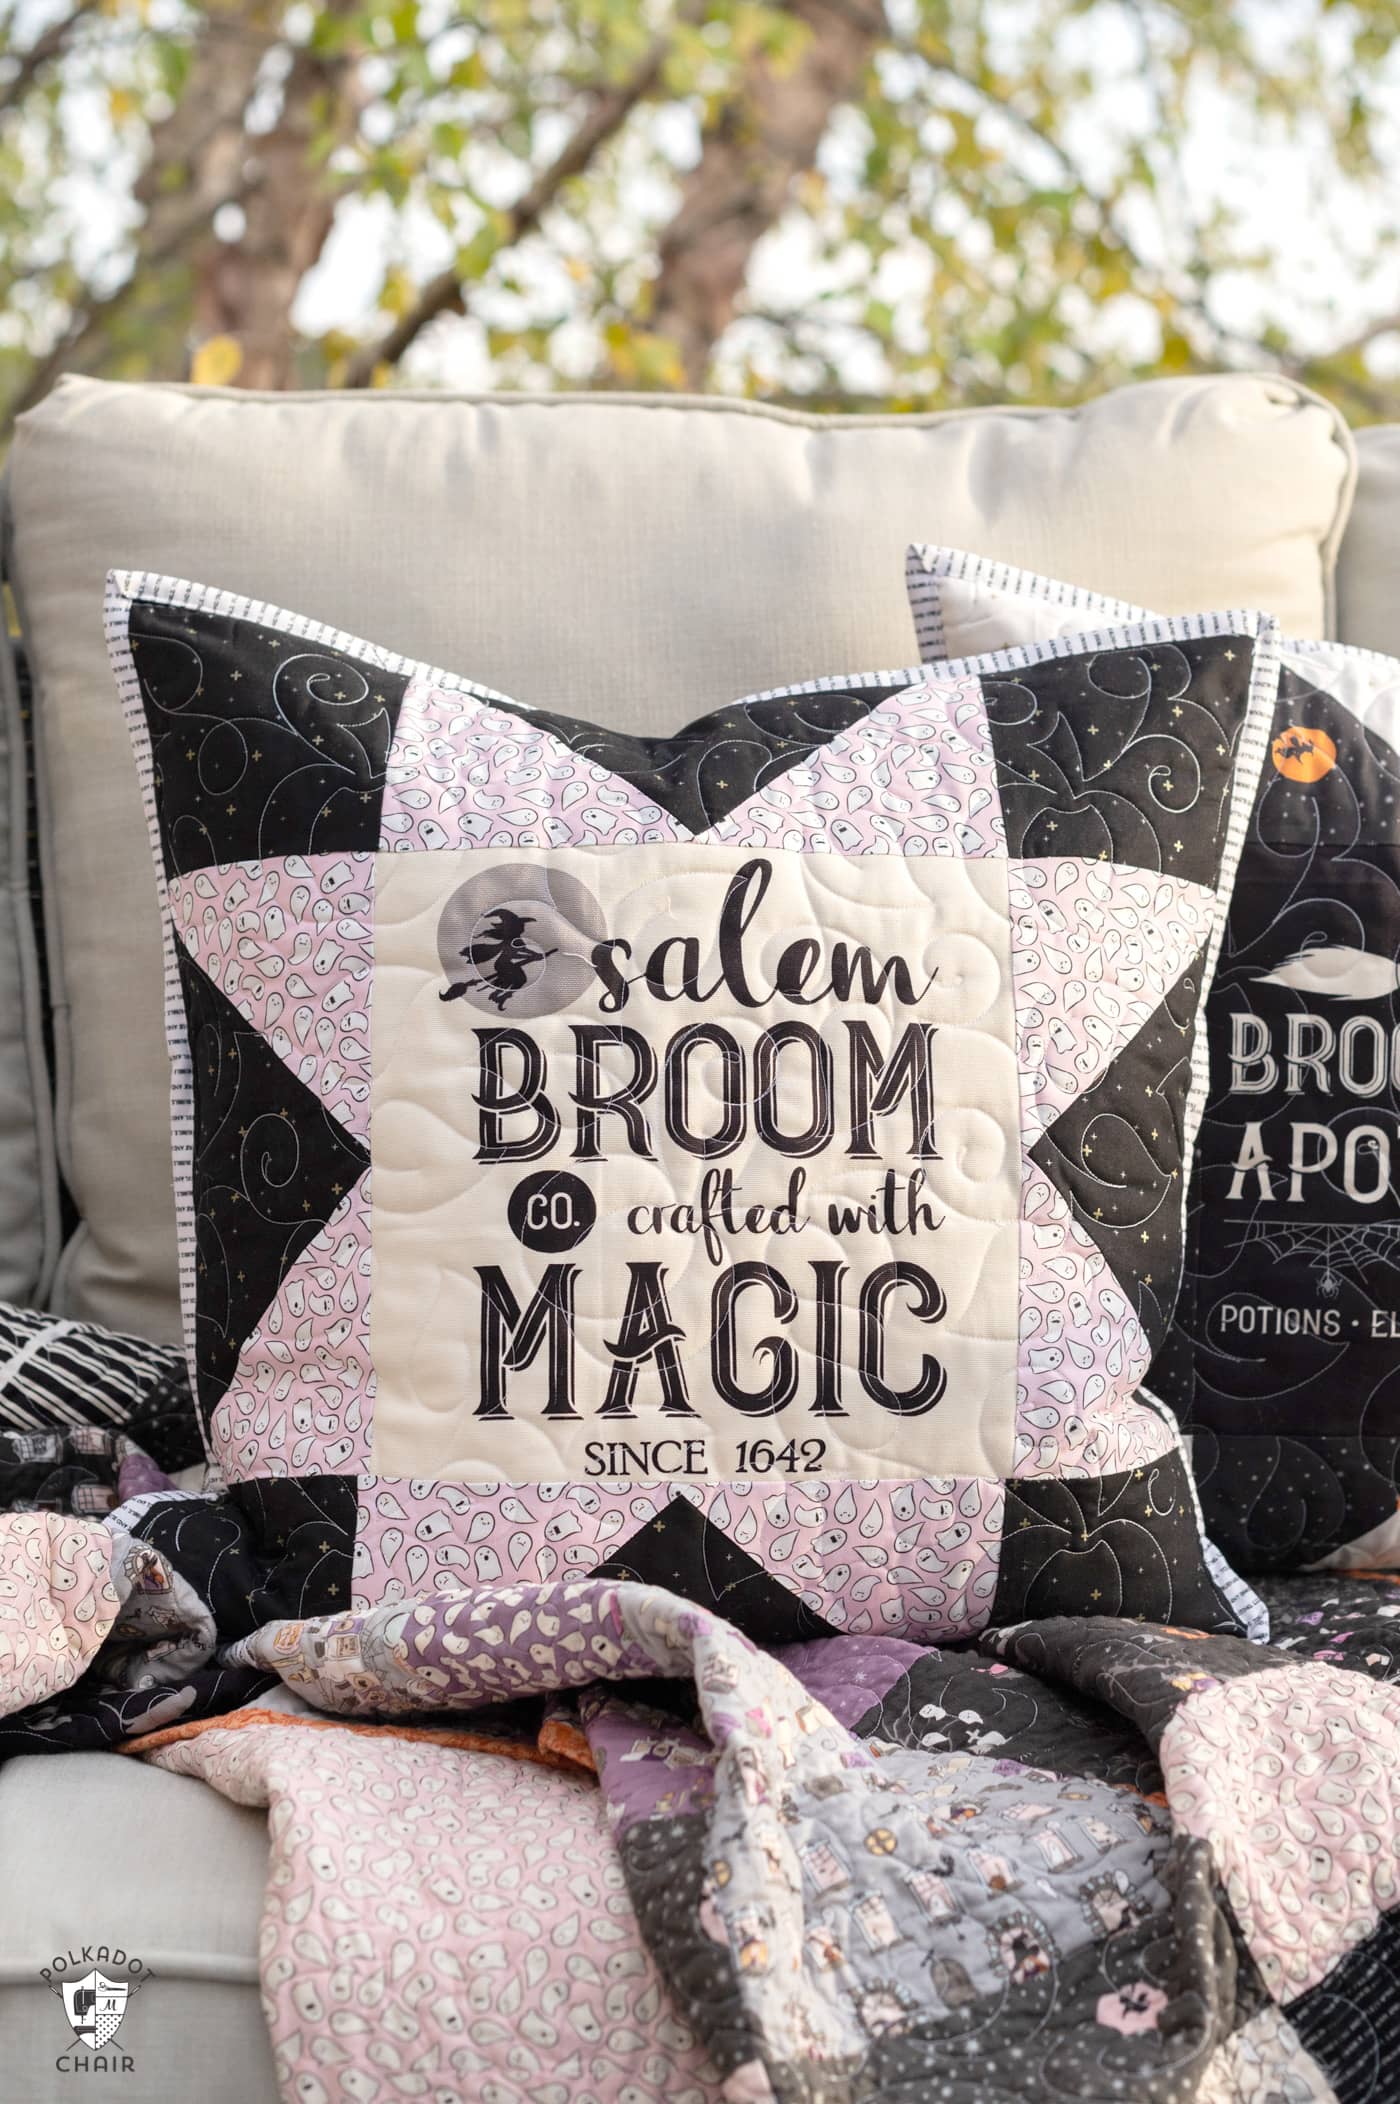
The giant sawtooth star quilted pillows feature this binding technique.
Option 3: Piping Inserted in Seam
Adding piping to the edge of a pillow is one of my favorite ways to finish the edge of a pillow. Many people are intimidated by piping, but it’s really so simple to sew!
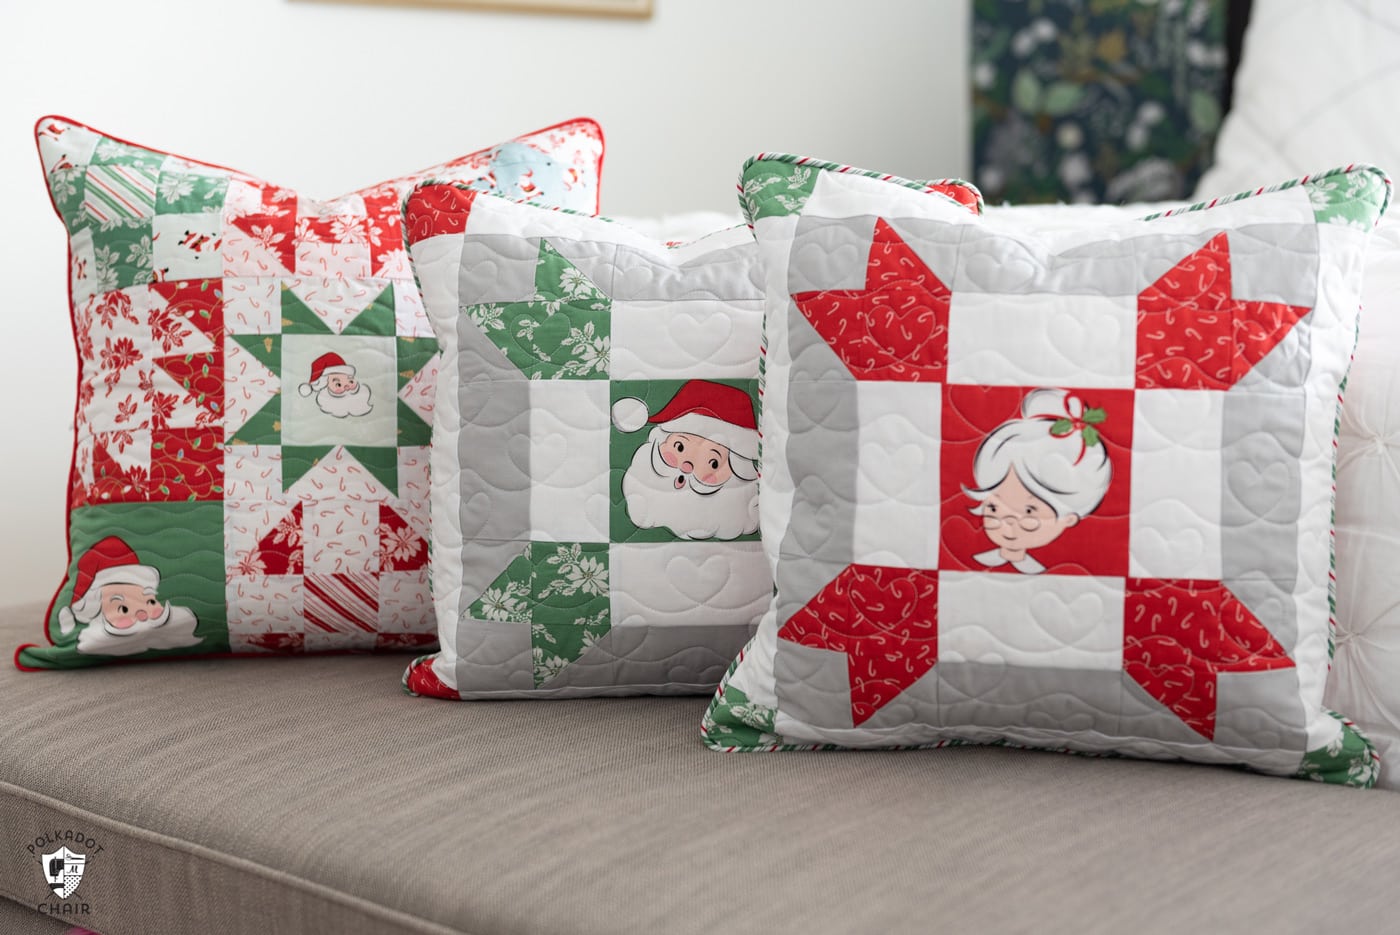
Check out our full how-to-sew piping tutorial if this is something that you’d like to try. I share my special “trick” to make the piping look good on the pillow’s outside!
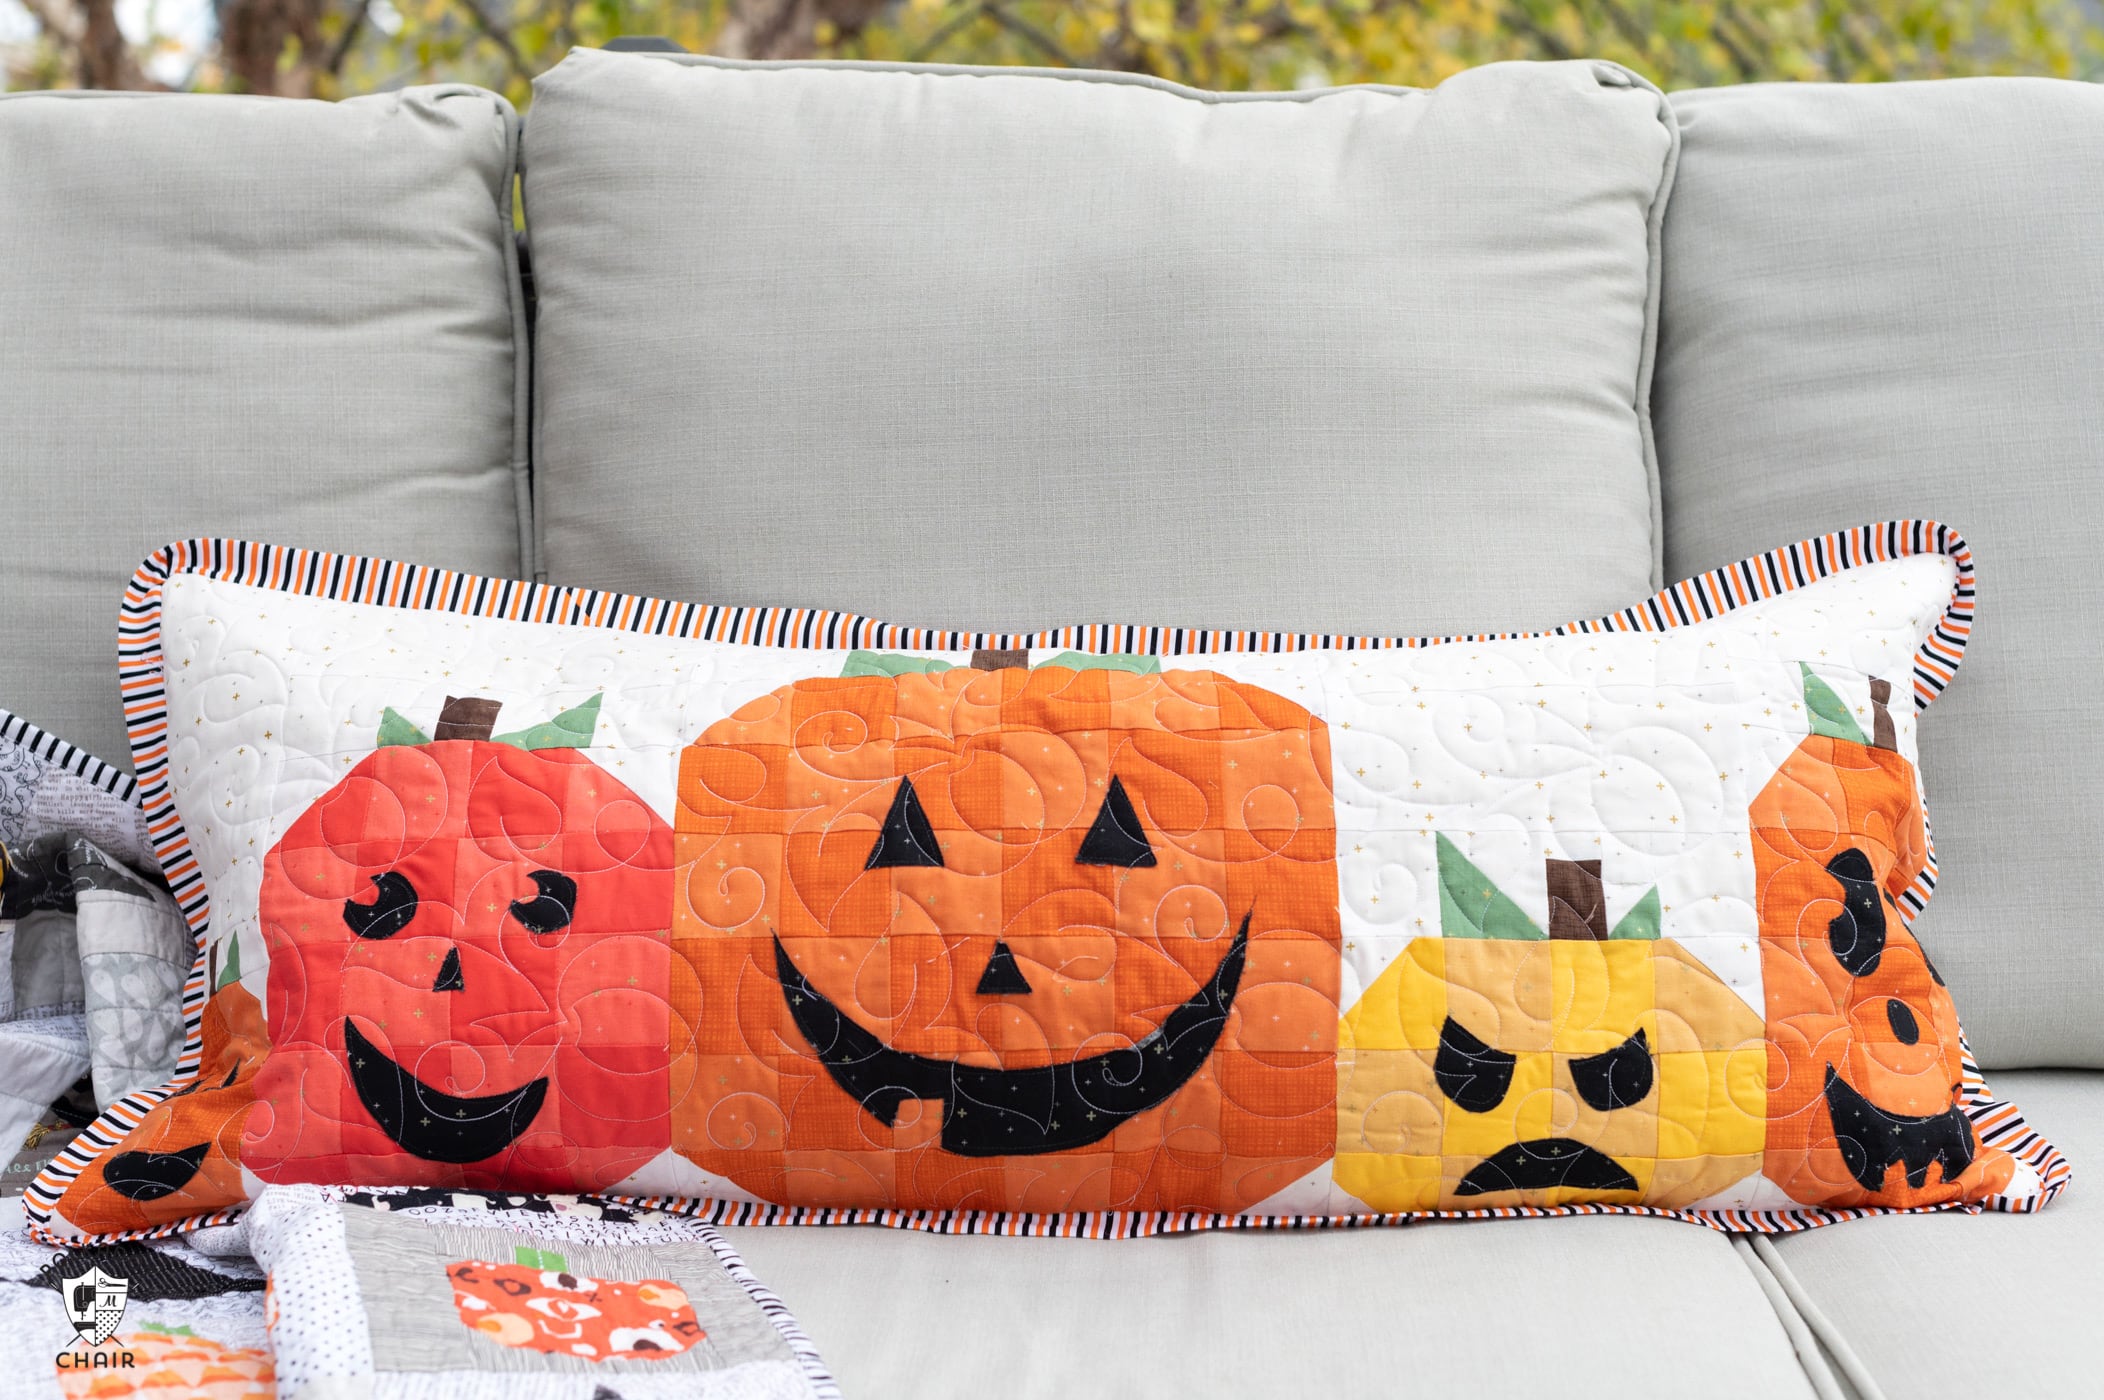
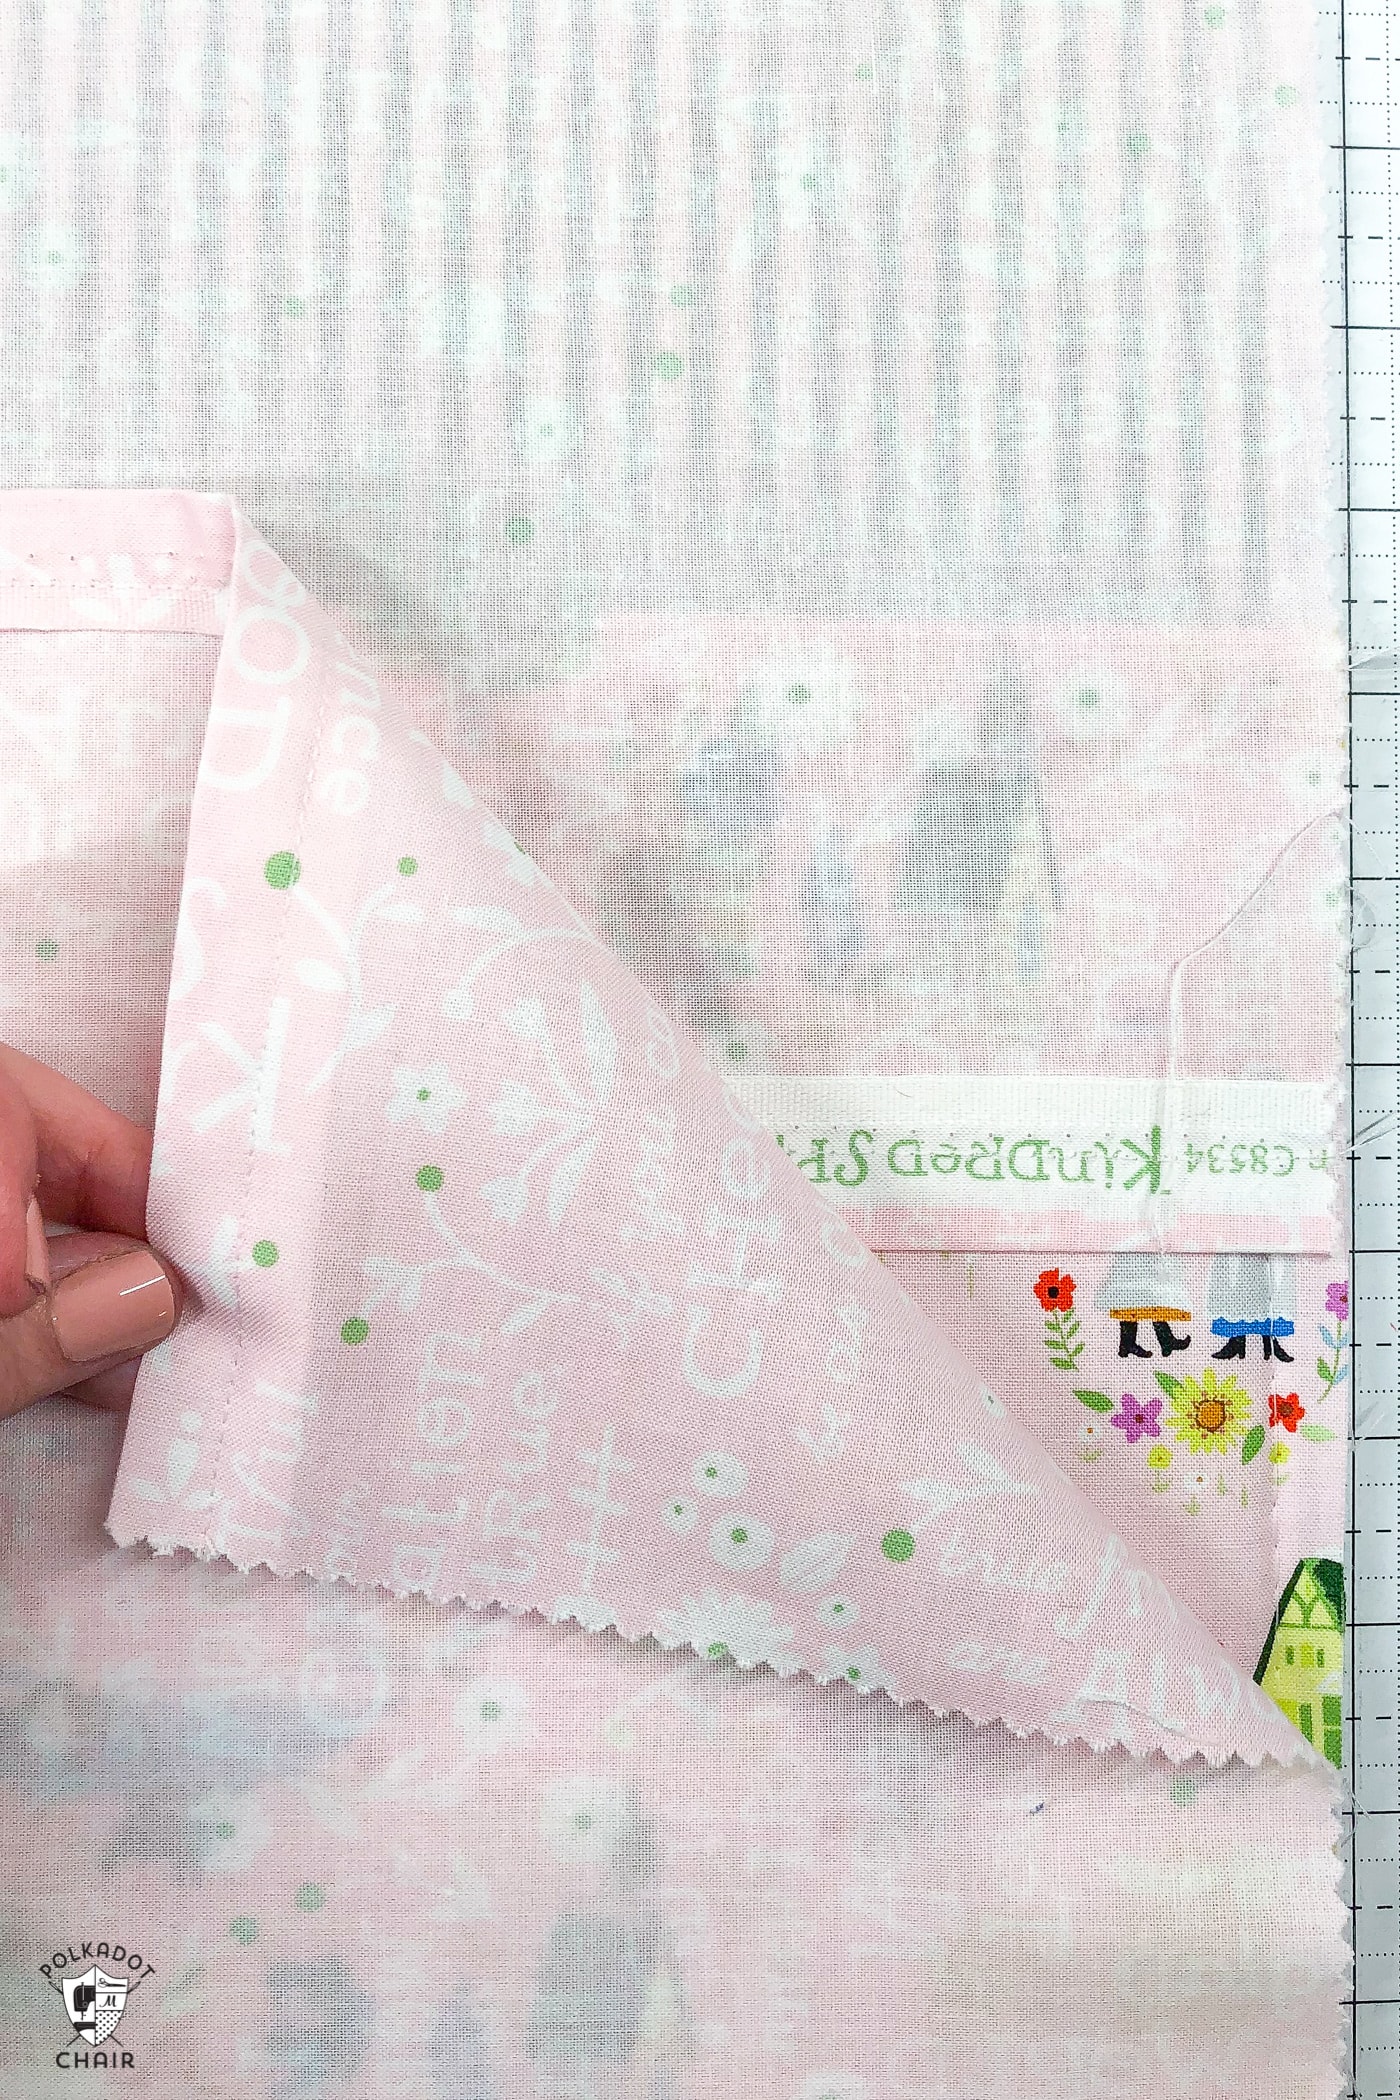
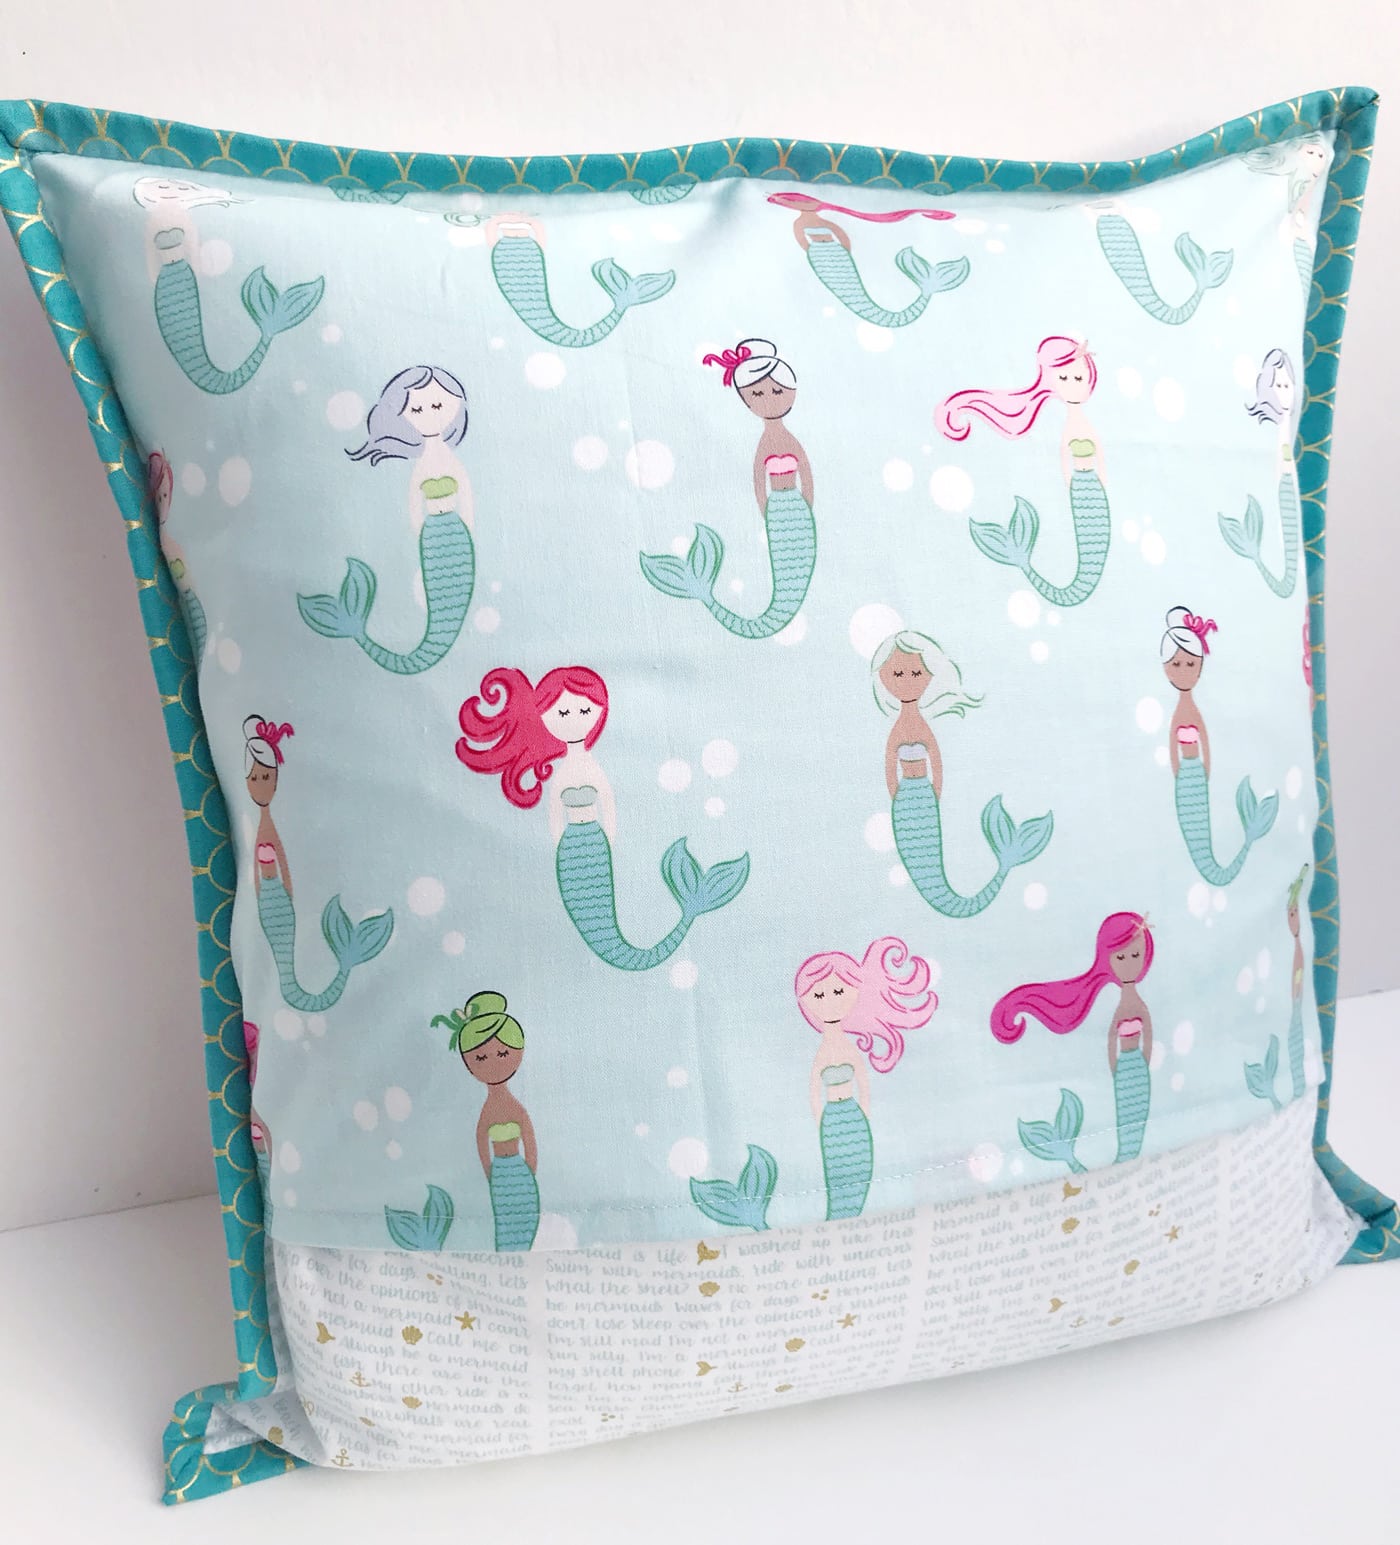
Option 4: “Faux” Flange Edge
I’m not sure if this is an “official” technique, but it’s one that I like to use. It’s similar to the technique that I used to finish the edge of a minky baby blanket.
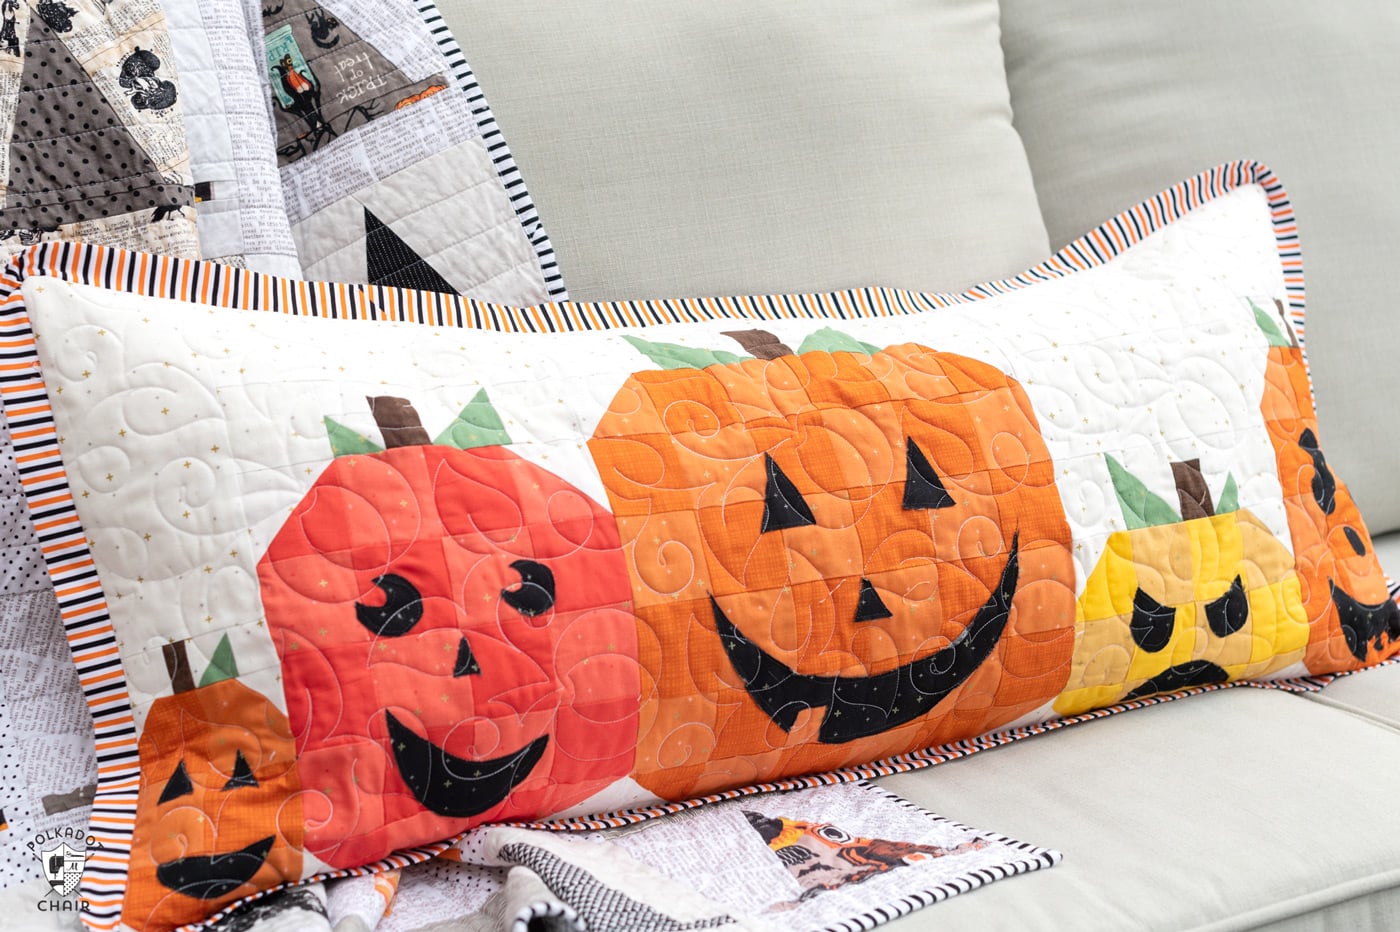
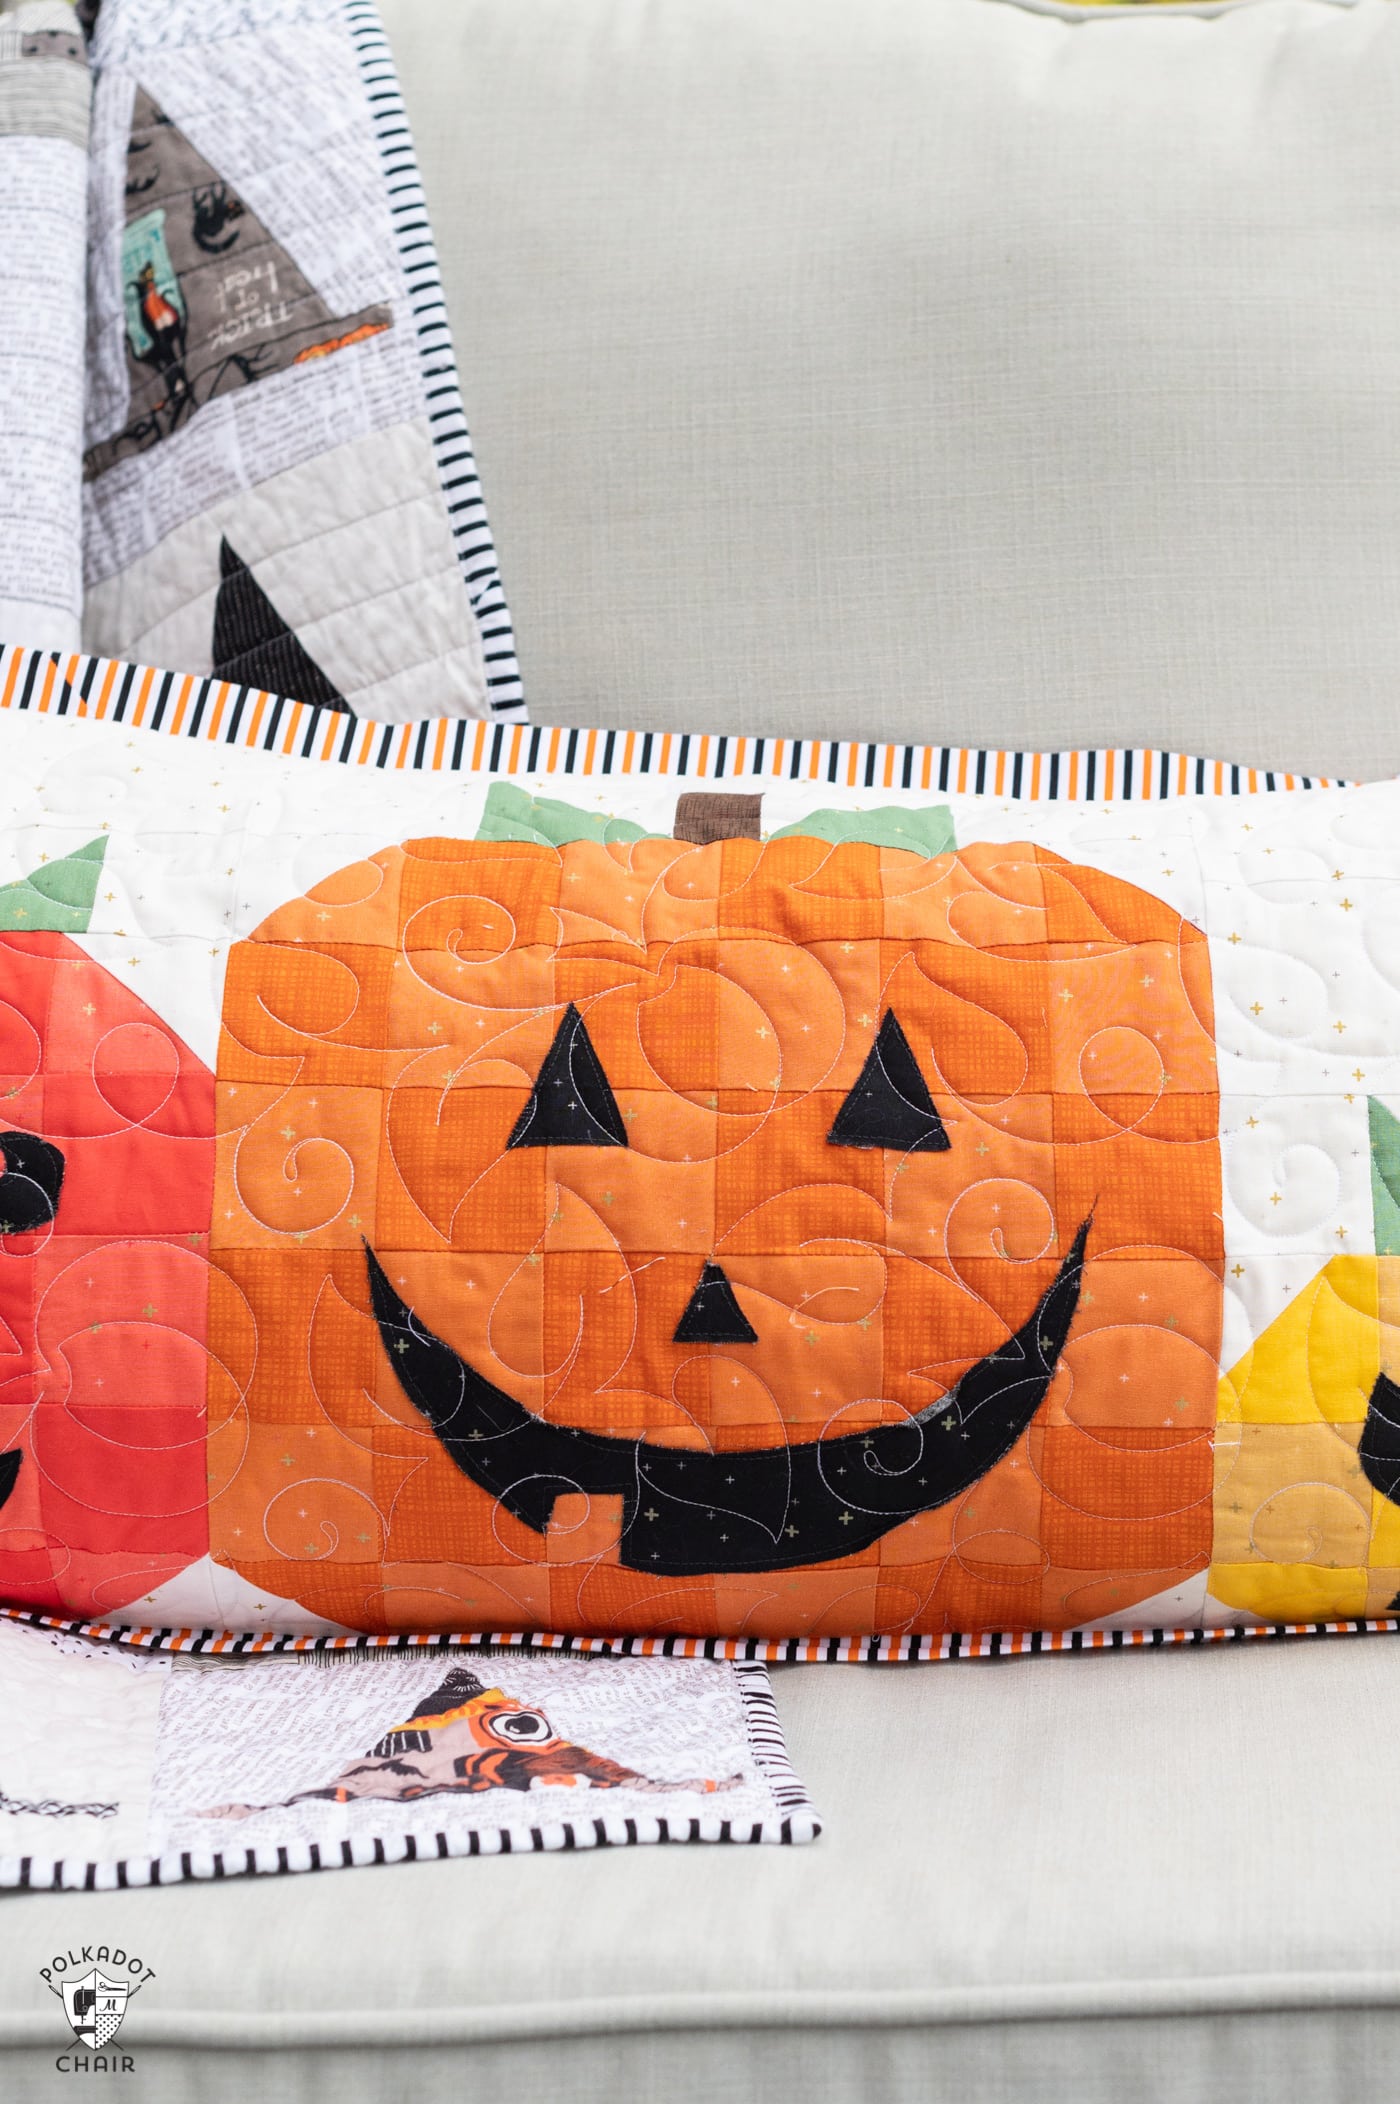
This is the technique I used to add the striped fabric detail on the outside of the Pumpkin Bench pillow kit (this fabric came in the kit and is meant to be used as the pillow binding).
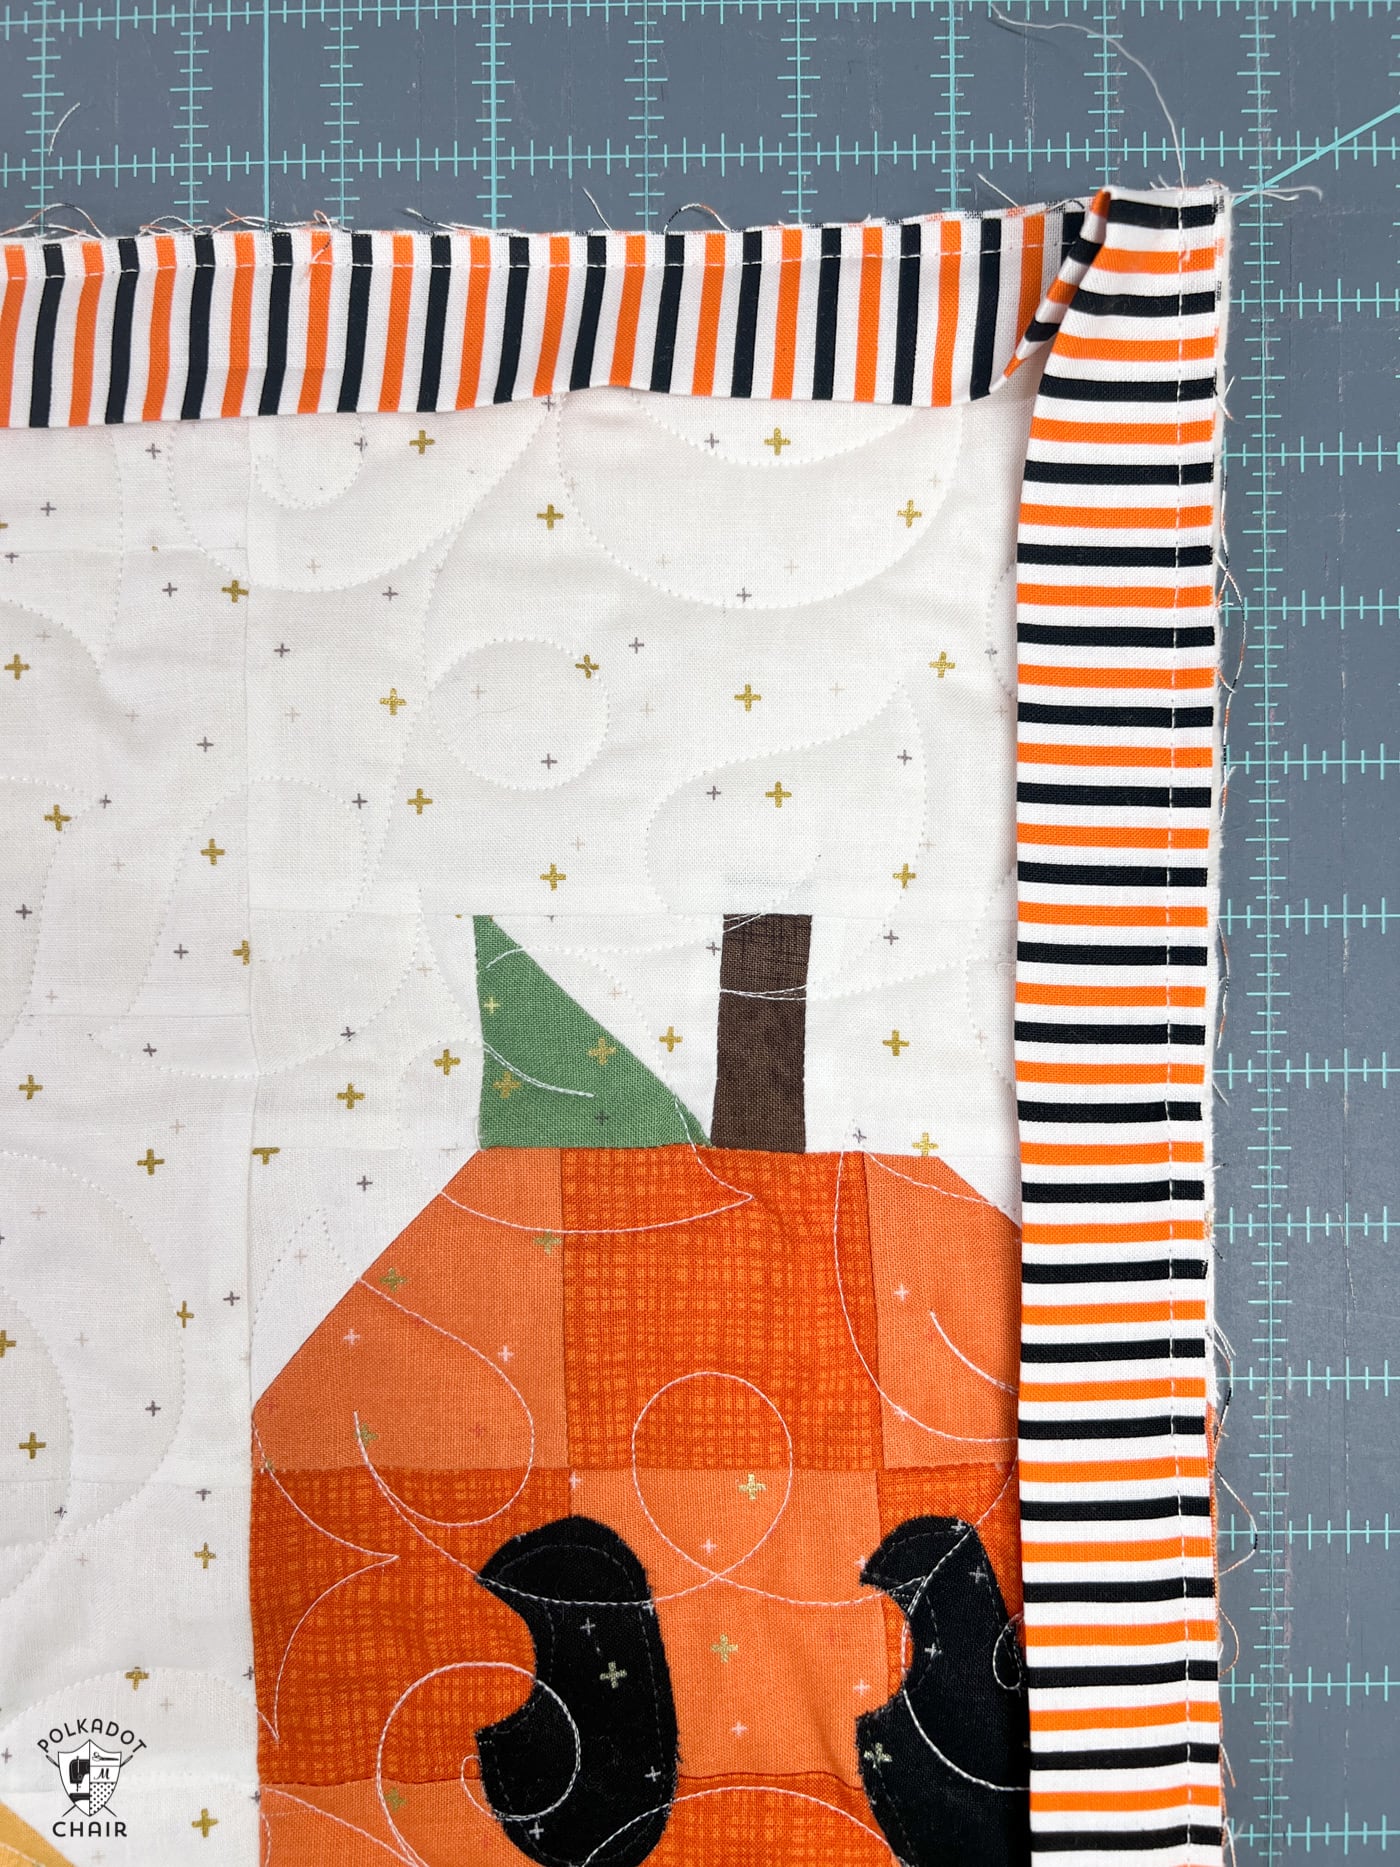
To create a pillow with this type of edge.
- Cut 2 1/2″ wide strips of fabric and sew them together until you have enough fabric to cover the entire perimeter of your pillow.
- Fold the 2 1/2″ piece of fabric in half lengthwise and press.
- Quilt your pillow front and trim it to size.
- Baste the folded fabric to the perimeter of the pillow front piece with a 1/4″ seam allowance. The raw edge of the folded fabric will be flush with the raw edge of the pillow front. Fold the fabric at the corners like you would when creating a traditional quilt binding.
- Pin the pillow back piece to the pillow front piece, right sides facing. Sew in place with a 1/4″ seam allowance. Ensure you don’t catch the extra fabric in the corners as you sew.
- Turn the pillow right side out and press.
When you turn the pillow right side out, the folded fabric edge will become a “faux” flange around the edge.
This is by no means a comprehensive list of pillow finishing techniques; another one that I like to use frequently is a ruffled edge.
If you have a favorite pillow finishing technique, let us know in the comments section!

Talk about perfect timing, this is what i needed right now. I’m making a pillow to go with my granddaughters quilt and now I get to choose between two of these options. Time to get busy with making the pillow, thanks for these options.