How to Make a Sawtooth Star Quilt Block – November Quilt Block of the Month
I hope you’re enjoying the Block of the Month series here on the Polka Dot Chair! This month, I have a tutorial for you to make a 15-inch Sawtooth Star Quilt Block.
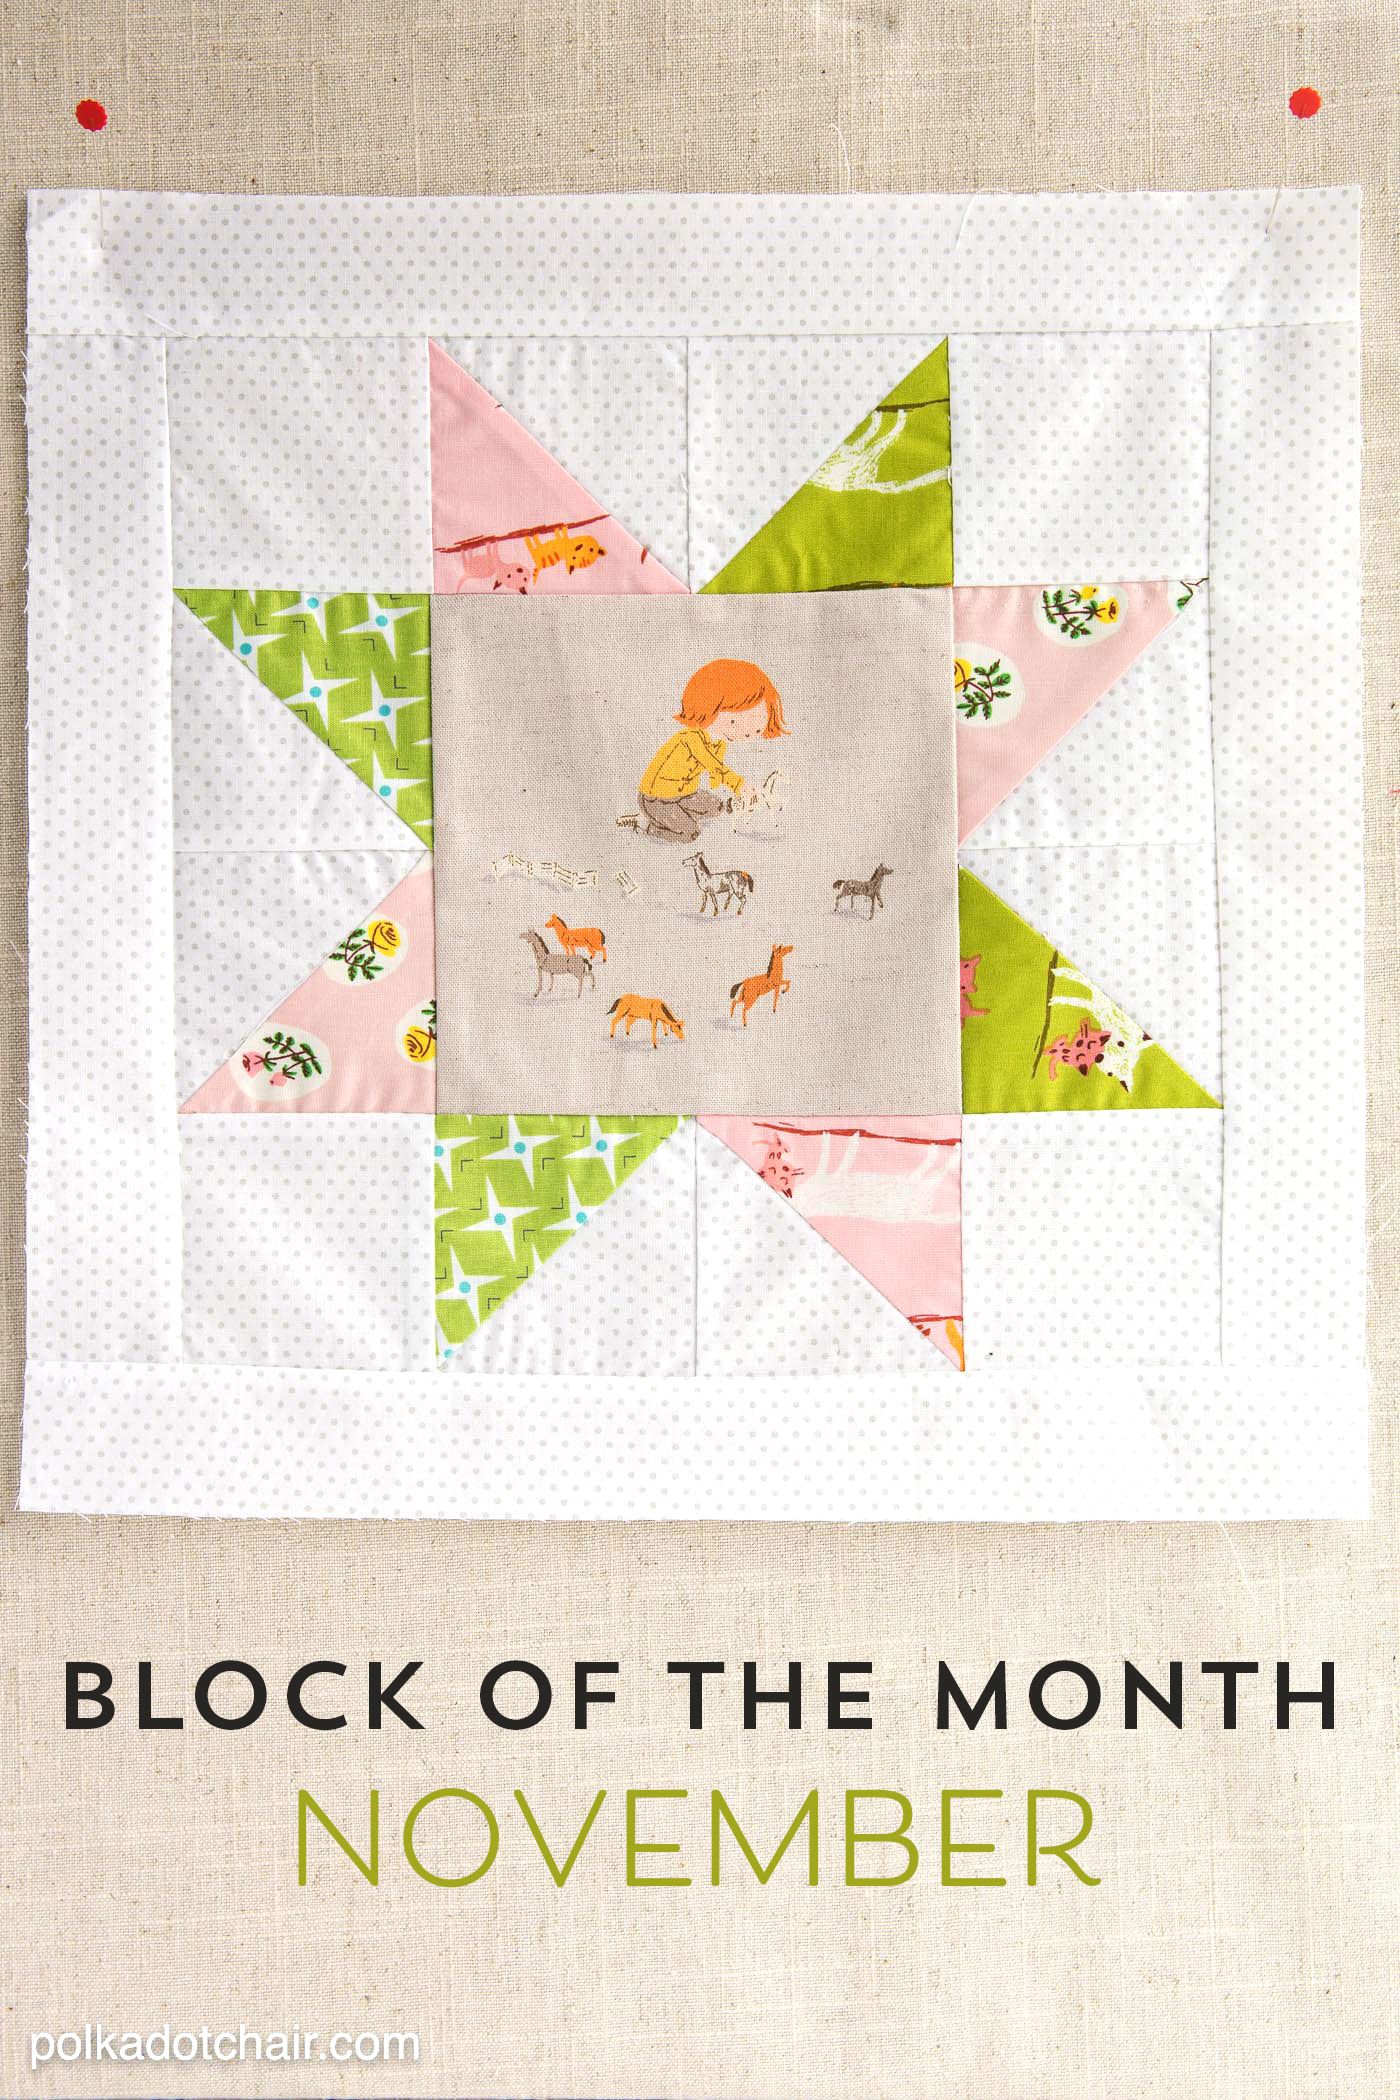
This is block #3 of 12. It’s also designed as a skill-building block, teaching you more ways to use the Half-Square Triangles we learned to make last month!
If you’re playing along, be sure to share your finished blocks on social media with the hashtag #PolkaDotChairBlocks (if you have a private IG account, hashtags won’t work for you, so share it to my Facebook instead) , I’m on Instagram as @Polkadotchair or you can also share it right to myFacebook Page (you can post a photo over there)
If you missed it be sure to check out this post offering tips and trick to picking out fabric for a quilt. You can find an index to all the posts in this quilt block series to date by clicking here.
UPDATE: You can now purchase a PDF with ALL of the block instructions for each month in one place!! Click here to PURCHASE
Holy cow, how can it be the last day of November? Didn’t the kids start school? It seems like the Fall has just flown by and I’m getting out my Christmas tree.
Last weekend, we celebrated Thanksgiving with our family and were lucky enough to have my oldest daughter home from college.
I think that we “forgot” how to manage ourselves with three kids again because we couldn’t find a way to get to anything on time the entire week. There was also the daily “who has to sit in the middle seat in the car” fight…. oh the joys of family togetherness *wink*.
About our Block of the Month Program
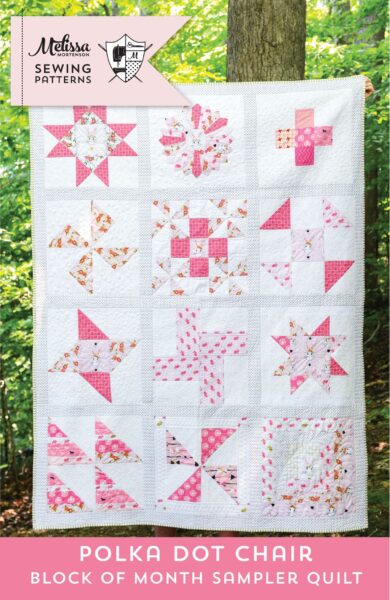
As a reminder, this block-of-the-month series is meant to help you learn to quilt one month at a time. I don’t want it to feel overwhelming at all, and I hope that it makes you want to create a quilt. Each month, we add a new block and a few more skills. If you’re an experienced quilter, then it’s meant to give you a fun and simple quilt project to do each month.
About the Sawtooth Star Quilt Block
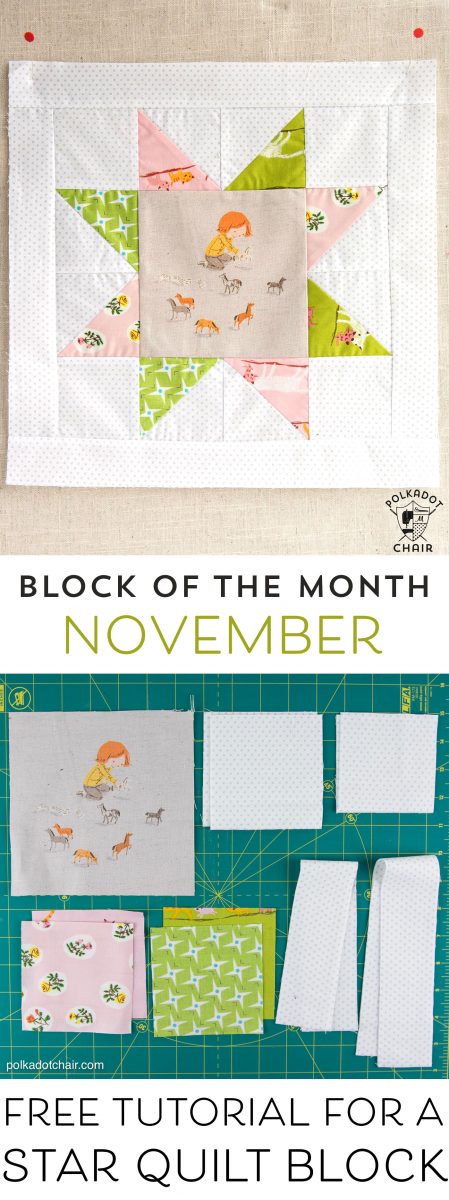
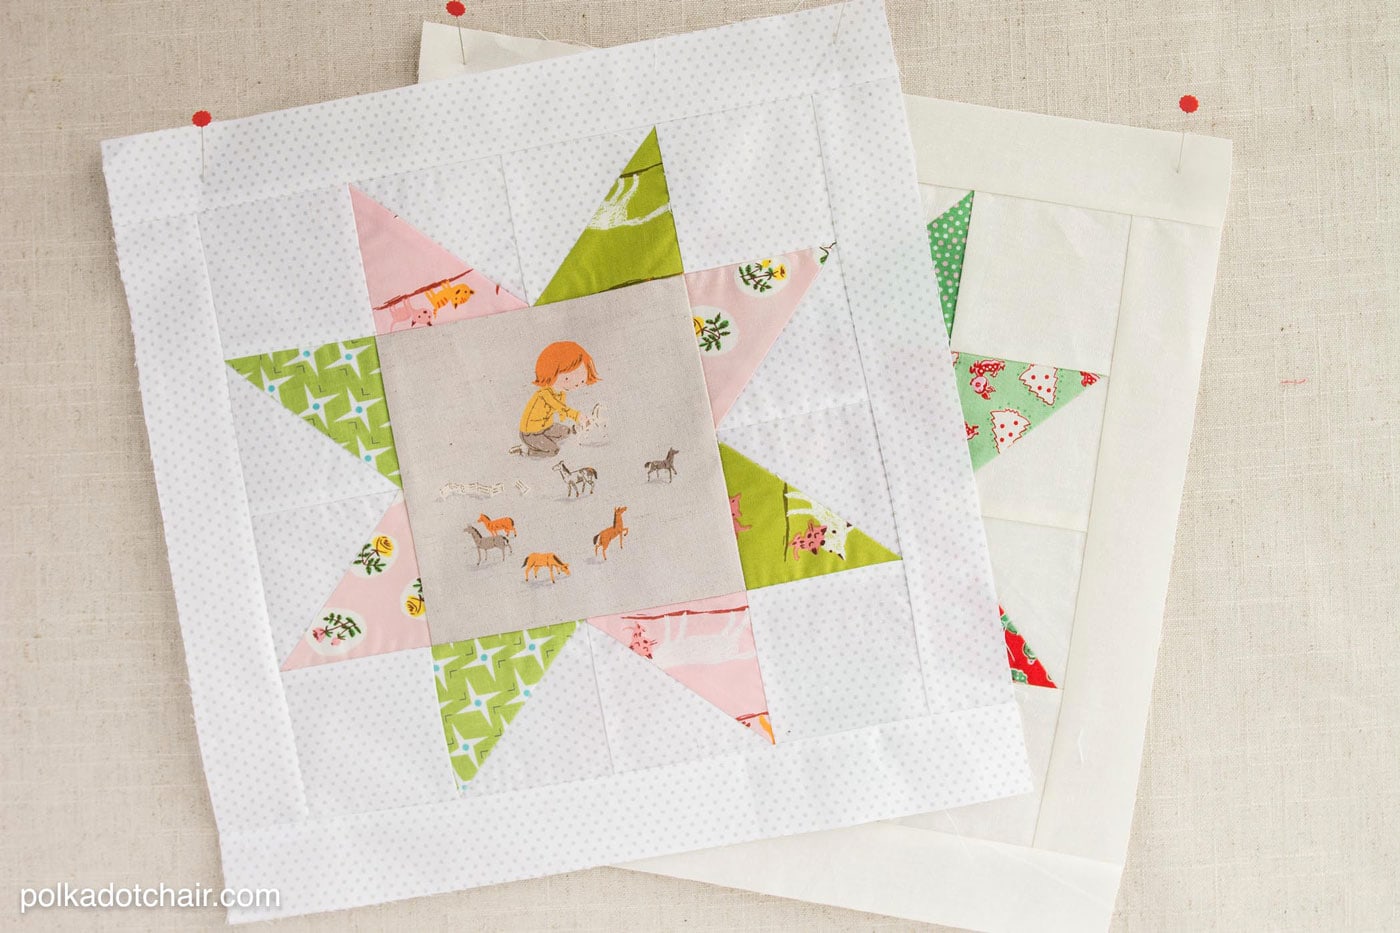
This months block is a Star block, or more precisely a Sawtooth Star block. I have it stitched up in 2 different combinations to show you today.
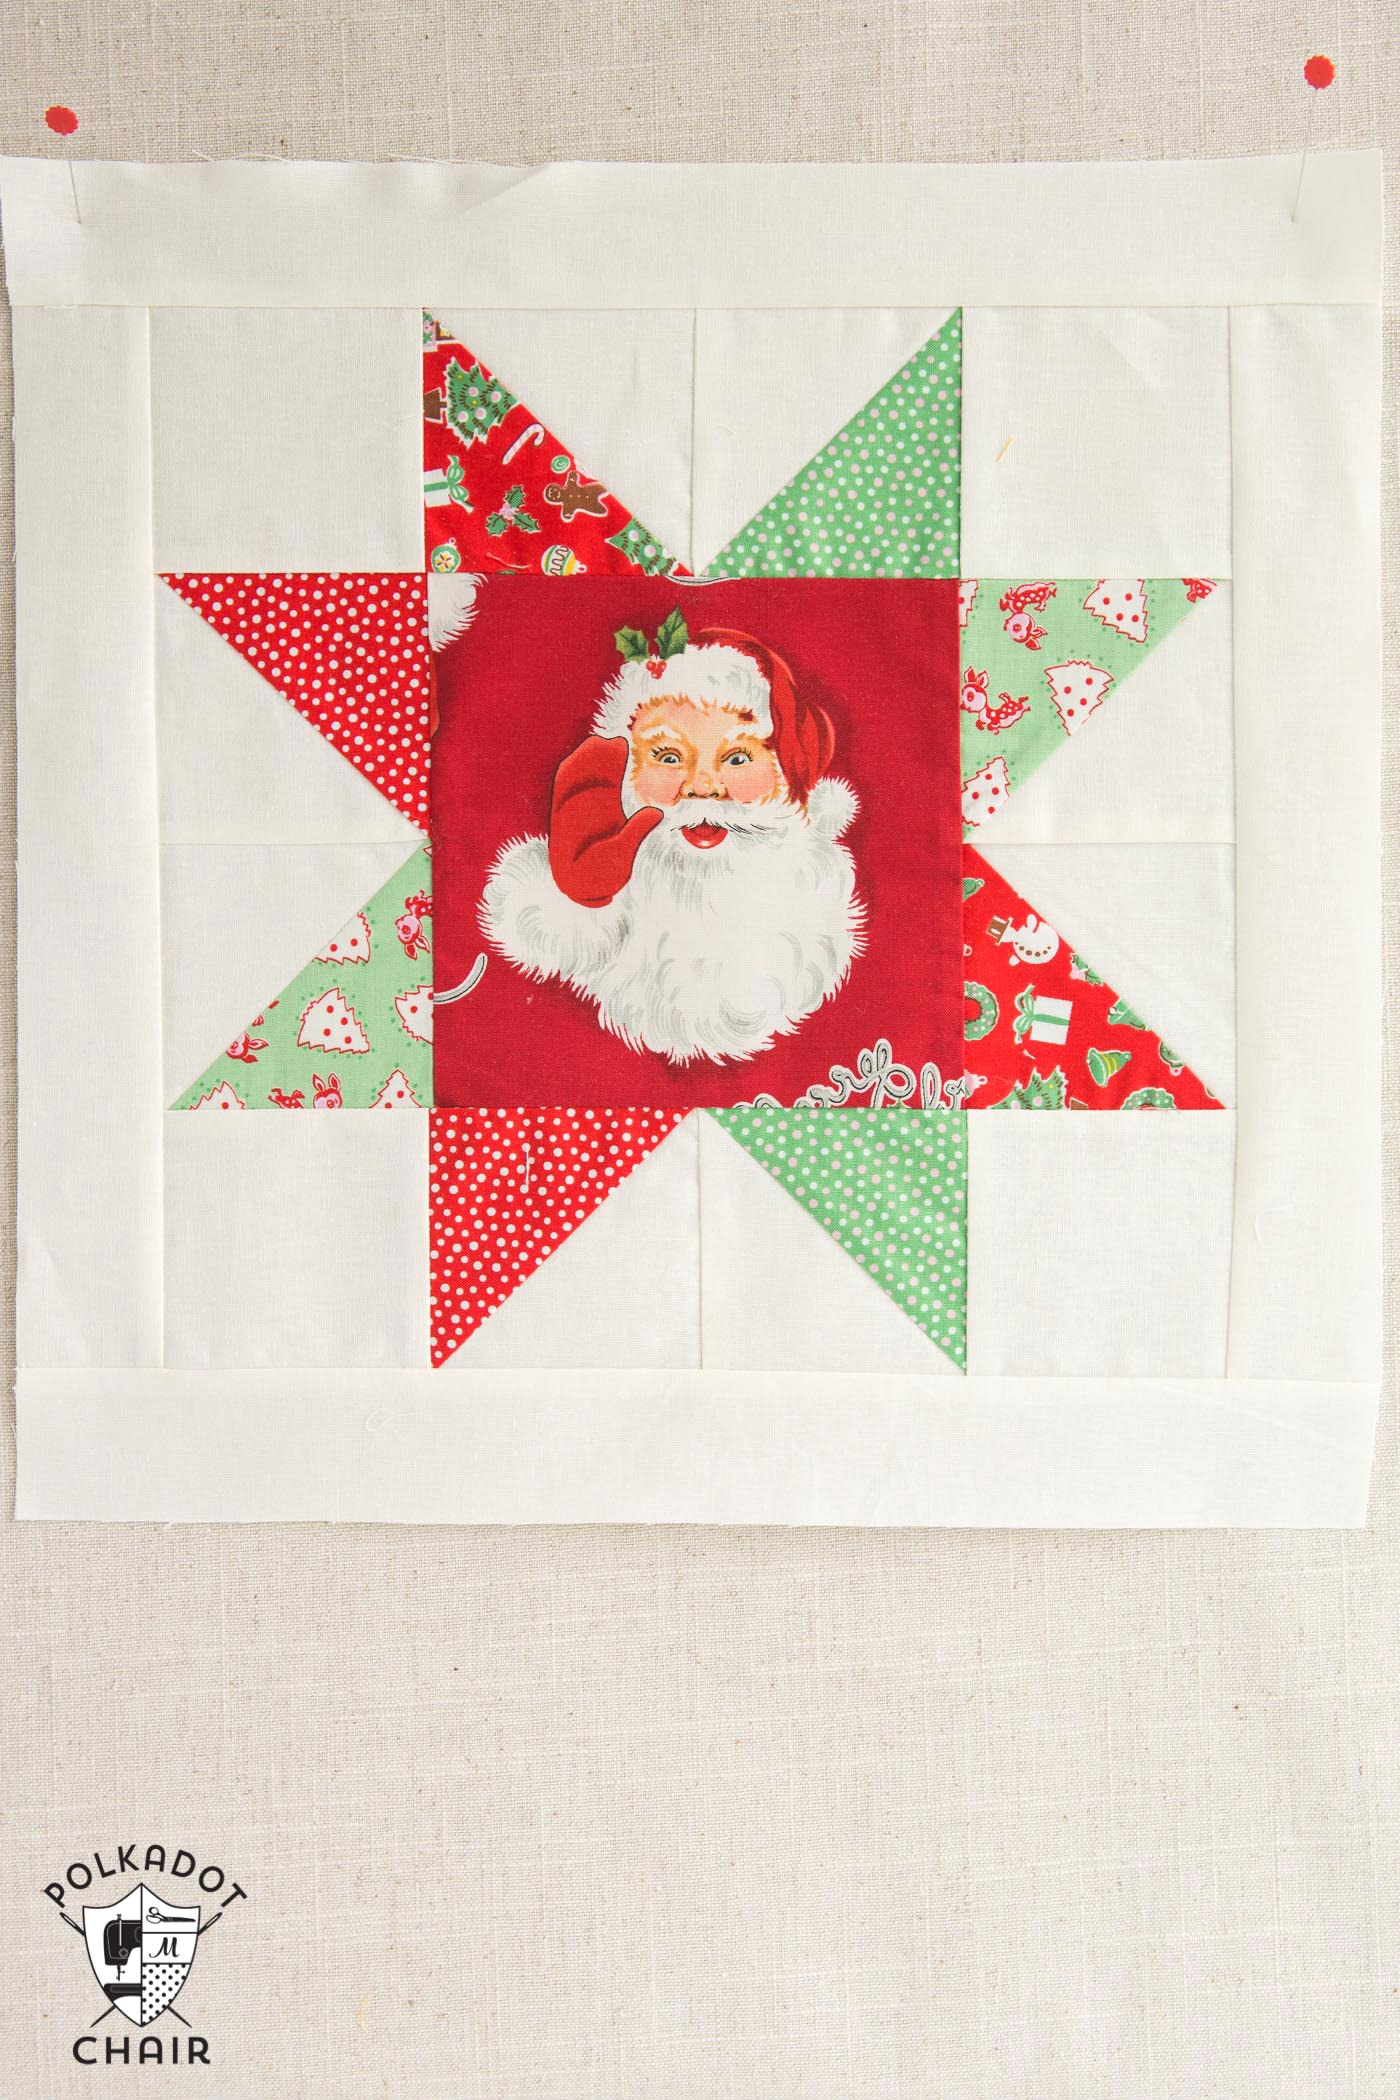
I could not resist this jolly Santa Claus print at JoAnn’s last week, so I decided to make him the center of this month’s block.
If you’ve been following along, then you know that I’m working on four variations of the block each month. I’ll share the other two variations with you in December because, honestly, they are not even cut out yet because of, well, Thanksgiving.
This block features a large center block that is perfect for fussy cutting. “Fussy Cutting means cutting out a specific motif or section of the fabric; it’s a great technique to use with novelty fabrics.
How to Make a 15″ Sawtooth Star Quilt Block:
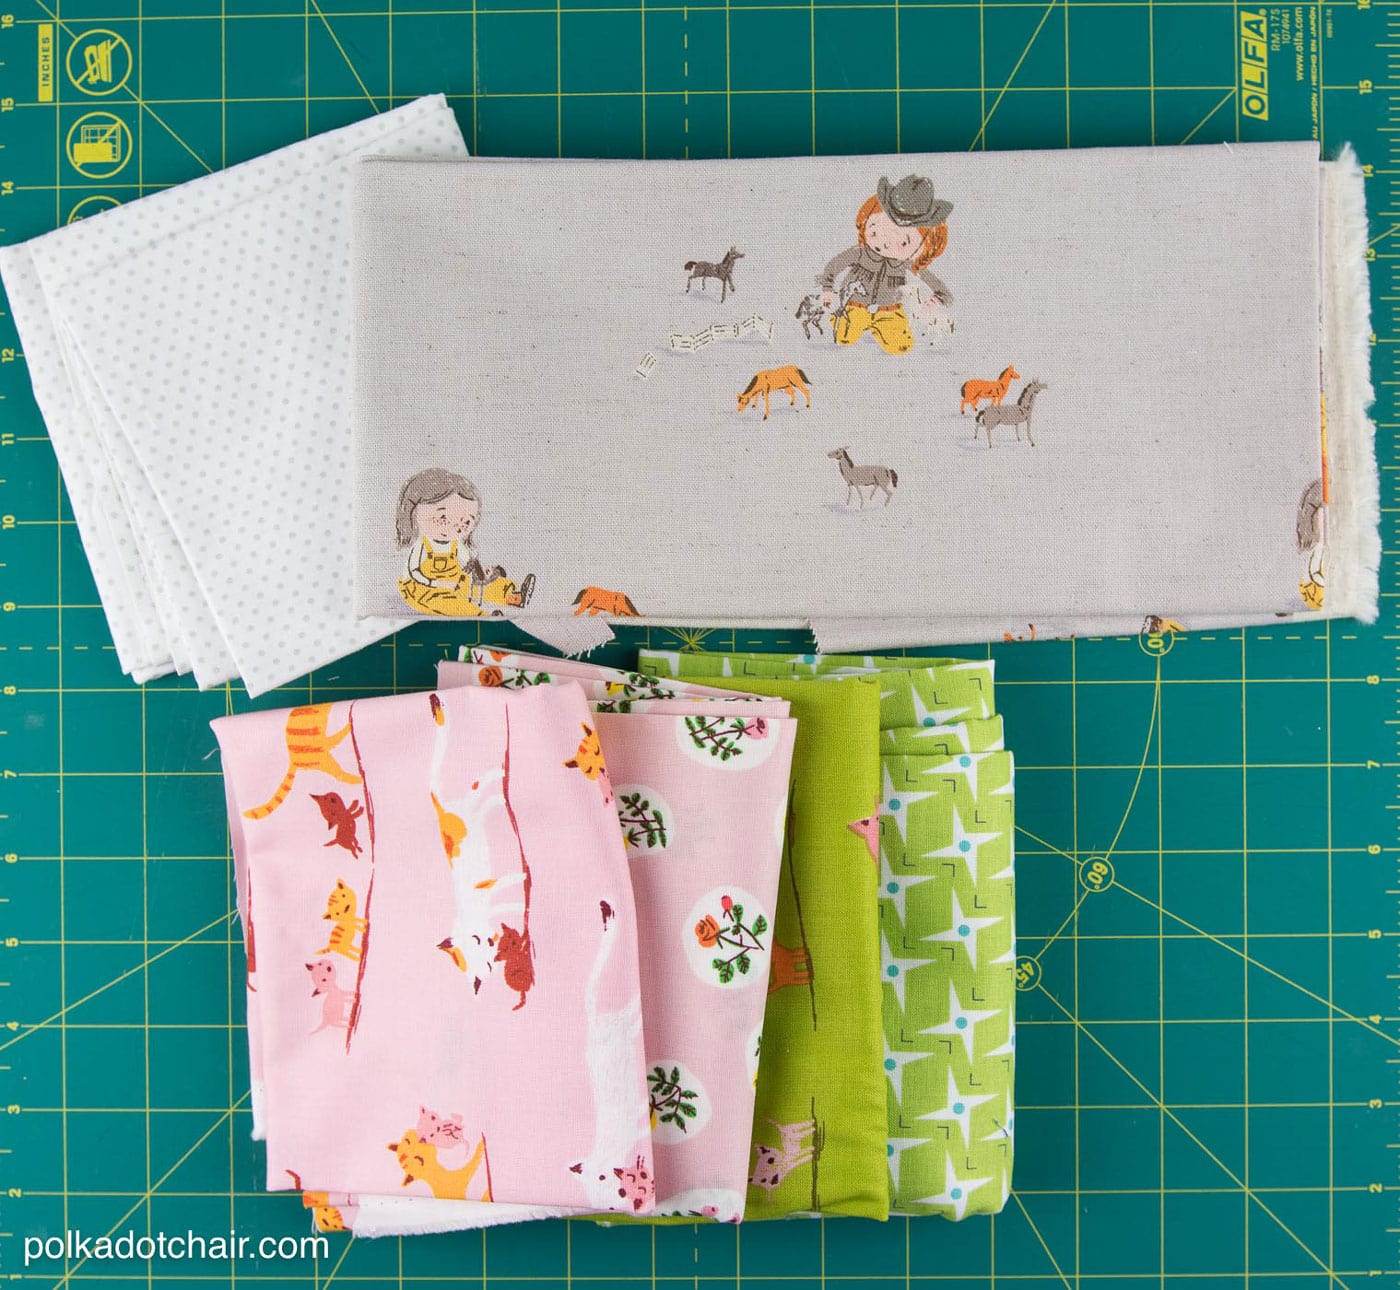
Cutting Directions
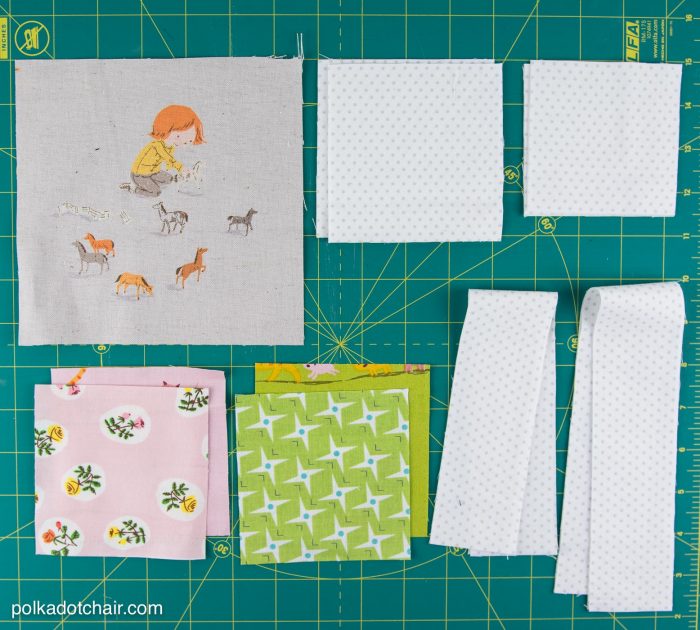
4 pieces each 4″ x 4″ of background fabric
2 pieces, each 4″ x 4″ of color #1 fabric (I cut each from a different print, but you can use the same print for both)
2 pieces each 4″ x 4″ of color #2 fabric
4 pieces each 3 1/2″ x 3 1/2″ of background fabric
2 pieces each 2″ x 12 1/2″ of background fabric
2 pieces each 2″ x 15 1/2″ of background fabric
1 piece 6 1/2″ x 6 1/2″ for center square
One: Create the Half Square Triangles
Begin by making 8 HST using the 4″ x 4″ background and colored pieces of fabric. If you need to know how to make an HST (Half-Square triangle), refer to last month’s block.
Trim all HSTs to 3 1/2″ x 3 1/2″.
Two: Lay out the Pieces and Construct the Block
Arrange the HSTs around the center 6 1/2″ x 6 1/2″ square. Pick a color/pattern arrangement that you like. I alternated colors going around the block.
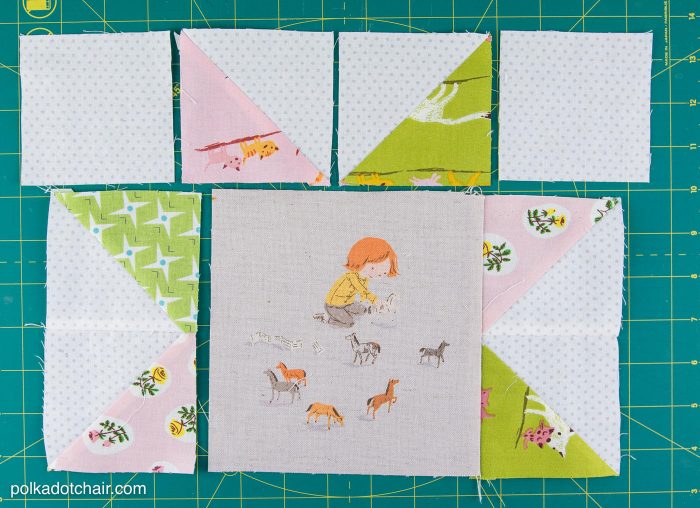
Stitch the two HSTs on the sides of the block together. Press. Stitch each to the center block. Press seams towards the center.
Stitch one 3 1/2″ x 3 1/2″ background piece to each side of the HSTs on the top and bottom of the block (refer to the above photo). Press seams towards the outside edges.
Step Three: Add the Block Borders
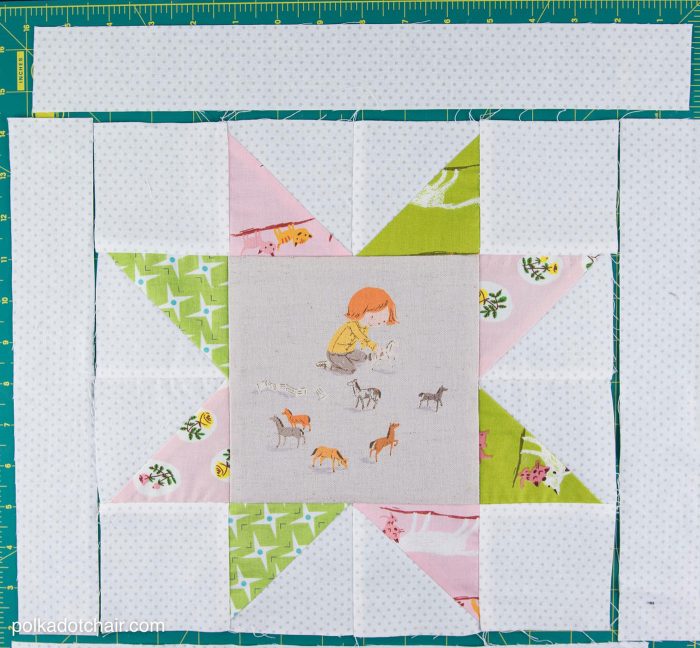
Stitch the sewn rows to the top and bottom of the block. Press.
Stitch the two 2″ x 12 1/2″ pieces to the two sides of the block. Press.
Stitch the two 2″ x 15 1/2″ pieces to the top and bottom of the block. Press.
Trim the finished block to a 15 1/2″ square.
That’s it!!
Make sure you let me see your blocks!!
The other blocks featured in our Block of the Month Series:
- Plus Quilt Block Pattern
- Pinwheel Quilt Block Pattern
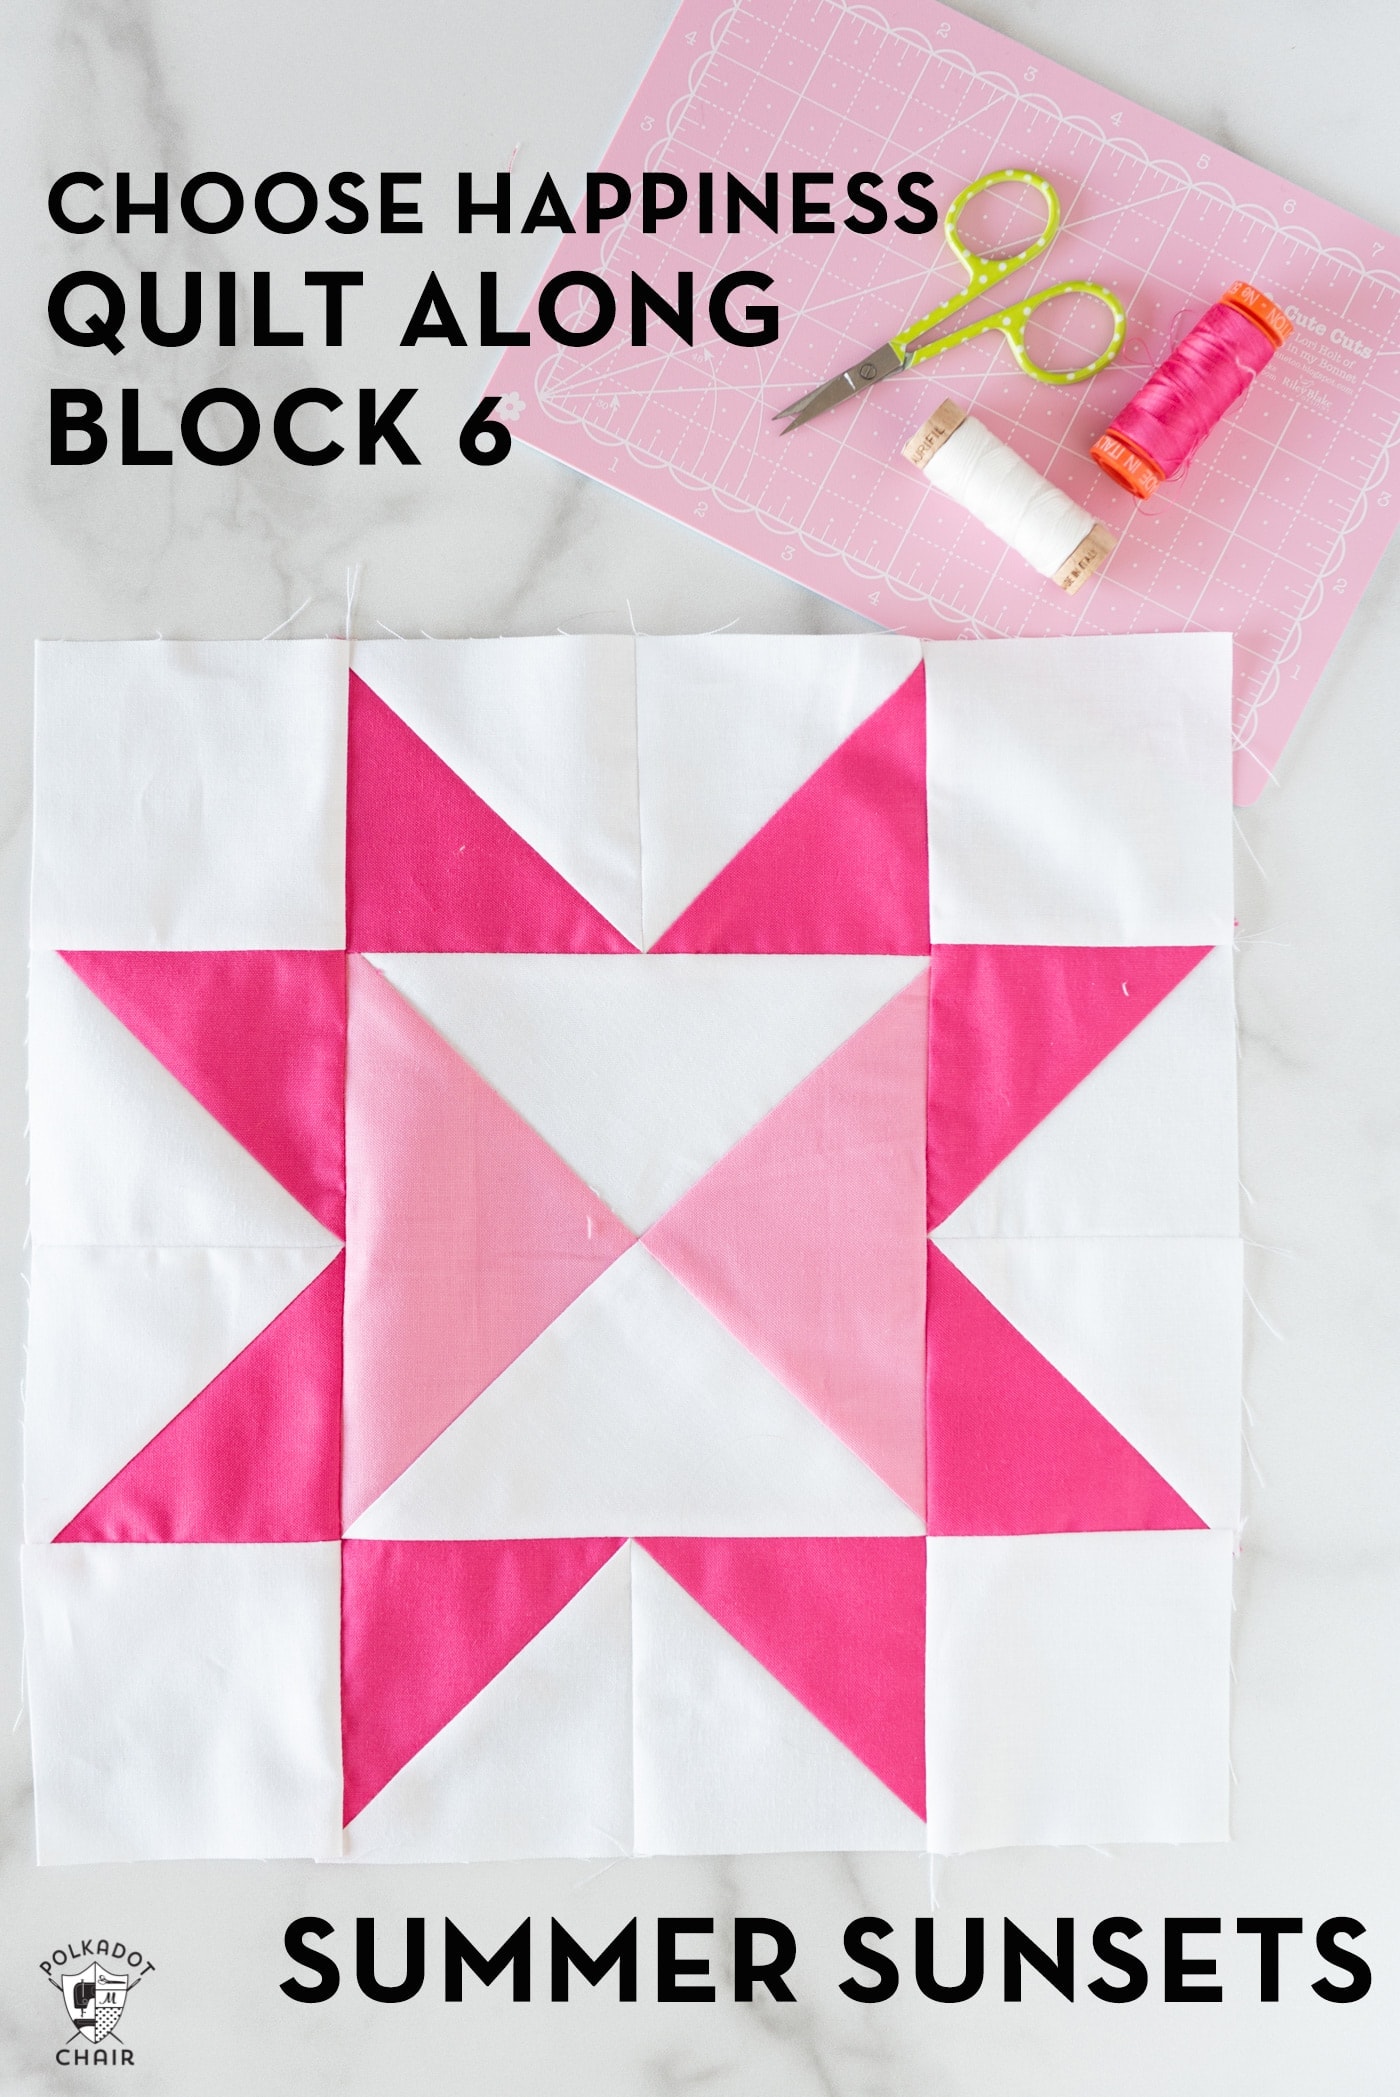
- Sawtooth Star Quilt Block Pattern
- Half Square Triangle String Block Pattern
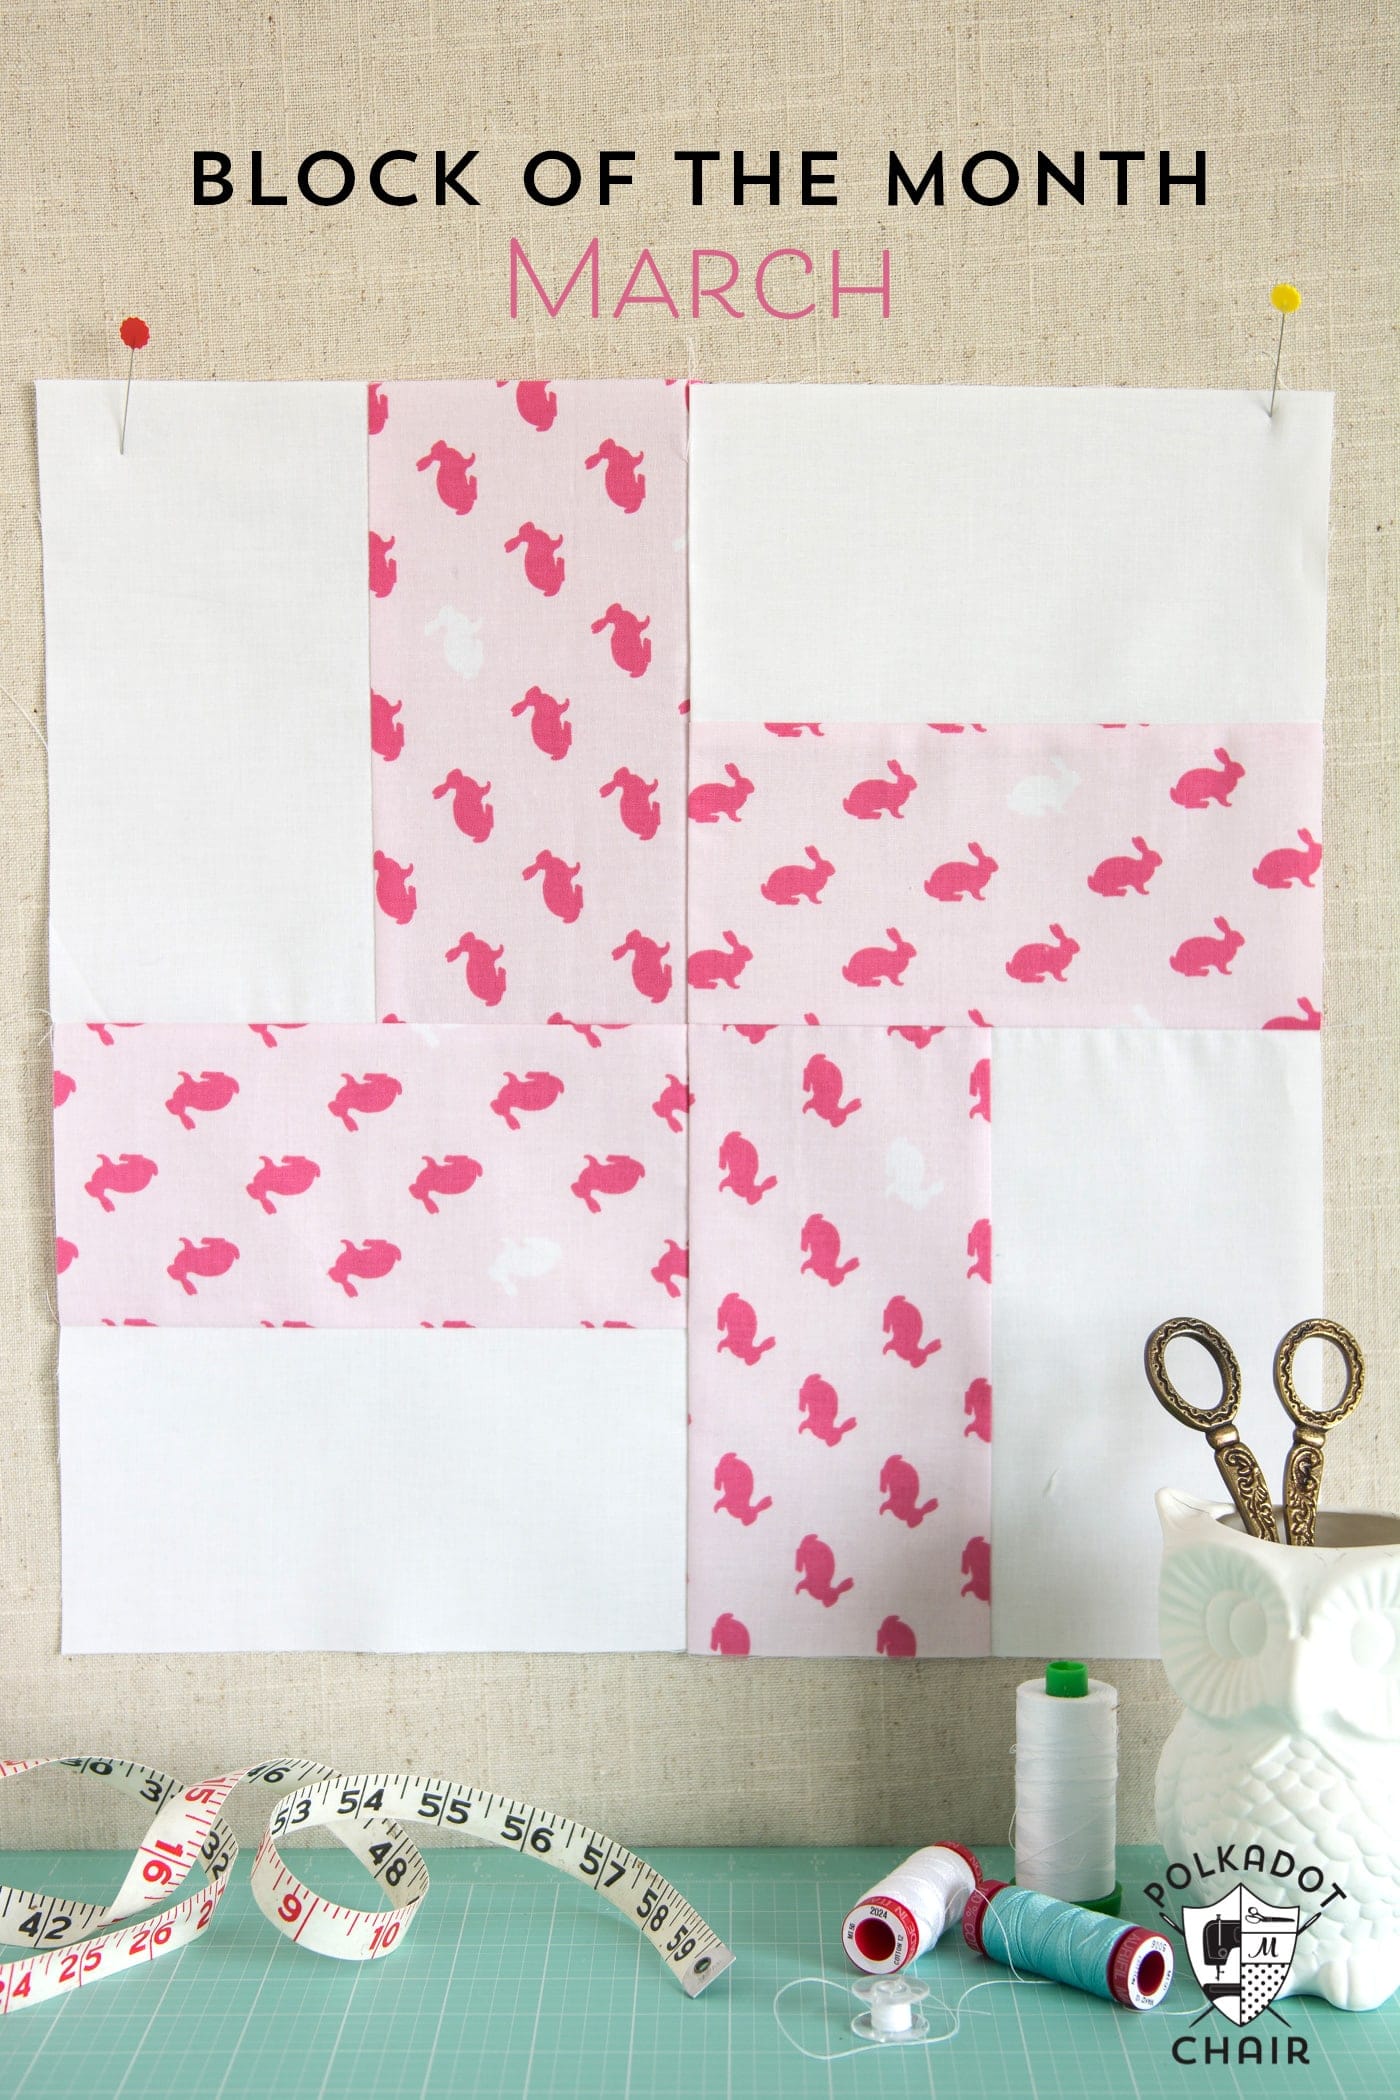
- Turnstile Quilt Block Pattern
- Shoofly Quilt Block Pattern
- Keystone Quilt Block Pattern
- Log Cabin Quilt Block Pattern
- Friendship Star Quilt Block Pattern
- Grandma’s Favorite Quilt Block Pattern
- Ohio Star Quilt Block Pattern
- Dresden Quilt Block Pattern
