Granny Quilt Christmas Ornament
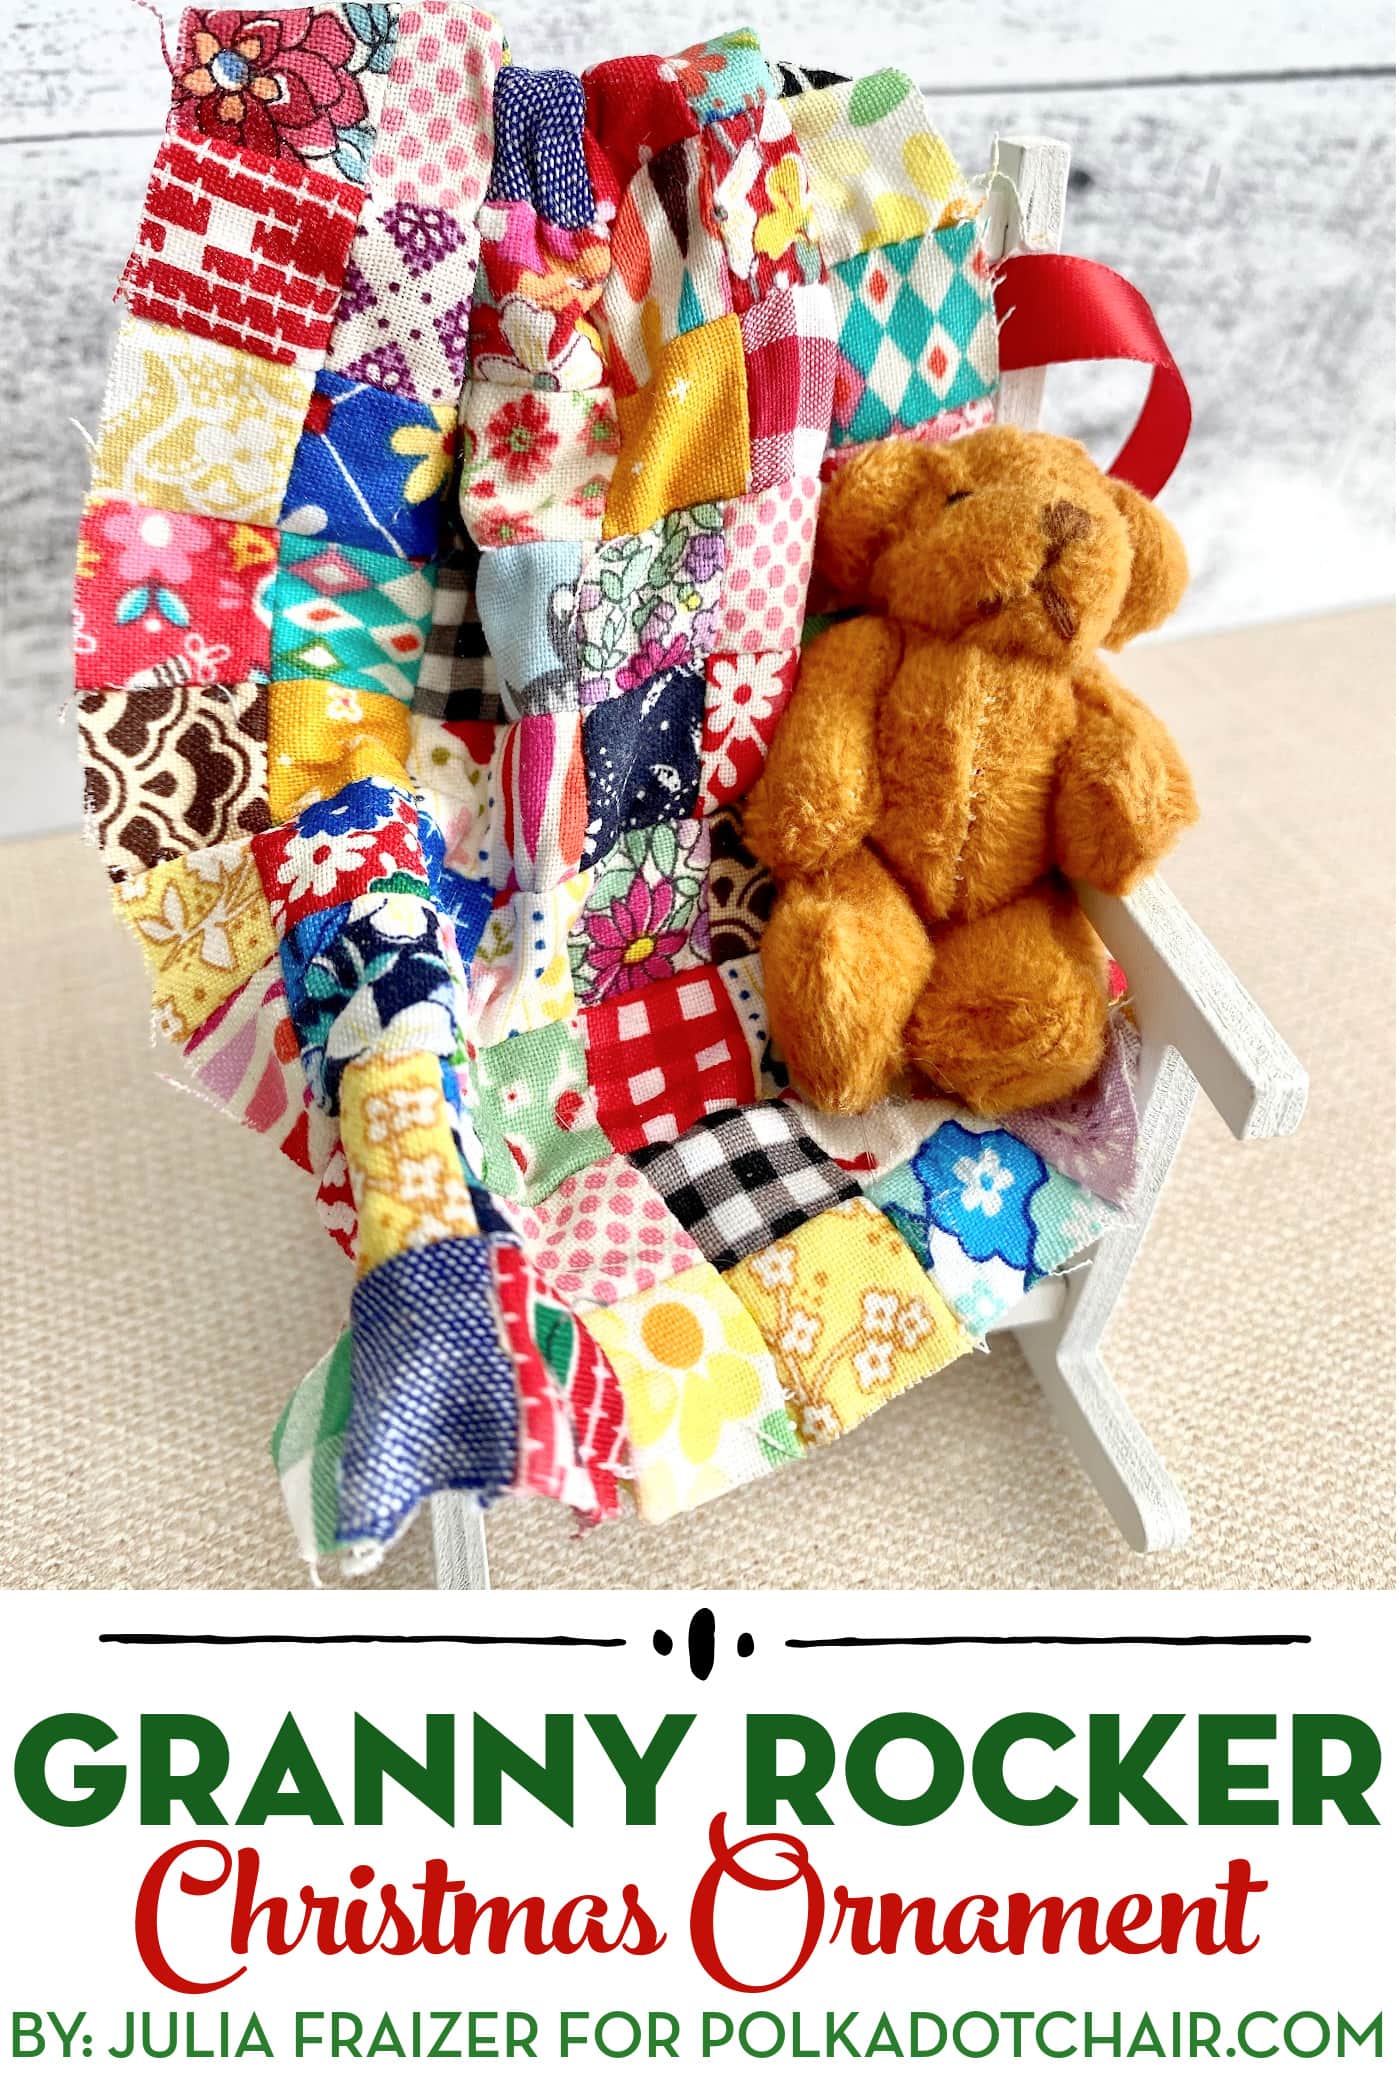
Celebrate all things miniature with these adorable Granny Quilt Christmas ornaments. Learn how to make them with our free tutorial.
I love all things miniature! Growing up, I really did believe in fairies, and to this day, miniature things spark my imagination, taking me back to the realm of tiny elf people, fairies, gnomes, and more.
Hello, friends, I’m Julia from Bayhill Studio, and today I am sharing the 4th installment of my ornament series with a sweet little Patchwork Granny Quilt Ornament.
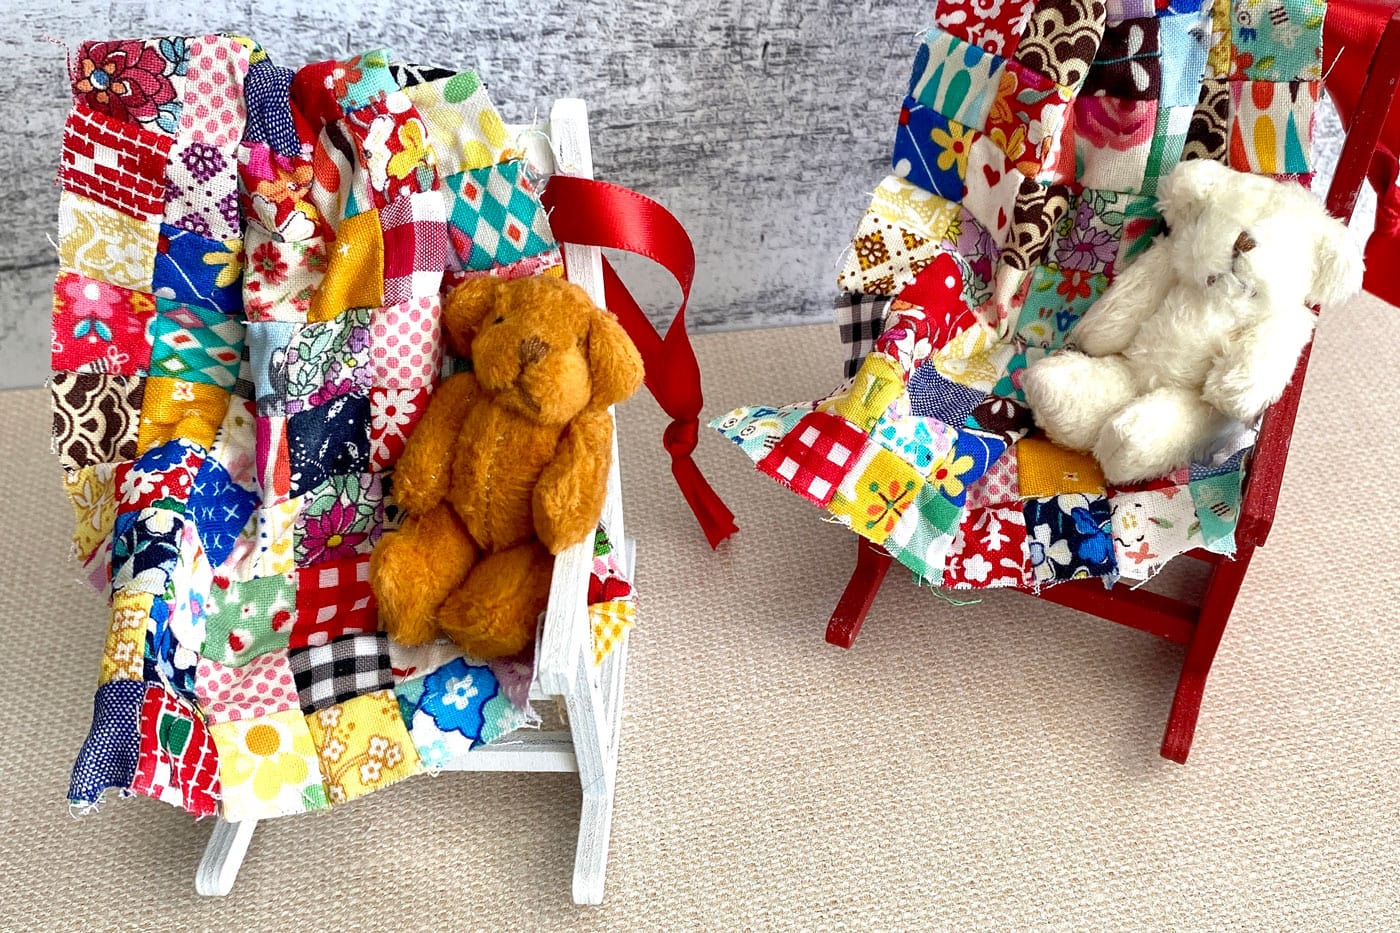
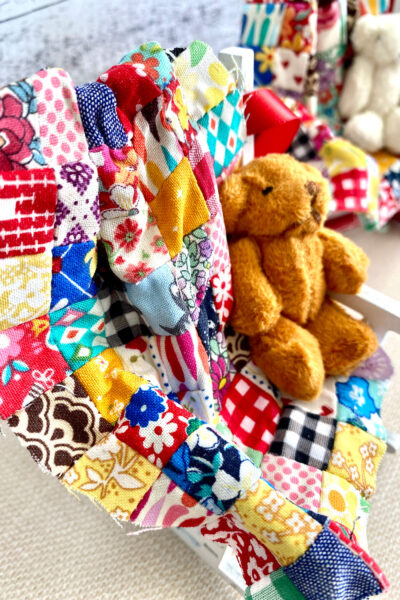
This ornament features a tiny rocking chair, a tiny teddy bear, and a tiny patchwork quilt; this ornament is the perfect gift for the quilters in your life or anyone who loves a cozy, granny-chic aesthetic. And best of all, this project is a great scrap buster!
Christmas Ornament Series Projects
- July: Paper Poinsettia Ornaments
- August: Paper Memory Christmas Ornaments
- September: Kimekomi Fabric Ornaments
- November: Granny Rocker Christmas Ornaments
- December: String Christmas Ornaments
- January: Retro Diorama Ornaments
- February: DIY Splatter Paint Glass Ornaments
- March: Blown Egg Ornament
- April: Retro Photo Ornament Tutorial
- May: Vintage Folded Fabric Ornament
- June: Patchwork Heart Ornament
- July: Improv Pieced Heart Ornaments
- October: Plastic Canvas Gift Card Holder
- November: Yarn Stitched Jingle Bell Ornament
Supplies
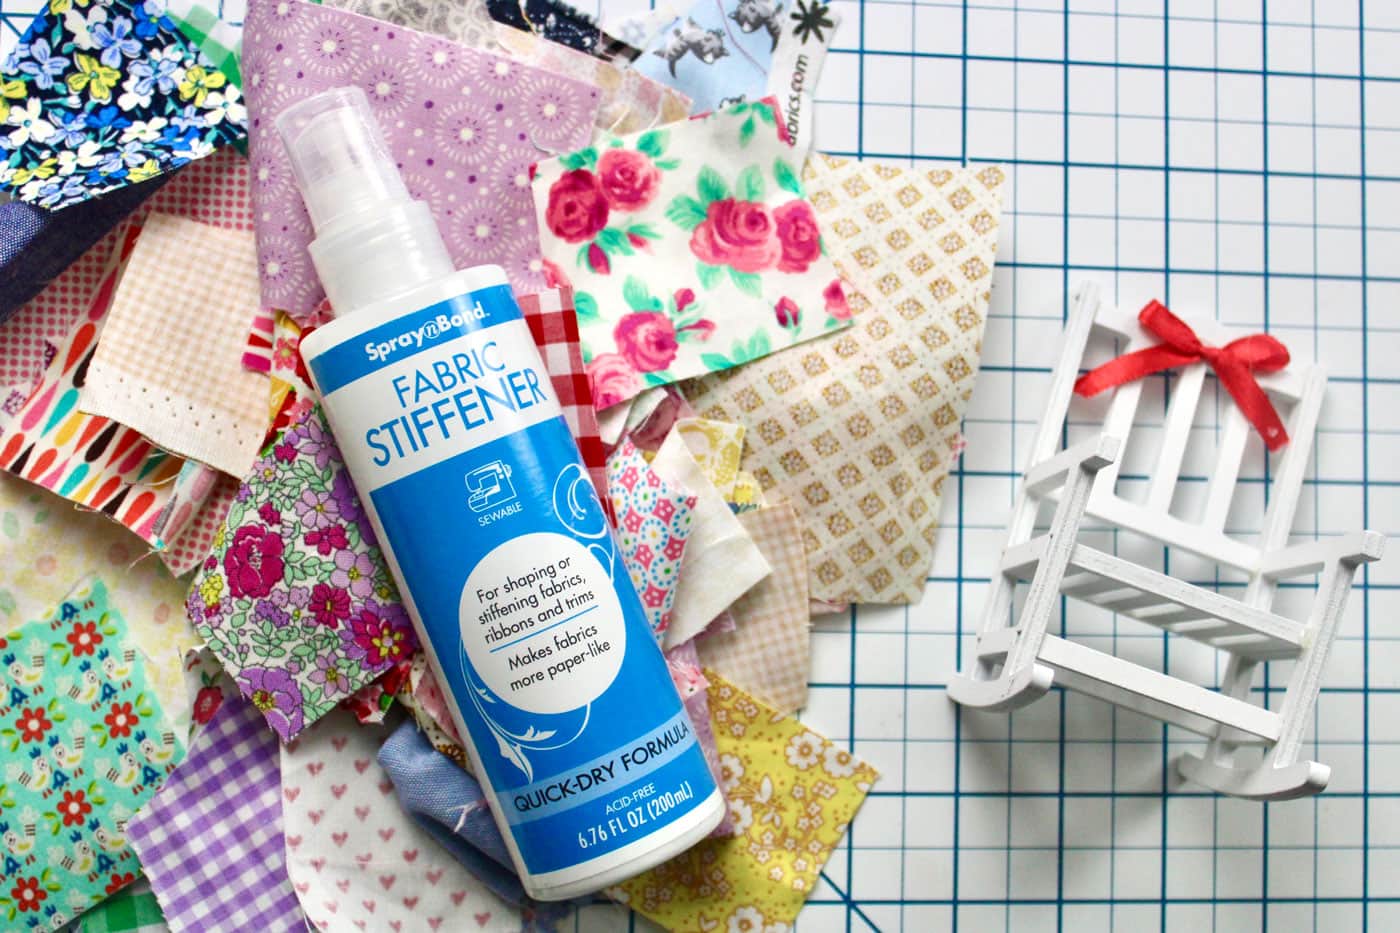
- Assorted Scrap Fabric
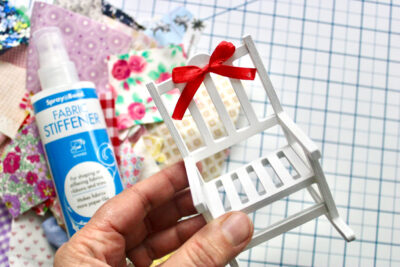
- Spray & Bond Fabric Stiffener
- Miniature Rocking Chair (I found mine HERE)
- Optional: Miniature Teddy Bear (I found mine HERE)
- **If adding a teddy bear, you’ll also want either hot glue or a strong craft glue
- 3-4 Clothespins or another type of clip to hold the fabric in place
- 12” of ribbon or string to hang the ornament

Granny Quilt Rocker Christmas Ornament
supplies
- Assorted Scrap Fabric
- 1 bottle Spray & Bond Fabric Stiffener
- 1 Miniature Rocking Chair I found mine HERE
- 1 Optional: Miniature Teddy Bear **If adding a teddy bear you’ll also want either hot clue or a strong craft glue
- 3-4 Clothespins or another type of clip to hold the fabric in place
- 12 inches ribbon or string to hang the ornament
Instructions
Step One
- If your rocking chair came with a glued on bow like mine did, remove the bow

Step Two
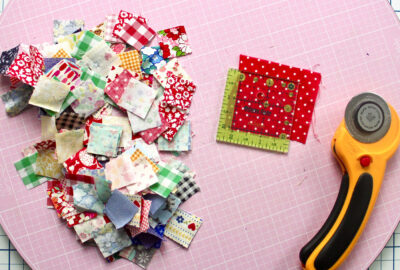
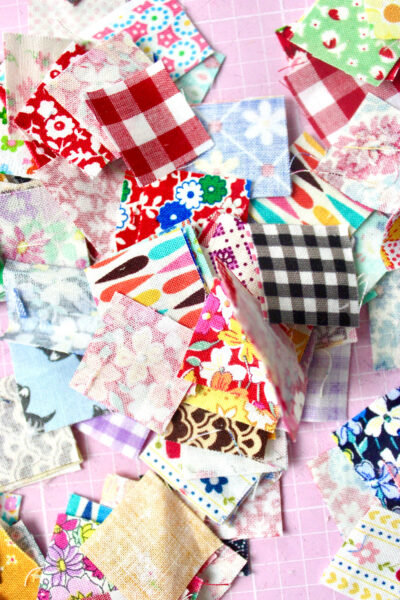
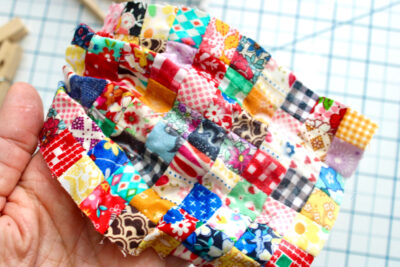
- Cut out 1” squares from your assorted scrap fabrics. You’ll need eighty 1” squares.

- Here is my stack of tiny squares. I recommend choosing fabrics with small scale prints since our finished squares will measure just ½”

Step Three
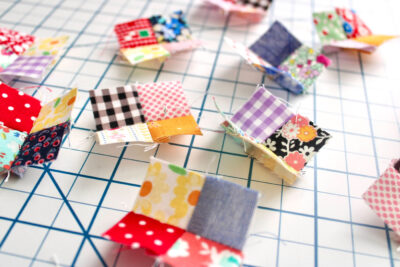
- You can begin sewing your squares into rows (if you do this, you’ll want to sew 8 squares per row with a total of 10 rows).
- I suggest sewing four patch blocks. I find doing this creates more stability to the rows. If you sew four patch blocks, you’ll need to sew 20 blocks. (For a visual demonstration, see my Double Four Patch video HERE. While the video is demonstrating a double four patch, it also shows how to make the single four patch.)
- Sew 5 rows of 4 blocks each, then sew the rows together, pressing the row seams open.
Step Four
- Once your mini quilt top is assembled and pressed, spray it with the Spray & Bond Fabric Stiffener. You’ll want to spray it until it is completely saturated on both sides.
Step Five
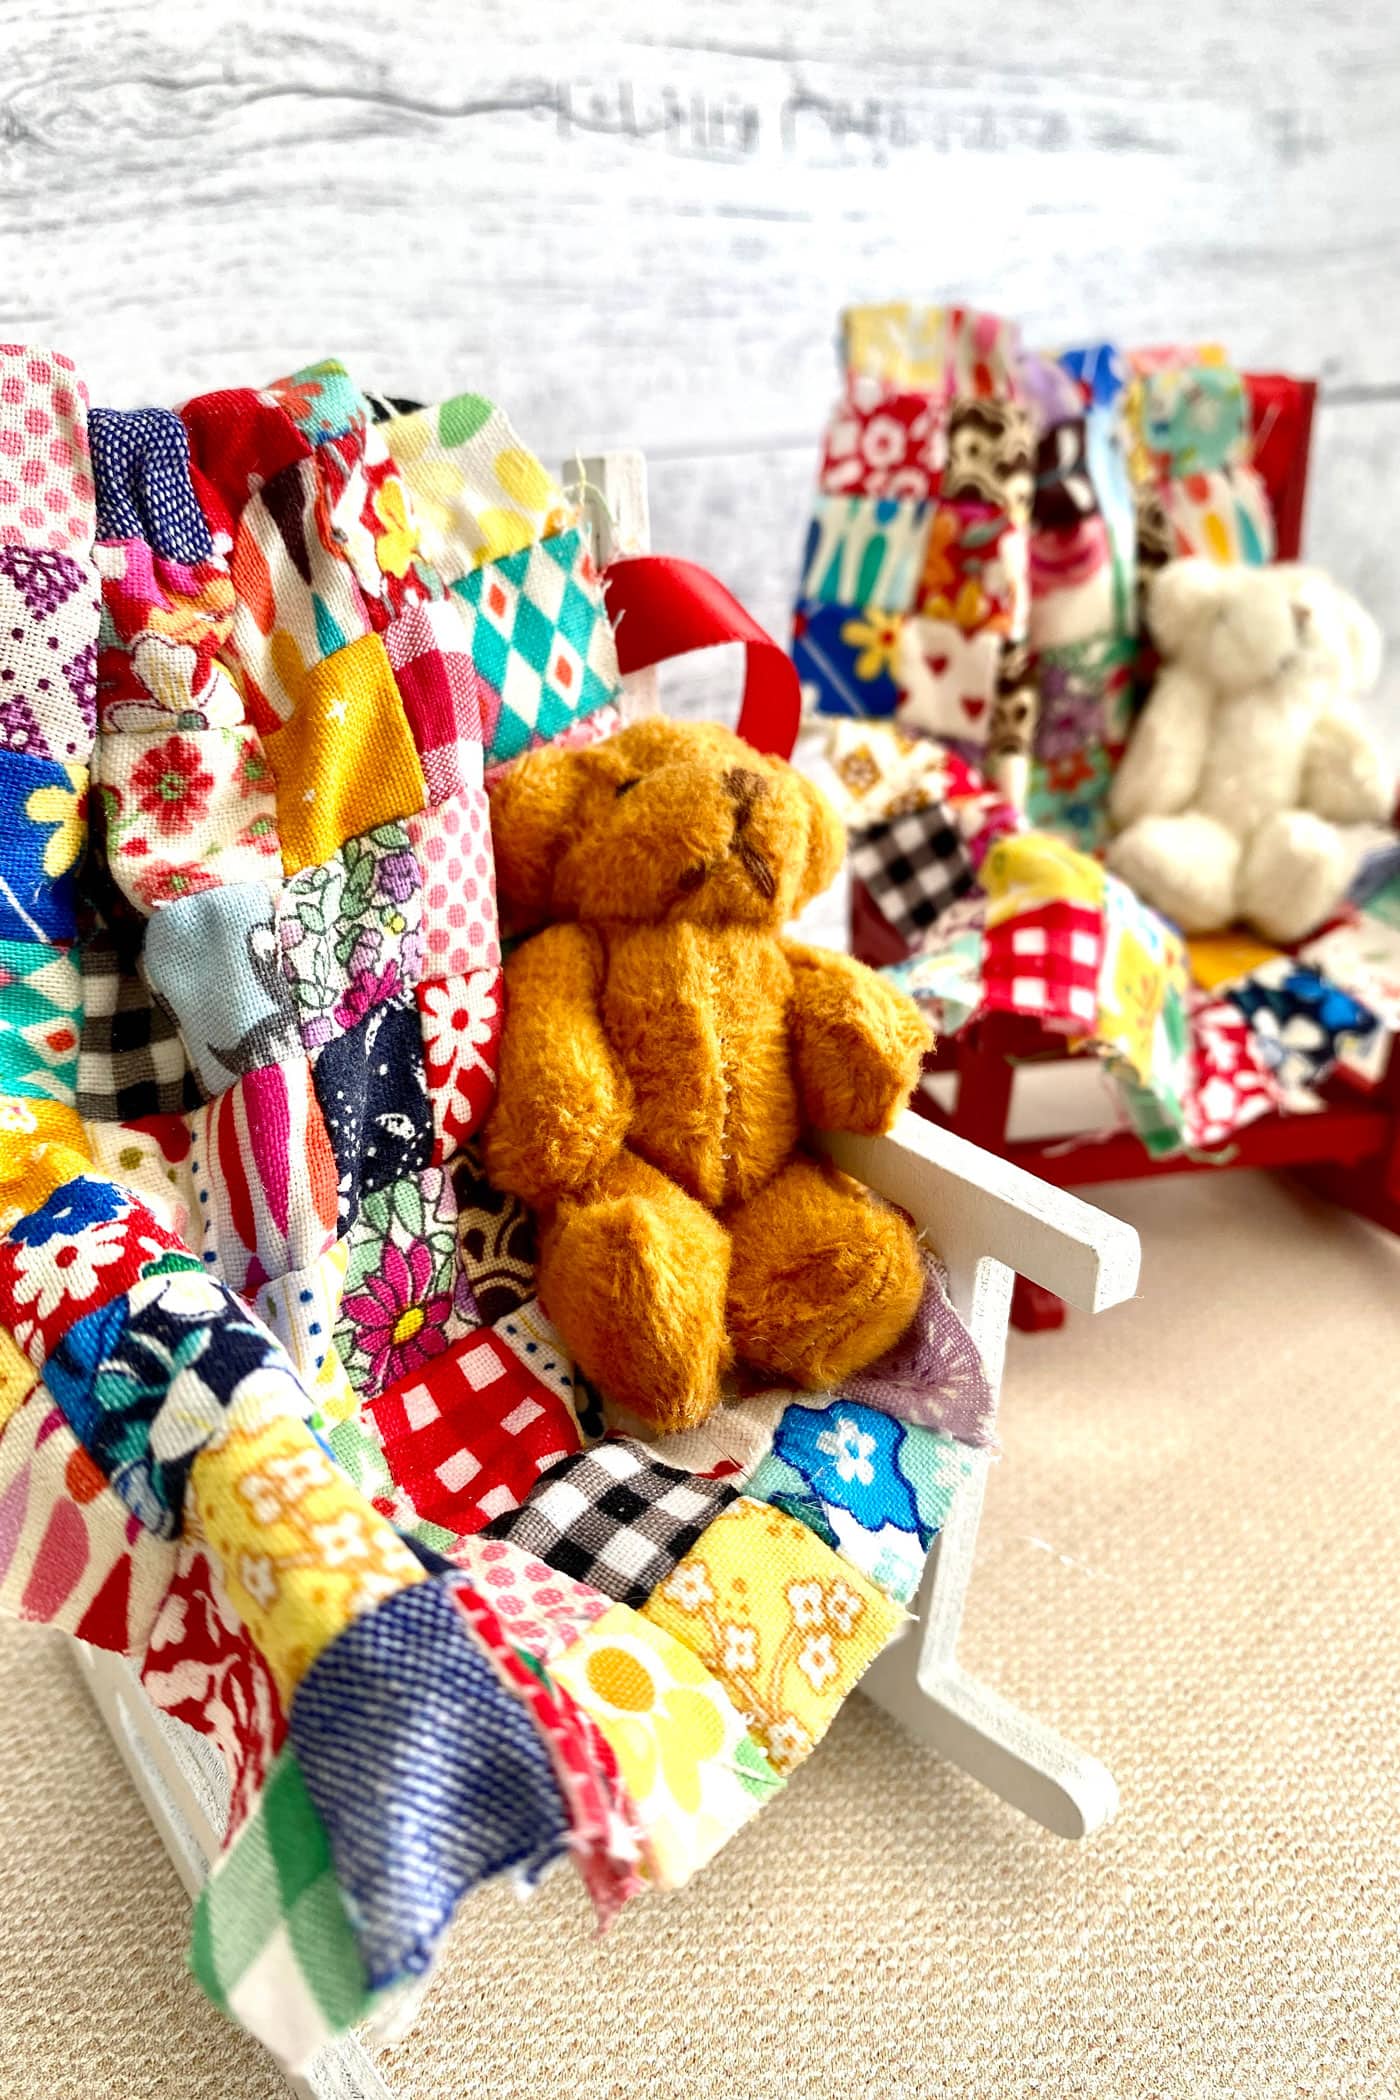
- Now comes the fun part! Drape and shape the quilt over the rocker. I pleated mine with 2-3 small folds over one corner of the rocker, extending about 1” over the back side.
- The I draped it over one arm of the rocker, trying to make it look as natural as possible.

Step Six
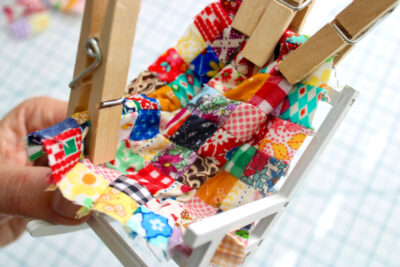
- When you have the mini quilt arranged how you want it, use clothespins to hold it in place while it dries. I let mine dry overnight.
- When you remove the clothespins, the quilt should be firmly attached to the rocker, as the fabric stiffener acts like a glue. If not, add a little hot glue where needed to hold it in place.

Step Seven
- Hot glue (or use craft glue) the teddy bear to the opposite corner of the rocking chair.
Step Eight
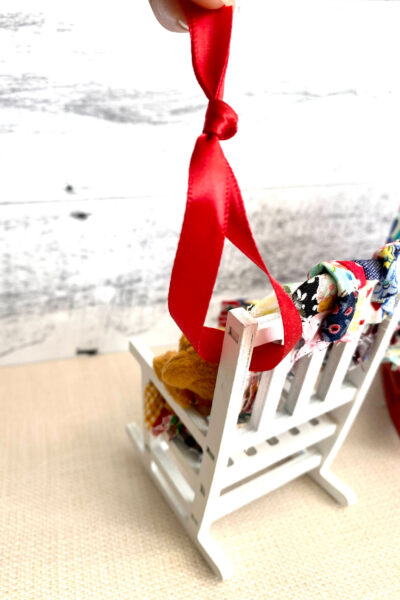
- Loop the ribbon or string through the open corner and tie a not.
Video
About the Designer

Julia Frazier is the founder of Bayhill Studio. Julia designs quilts and projects geared toward beginner quilters and crafters. You’ll usually find her at her sewing machine or hiking in the nearby mountains. Follow Julia on Instagram @bayhillstudio, and subscribe to her YouTube channel for new and exciting projects and tutorials. Be sure to check out her Bayhill Studio website for a growing list of tutorials and patterns.
Also by Julia

Raw Edge Applique Flower Quilt


THANK YOU! Such a sweet ornament. I actually had no idea of the size until I saw the comparison of the ornament to the bottle of stiffener and your hand. Now I’m smitten.