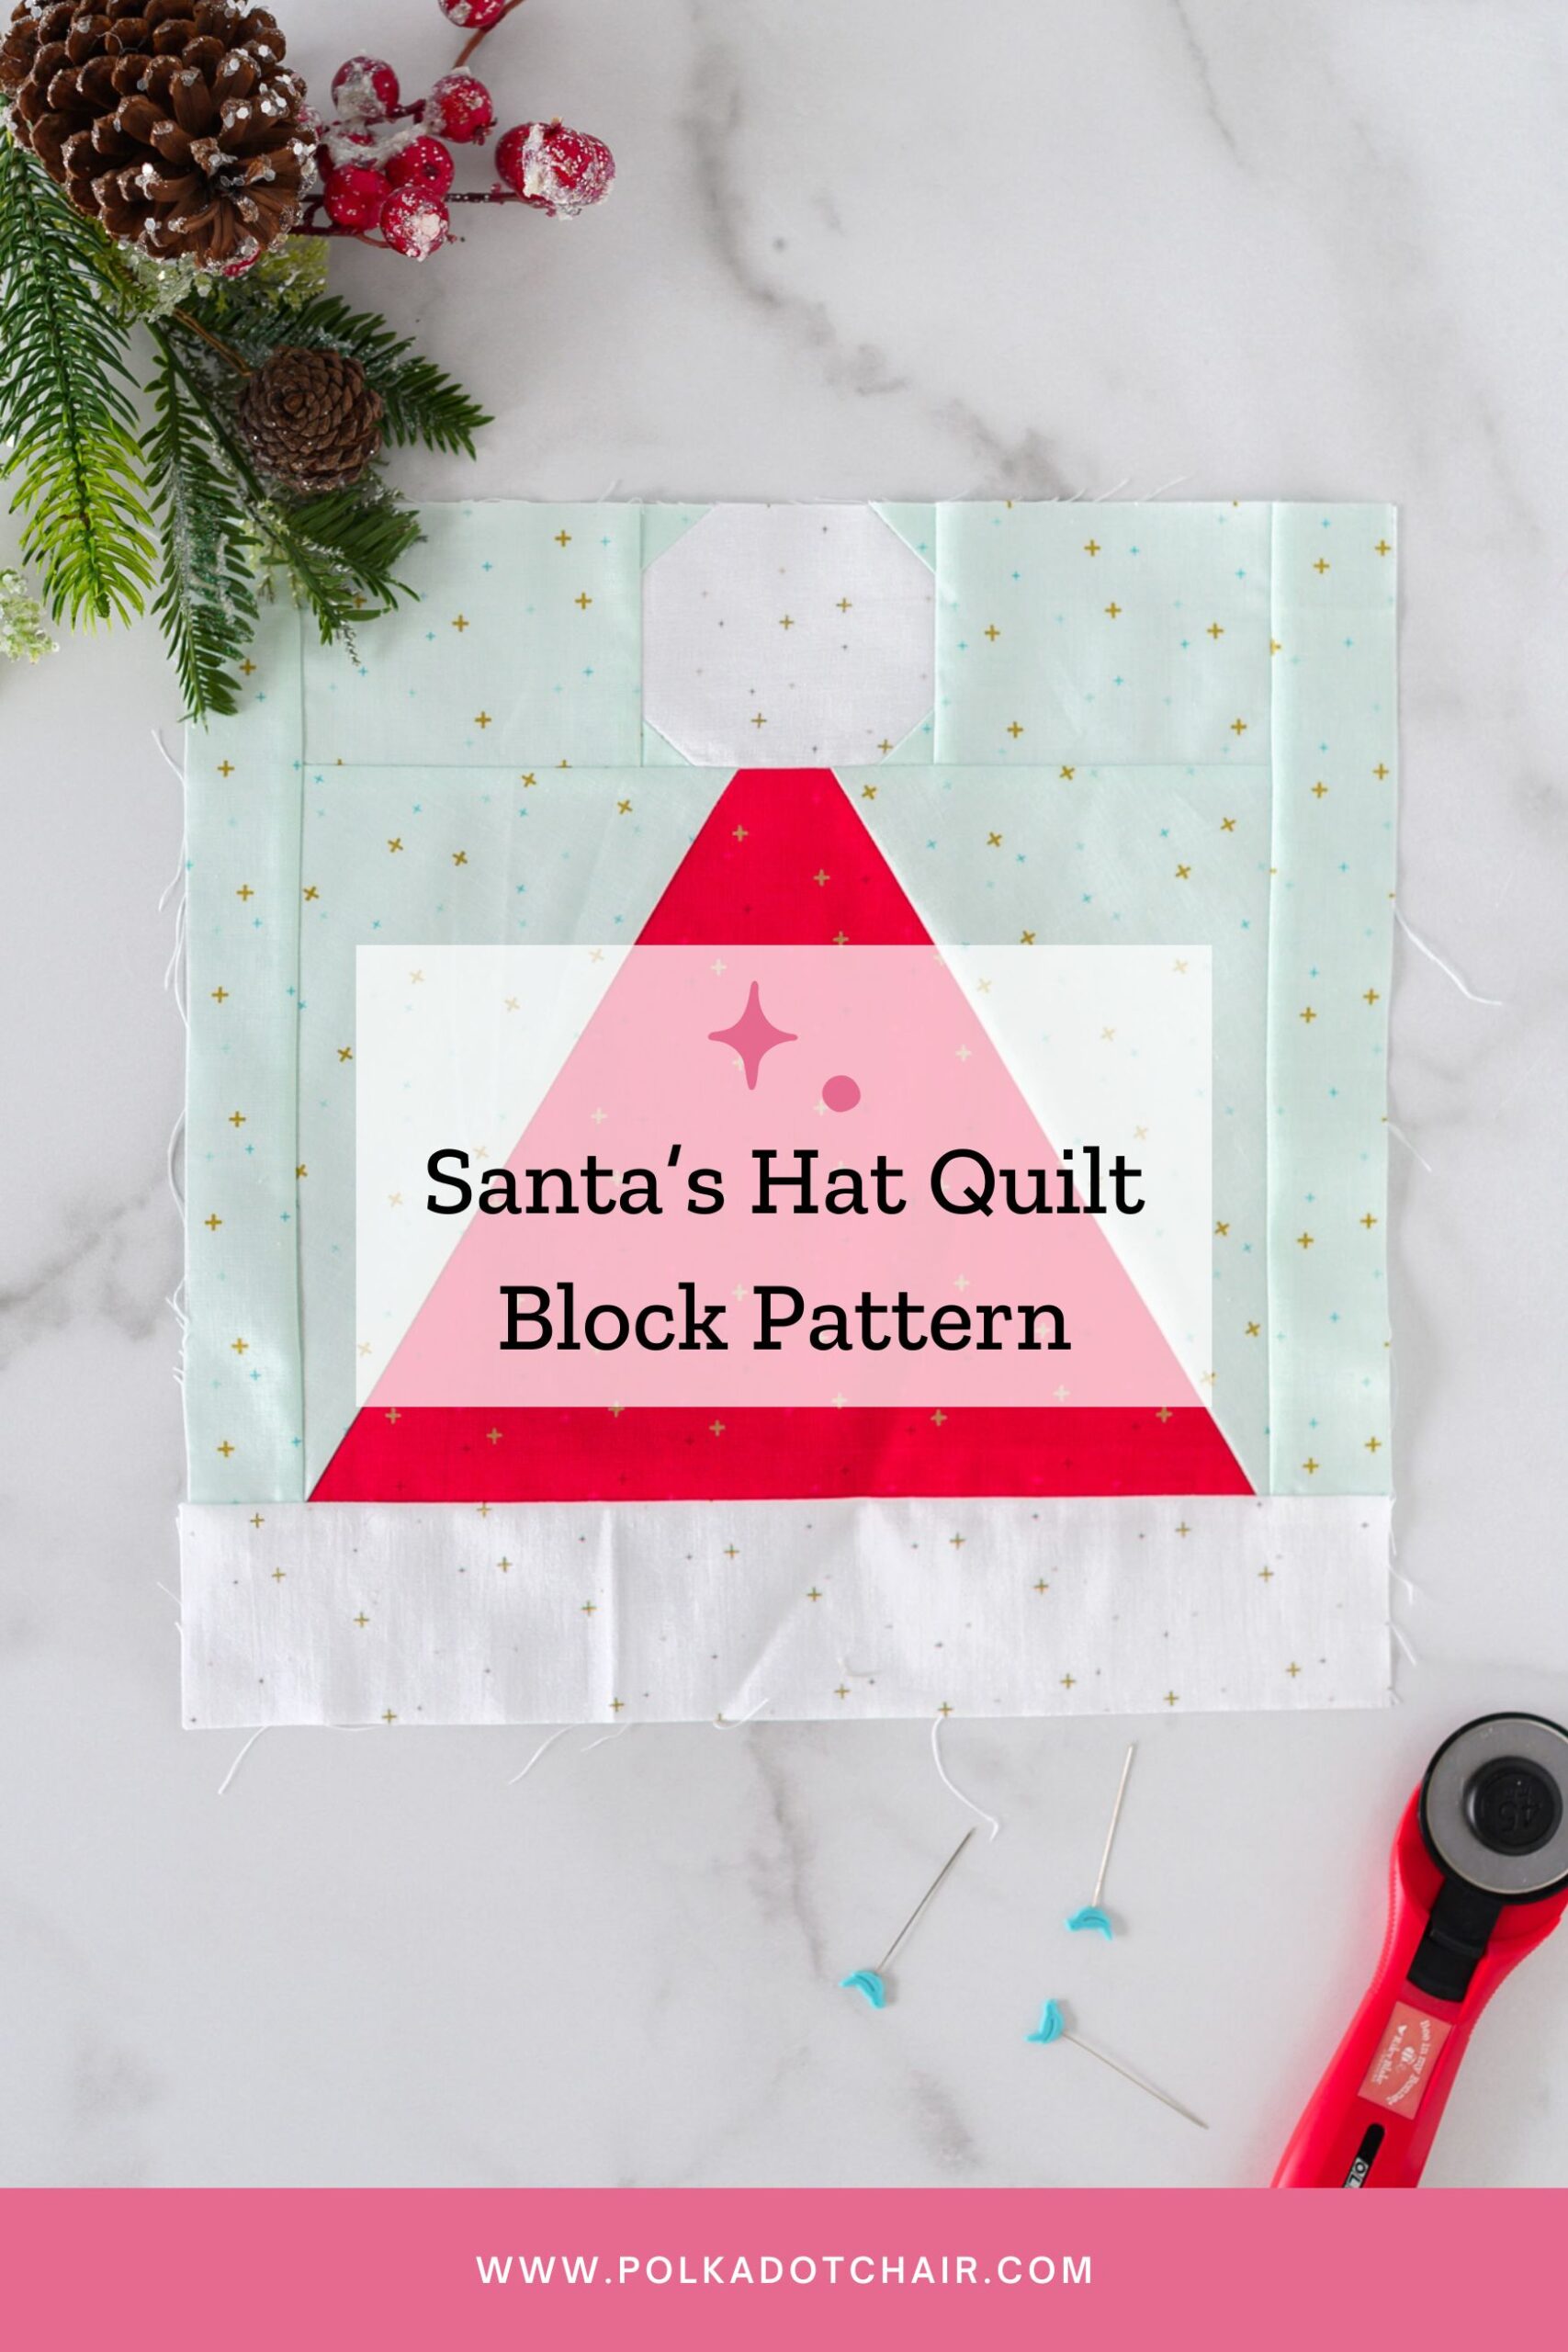
Santa Hat Quilt Block Pattern for the Santa’s Sampler Quilt Along
Create a fun Santa Hat quilt block for the Santa’s Sampler Quilt along! Keep reading to learn how to get the block pattern!
I’m so excited to launch the Mystery Santas Sampler Quilt Along, a just-for-fun project to stitch your way through December. Each week, you’ll get new surprise blocks that build into a charming sampler quilt full of whimsy and holiday magic.

To begin, we’re starting exactly where Santa starts his big night: with his signature red hat! The Santa’s Hat quilt block is our first release, and it’s a quick and delightful sew to get you warmed up for what’s ahead.
How The Quilt Along Works
Between December 1st and 17th, visit our site to PRINT one of the adorable Christmas quilt blocks (blocks will be posted throughout the month; full schedule below). Even if you don’t want to sew the blocks right now, take a few minutes to print the patterns because, like Cinderella, the patterns will disappear at midnight on December 31st, 2025, and will be moved to our shop.
If You’re New to Foundation Paper Piecing
This quilt block is partially foundation paper pieced (FPP). This block and one other block in our quilt-along feature FPP.

(Note: I made a slight change to the piecing directions after I stitched my sampler block, and was able to eliminate the extra seams on the side of the block. The directions as shown below are correct.)
Foundation Paper Piecing (FPP) is a quilting technique that involves sewing fabric pieces onto a paper foundation following a printed pattern. This method is especially popular for creating precise, intricate designs that would be challenging to achieve using traditional piecing methods or for quilt blocks that feature angles other than 45 or 90 degrees (like the triangle on this block).
This Santa Hat is the perfect little FPP project; it’s great for beginners!
Update:
The quilt-along is now over, and the pattern has been archived. Look for the full pattern in our shop.
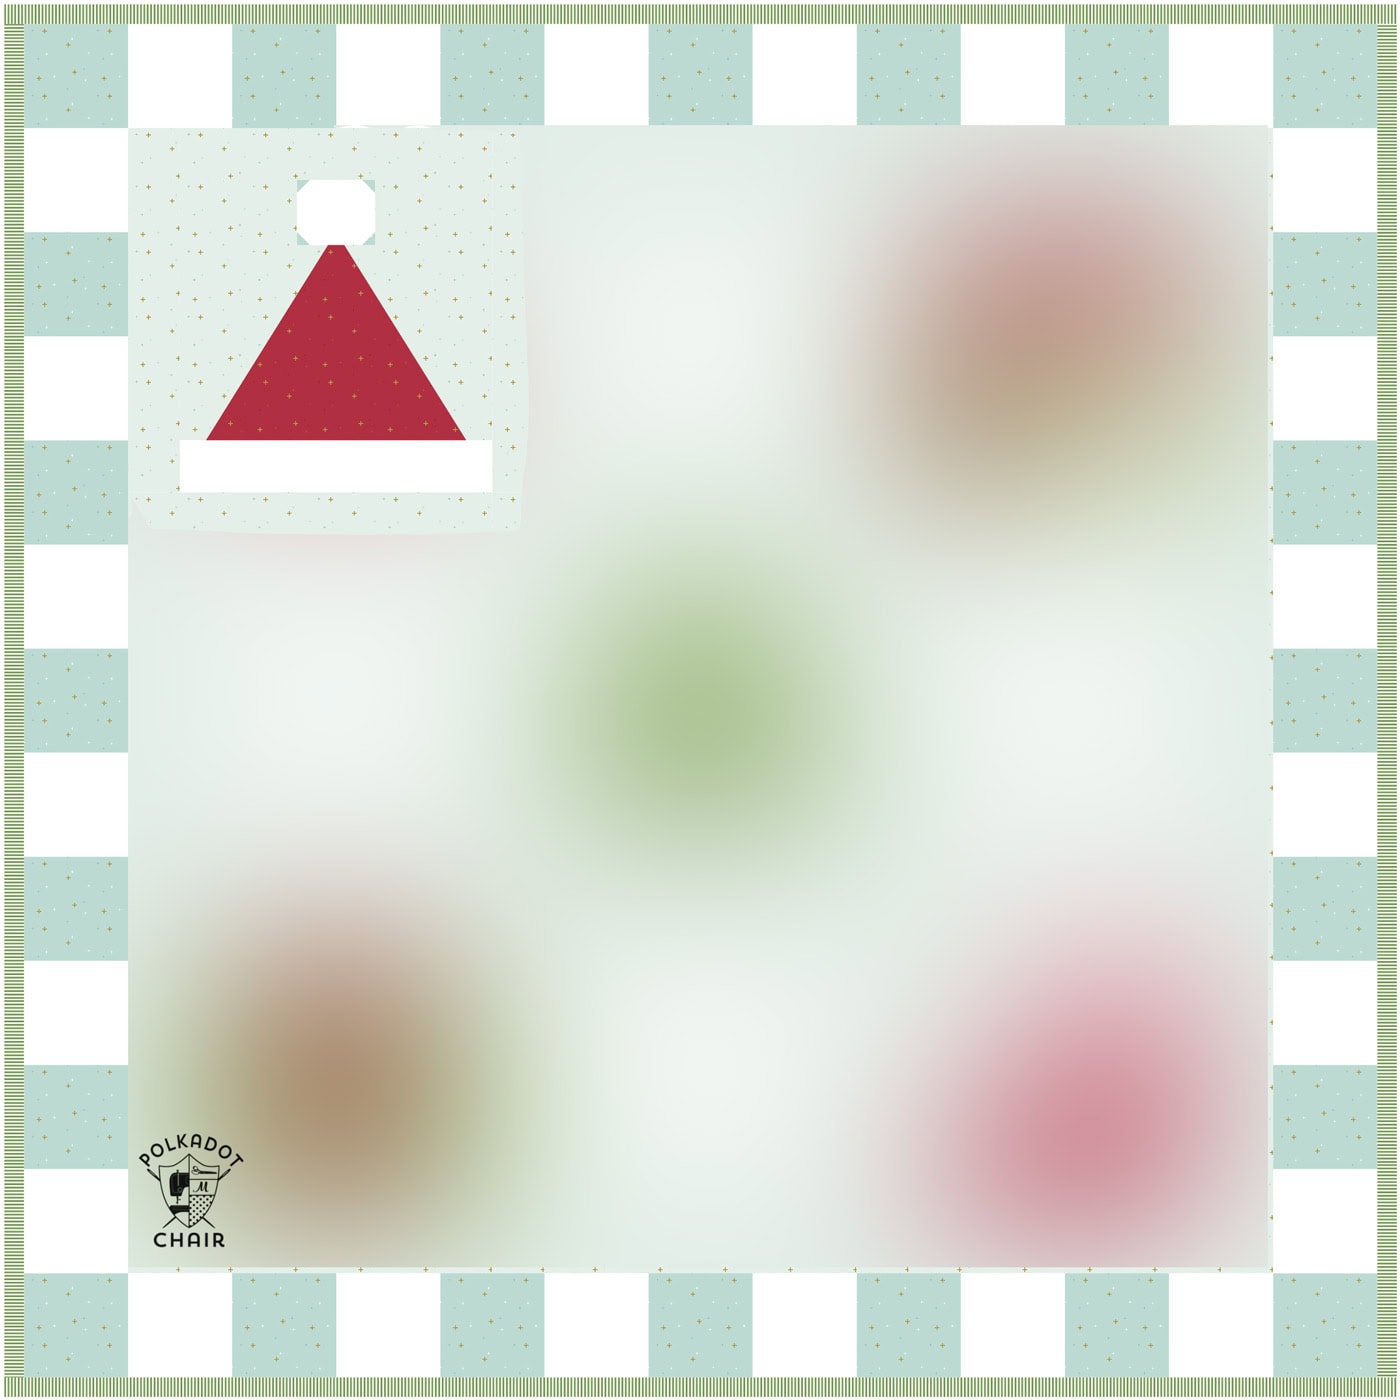
As the quilt pattern is released, we will unblur parts of the diagram! Here’s where the block fits in the overall design.
Quilt Along Schedule
- December 1: Intro & Fabric Requirements
- December 3: Block 1 Santa’s Hat
- December 5: Block 2 Santa’s House
- December 8: Block 3 Santa’s Stocking
- December 10: Block 4 Christmas Tree
- December 12: Block 5 Christmas Gift
- December 15: Block 6 Santa’s Star
- December 17: Finishing

Hi Melissa, there is no blue subscribe button on this page. I am unable to download pattern?
Hi
What browser are you using? For some reason Firefox does not display the entry box.
I never found a form that referenced the FPP pattern. I tried in google and DuckDuckGo. I only find a place to subscribe for newsletter.
The form is on THIS PAGE you don’t need to use duck duck go – just view this page and look for the blue SUBMIT button.