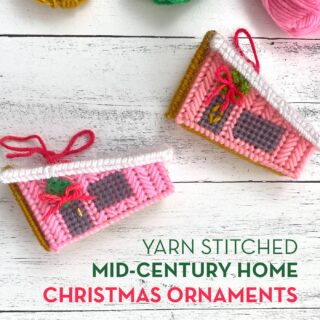
Yarn Stitched Mid-Century Home Christmas Ornament
Grab some plastic canvas and yarn, and stitch up this adorable, festive Midcentury Modern House Christmas Ornament!

I absolutely LOVE the Mid-century modern aesthetic, especially the unique architecture. For this tutorial, I thought creating an adorable flamingo pink Midcentury House Ornament complete with a snow-topped roof and a festive wreath above the door would be fun.
This would be super fun for an ornament exchange, a coworker gift, or make one for yourself! Grab a sheet of plastic canvas and some yarn, and let’s get started!
Handmade Christmas Ornament Tutorials
This is the latest in our handmade Christmas ornament series. If you missed any of the other free tutorials, here are the ones shared so far. We love to share Christmas ornament tutorials all year long!
- July: Paper Poinsettia Ornaments
- August: Paper Memory Christmas Ornaments
- September: Kimekomi Fabric Ornaments
- November: Granny Rocker Christmas Ornaments
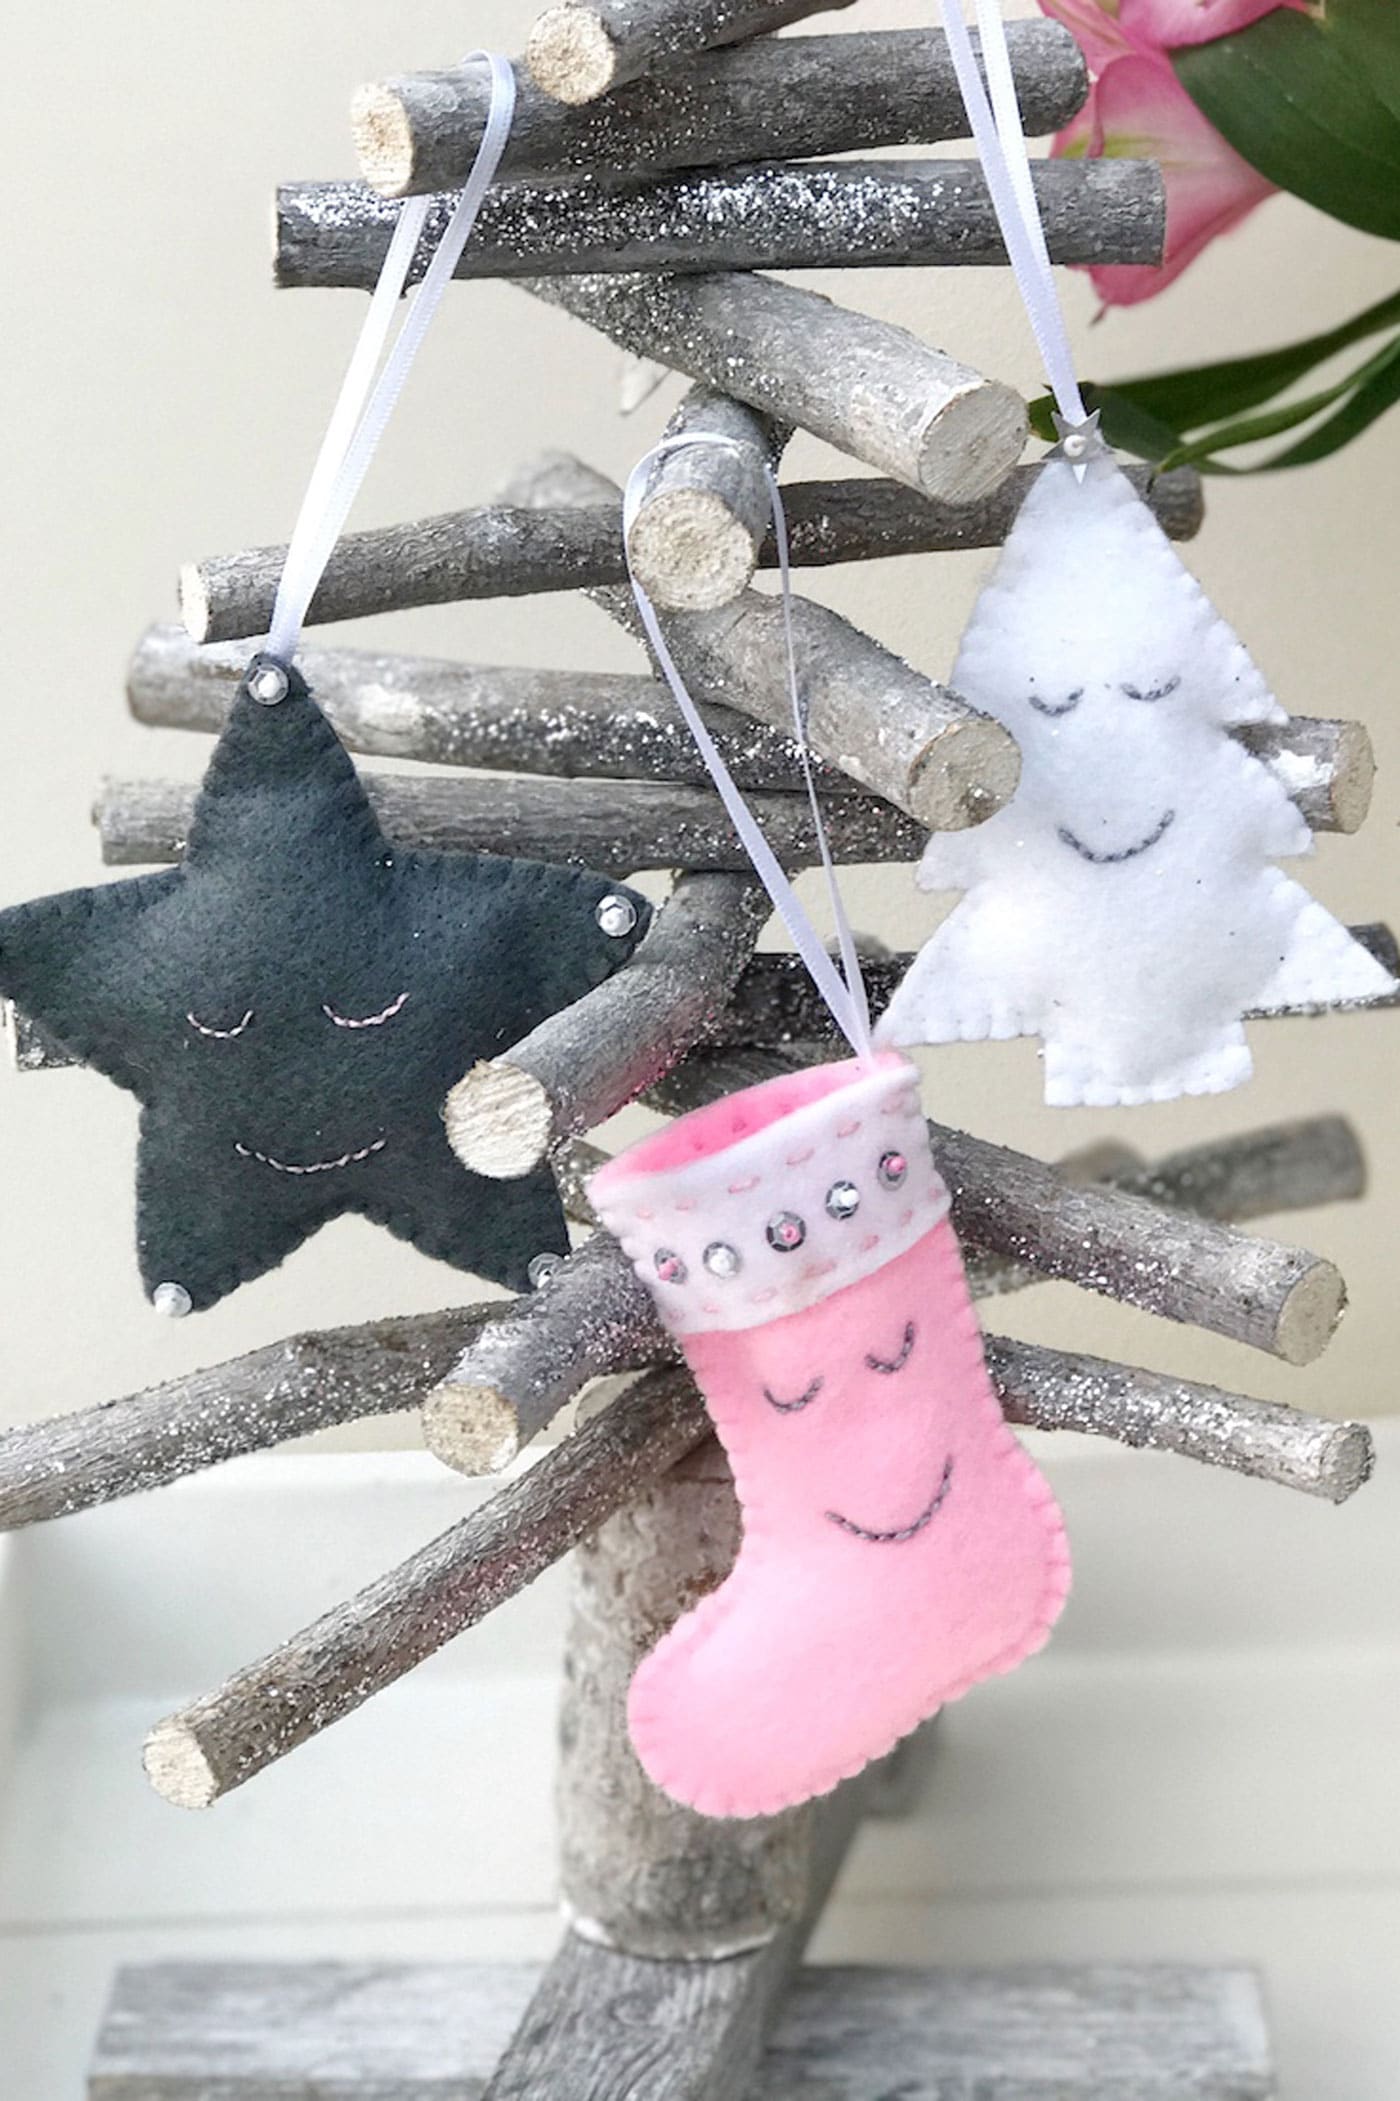
- December: String Christmas Ornaments
- January: Retro Diorama Ornaments
- February: DIY Splatter Paint Glass Ornaments
- March: Blown Egg Ornament
- April: Retro Photo Ornament Tutorial
- May: Vintage Folded Fabric Ornament
- June: Patchwork Heart Ornament
- July: Improv Pieced Heart Ornaments
- October: Plastic Canvas Gift Card Holder
- November: Yarn Stitched Jingle Bell Ornament
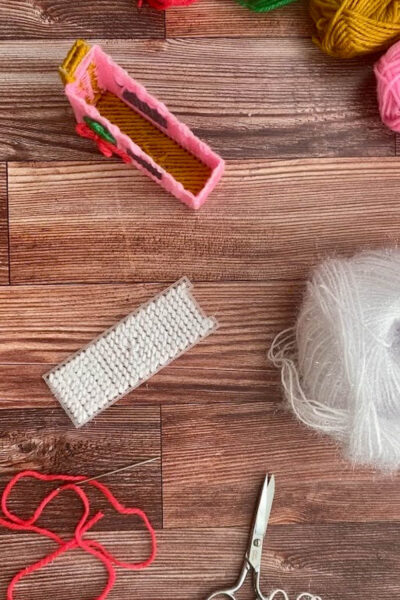
Plastic Canvas Ornament Supplies
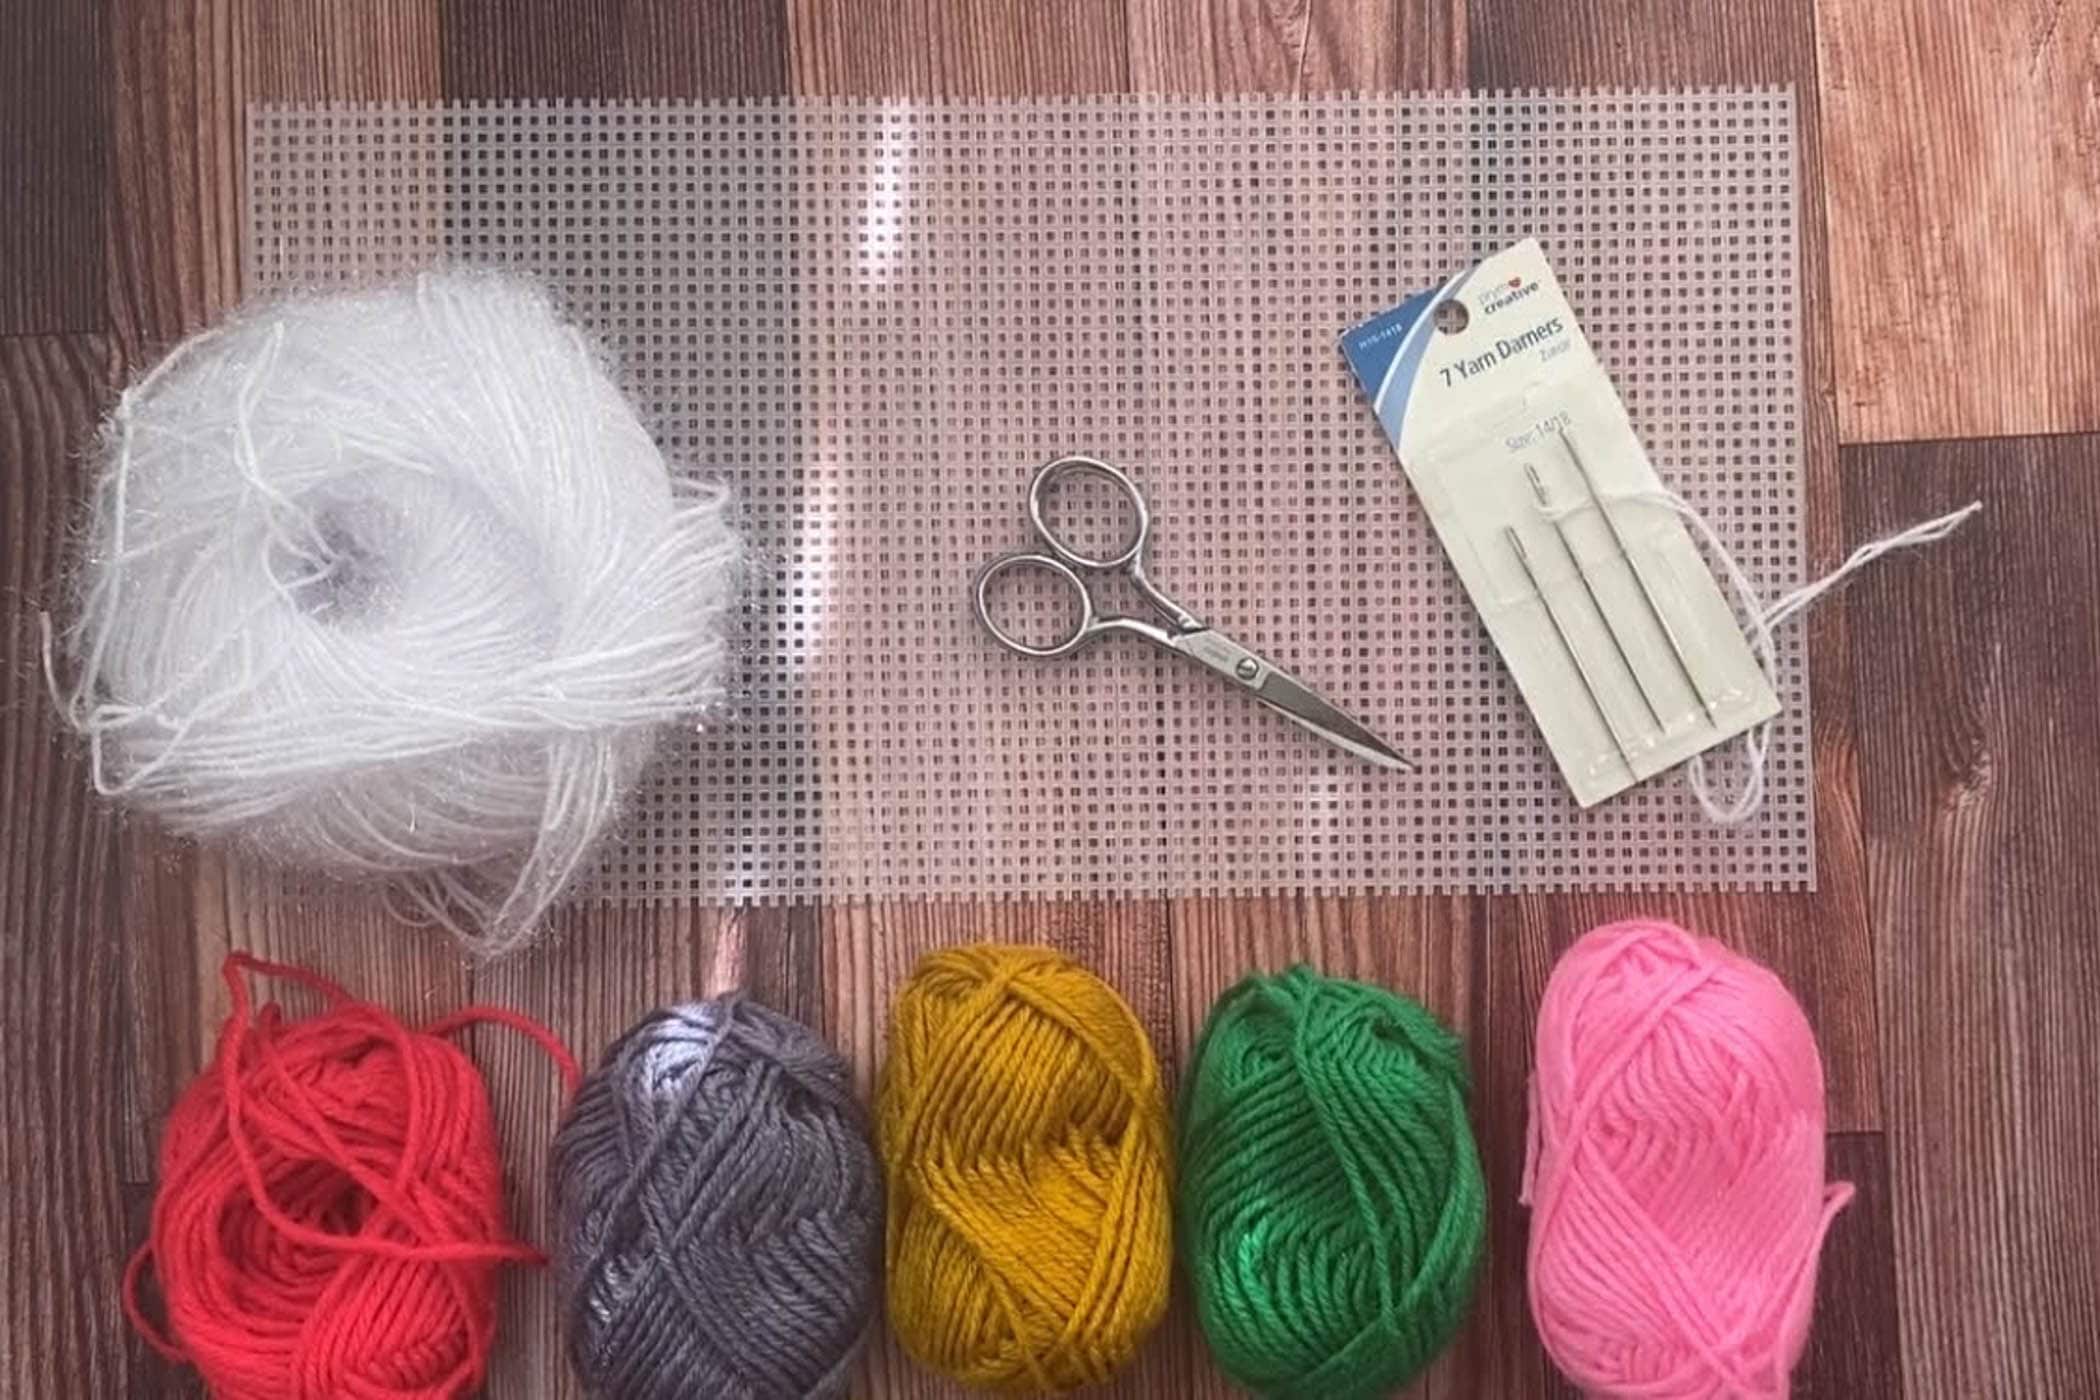
Items you will need:
- One sheet of plastic canvas
- Tapestry Needle (I use a #16 needle)
- Six colors of yarn: Pink ( house walls), gray (window and doors), brown (chimney and floor), green (wreath), red (wreath bow and ornament loop), white (roof)
Plastic Canvas Ornament Instructions
Mid-Century Home Christmas Ornament
Equipment
supplies
- 1 sheet Plastic Canvas
- 1 Tapestry Needle I use a #16 needle
- 6 skeins Skeins of yarn pink (house walls), gray (window and doors), brown (chimney and floor), green (wreath), red (wreath bow and ornament loop), white (roof)
Instructions
- *Before we start, note that the numbers I will give out are for the BARS, not the square openings, unless otherwise noted.*
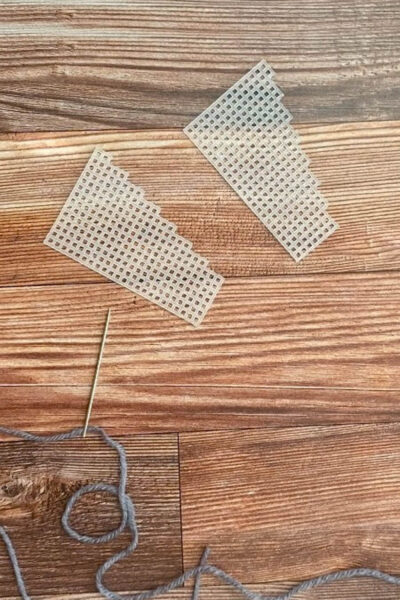
- Cut out two rectangles, 15 bars x 24 bars.

- Along a long (24 bar) edge, we will create an angle. Beginning at the side, count 3 bars and snip the plastic just after the 3rd bar. Count three more bars over and snip. Repeat until you reach the opposite short end.

- Repeat, creating a second piece identical to the 1st.
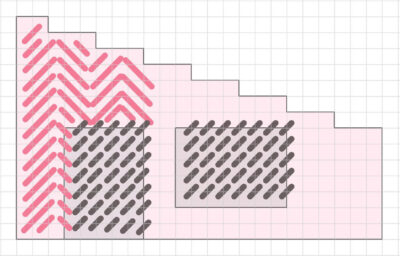
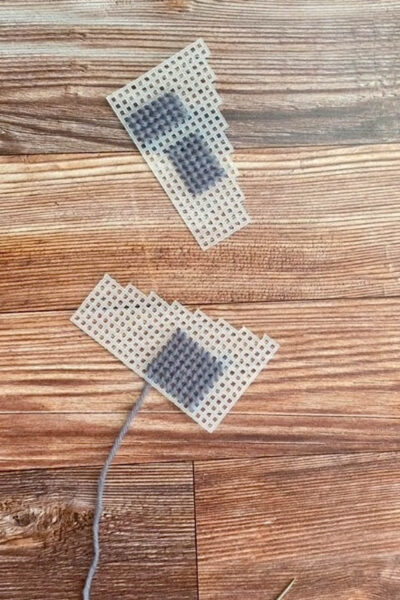
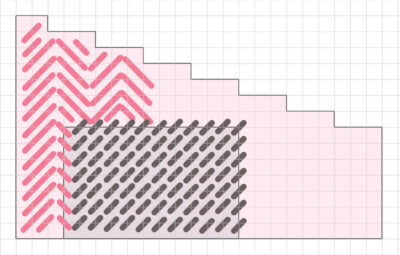
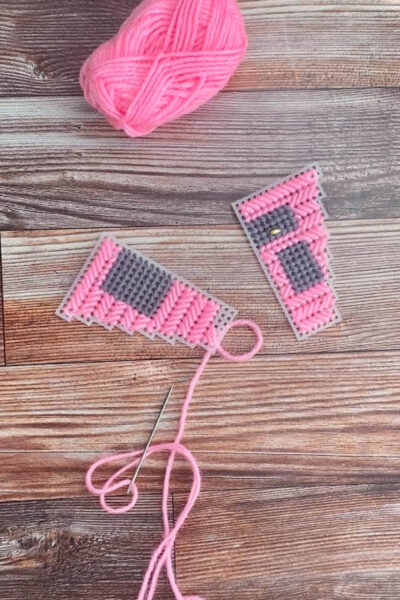
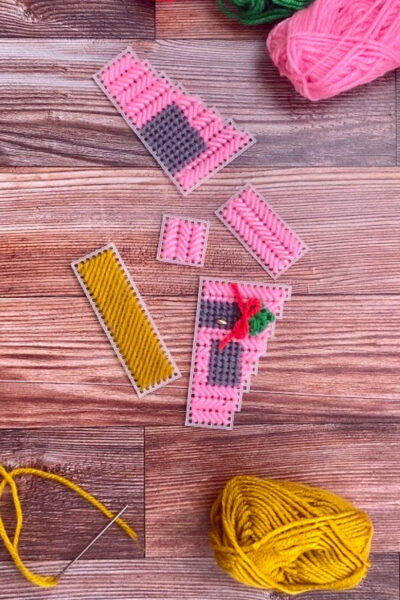
- Stitch the doors and window. To add the front door, count across 4 bars. Begin a simple diagonal stitch over the 5th bar. Stitch the door so it measures 8 bars vertically and 5 bars horizontally.
- For the window, leave a space of 3 bars, then begin stitching at the top of the window so it is aligned with the top of the door. The window is eight horizontal bars x 6 vertical bars.
- The back door is the same as the front, except you’ll want to widen it. I opted to double the size of the front door, so my back door measures 8 vertical bars x 10 horizontal bars.

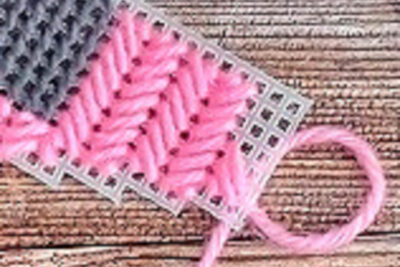
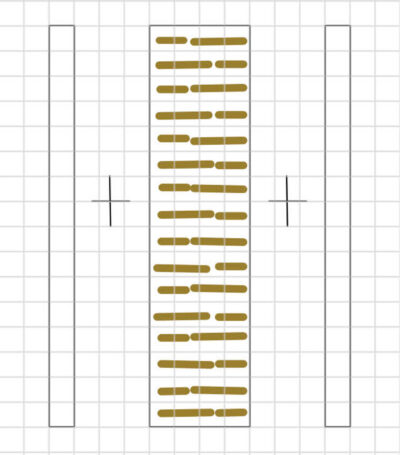
- Next, let’s fill in the house walls with our favorite shade of pink. I did a diagonal stitch for this herringbone look, skipping over to the third row.
- After completing one row, stitch the next row in the opposite direction.

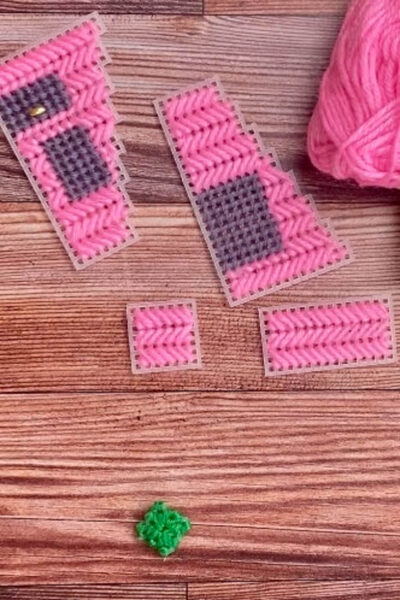
- Cut the sides of the house. The short side measures 8 x 8 bars. The tall side measures 15 x 8 bars. Stitch both sides using the same herringbone stitch.
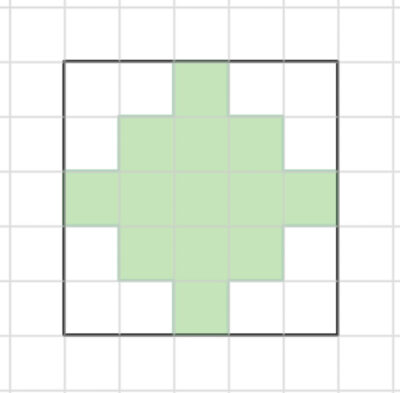
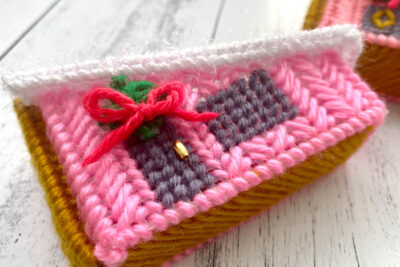
- The wreath measures 6 x 6 bars. I created this little wreath by staggering the edges. On the edge, find the 4th square. Keep the 3rd square as is, but cut out the rest of the row.

- Move up to the next row and keep squares 2,3,4 while cutting out the squares on either side.
- For the center row, keep all squares uncut.
- Repeat for the other half of the wreath, staggering back to square 3.
- Stitch this any way you like. You can do a simple diagonal stitch or a loose, loopy stitch, or here, I stitched around the edges and into the center square until the entire wreath was covered in green.

- Add a red bow out of yarn or ribbon by either gluing or stitching it onto the wreath. Use a piece of yarn to attach the wreath just above the door.
- **For an extra touch, you can add a small 6mm gold seed bead to the door to create a cute little handle. Another option is to stitch a simple design on the door. (See example photos at the top of this post.)
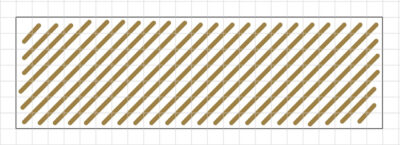
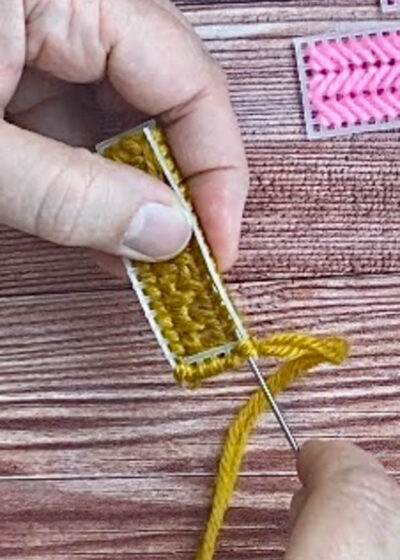
- The house base measures 8 bars x 24 bars. Using the brown thread, stitch a slanting gobelin stitch.

- This simply means you’ll start at one corner and stitch a diagonal stitch. Continue with the diagonal stitches, but always stitch from the bottom long edge, up the short side, and along the long top edge until you reach the opposite corner.
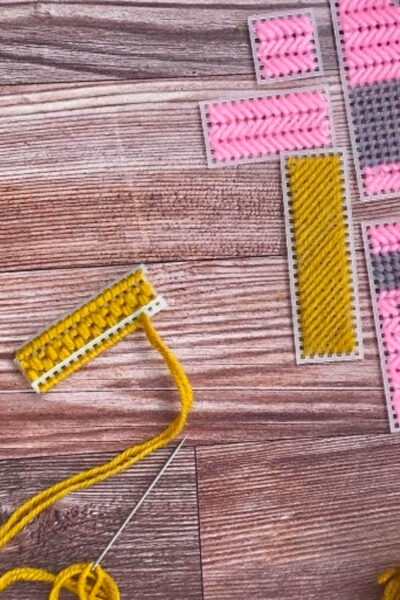
- The chimney measures 5 bars x 17 bars. You’ll also cut out 2 chimney sides measuring 2 bars x 17 bars. And finally, a small chimney piece for where the top part of the chimney meets the roof. This measures 2 bars x 5 bars.
- To stitch the chimney, double up your yarn. We will go vertically up one long side, then back down the other side.

- First, make one horizontal straight stitch 3 squares across, then move up to the next row and make a horizontal straight stitch 2 squares across. Continue alternating until you reach the top. Work your way back down, doing the opposite – so if the row has a long stitch, make a short stitch next to it, and visa versa. This creates a fun brick design along the chimney.
- Add the chimney sides with a simple joining stitch.
- The top chimney piece fills in the space just above the roofline. Stitch it to the top, attaching it to the chimney sides and stitching around the top edge of the chimney, as shown above.

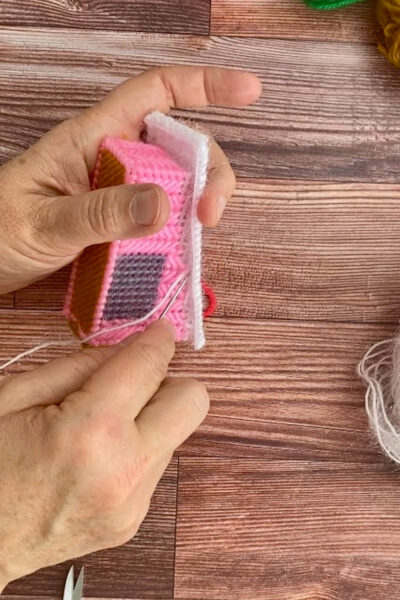
- Join the wall sides with a simple overcast joining stitch.
- Attach the base section again using a simple overcast stitch. I opted to use the pink yarn here, but you could use the brown yarn.
- The roof section measures 11 x 28 bars. Cut out a notch at one short end of the roof to fit around the chimney section, measuring 1 x 6 squares.
- Stitch the rooftop section with the white yarn using a simple diagonal stitch. My yarn is thinner than a typical yarn, so I doubled it.
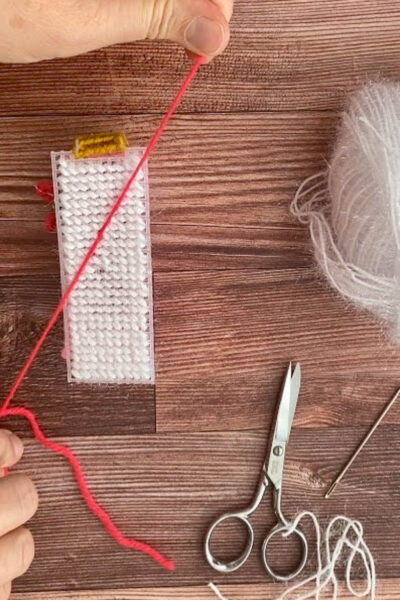
- Add the string for the ornament loop. Thread a length of yarn and run the yarn through the top of the roof (leaving about 6” on the roof) and down through the base of the house.
- Run the needle back up through the base, catching one bar, then back through the roof. Tie a knot, snug with the roof. Then, tie a new knot, creating a loop that measures 2-3”. Finally, you can add an optional bow detail.
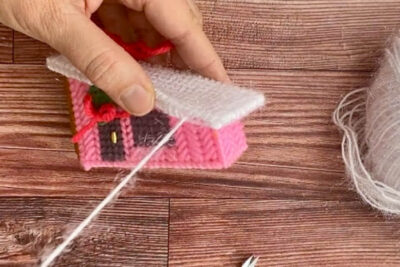
- Stitch the roof sides to the rooftop. The roof sides are all one square + the length of each roof side.
- Stitch the roof to the main house. Do this by catching the top of the wall going up through the roof, and back down again to the house wall.
- Stitch the edges of the roof sides around the entire perimeter of the roof.
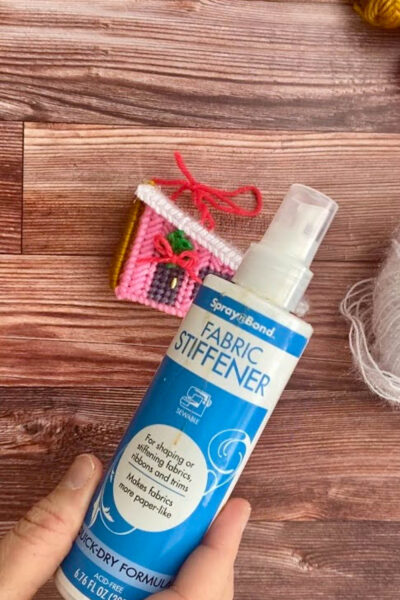
- **As a final option, you can spray the little bow on your wreath with fabric stiffener, fray check, or coat it with Mod Podge to prevent it from fraying.
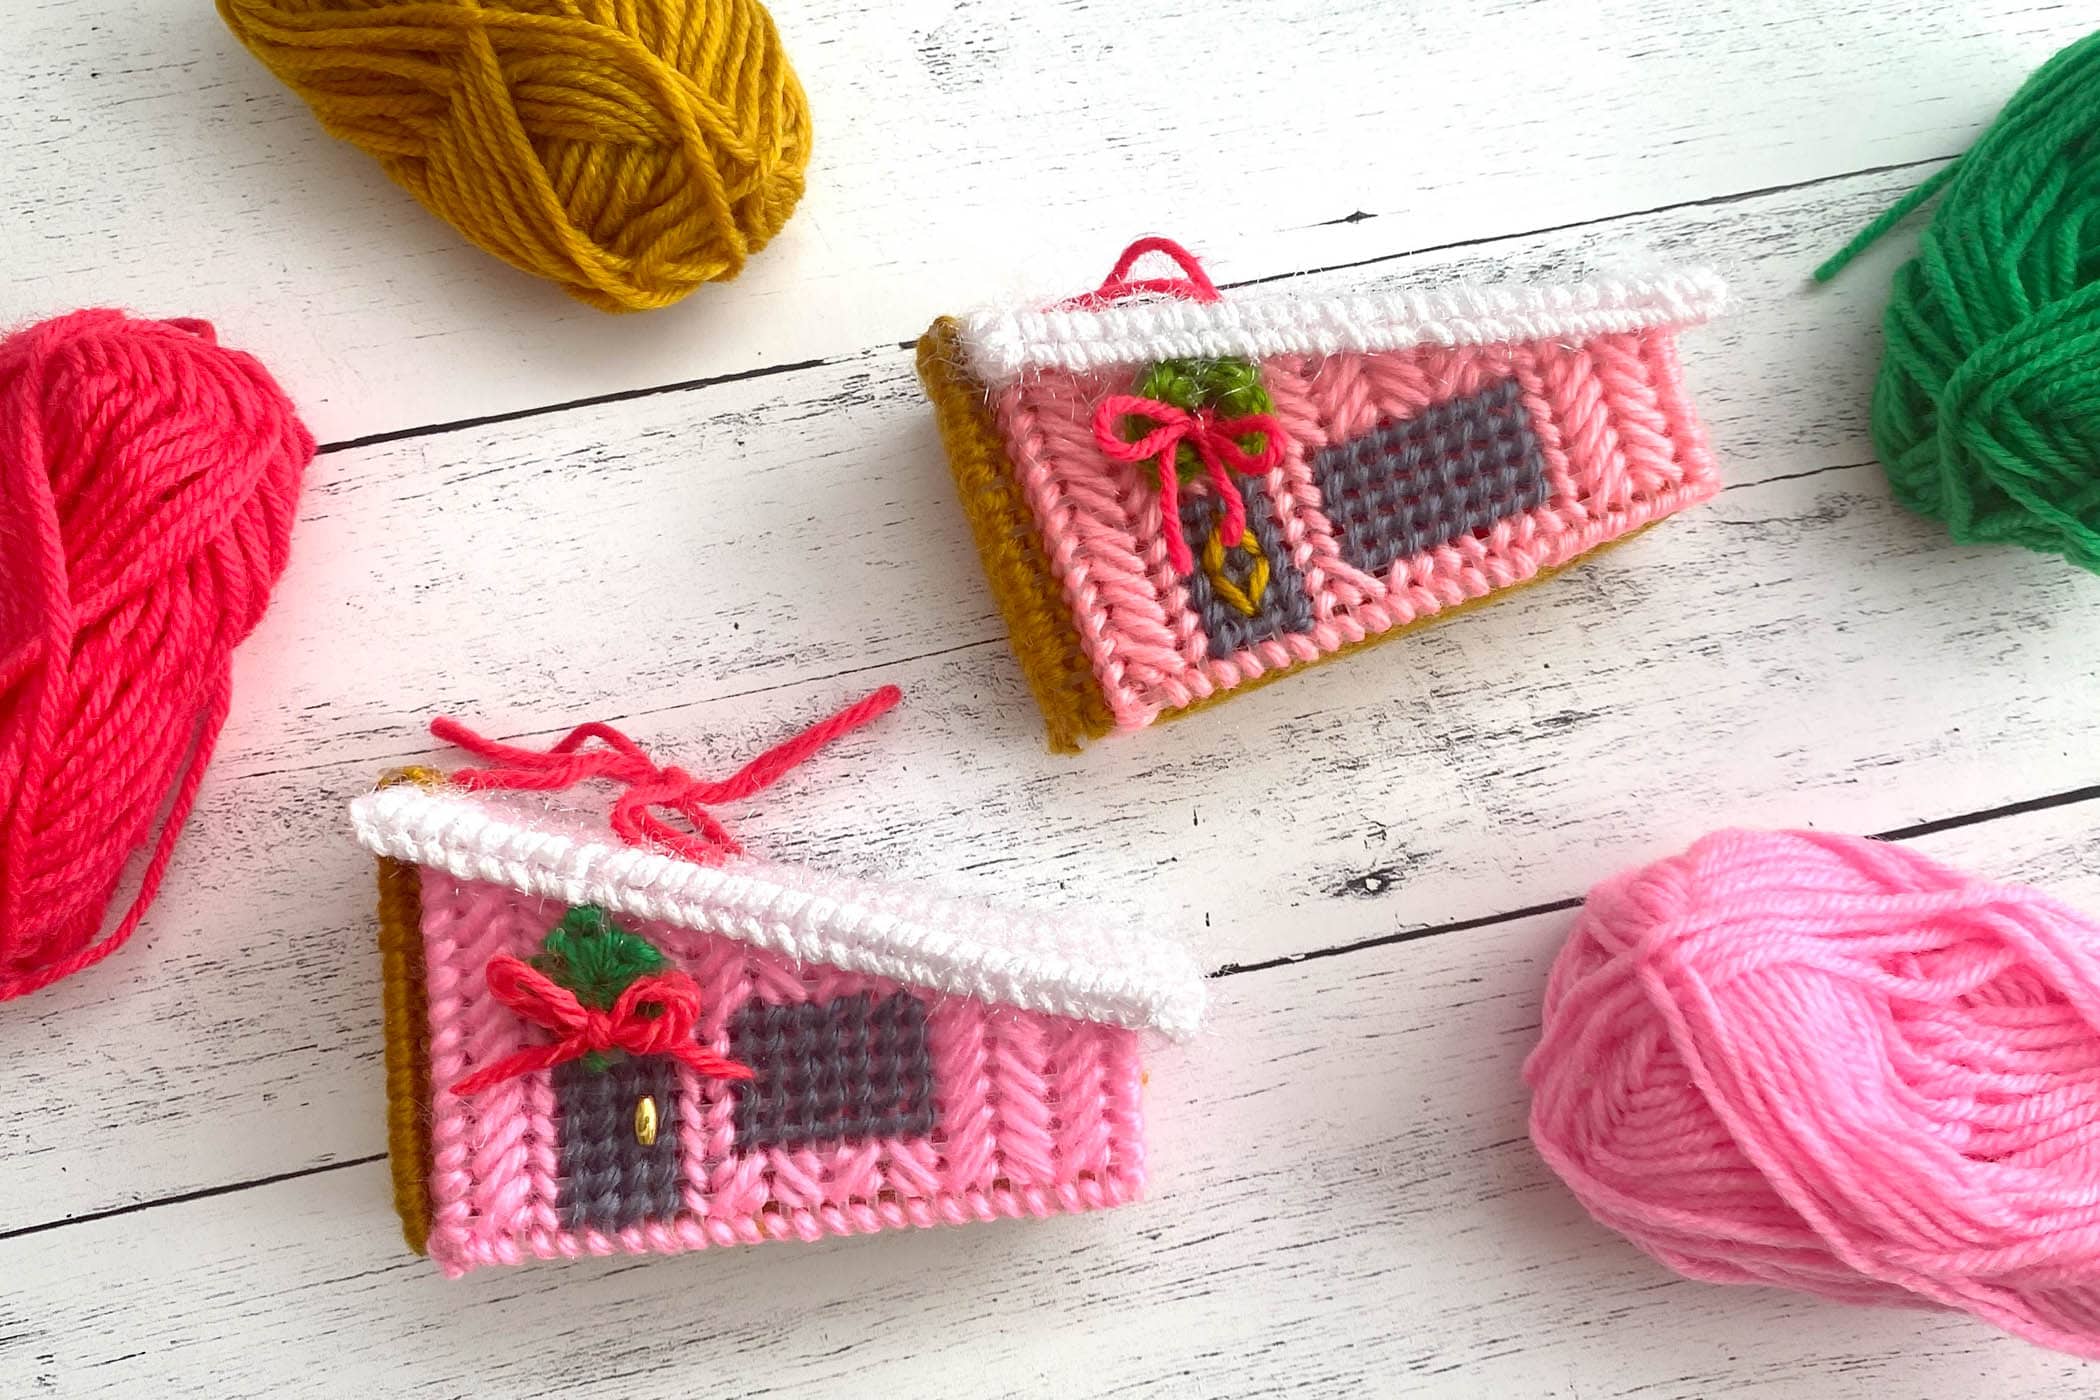
- And here’s a look at the finished house!
- For reference, here is the second version I made. For this house, I used a pink that has more coral tones to it. The front door has a simple diamond design instead of the gold bead doorknob. You can customize your little house anyway you like.


About the Designer

Julia Frazier is the founder of Bayhill Studio. Julia designs quilts and projects geared toward beginner quilters and crafters. You’ll usually find her at her sewing machine or hiking in the nearby mountains. Follow Julia on Instagram @bayhillstudio, and subscribe to her YouTube channel for new and exciting projects and tutorials. Be sure to check out her Bayhill Studio website for a growing list of tutorials and patterns.
Also by Julia